

Introduction
Microsoft released SQL Server on Linux, starting from SQL Server 2017. SQL Server 2019 (15.x) has the same underlying database engine on all supported platforms, including Linux. Therefore, many existing features and capabilities operate the same way on Linux.
| Platform | File System |
| Red Hat Enterprise Linux 7.3, 7.4, 7.5, 7.6, or 8 Server | XFS or EXT4 |
| SUSE Enterprise Linux Server v12 SP2, SP3, SP4, or SP5 | XFS or EXT4 |
| Ubuntu 16.04 LTS, 18.04 LTS | XFS or EXT4 |
| Docker Engine 1.8+ on Windows, Mac, or Linux | N/A |
This article will walk you through the installation of SQL Server on Linux on an Azure VM using the Azure Cloud Shell.
Prerequisites
These are the things you need to follow along with this example.
- An Azure subscription (sign up)
- Basic Linux command knowledge (common commands)
- Basic Azure portal knowledge (Azure Portal walkthrough)
In this article, we will install SQL Server 2019 on an Azure VM that is running Linux (Ubuntu 18.04). I am assuming you can build a VM using the Azure portal. You need to spin up a Linux VM on Azure, and you should be able to connect using the Public IP address of the machine. This link will walk you through the process of creating an Azure VM : Provision a Linux VM via Azure Portal
We will use the Cloud shell from Azure portal to log into the VM and install SQL Server. The specification for the VM I will be using is shown below:
Size : Standard B2ms (2 vcpus, 8 GiB memory)
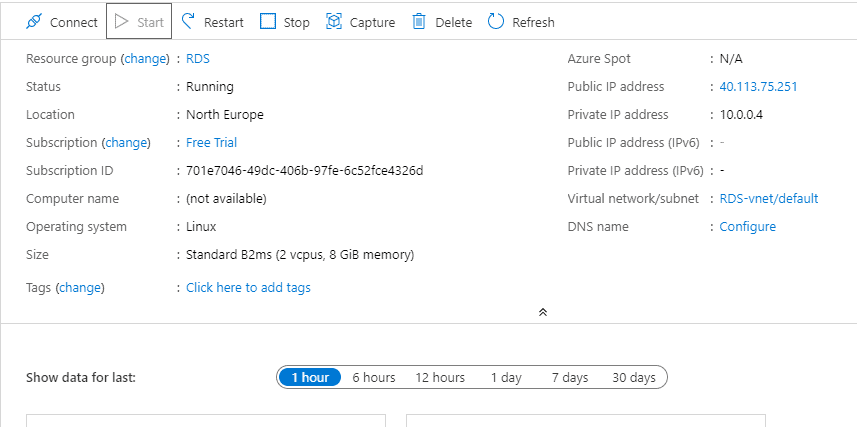
Using the information from Microsoft documentation, which is mentioned in the above link, create your VM.
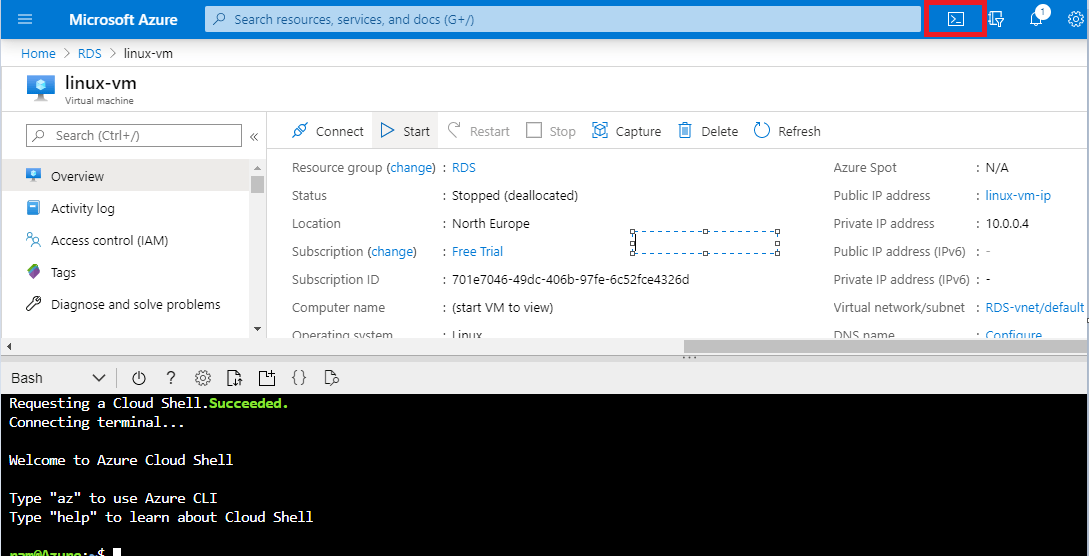
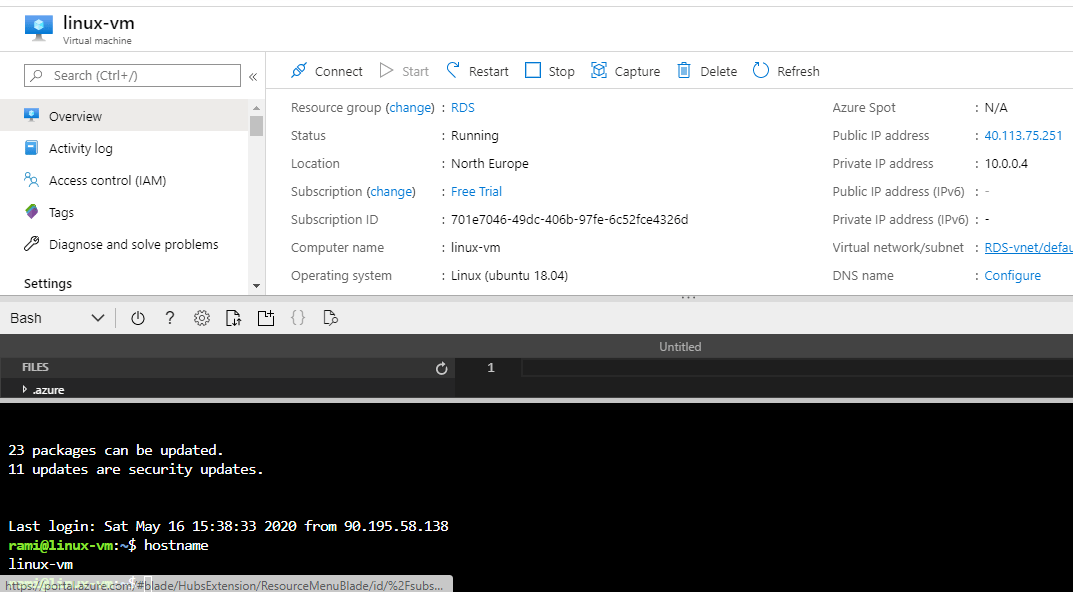
Step 1 : After you have your Azure VM with Linux spun up successfully, click on the Azure cloud shell icon to launch the shell.
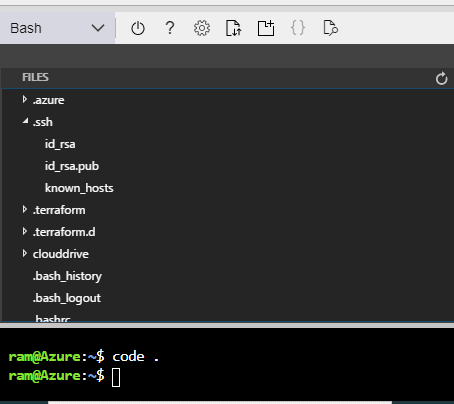
Open the code editor, which is a Visual Studio Code console. You can view the keys in the ~/.ssh directory
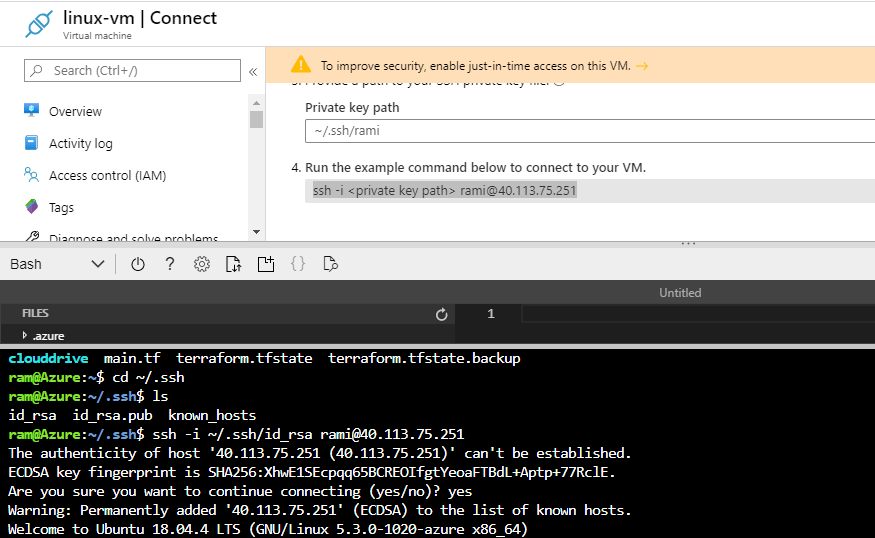
Step 2 : Logging into the VM. First change to the directory with the ssh keys. Then use the SSH command in the image below to connect. The command is in the upper right side, and the cloud shell executio is shown in the bottom pane.
ssh -i ~/.ssh/id_rsa rami@40.113.75.251
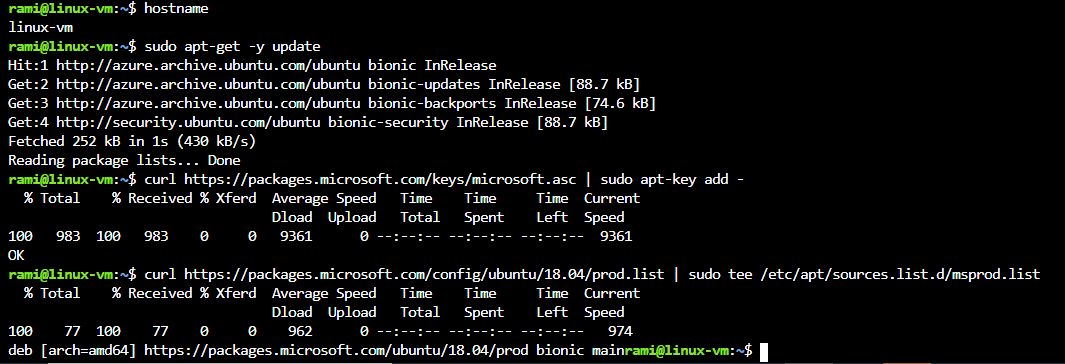
Run a basic ‘hostname’ command to check that you have a successful login.
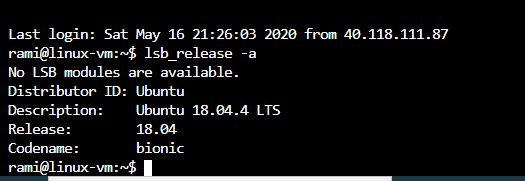
Step 3 : We will now begin the SQL Server 2019 installation. Note that you must have an Ubuntu 16.04 or 18.04 machine with at least 2 GB of memory.
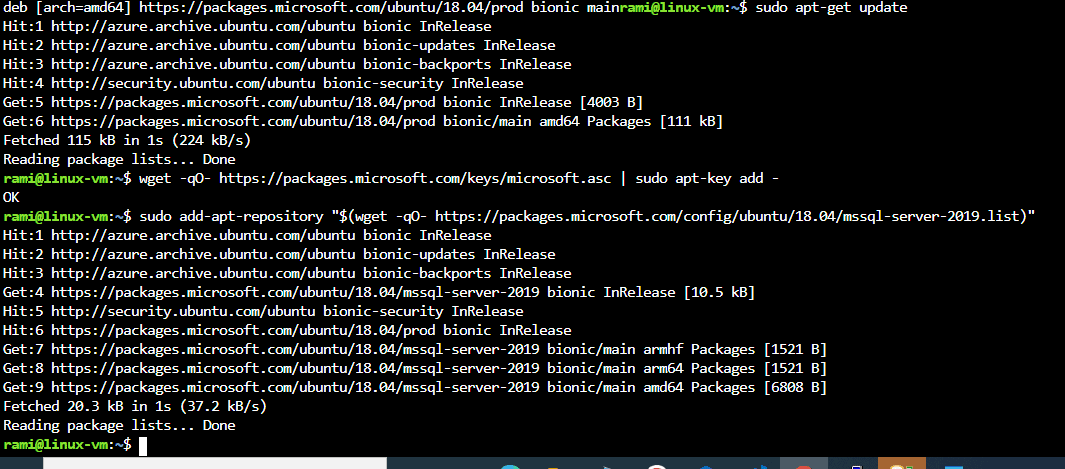
Step 4 : We need to add the GPG key using the below curl command:
wget -qO- https://packages.microsoft.com/keys/microsoft.asc | sudo apt-key add –
After adding the GPG key, we now update our software:
sudo apt-get update
Next, we register the Microsoft SQL Server Ubuntu repository for SQL Server 2019. The URL is shown below.
sudo add-apt-repository "$(wget -qO- https://packages.microsoft.com/config/ubuntu/18.04/mssql-server-2019.list)"
Step 5 : Installing SQL Server is one command.
sudo apt-get install -y mssql-server
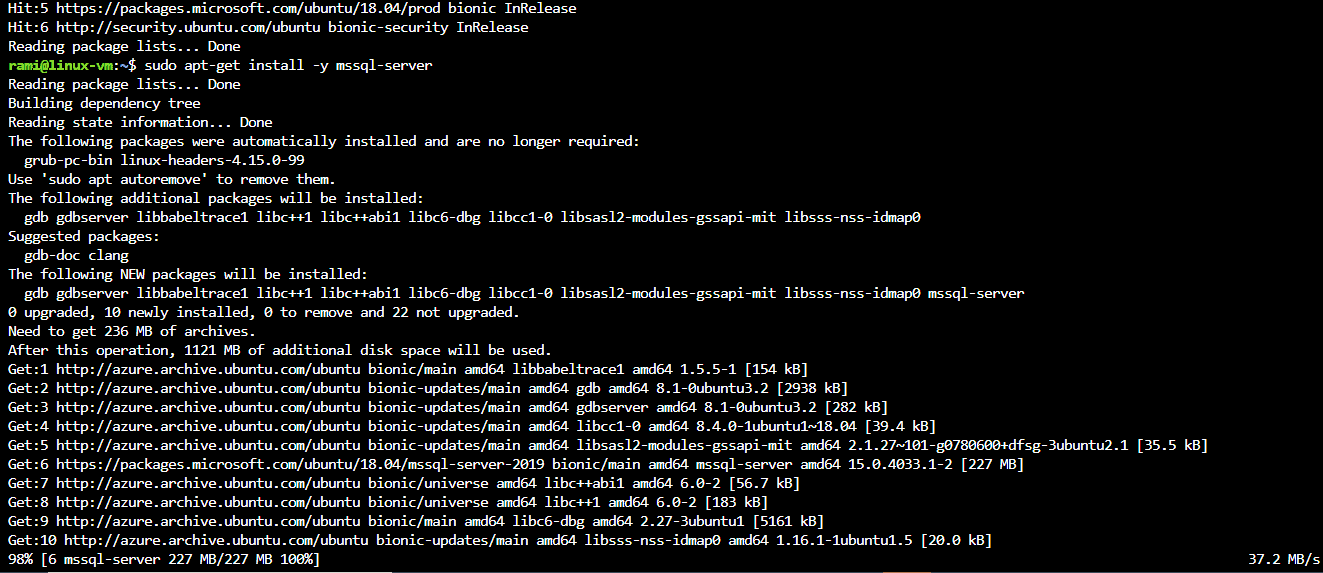
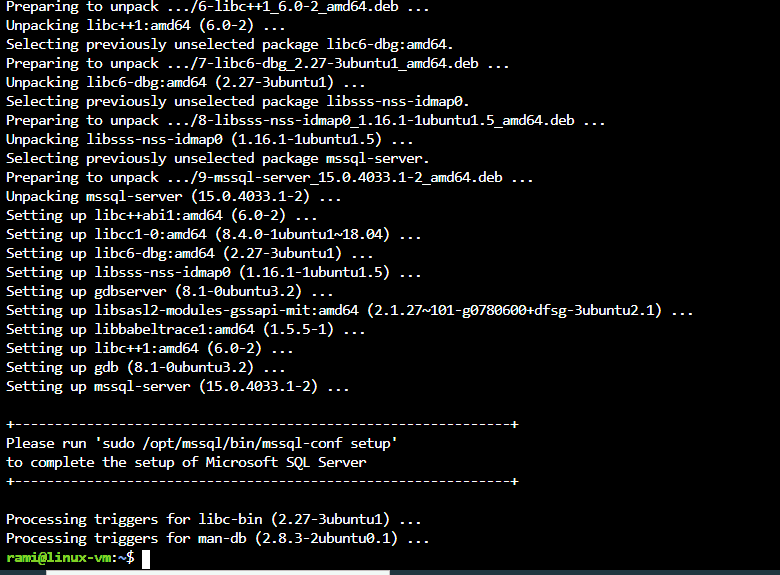
With this, the package is installed. To completely install SQL Server on Ubuntu, we need to run the mssql-conf setup and follow the prompts. A strong password is recommended for the creation of the sa account. This includes a minimum length of 8 characters, including both uppercase and lowercase letters and base 10 digits or/and non-alphanumeric symbols. To continue the setup run the following command:
sudo /opt/mssql/bin/mssql-conf setup
This will give us a menu of items to complete the configuration.
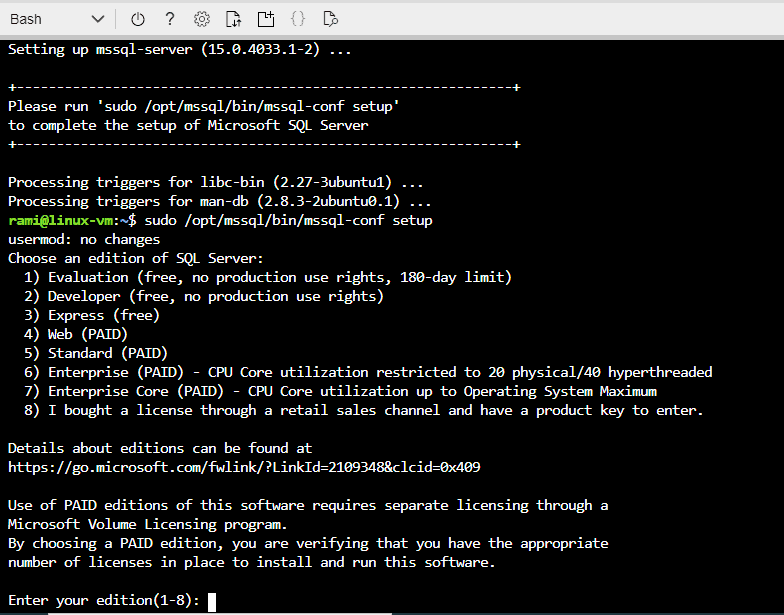
I have selected 2, which is Developer Edition.
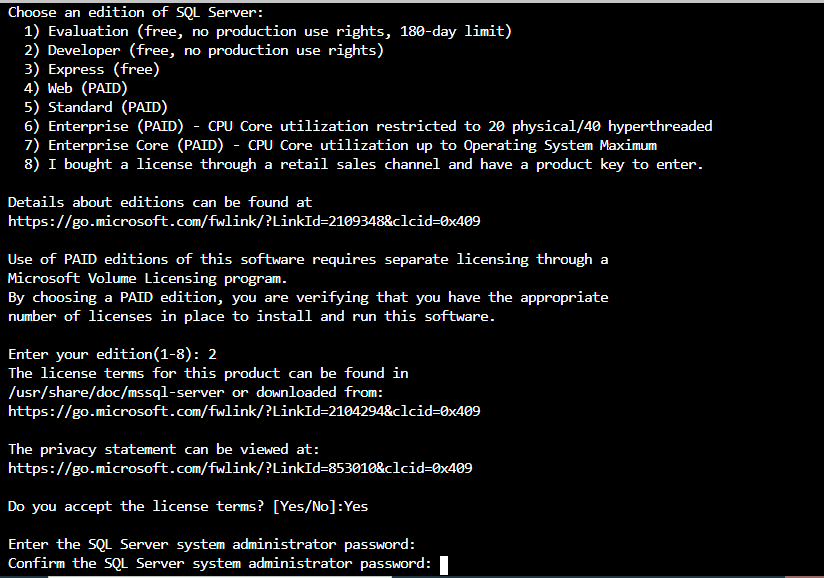
Provide a Strong ‘SA’ password
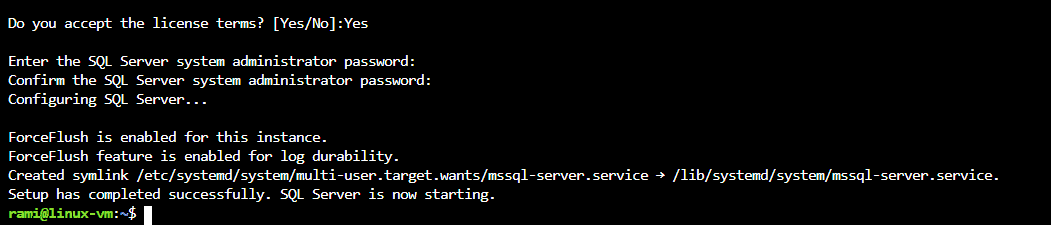
The SQL Server Setup is complete now.
Step 6: Check status of SQL Server Service
We use the systemctl command to check status.
systemctl status mssql-server
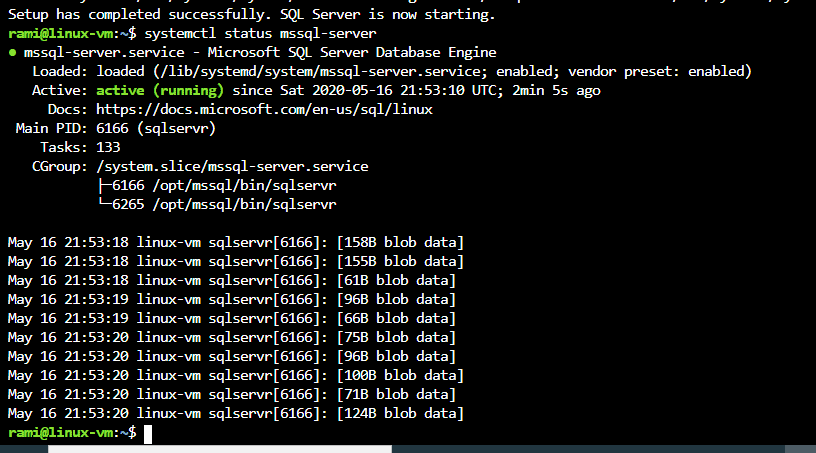
We can see the server is ‘Active (running).
Installation of SQL Server Tools
The SQL Server tools are not installed by default, so we need to add them. First, we neede to import the public repository’s GPG keys. After running this command, it is necessary to input the account password.
curl https://packages.microsoft.com/keys/microsoft.asc | sudo apt-key add –
Then, we need to register the Microsoft Ubuntu repository:
curl https://packages.microsoft.com/config/ubuntu/16.04/prod.list | sudo tee /etc/apt/sources.list.d/msprod.list
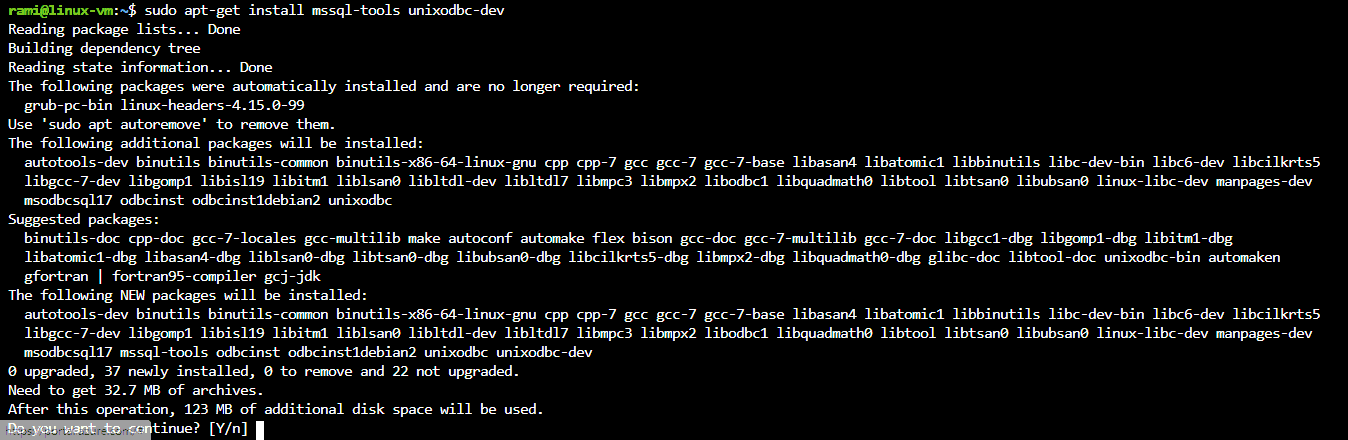
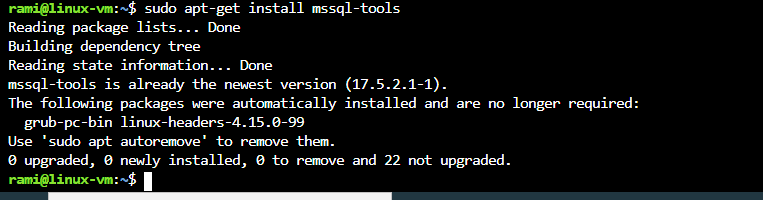
Update the sources list and run the installation command with the unixODBC developer package:
sudo apt-get update
sudo apt-get install mssql-tools unixodbc-dev
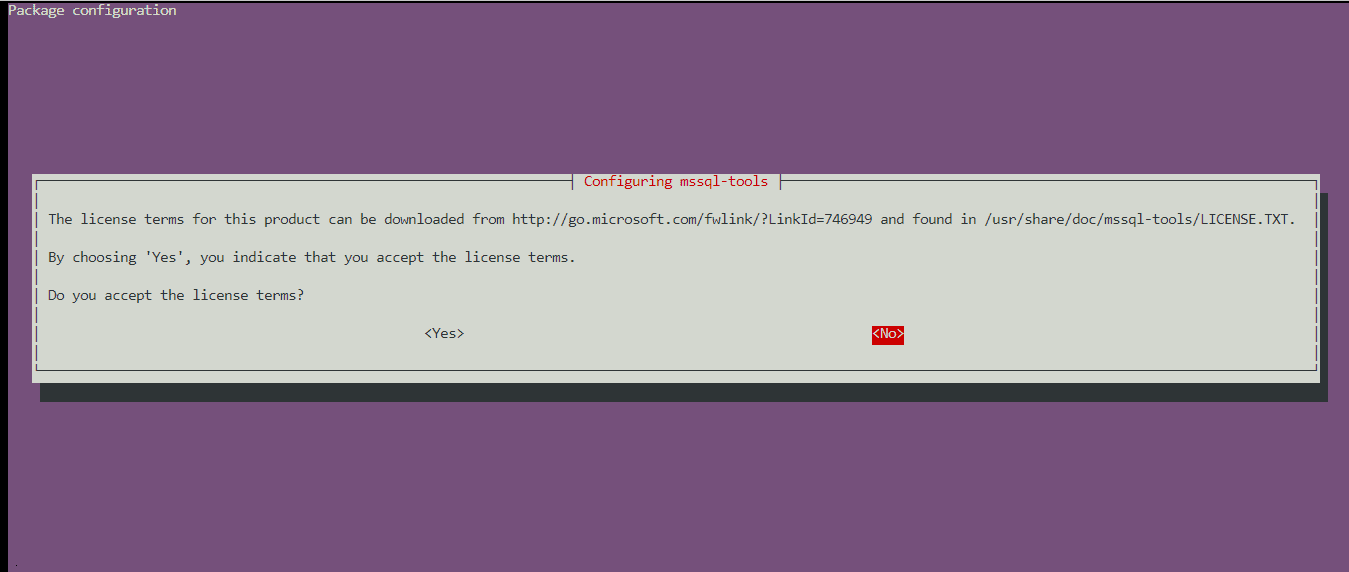
Select ‘Yes’ in the prompts and proceed.
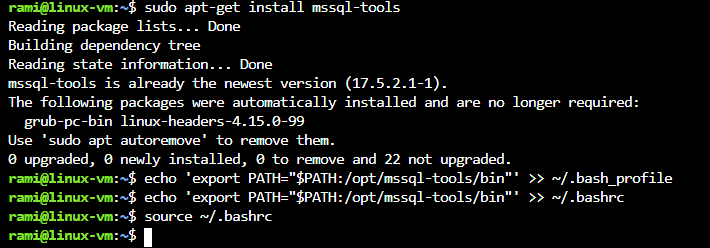
An optional step is to add /opt/mssql-tools/bin/ to your PATH environment variable in a bash shell. To make sqlcmd/bcp accessible from the bash shell for login sessions, modify your PATH in the ~/.bash_profile file with the following command:
echo 'export PATH="$PATH:/opt/mssql-tools/bin"' >> ~/.bash_profile
To make sqlcmd/bcp accessible from the bash shell for interactive/non-login sessions, modify the PATH in the ~/.bashrc file with the following command:
echo 'export PATH="$PATH:/opt/mssql-tools/bin"' >> ~/.bashrc

source ~/.bashrc
We have successfully installed SQL Server and SQL Server tools. Now let us login into SQL Server via SQLCMD and run a very basic command.
Sqlcmd -S localhost -U SA -P <yoursapassword>

Select name from sys.databases

go
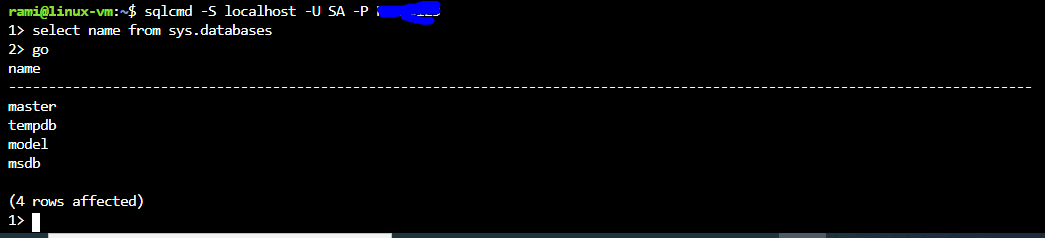
Voila! Everything as expected. Now let us try to access the database from SSMS. We entered our details, but we are not able to connect:
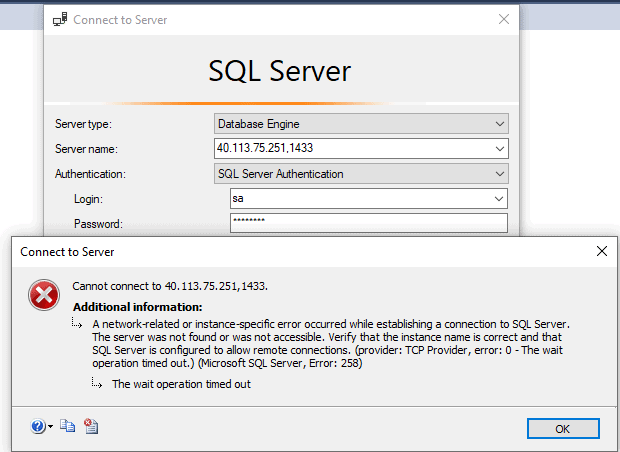
This is because the port 1433 is not open for the VM. For this we will need to add an Inbound rule to the ‘Networking’ for 1433, as shown below.
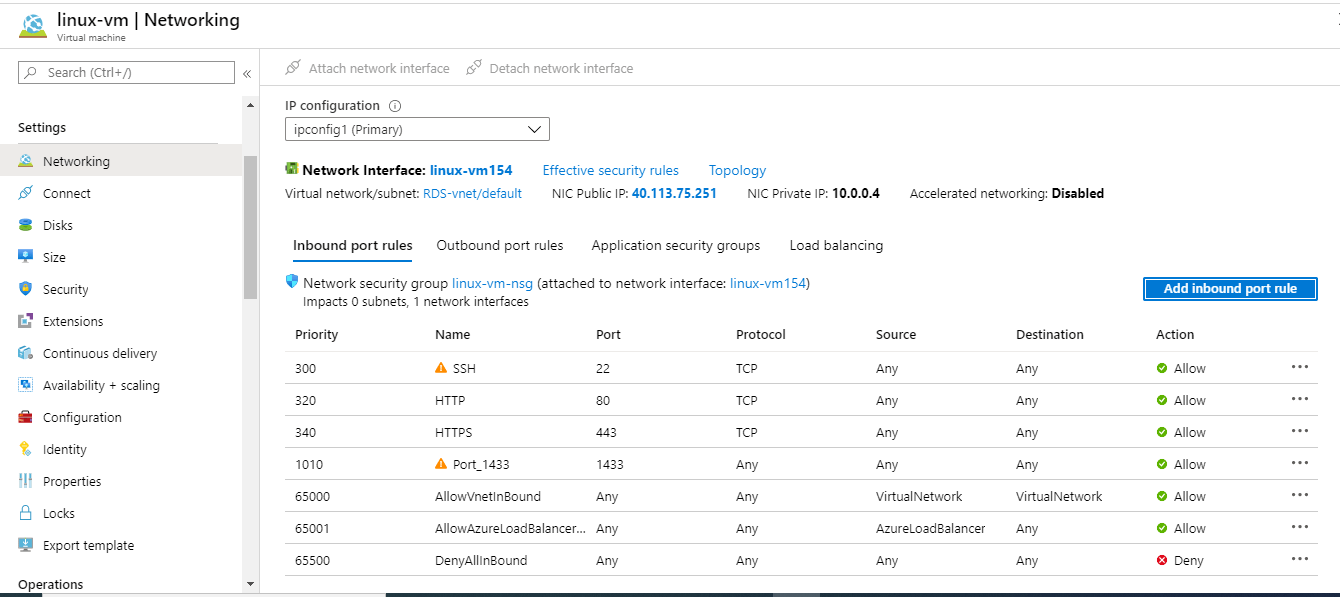
Now since the inbound rule is added, we are able to connect fine.
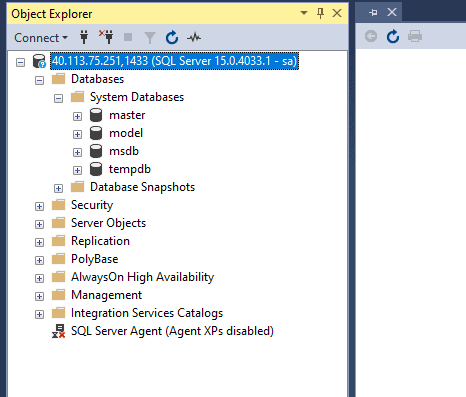
However, you can see the Agent seems to be disabled (not running). We will need to enable it and restart SQL Server with these commands:
sudo /opt/mssql/bin/mssql-conf set sqlagent.enabled true

sudo systemctl restart mssql-server

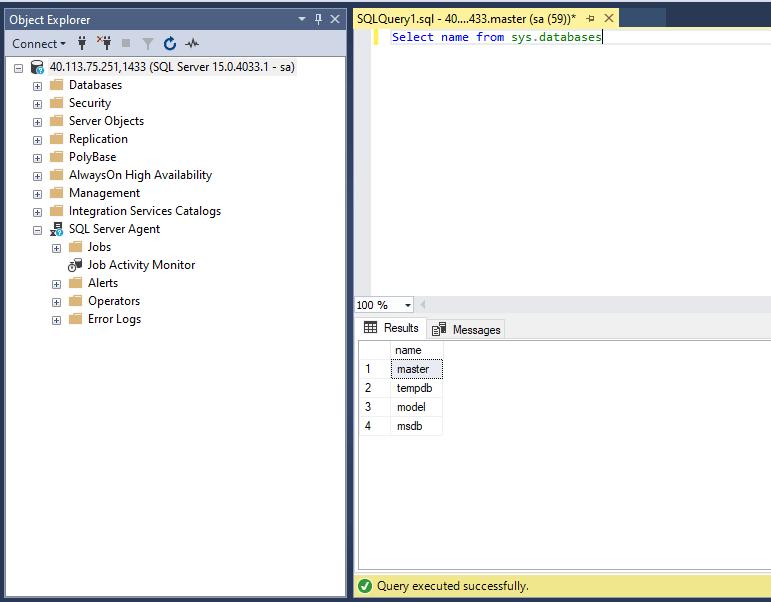
Now we can see SQL Server Agent is up and running .
Conclusion
As the number of organizations running Linux VMs has risen, Microsoft has made sure that the Linux flavor of SQL Server is as capable as its Windows counterpart. As a SQL Server DBA, you ought to give it a try and try some hands on experiments.

