

The SQL Cop project is an open source set of tests that help promote code quality by looking for common poor T-SQL coding practices. These tests are based on the tsqlt framework and run within its structure. You can add the SQL Cop tests to your database using SQL Test (link) or by downloading the project and compiling all the tests in your database. You will also need to install the tsqlt framework before installing the SQL Cop tests.
As this is an open source project, we would like to encourage others to contribute to the project in a few ways One of these is enhancing or improving the quality of the existing tests. The other is that you might find there are other coding practices that you want to ensure your developers follow by creating a new test.
This short article will look at the way in which you can contribute to the project by explaining how to submit a change that you have built.
The Overview
The process for making a contribution to the project is simple, and described in detail below. The basic steps are:
- Fork the repository
- Make changes in your copy of the code
- Commit those changes
- Create a Pull Request for the SQL Cop project
At this point, one of two things can happen. First, your change can be accepted, which will mean the official SQL Cop code will incorporate your changes into its codebase for all others to download and use. The other option is that your pull request is not accepted. The project maintainers will provide feedback to you, which might be in the form of requests for more information or changes, or they might not feel that your change fits well within the scope of the project.
Let's look at the way to propose a change in more detail.
You need a GitHub account
As the code is hosted on GitHub, you need an account on that platform. This can be a personal or work account, but you must have a way to fork the repository to your own account.
It is easy to sign up for GitHub, and here are some basic instructions. You will also need git installed on a workstation of some sort. Here are some instructions for Windows, MacOS, and Linux. This is a simple process and git will run alongside other Version Control Systems such as TFS, SVN, etc. without issues.
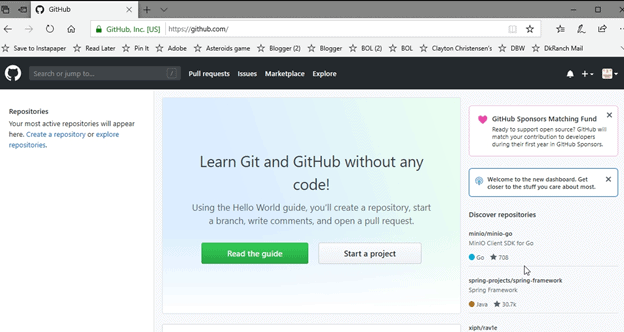
For this demonstration, I will be using a separate machine with git installed and my personal GitHub account. Here is the view of my brand new GitHub account.
Forking the Repository
To begin making changes, I first need my own copy of the SQL Cop repository. I don't have rights to make changes directly to the project, so I need to make the changes in my copy of the code. This is similar to branching, but in this case, I have a complete separate copy with my own branches.
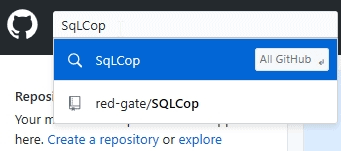
To get started, I’ll search for SQLCop. When I do this, I see the project under the red-gate organization.
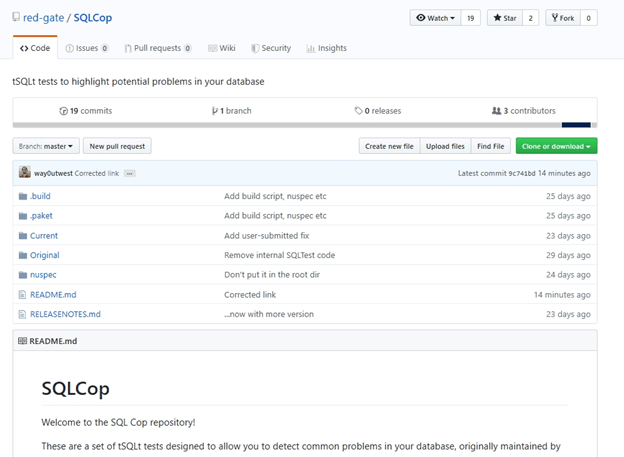
I’ll click the project and get taken to the main page. This has the code listed, as well as a visual display of the readme.md below this.
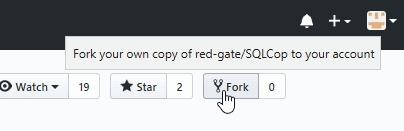
On the main SQL Cop page, I can find the "Fork" button in the upper right. I will click that to make a copy of the code in my own account.
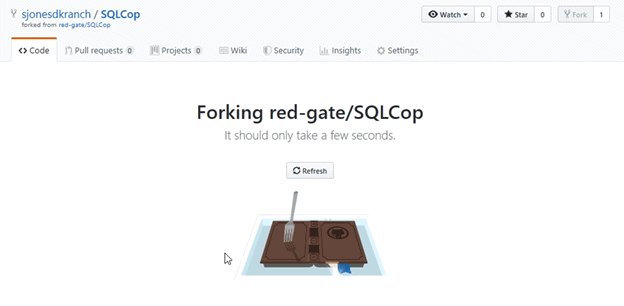
Once I do that, I see a note that the code is being copied. Note that the organization has changed to my “sjonesdkranch” repo instead of the red-gate one.
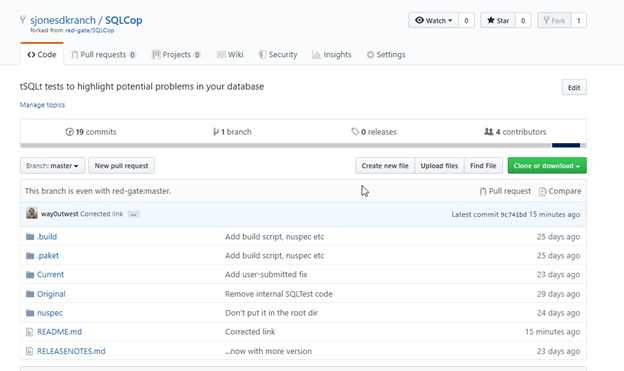
Once I do that, I see a copy of the code as a repository under my account. As you can see, this is the only repository I have. I also see the last change was made by me under my way0utwest account, which is a part of the Redgate organization. All the code, including the readme.md has been copied.
While I can edit files online, I can't really test them or get them working in my own SQL Server database, so I want to copy this code to my own machine. This is called cloning the repository.
When I do this, I get a complete copy of the code in a folder on my machine. There are various ways to clone the repo, but the simplest (to me) is with the command line.
On my machine, I have git installed. I will go to a folder where I want to store the code. On most machines, I create a "GiHub" folder under the main document store. For me, this is the c:\Users\Steve\Documents folder on Windows. On other platforms, you can find a folder where you want to store code.
The right side of the my repository has a clone button. There is a path next to this, and I can get the URL to my repository at GitHub. I will use this with the "git clone" call to set up a new folder. I copy the URL in the text box shown below.
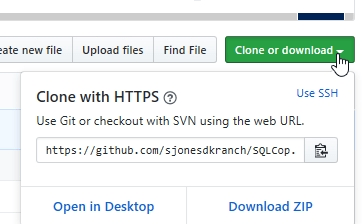
In a command line, I enter this command:
git clone https://github.com/sjonesdkranch/SQLCop.git
Note: your URL should be different and specific to your organization or GitHub login.
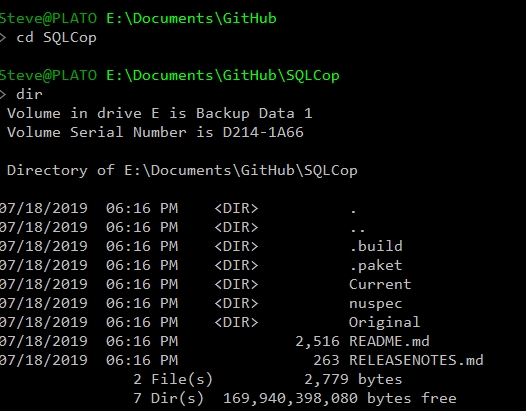
On my machine, this takes just a few seconds and I have a copy of the code.
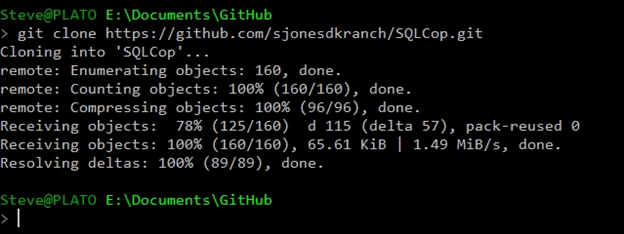
This will do a few things. First, it will create a new folder underneath my current location with the name of the repository. This is SQL Cop, though I can override this if I want a different name. This will then initialize this folder as a git repository and finally copy all the code from GitHub to this folder, preserving the subfolder structure.
I now need to load tsqlt and SQLCop into my database. I’ll use this code to create a test environment:
CREATE DATABASE SQLCopTests
GO
ALTER DATABASE SQLCopTests SET TRUSTWORTHY ON
GO
This article describes how to load tsqlt, but this is essentially running the tsqlt.sql file. I’ll do that, after ensuring the CLR is enabled for my instance.
Once this is done, I need to load the SQLCop tests. There are two steps here. The first one is to create a test class that will contain the tests. The project uses “SQLCop” as the test class, so we need to execute this code:
EXEC tsqlt.NewTestClass @ClassName = N'SQLCop'
To make this easier, I will execute each .sql file in my database with this short PoSh script
foreach ($filename in Get-ChildItem -Path $FolderPath -Filter "*.sql") { Invoke-Sqlcmd -ServerInstance "Plato\SQL2017" -Database "SQLCopTests" -InputFile $filename}This doesn’t report any results on the screen, though errors would be shown.

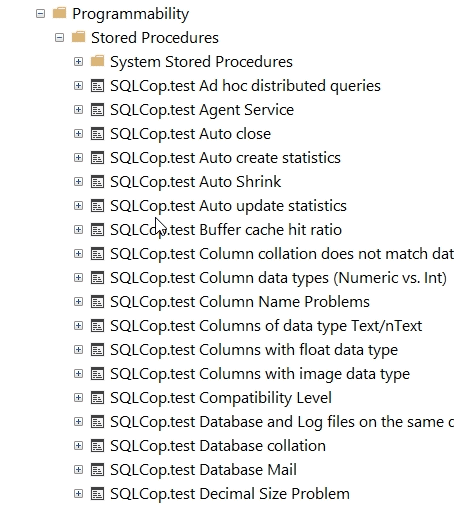
In my database, I now see all the SQL Cop tests under the Programmability/Stored Procedures folder
Once this is done, I am ready to contribute to the project.
Creating a Change
For this article, I will want to change an existing test. I could also propose a new test. The process for either is the same. We will make a change, test it, and then ensure the change is saved as a text file in our repository. Once we are sure the code works, we can stage and commit this change.
Note: If you want to add a new test, please ensure that you follow the same format and propose a documentation page on the wiki as well as the test change.
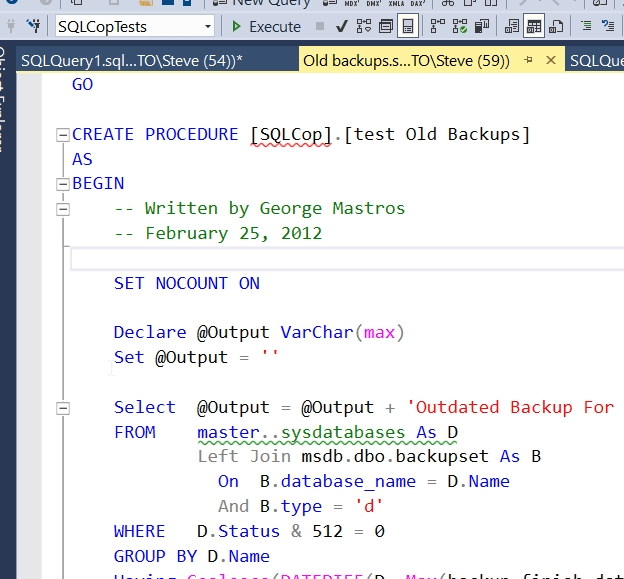
The test I want to change is the “Old backups.sql” test that looks for backups older than 7 days. I want to clean up some of the code and add some comments. These will be minor changes, but they should help anyone in the future.
First, I will navigate to the repository on my machine (e:\Documents\GitHub\SQLCop\Current) and open this .sql file. I see this in my editor.
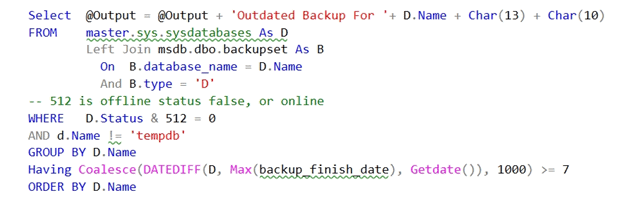
There are a few things here. First, this is flawed as it doesn’t exclude tempdb. I need to fix that. I don’t like the master..sysdatabases. I prefer having a schema here. I’ll also add a comment on the status. Here’s my code:
I need to test this, so I'll do that first. I use the the tsqlt.run command with the schema and name of the proc. This is the code:
EXEC tsqlt.run '[SQLCop].[test Old Backups]'
I get these results.
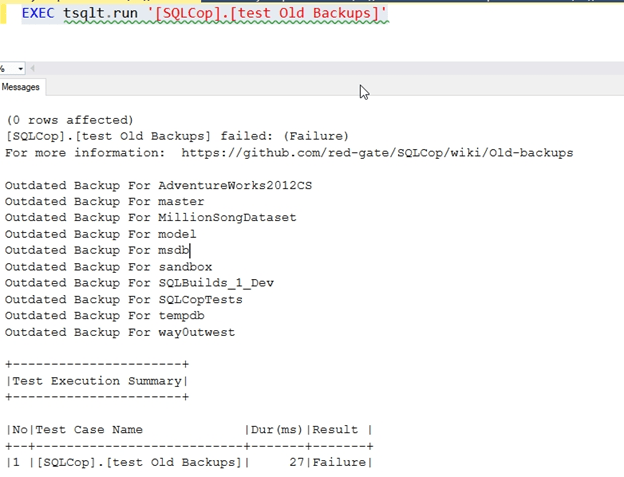
That’s good. I have a failure, so I can fix this. It’s not bad. This is a test server, and it only backs up databases once a month or so. I’ll run a few backups and re-test.
This time, the test passes:
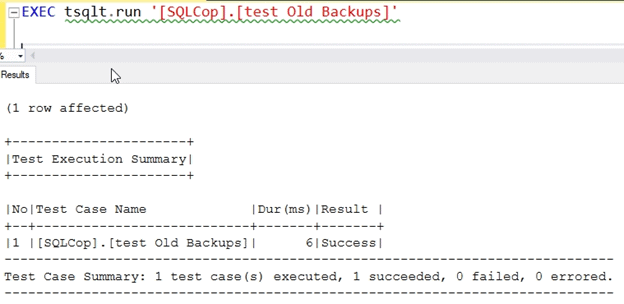
This seems to work, so let's save our changes.
Note: the goal isn’t to pass the test. The goal here is to test the test. I need to have at least one failure and one pass to have an idea of this is working. I ought to have a test harness of sorts as well, but that’s for another day.
Committing a Change
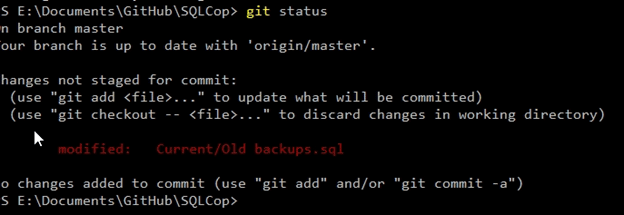
Now that I’ve changed code, I need to save the new version in a text file. I go back to my open editor pane and click “Save” to save the file. I can see this as a change by going back to the command line and checking the “git status”.
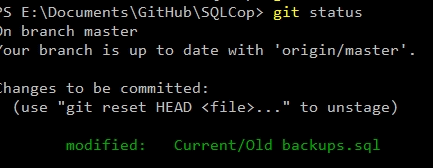
Git has the concept of staged/unstaged changes, as well as commits. The first step is to add this file to the staged area with “git add”. Here’s the code
git add '.\Current\Old backups.sql'
Once this is done, I can run a git status to see my change. This will also show up in most code editors, such as Visual Studio Code/Azure Data Studio as well as VCS clients such as Gitkrakken. For my command line, I see a green file that is ready to be committed.
and Gitkrakken here:

Now that this is staged, I want to enter a comment. In this case, I’ll use the command line to put in a small message. The commit ought to be a “why”, not a what. The code shows what changed.

Once the change is committed, I want to upload this to my GitHub repo. I'll use git push to do this.
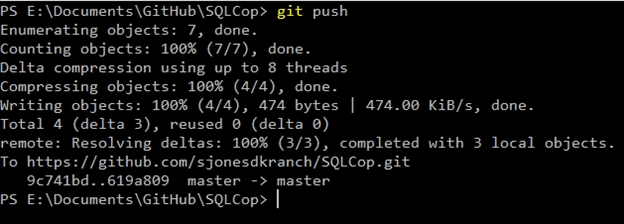
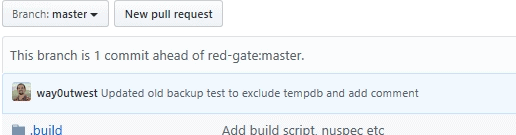
I can see my file at GitHub in the SQLCop repository for my account. I see the latest commit, as well as a message that I’m ahead of the branch at Redgate.
Creating a Pull Request
A pull request is a notification that I've made a change that is suitable for inclusion in another project. This can be from branch to branch, or from fork to main repo. The notification let's the parent project (or branch) know there iare changes to review and merge or reject.
Since my project is linked to the red-gate/SQLCop repository, I can click the "Pull requests" menu item. Then I see a “New pull request” button that I see in the upper right of my project.

I click that and get a new screen. There is a lot of stuff in here, so let’s look at a bit of it. First, the top compares changes between the upstream branch and this fork. This shows that my master branch (on the right of the top gray box) can merge with the master branch at Redgate.
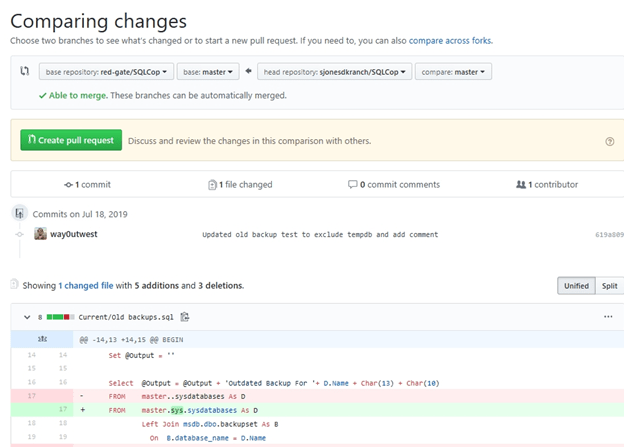
Below this in the yellowish box is the large “Create button”. Please don’t just click this without double checking what is being submitted. Below this area I see there is 1 commit being sent. The number of commits doesn’t really matter, but try to keep to the minimal number of changes.
At the bottom are the file(s) that have been changed. Please only submit one test at a time, and be sure you describe your changes.
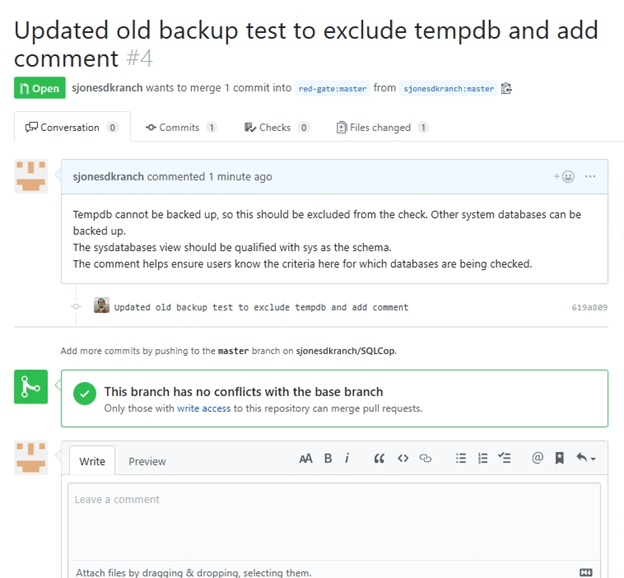
One we click the “Create pull request” button, we get a dialog with our commit message and an edit box. Here is where you should describe your change in more detail and include reasons why this is a good change.
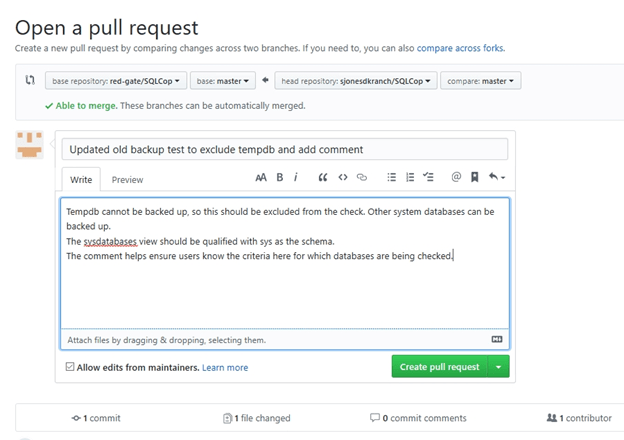
In this case, I added some details that explain why I made my changes. Once I am happy with my comment, I click the "Create pull request" button once more to send this to the maintainers.
I do get a discussion dialog, and I can add more comments to the PR if I wish.
Reviewing PRs
It's part of my job to review pull requests and make some decision about whether to merge this change into the project or reject it. I anticipate others at Redgate will help review these changes as well, as these will also be incorporated into the SQL Test product.
When we get a pull request, we get emails like this:
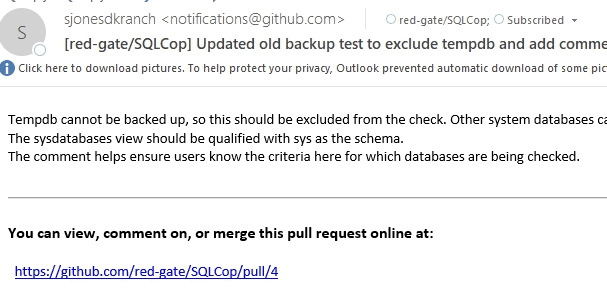
Clicking the link will give me a dialog similar to the person that submitted the request.
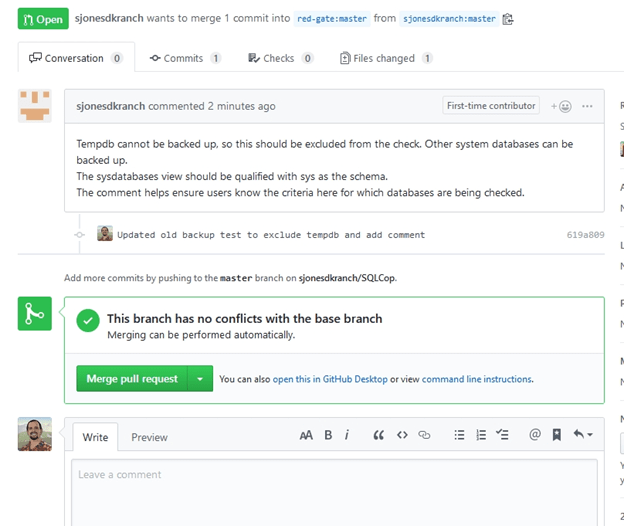
I can see this doesn’t conflict with any other work that is in the project. I can add comments that go back to the submitter, I can merge the code in, or I can close this without merging. It’s up to me or one of the other maintainers at Redgate.
I’ll close this without accepting changes and leave a note.
Dealing with Rejection
Back at my personal Github repo, I see this:
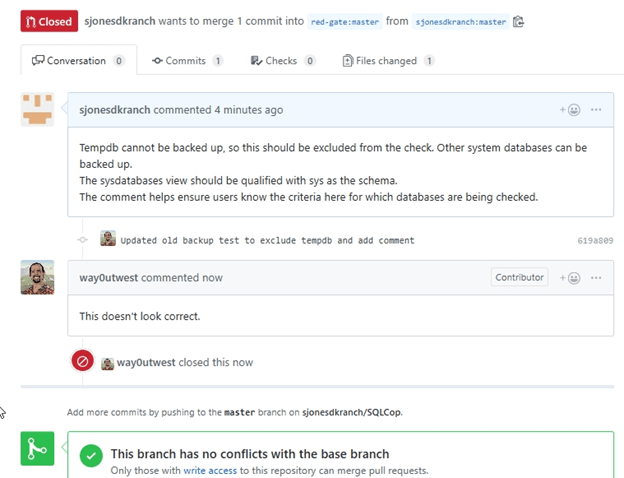
The PR is closed, and if I want these changes to get merged, I need to create a new PR, though with better code or comments. I also got two emails that let me know this PR had a comment, and it was closed.
We may return code for a variety or reasons, but I will endeavor to provide more detailed comments as to why. This could be because this will conflict with other work, or it could be that we don’t want this particular test.
No matter what we do, the code lives on in your repository, though this might be a good reason to work in a branch other than master, so you can have your own SQLCop personal project and not necessarily submit all changes to the Redgate project.
Summary
I hope this gets your started with using SQLCop and potentially helping us grow the project with new and better tests that can raise code quality. Any type of poor setting or poor coding practice that you can think of can make a good test.