In the previous level, schema changes from our sample database, Northwinds, were checked into the Git repository we set up in the first level. We didn’t cover it then, but all our changes were made in the ‘main’ branch of the code repository. This may be fine for a development team of one. The code is versioned, so if defects are found, it’s easy enough to revert the code to a previous changeset. For teams with multiple developers or when there are distinct sets of changes being made in the same sprint, allowing everyone to check code into the main branch can be confusing when promoting code to another environment, like production. Knowing which changes go with each other can be hard to determine if it’s hard for any individual person to make this determination. Good luck to Azure Pipelines after we automate deployments for the database in this case. There is a good chance we’ll cause major problems in production.
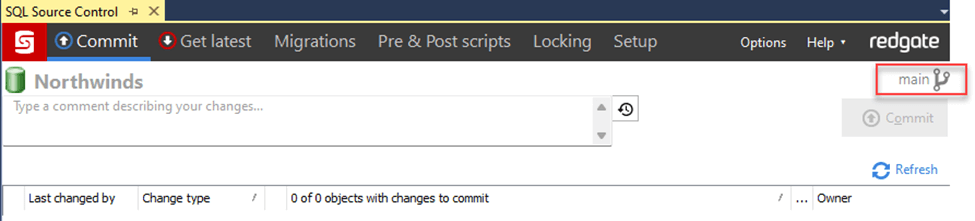
A common approach to this problem is branch and merge code, which we will cover in this level. SQL Source Control's current branch is displayed in the upper right corner, as shown in the screenshot below. In source control, the ‘main’ branch is typically used to deploy code to production after the code has been tested and retested. It is the “gold standard” for your code if you will.
As a side note, depending on the type of Azure DevOps template used, this default repository may be named ‘master’ instead of ‘main.’ Both serve the same purpose.
Branching Code
As we’re developing changes to the schema, our code is usually not ready for the main branch. We should create a new branch for our development. This creates a copy of the code to separate our development from that of others on the team. With this isolation, there is less concern of overwriting someone’s changes or impacting them, at least in source control. Branches also allow developers to push code to Azure DevOps regularly, making a second copy while not impacting other developers. Of course, these issues eventually need to be addressed. This will occur during the merge process, which will be covered later.
SQL Source Control does not manage branches, so branching must be handled outside SQL Server Management Studio. Branches are easy to make, but let’s consider their use or lifecycle. One pattern I’ve used and seen others use is to create a development branch that will live indefinitely. As a set of code is written, the code will be reviewed through a pull request, and if the code meets the reviewer's standards, the code is merged into the next branch, potentially ‘main’ or ‘QA.’ After the pull request is created, the developer can start working on the next set of changes while using the same branch. The other common approach is to create a branch for a specific set of changes. When the pull request is approved and the code has been merged, the developer (or reviewer) will delete the branch. The developer will create a new branch before working on the next feature.
Regardless of your branching method, there are two ways to create a new branch.
Create a local branch
The easier method to create a code branch is to do it on your computer. To start, open Command Prompt and follow the pattern below. I’m creating a branch called ErinDev to show I’m making changes. Use a name that works for you and your team to distinguish developers. The first command creates the branch in Git, while the second command activates the branch for use.
git branch ErinDev

git checkout ErinDev
Once completed, return to SQL Source Control and click refresh on the Commit tab (or Get latest). The new branch will then be reflected in the user interface. Beneath the comments textbox, a message says, “The current branch has no upstream branch.” Git compares the local repository to Azure DevOps for changes. Since we created the branch locally, it is seeing this difference. Click Create upstream and push to create the branch in the Azure DevOps copy of the repository. This only needs to be done once per branch.

Create the branch in Azure DevOps and use it locally
Alternatively, branches can be created in Azure DevOps and retrieved by Git to use locally. To start, navigate to the code repository in Azure DevOps. At the top of the right panel, the default branch is listed as a part of a drop-down menu. The screenshot below shows 3 branches: main, DevChanges, and master.
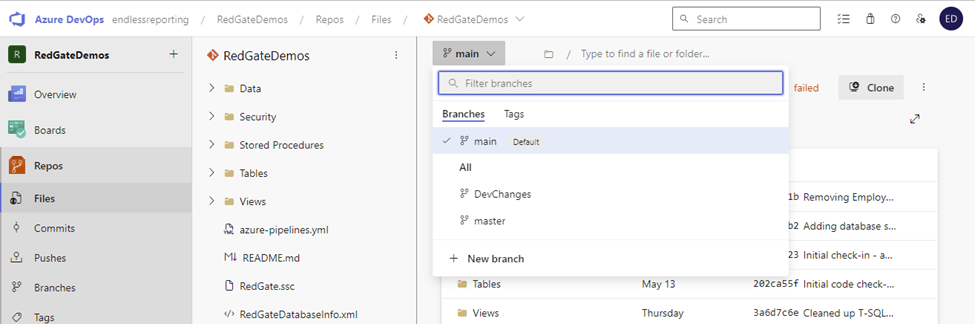
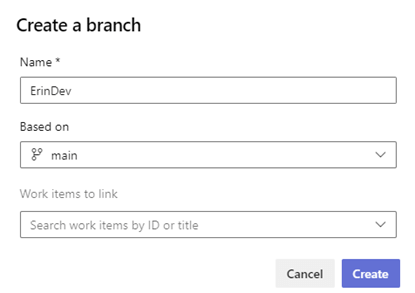
New branch at the bottom of the menu provides the opportunity to create a new branch. To match the local method, I’ll name the branch ErinDev. It is based on ‘main,’ meaning the code that’s currently in main will be copied to ErinDev, as a starting point.
With the branch created, open a Command Prompt, and run the following commands. The first command downloads changes from the remote repository—and the second command signals to Git to use the branch.
git fetch

git checkout ErinDev
The new branch will be displayed upon returning to SQL Source Control and clicking Refresh. Because the branch was created in Azure DevOps first, there is no need to create the “upstream branch,” as in the previous method.
The development environment is set up at this point, and development can begin.
Merging Code
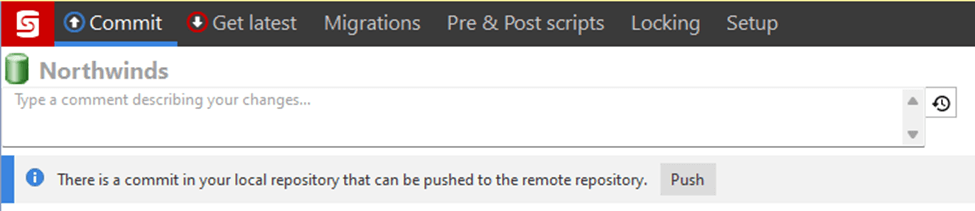
Once a set of changes has been made and some unit testing has been completed, the code in the branch needs to be brought back into the team branch for testing and eventually being deployed to production. With our use of Azure DevOps, the merge process will occur in Azure DevOps. Before we start the merge process, ensure all the changes have been pushed to Azure DevOps. In the Commit panel in SQL Source Control, if there is a message to push changes to the remote repository, this is the time to push them. We committed code in the previous level, with one of the changes being the ShipmentDetails table in the pull request screen.
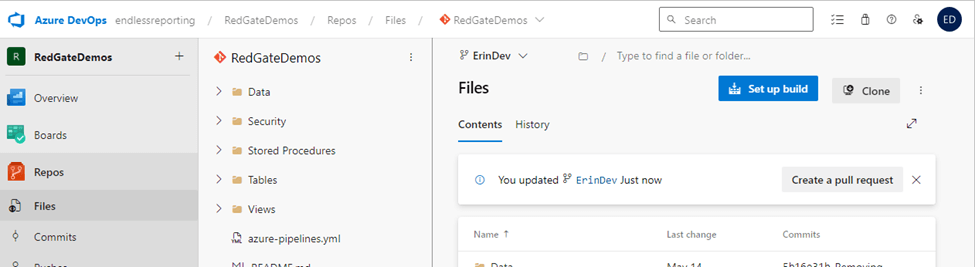
Returning to our repository in Azure DevOps, there is a message stating the branch was updated and prompting us to Create a pull request. This is the start of merging our changes back to the main branch. You can see this message on the right side of the image below, just under the Contents and History tabs.
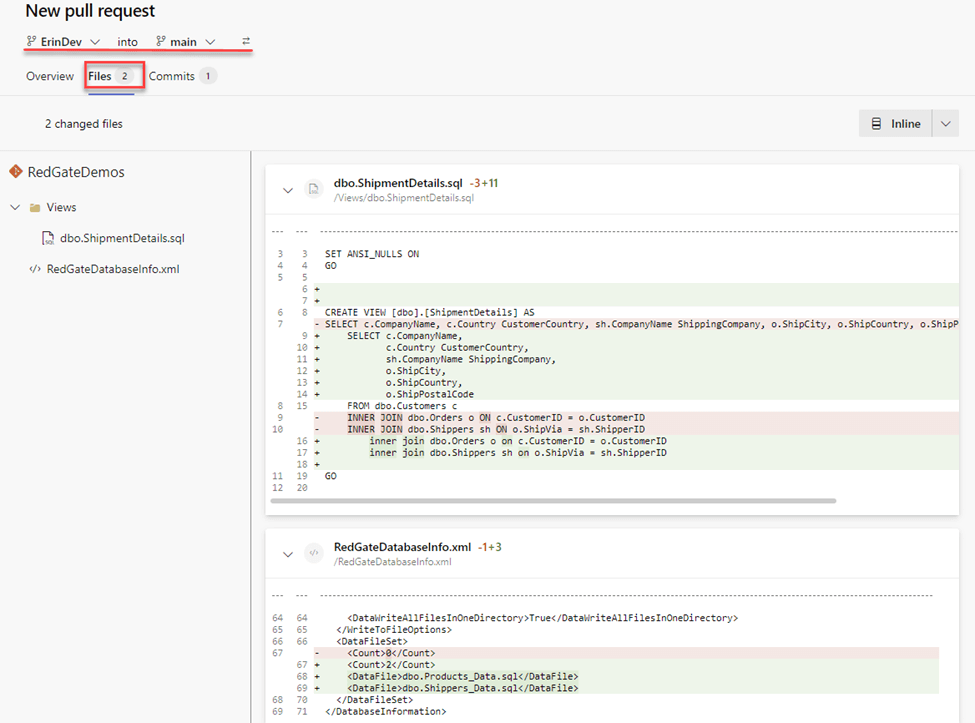
The New pull request screen has a lot of helpful information to remind the requestor of the changes. Directly beneath the title, we’re informed which branch is being merged into which branch. In this case, branch ‘ErinDev’ has the changes that need to be merged into the branch ‘main.’ Below are three buttons: Overview, Files, and Commits. This screenshot shows changes made to two files: the ShipmentDetails view and SQL Source Control’s metadata file. These were the changes I made in my development branch.
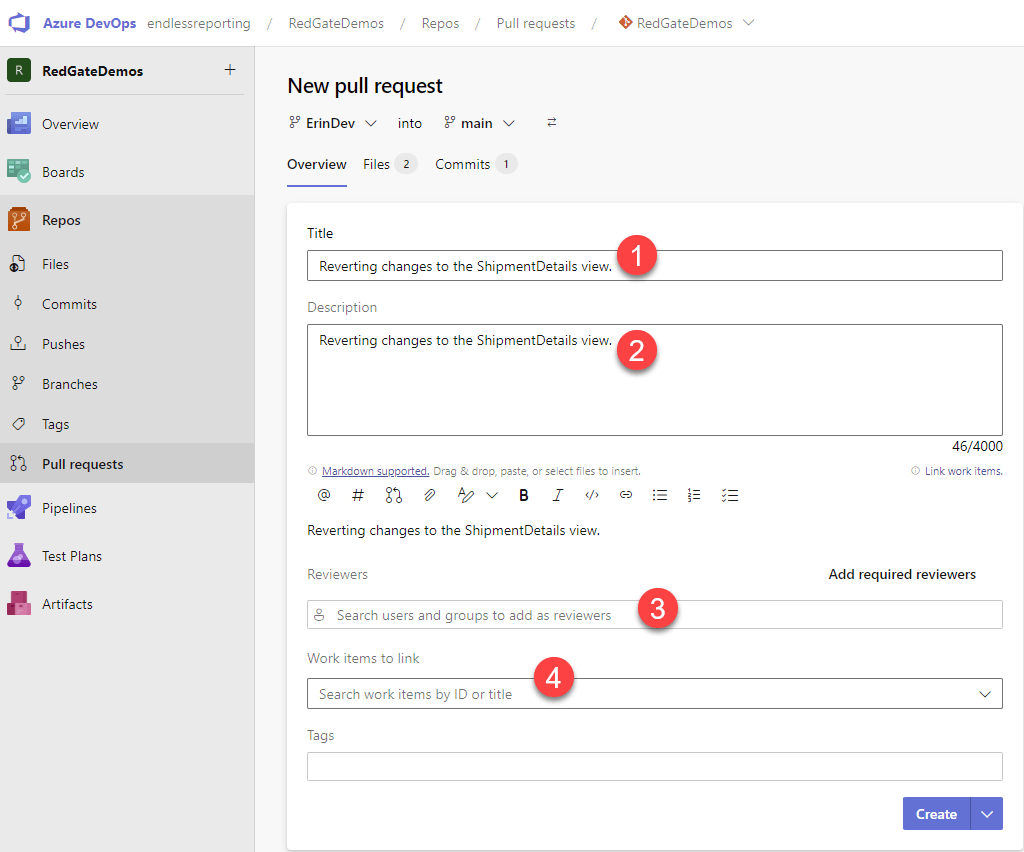
The Overview screen asks for several pieces of information about the code changes. The Title and Description fields are populated from the commit comments made in SQL Source Control. It is almost always beneficial to replace the description with one that provides more details about the change(s), including why they were made and how they were tested. This helps the approver have more confidence in the changes they are approving. Beneath the description, there is a place to choose one or more reviewers and link work items. Depending on the policies defined in the Azure DevOps project, all four fields could be optional but most likely, Reviewers and Work items to link must be populated. To finish creating the pull request, click Create.
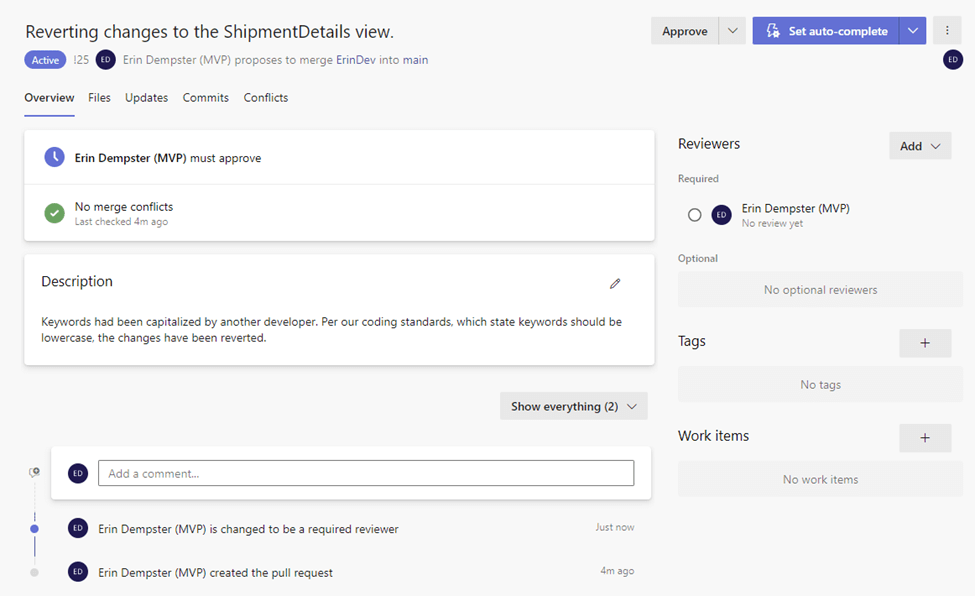
I assigned the pull request to myself to show what the approver would see from the pull request. The screenshot below has the same information as the create screen, just organized differently. After reading through the Overview panel, flip over to Files to review the changes associated with the pull request. If everything looks good with the files, the last place to go is to Conflicts to see if there are any changes between the development branch and the main branch.
Conflict resolution is not installed by default in Azure DevOps. However, it is free to install from the Azure DevOps Marketplace (Pull Request Merge Conflict Extension - Visual Studio Marketplace). I highly recommend installing it to find issues before the code is merged.
If the changes look good, click Approve. Otherwise, the drop-down menu provides options to make comments the developer needs to acknowledge or explicitly reject the pull request. The pull request is sent back to the developer to either acknowledge comments and resubmit it or complete the pull request and finish the code merge.
Not only do branches provide code isolation (or grouping by feature) to make code reviews easier but merging code into the main branch triggers Azure Pipelines to build the code into a deployable package and deploy that package to another environment. In the next level of this series, we’ll deploy the Northwinds database to an Azure SQL Database.