

Introduction
Azure free account is a great way to start your cloud journey and explore azure services. You will get a $200 Azure credit and popular Azure services free for 30 days. Once you consume $200 in credits or after 30 days trial period over, you can upgrade your account. When you upgrade your account to the pay-as-you-go model, you will continue to receive certain types of Azure services free for 12 months and 40 other services that are always free. If you exceed your monthly free amounts for any of these services, you’ll be billed for them at pay-as-you-go rates.
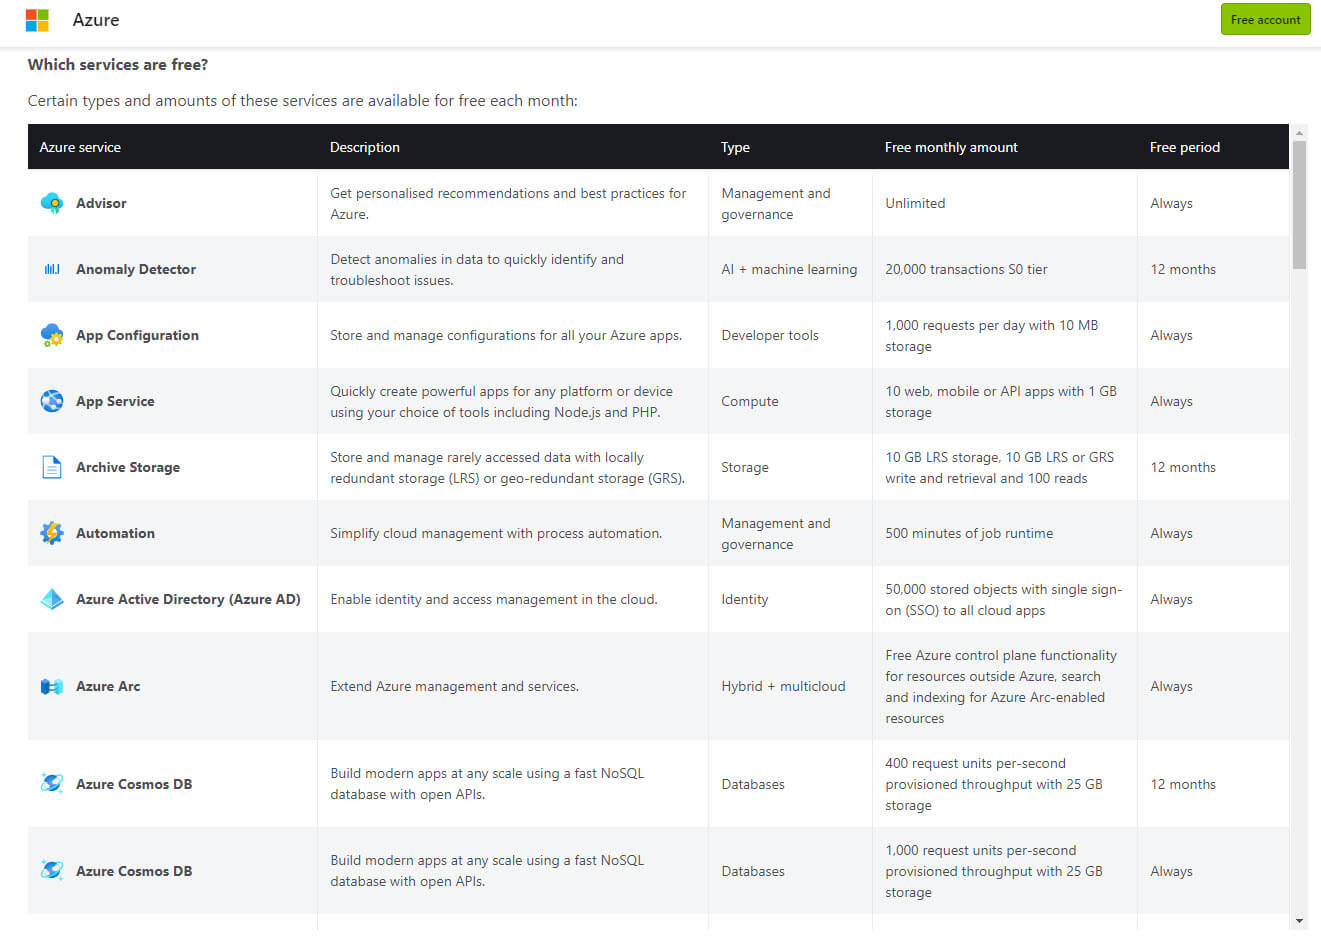
The below table shows a partial list of free service amounts per month and free period for Azure services. You can check out the link for the complete list of free services:
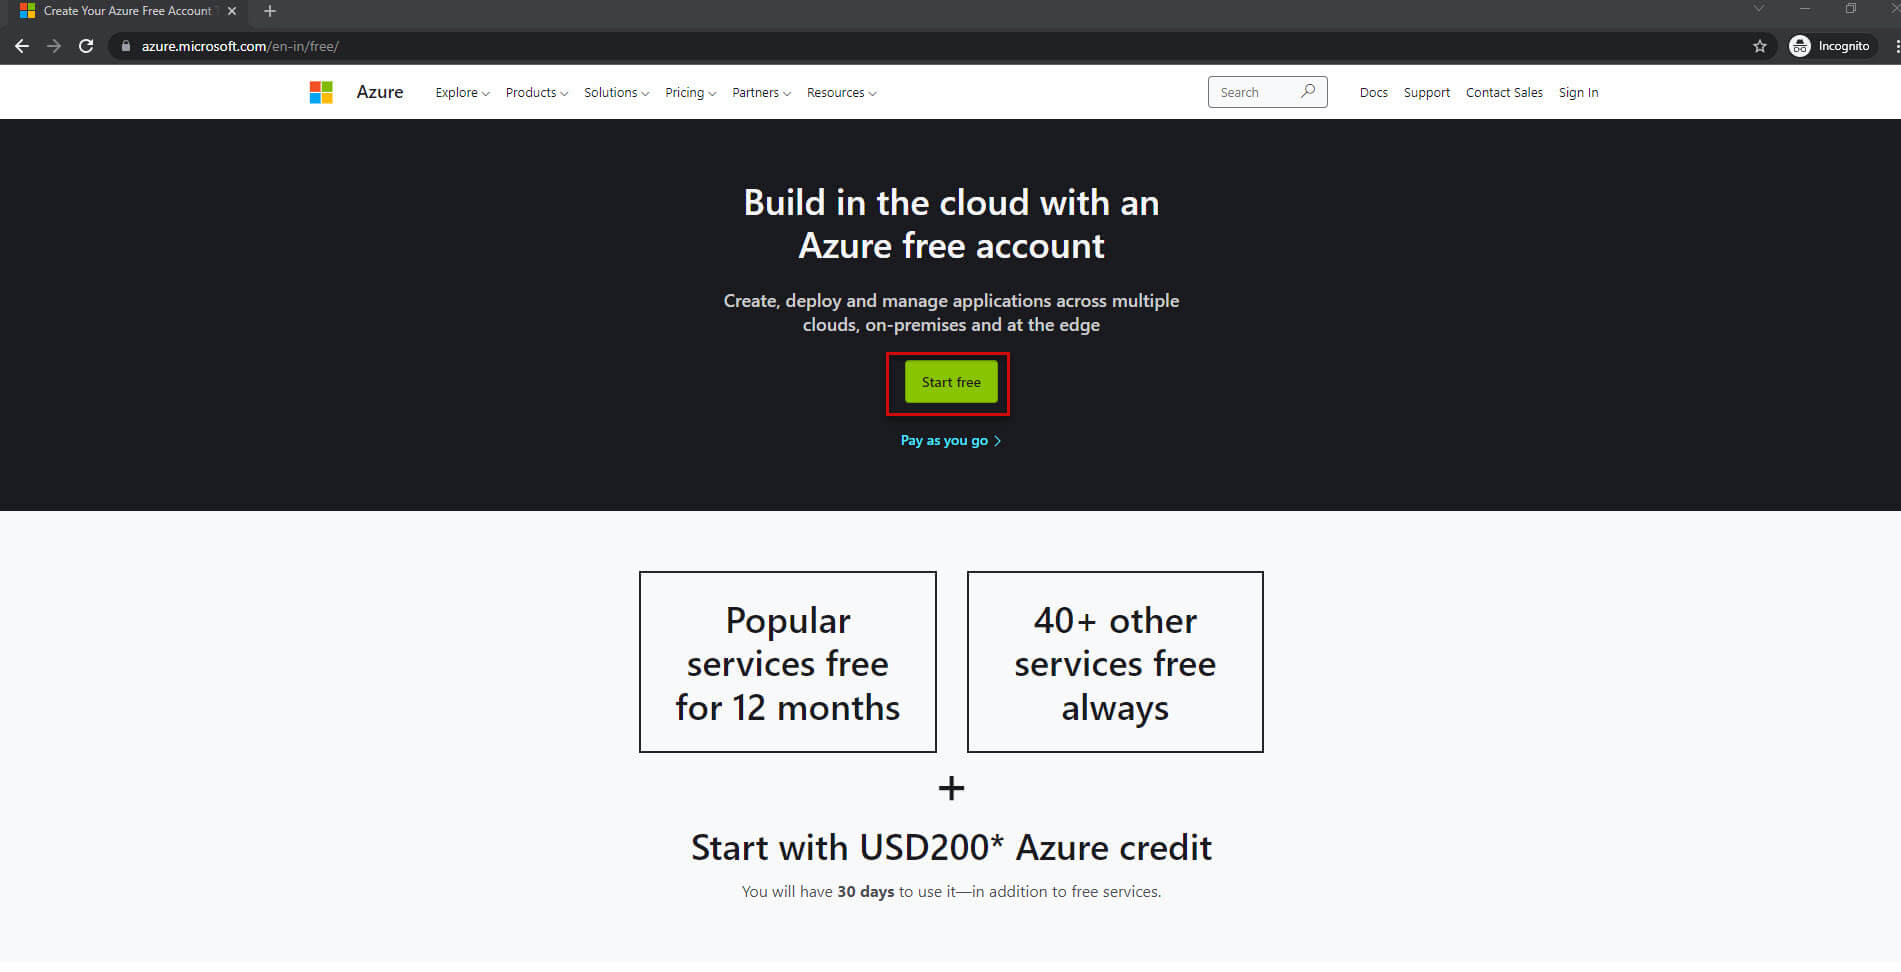
Now I will show you the steps to create a free Azure account. Open the Azure sign-up page, click on Start free.
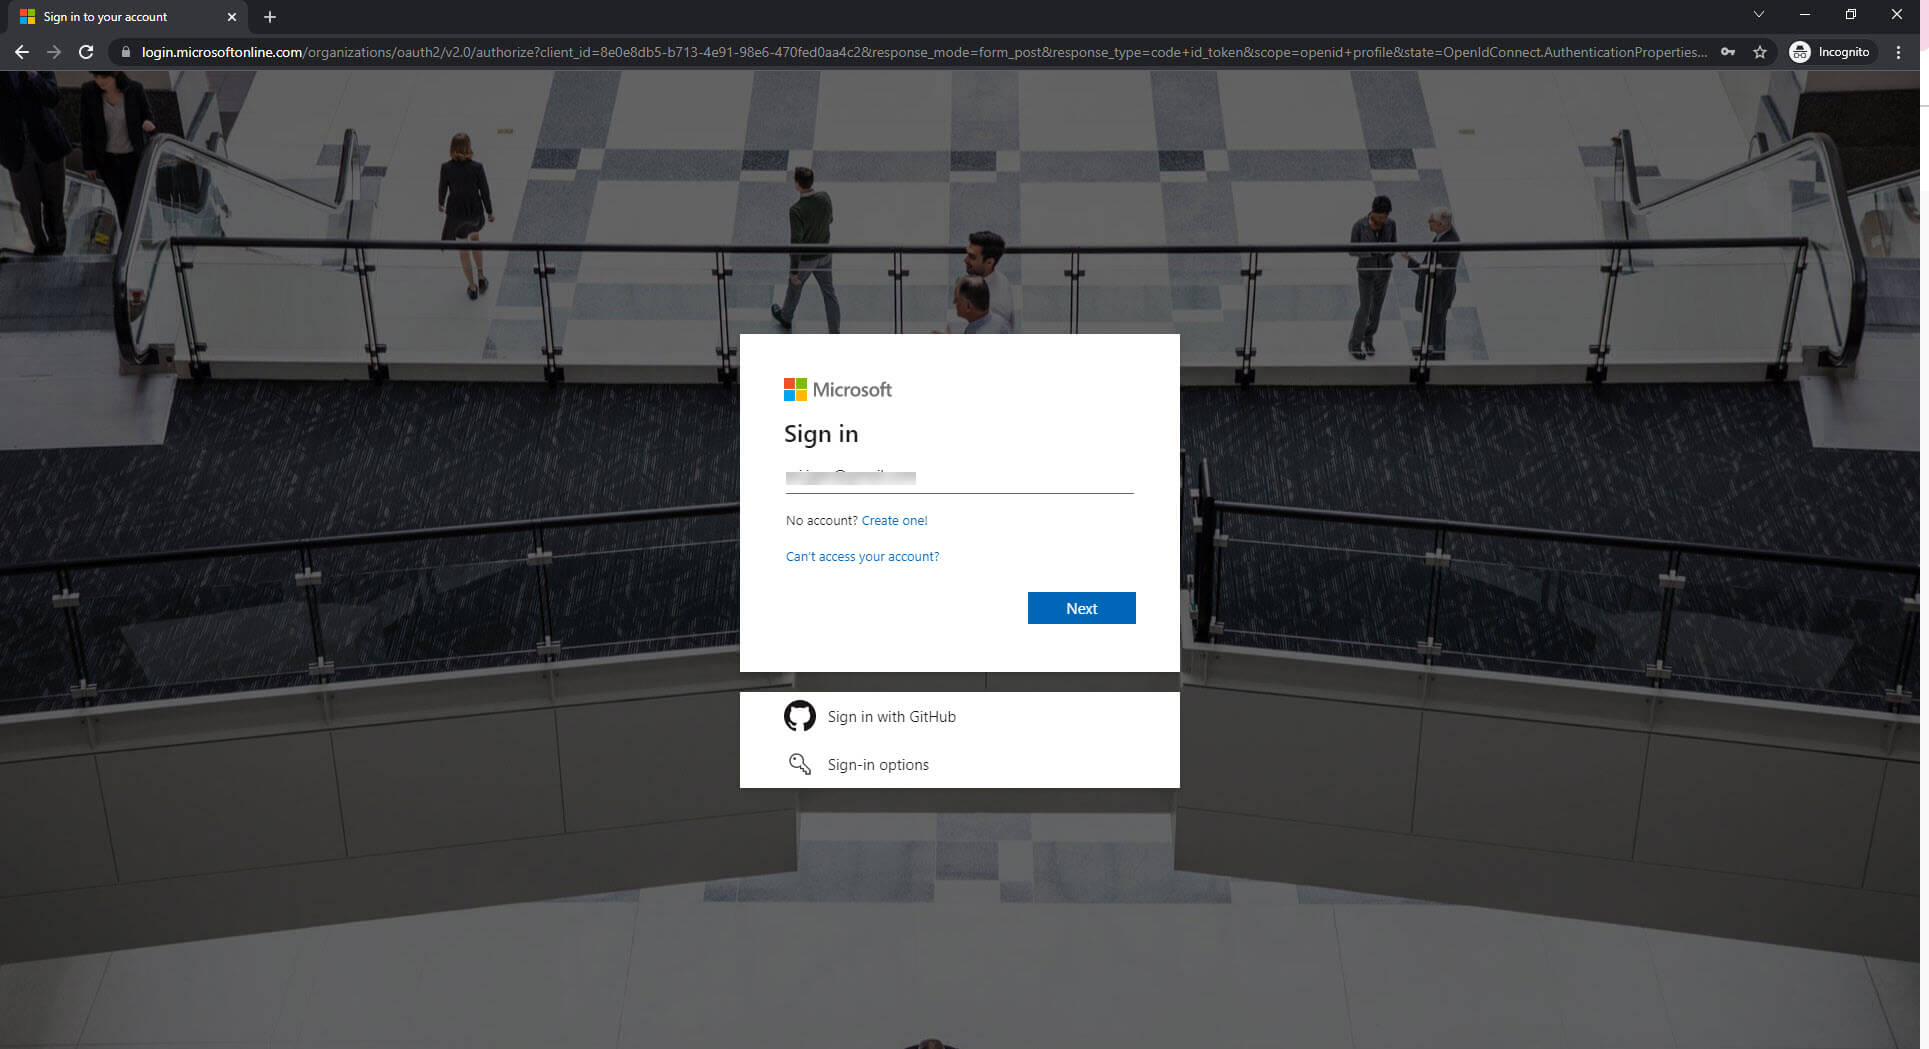
You can use a Microsoft account or a GitHub account to sign-up with Azure. Click Next to continue:
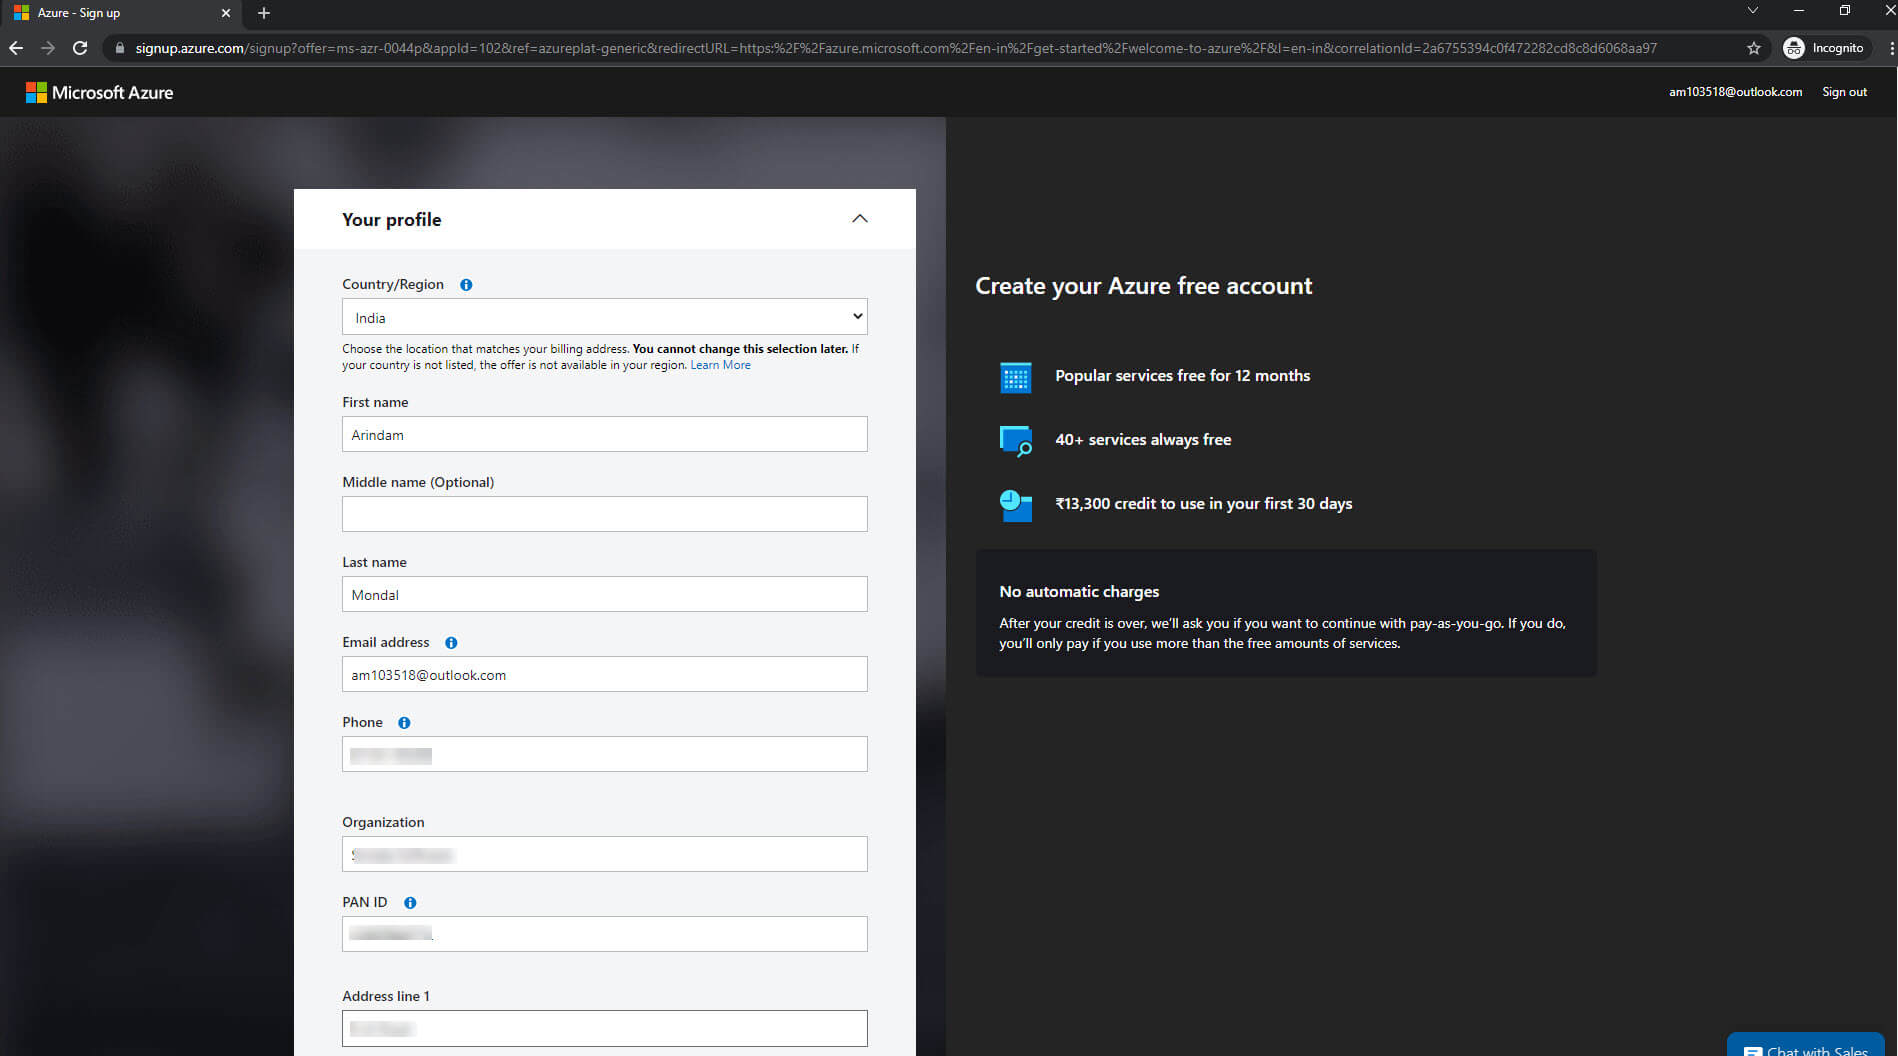
In the next screen, you have to provide basic details Country/Region, First Name, Middle Name (Optional), Last name, Email address, Phone, Organization, Tax ID, Address line1, Address line 2 (Optional), Address line 3 (Optional), City, State, and Postal Code. Click Next to continue:

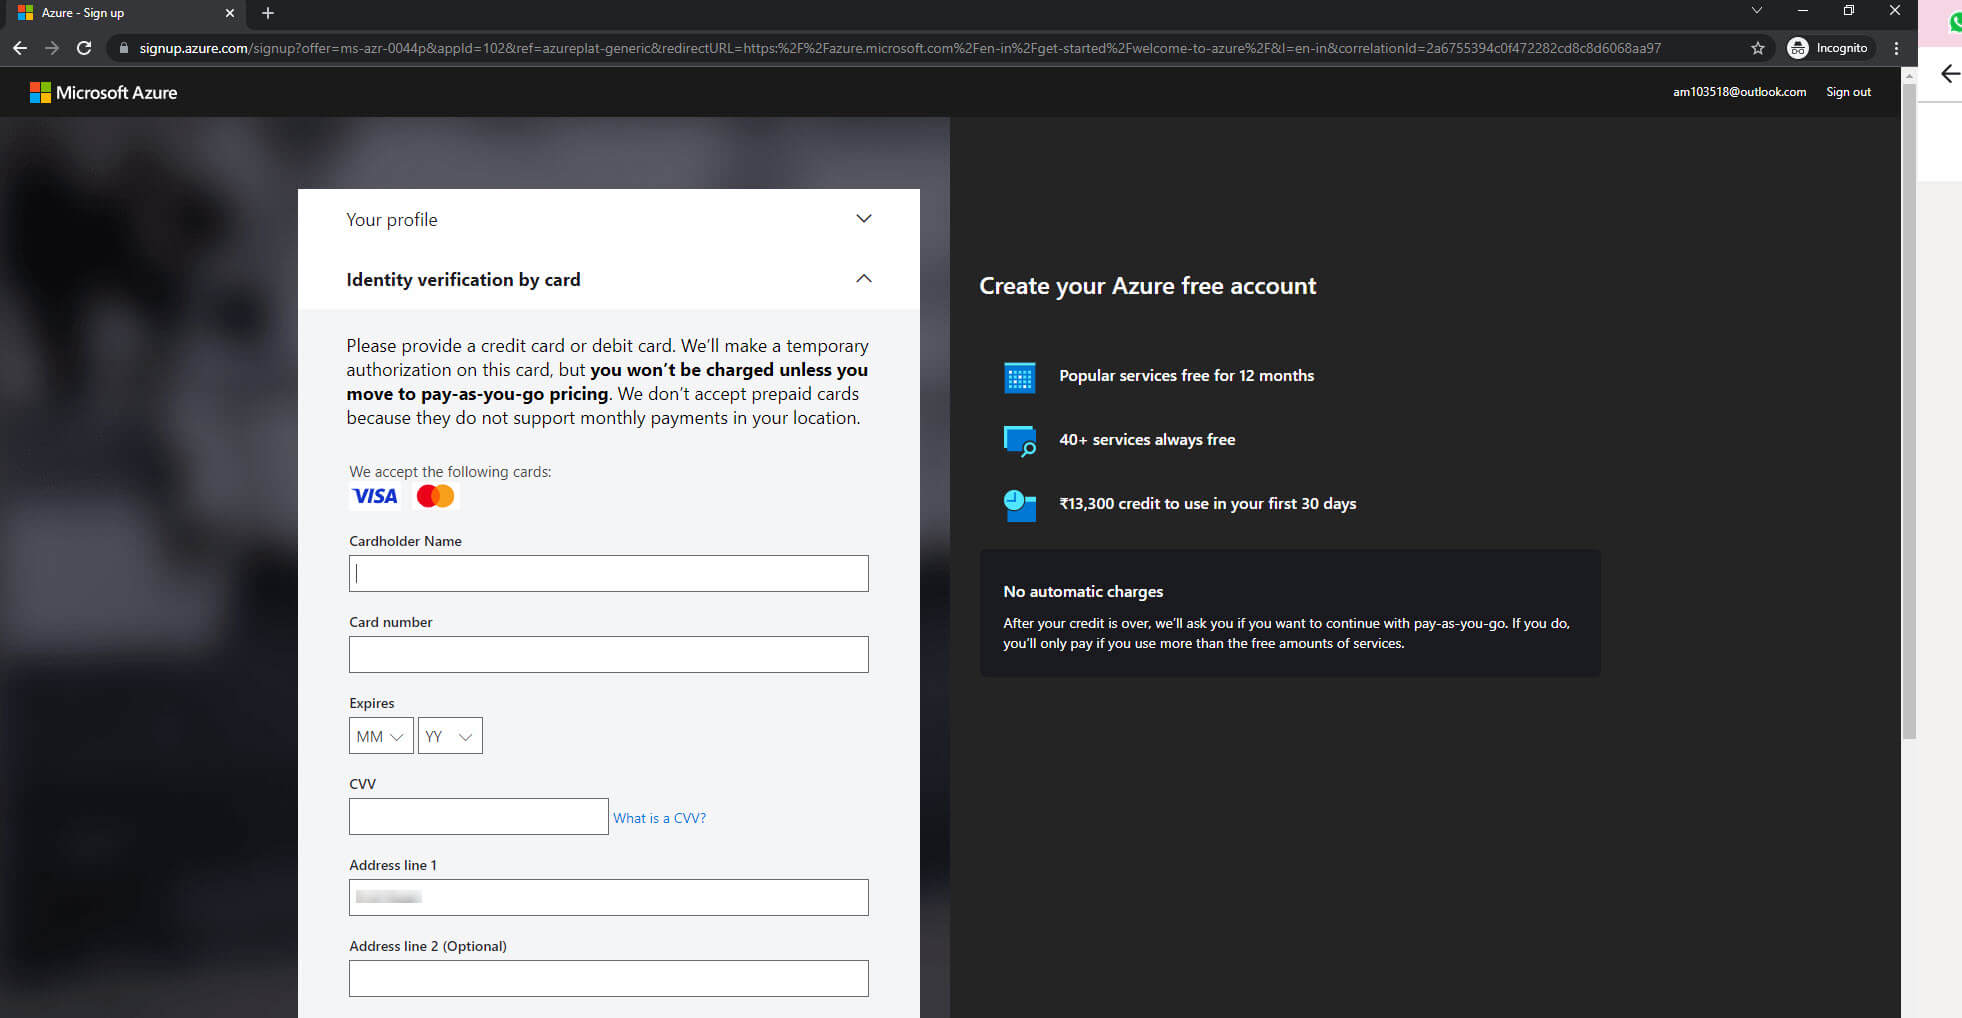
You need to provide your credit card details. You won't be charged anything unless you move to the pay-as-you-go model.
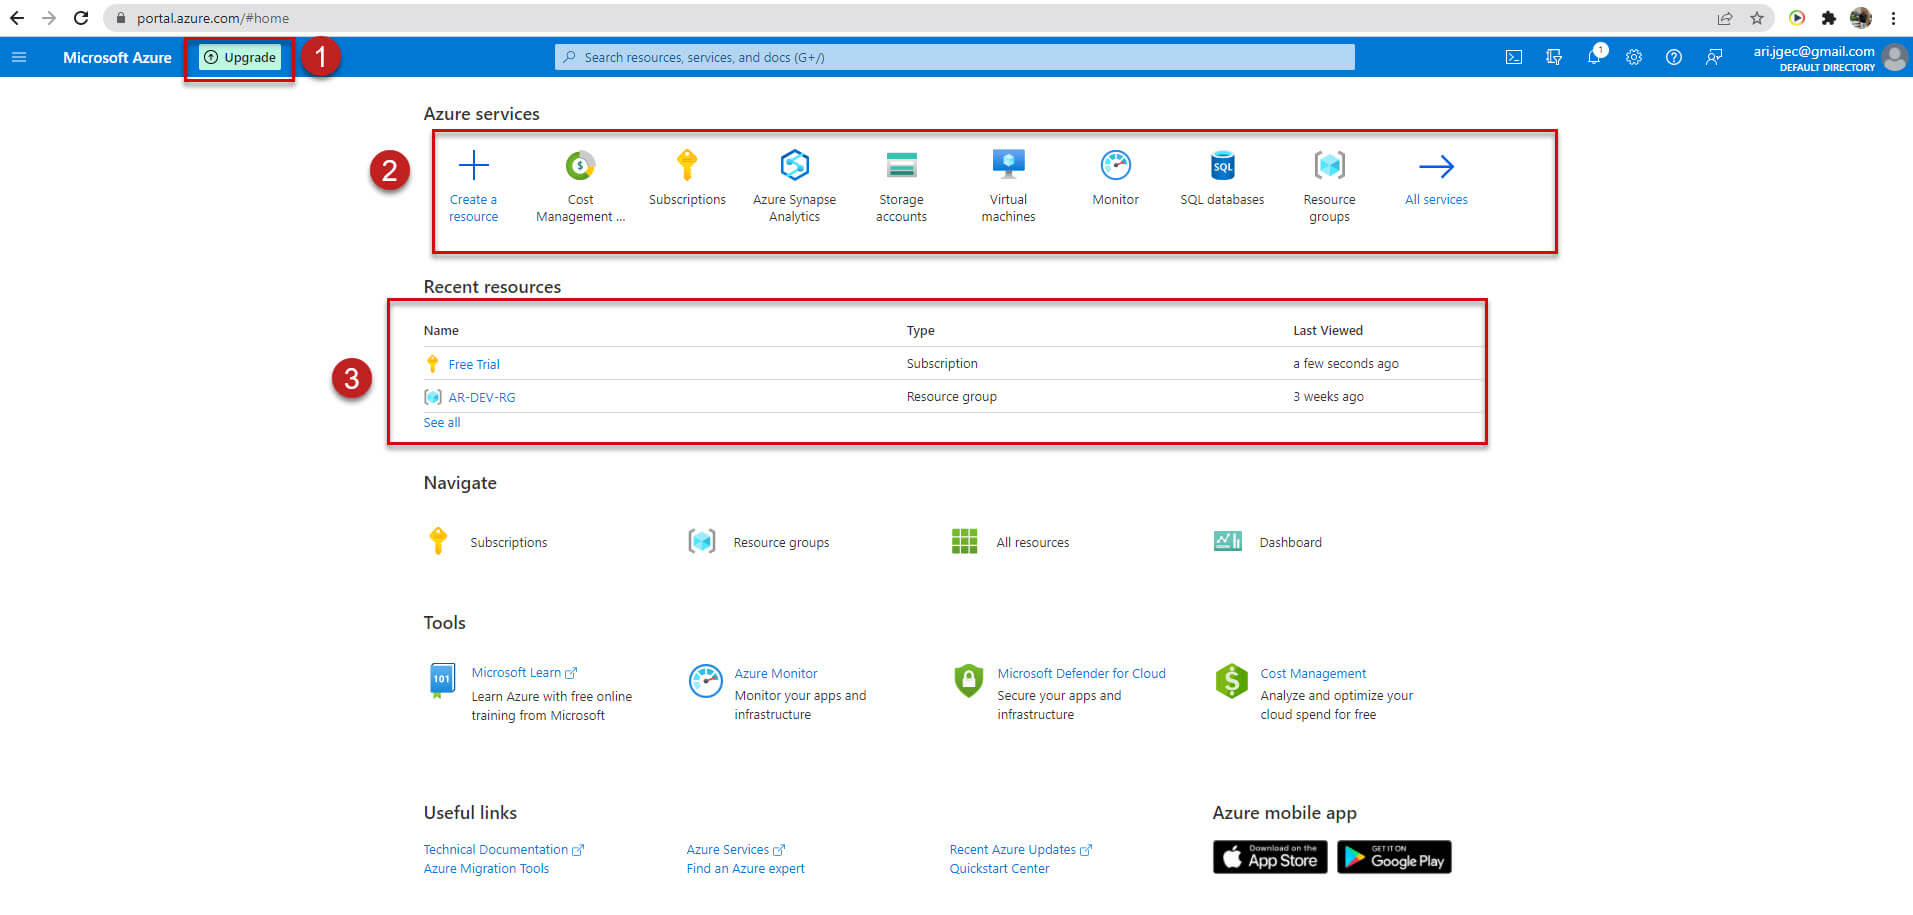
Once your account is created, you will be redirected to the Azure portal. The Azure portal home looks like the image below. In the portal are a few different items that I have labeled and described here.
- Upgrade - If you want to upgrade your account to pay as you go model.
- Azure services - Create a new resource or view all azure services.
- Recent resources - This pane shows recent resources created by you.
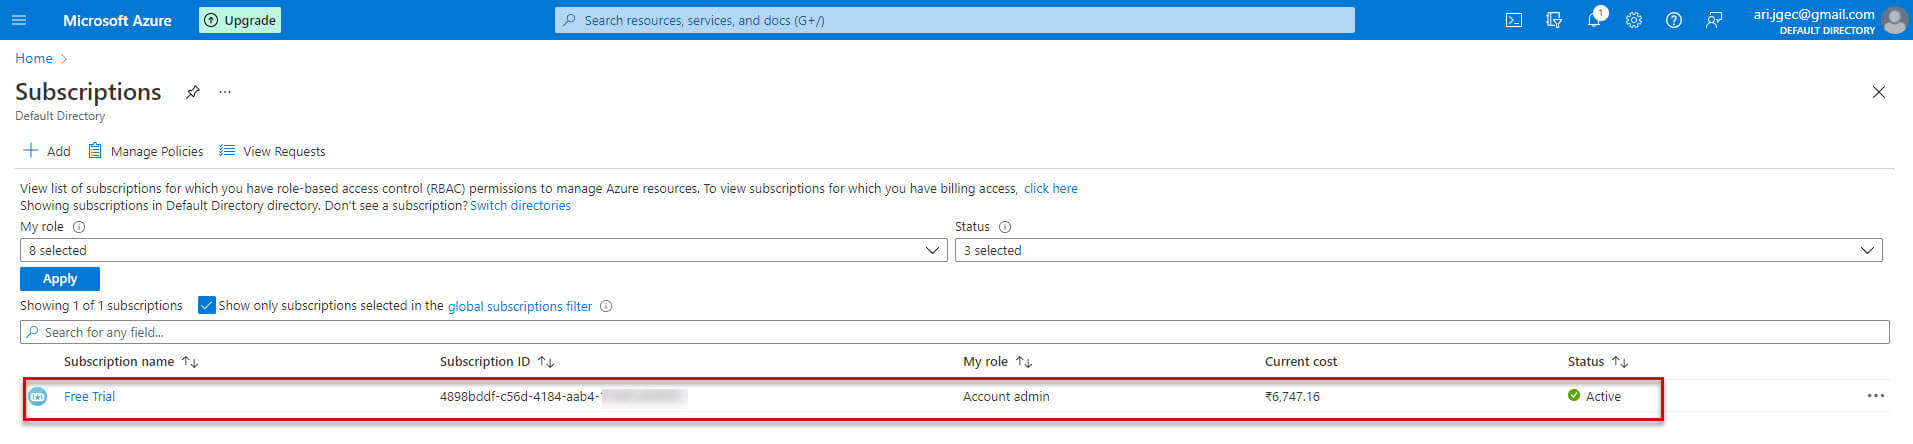
You can view the details of the subscription from the Subscriptions options, it shows Subscriptions name (Free Trial), Subscription ID, Role, Current Cost, and Status:
Upgrade Your Free Azure Account
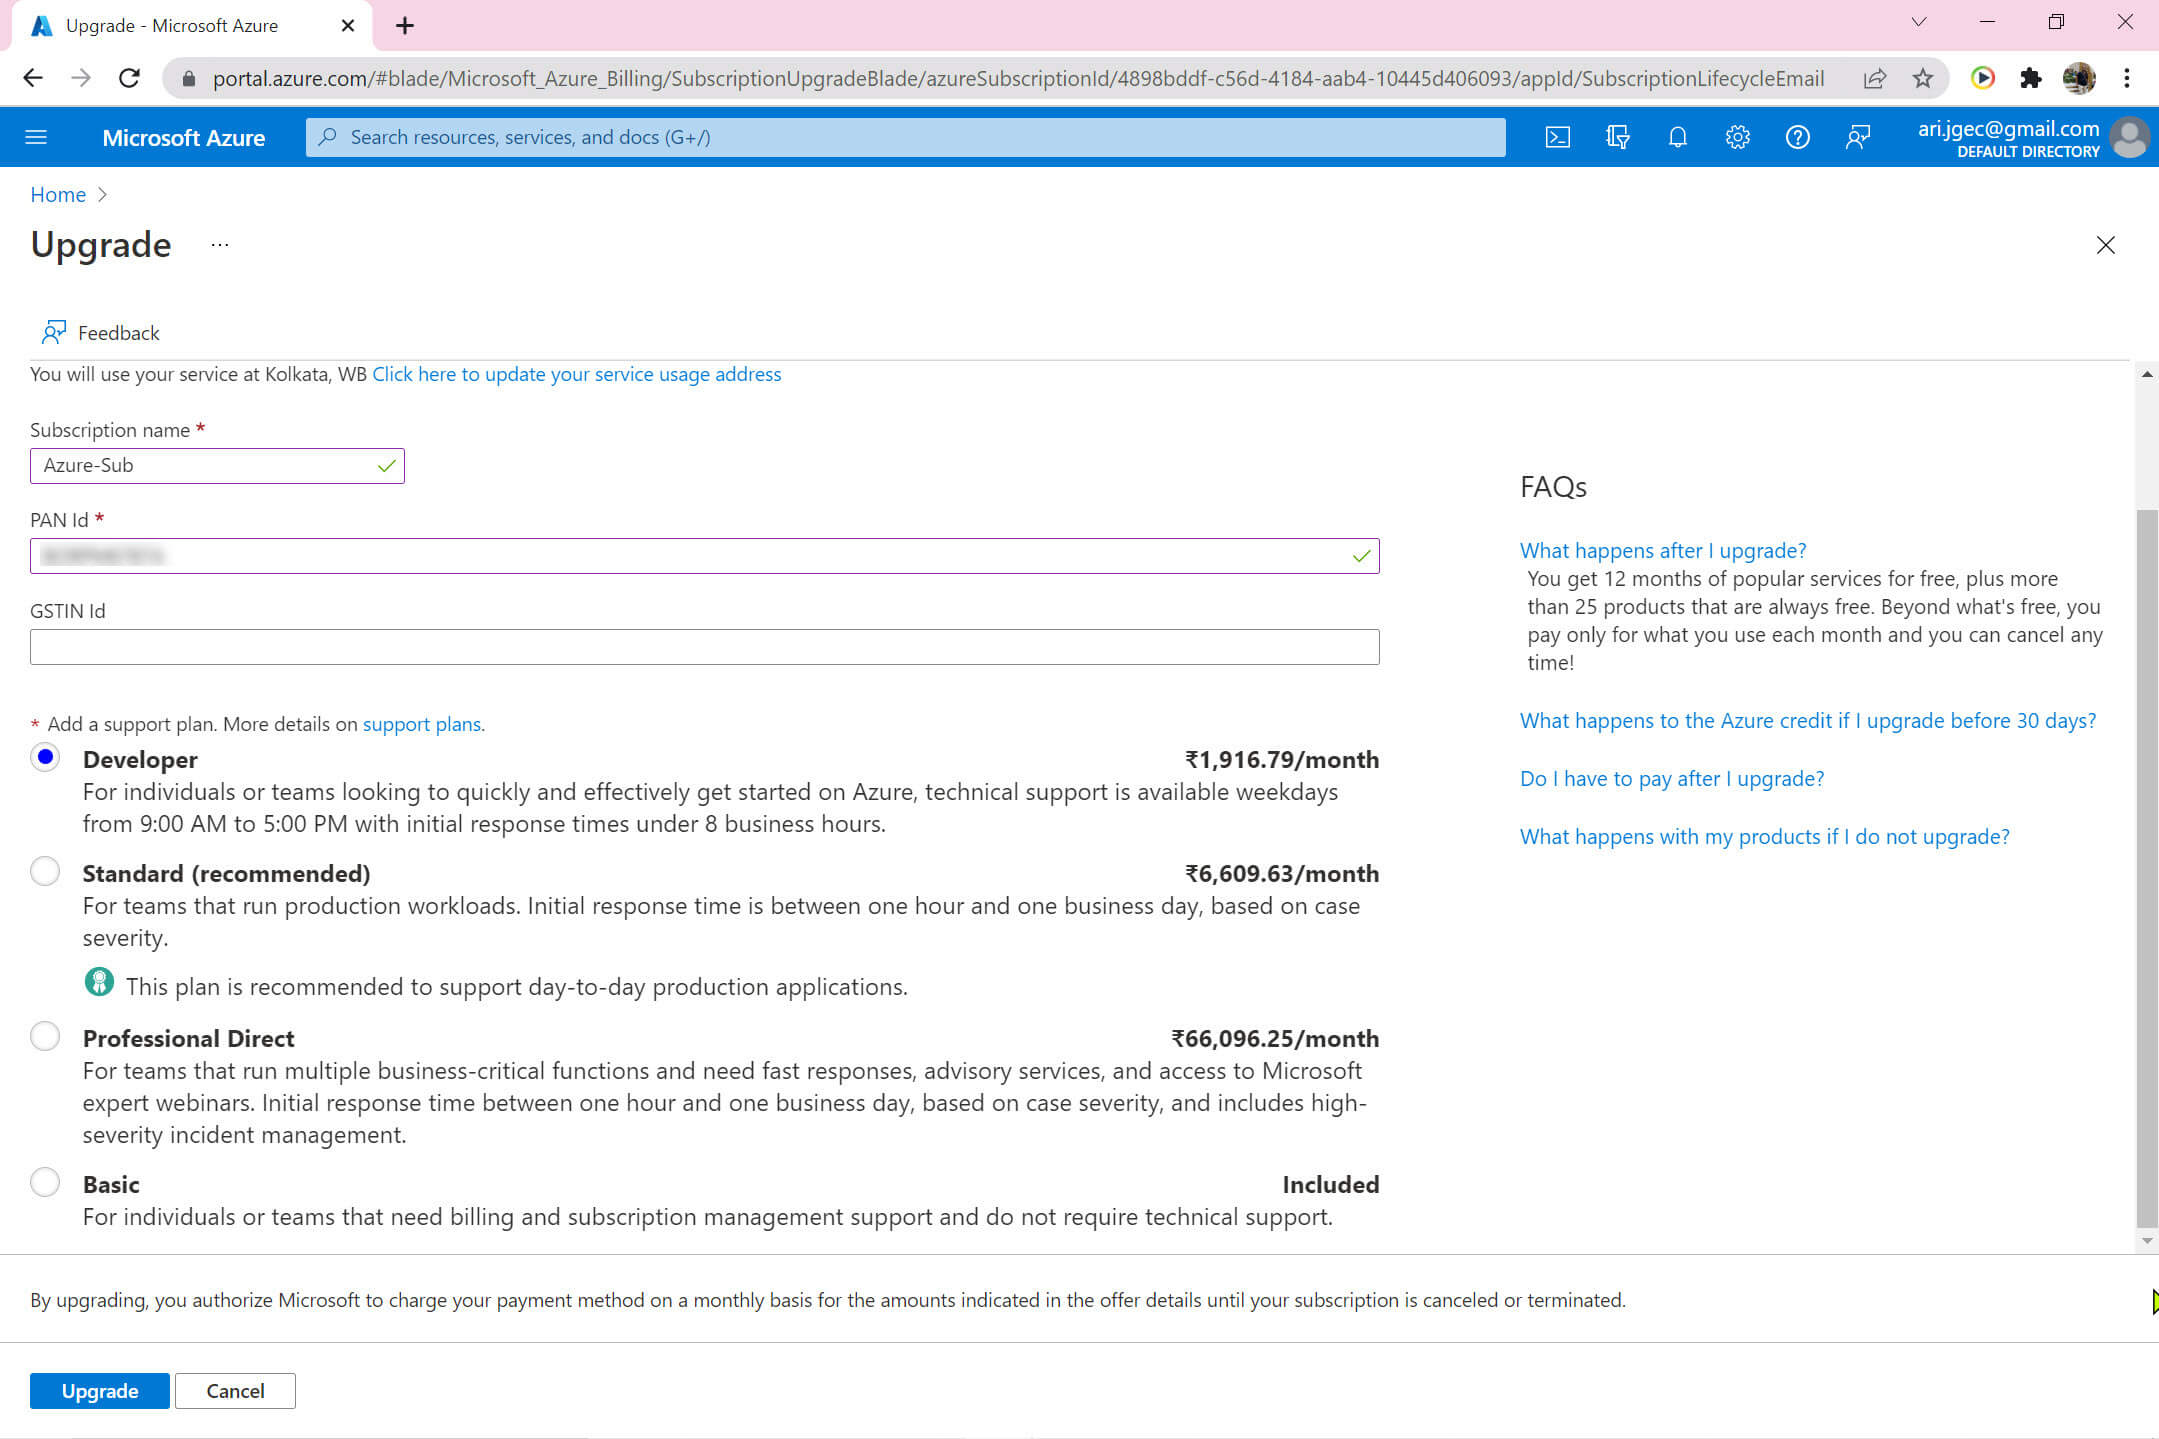
If you consumed $200 in Azure credits or completed the 30 day trial period you can upgrade your account to a pay-as-you-go model. To upgrade your account, click on the upgrade option on the portal home page:

You need to provide the below information:
- Subscription Name
- Tax ID
- Support Plan - Developer, Standard, Professional Direct, or Basic.
Click on Upgrade to continue. Note that there are support plans for organizations if needed, but these are more expensive. The Basic plan is probably fine for individuals.
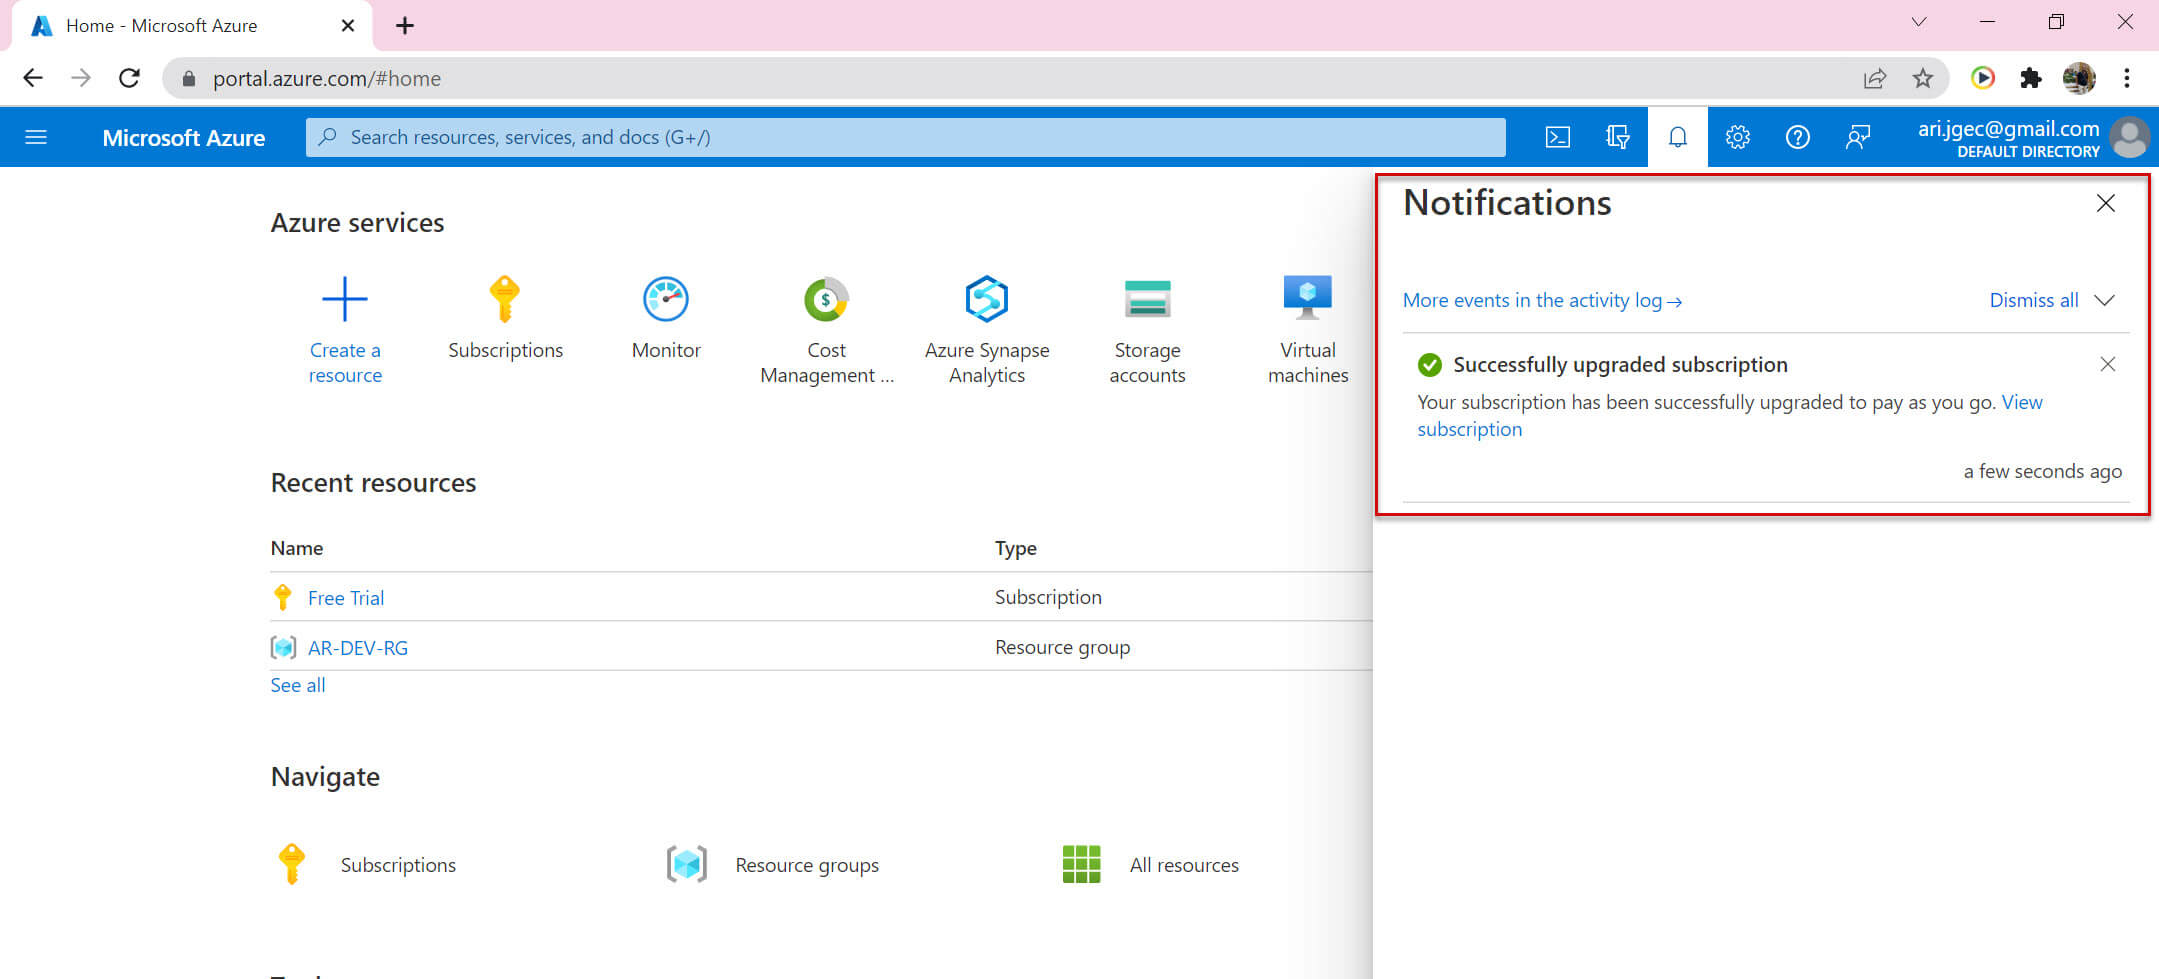
You will receive a notification after your account is successfully upgraded:
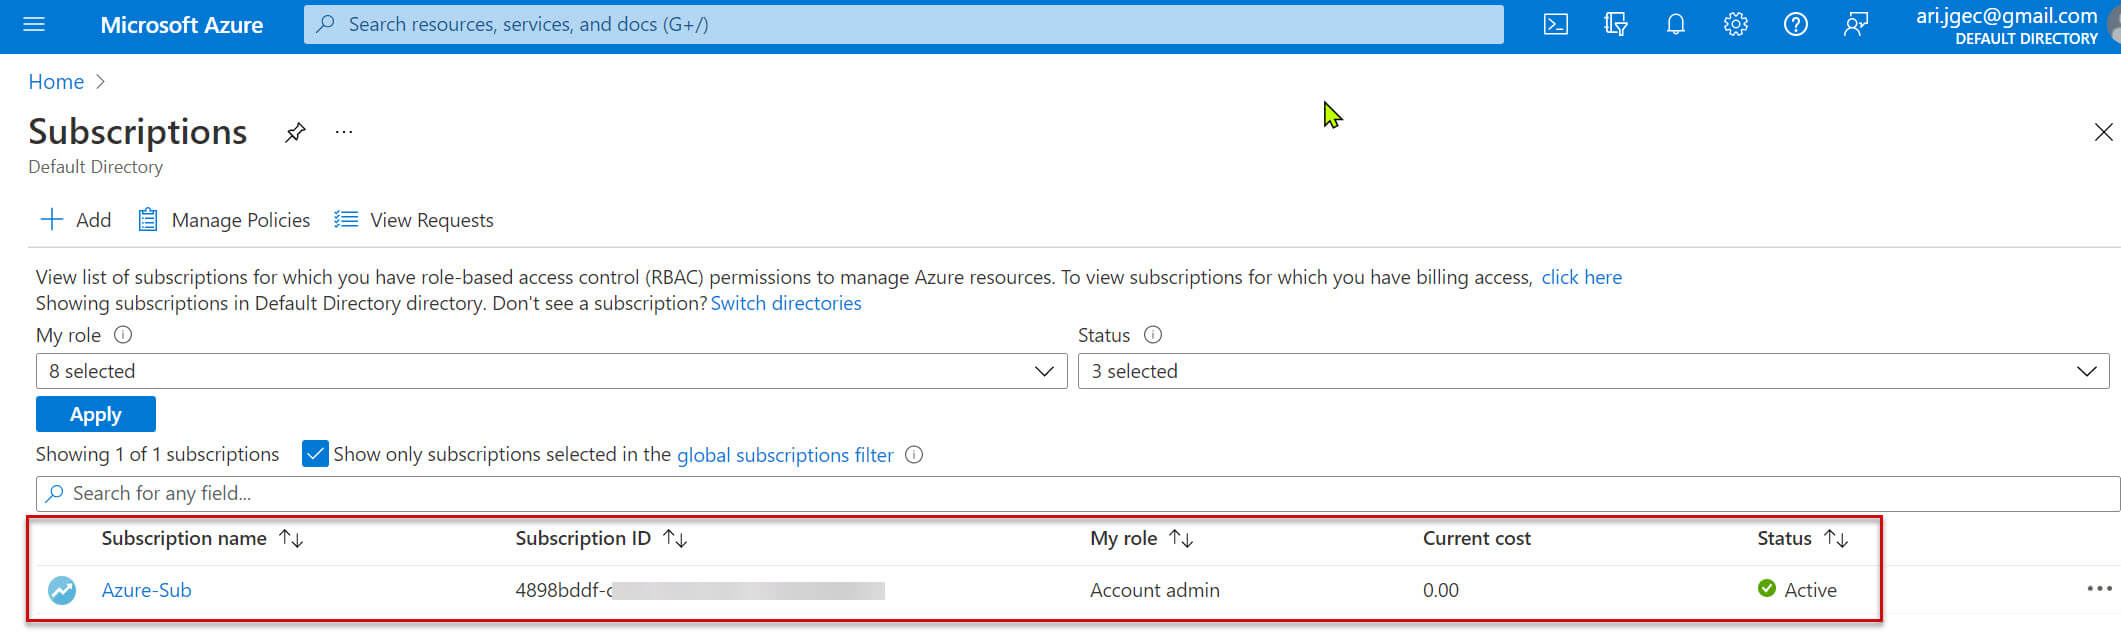
You can view your upgraded subscription in the Azure Subscription section:
Conclusion
In this article, we discussed how to create a free Azure account and then upgrade it to a pay-as-you-go model.