

One of our SQL Server 2014 clusters was installed and after the install, my client told me that we are supposed to change the SQL Server collation setting. In this post I will show a procedure to change the collation settings of a clustered SQL Server instance.
To change the default SQL Server collation you have to rebuild the system databases. Before you rebuild the system databases, review the Microsoft MSDN documentation regarding backup of your system databases and logins.
- https://msdn.microsoft.com/en-in/library/ms190190(v=sql.120).aspx
- https://support.microsoft.com/en-in/kb/918992
When you rebuild the master, model, msdb and tempdb system databases are actually dropped and recreated in their original location.
Change SQL Server Collation Setting for a Clustered SQL Server Instance.
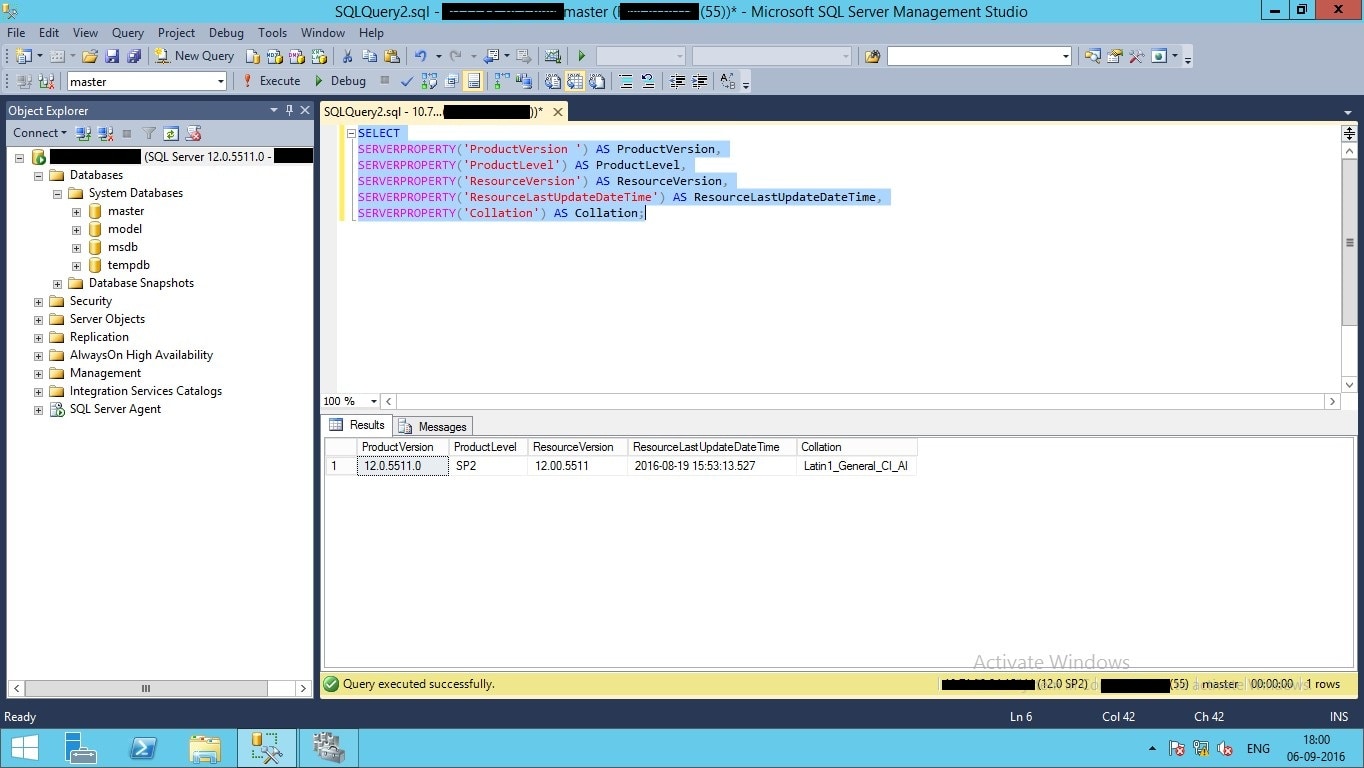
First, check the existing SQL Server collation setting of your clustered instance. Run the command below to get the collation value.
SELECT
 SERVERPROPERTY('ProductVersion ') AS ProductVersion,
 SERVERPROPERTY('ProductLevel') AS ProductLevel,
 SERVERPROPERTY('ResourceVersion') AS ResourceVersion,
 SERVERPROPERTY('ResourceLastUpdateDateTime') AS ResourceLastUpdateDateTime,
 SERVERPROPERTY('Collation') AS Collation;
In the below screenshot, we see that the collation setting is "Latin1_General_CI_AI”
You can detach all user databases before rebuilding your system databases since they will be detached anyway. In my case, this is a new SQL Server, and I don’t have any user databases (as pictured in above screenshot).
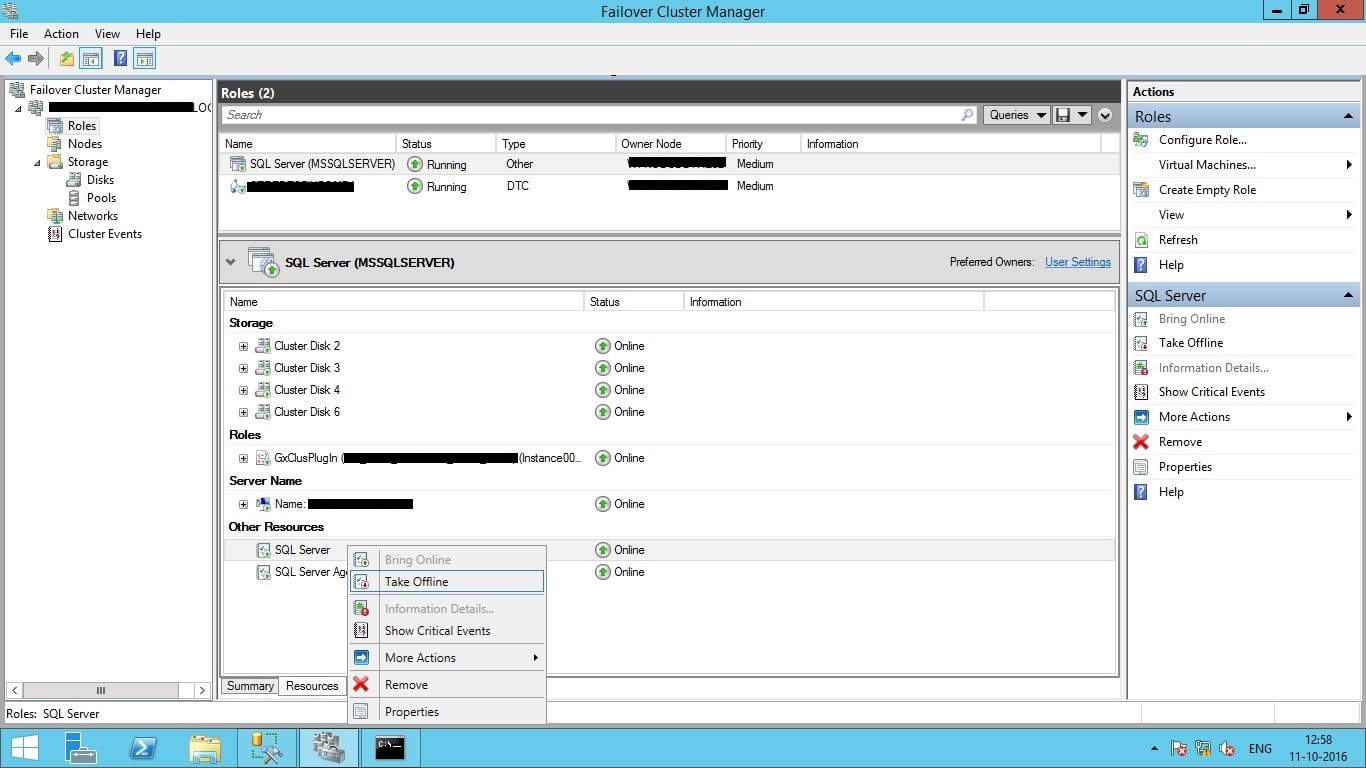
Open the Cluster Administrator. In the console tree, select the SQL Server role. In the results pane, select the SQL Server resource and take the service offline. In the below screenshot, the SQL clustered resources are being set offline.
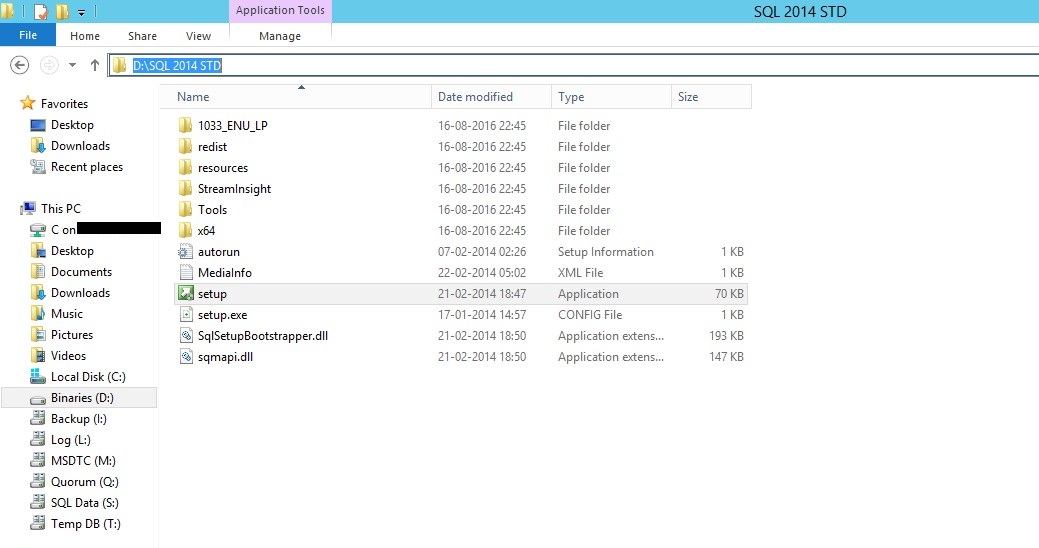
To rebuild the system databases, we have to run the below command from a Windows command prompt. Go to the directory where you have placed your SQL Server setup files and run this command.
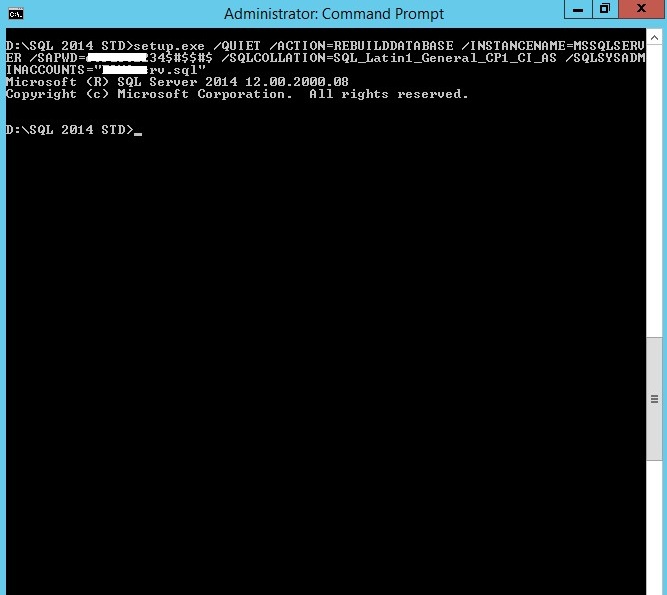
"D:\SQL 2014 STD\setup.exe" /QUIET /ACTION=REBUILDDATABASE /INSTANCENAME=SQLClustername,port /SAPWD=welcome@123 /SQLCOLLATION=SQL_Latin1_General_CP1_CI_AS /SQLSYSADMINACCOUNTS="Domain\srv.sql"
In the below screenshot, me setup files were placed on the D: drive.
In the below screenshot, I have executed the command to change the collation.
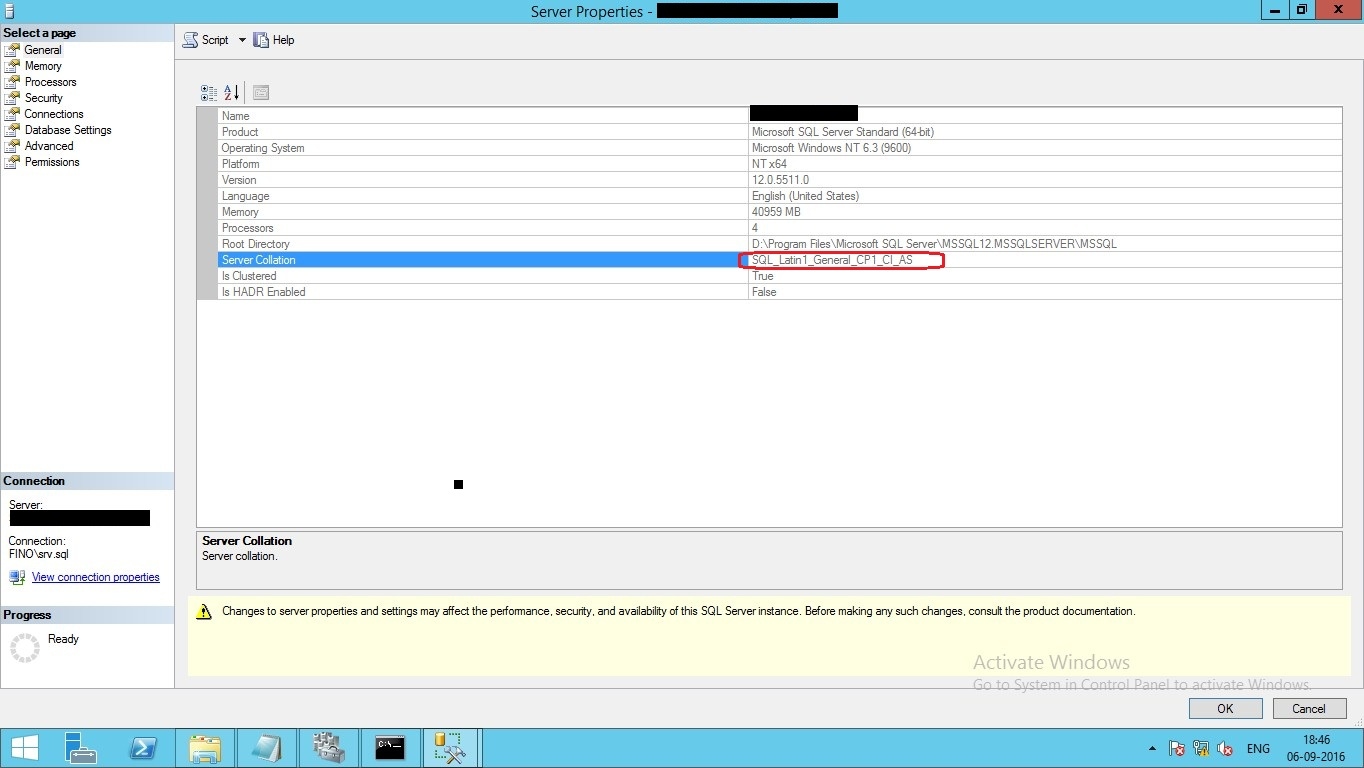
Now bring the SQL cluster resource online and connect SQL Server using SSMS. Right click on instance properties to verify the server collation settings. In the below screenshot, the collation setting is now "SQL_Latin1_General_CP1_CI_AS”
Ganapathi varma Chekuri
Lead SQL DBA, MCP
Email: gana20m@gmail.com
