

Introduction
SQL Server on-premises includes a Data Mining module in SSAS. You can create your Data Mining model based on the data stored in Azure. In this article we will show how to do it.
Data Mining is a process to discover data patterns of large sets of data using special algorithms. The algorithms used can be Machine Learning algorithms, statistics or statistics. DataMining is used by telecoms for churn analysis, market basket prediction, lie detection, criminal investigation, customer analysis and segmentation, and more.
In this article we will find patterns of data using data mining in ASDW.
Requirements
- An ASDW Database with the AdventureworksLT installed.
- SQL Server with Analysis Services installed
- SSDT installed.
Getting started
In this example, we are going to create a Data Mining model of a view that contains customer information. We are going to use the cluster algorithm to group the customers in different groups based on their attributes.
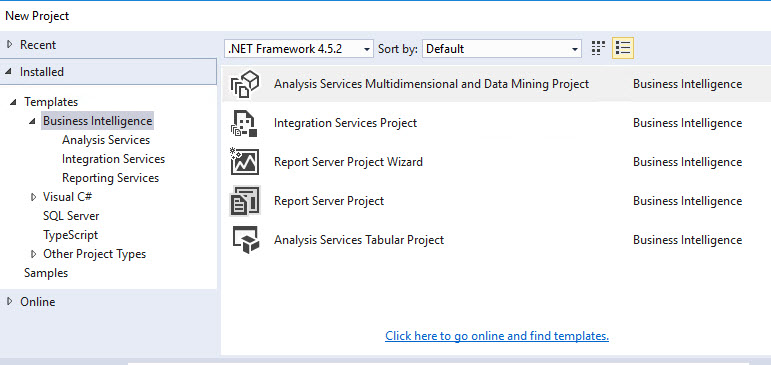
We will first open SSDT and create a New Project:

In New Project, we will select the option Business Intelligence and select Analysis Services Multidimensional and Data Mining Project:
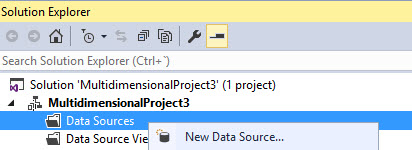
In Solution explorer, right click Data Sources and click New Data Source:
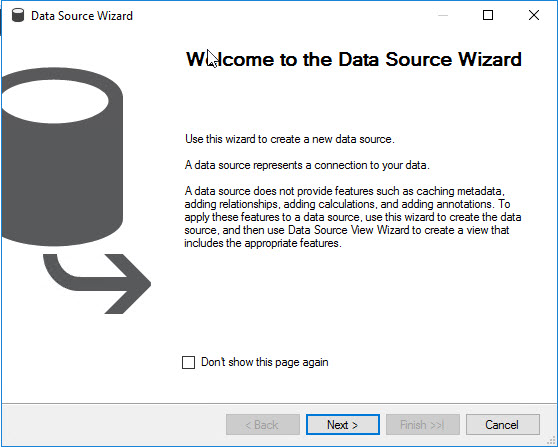
In Welcome, check Don't show this page again and press next:
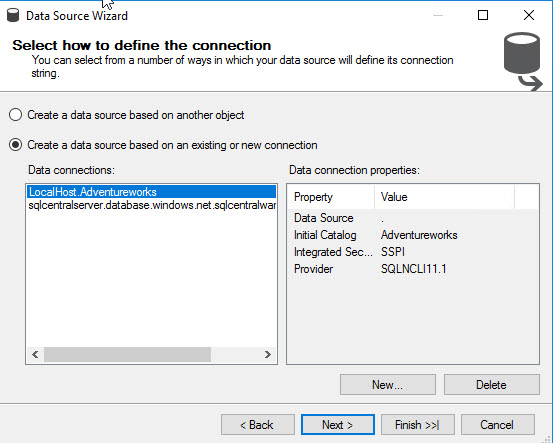
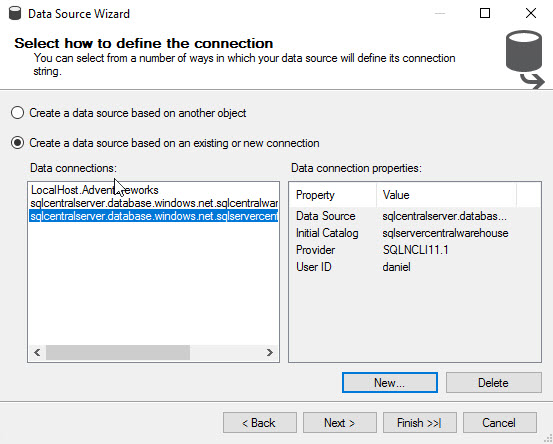
Select the option, Create a data source based on an existing or new connection:
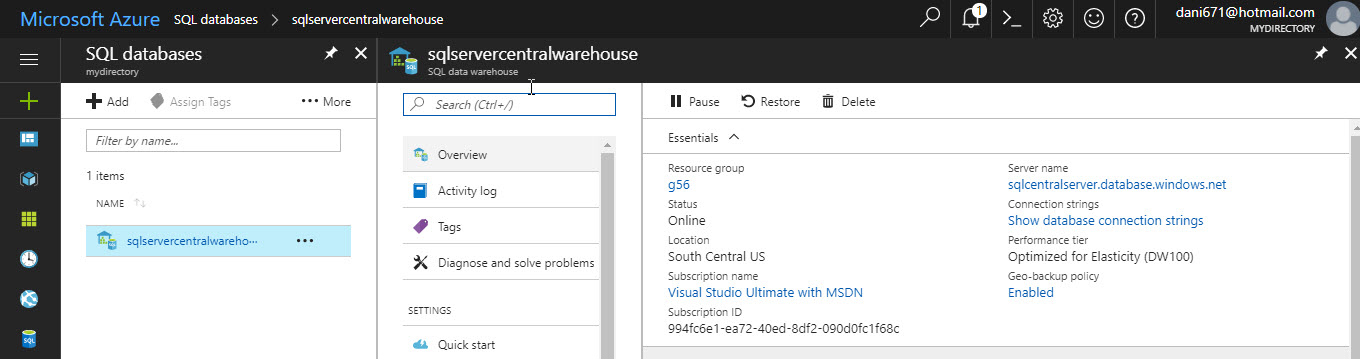
You will need the name of the Azure SQL Server, go to your ASDW Database in the Azure Portal. In overview copy the Server name:
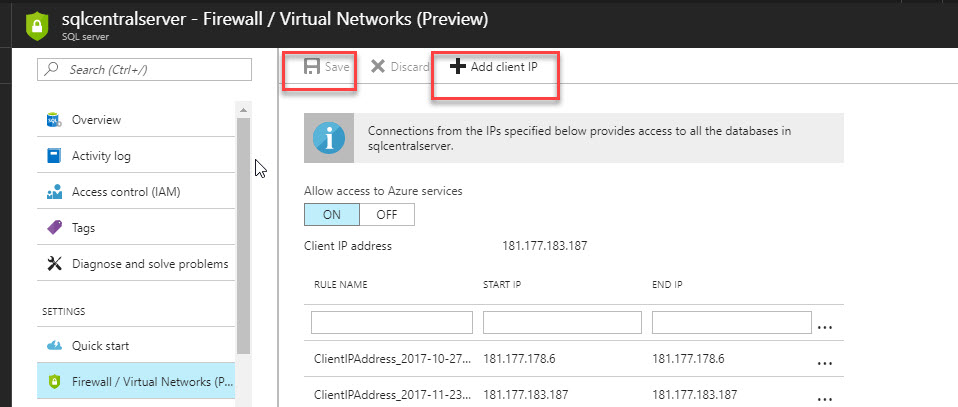
If you did not create a firewall rule before, you will need to Add your client IP. Click on the server name link and go to Firewall, and then click Add client IP. Press the Save button:
Go to SSDT in the connection manager, select the Native OLE DB\SQK Server Native Client 11.0. Copy the server name form the Azure Portal. In Authentication, select SQL Server Authentication and specify the user administrator of Azure SQL when you created the ASDW. Finally select the database with the AdventureworksLT data:

In Data Source Wizard, select the connection just created and press next:
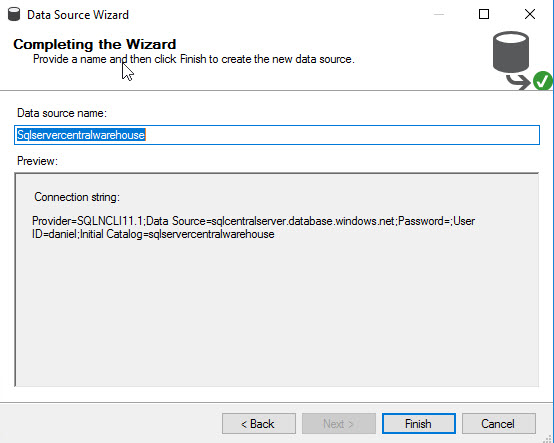
Select the Data Source Name just created and press Finish:
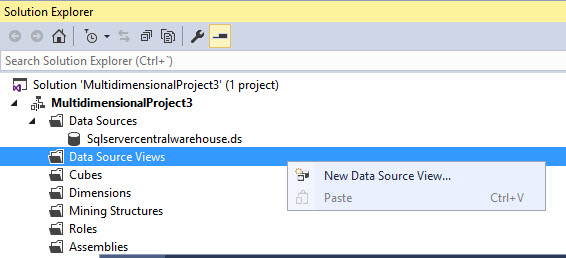
In Solution Explorer, right click Data Source Views. Select the option New Data Source View:
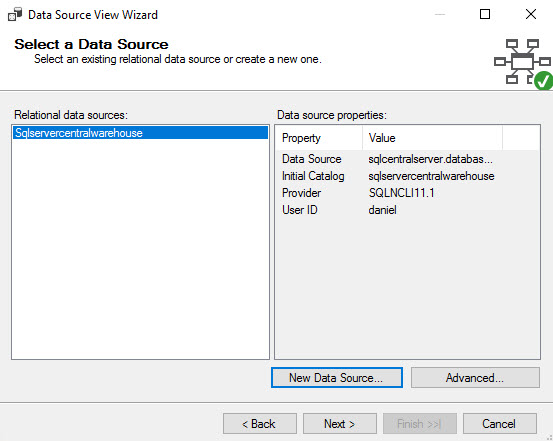
Select the Data Source created before and press next:
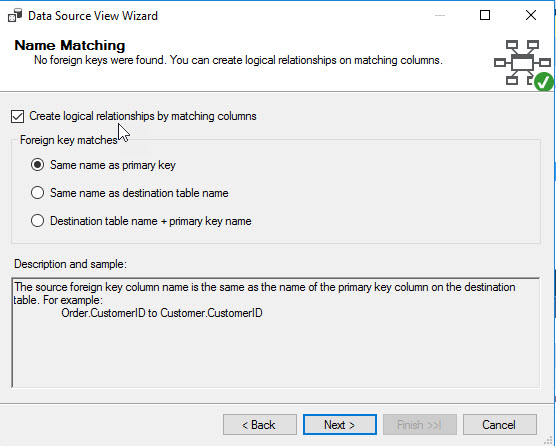
Check the option Create logical relationship by matching columns and press next:
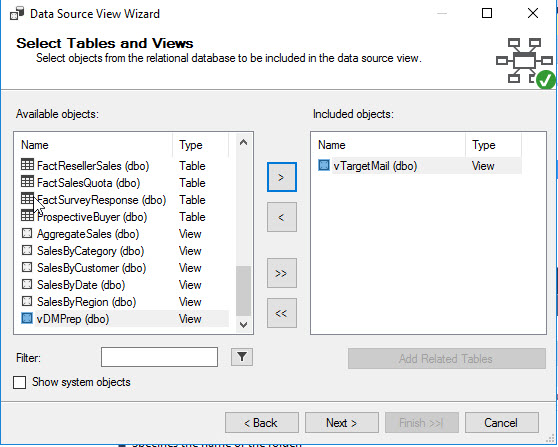
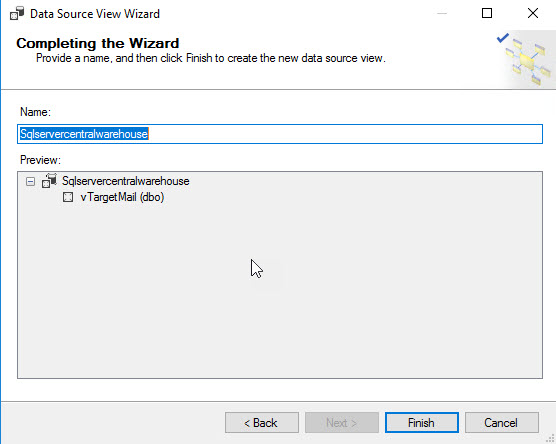
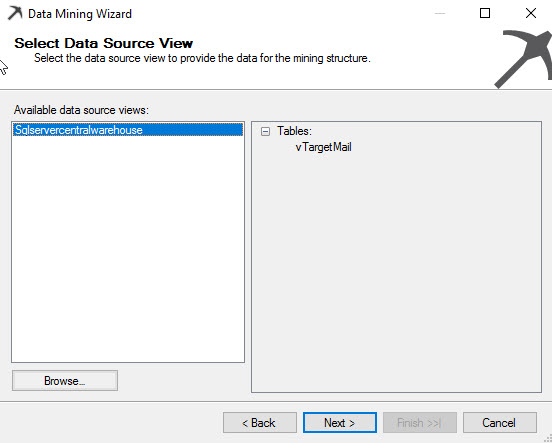
Select the view vTargetMail. This view contains information of thousands of customers:
 .
.
In Completing the Wizard, press Finish.
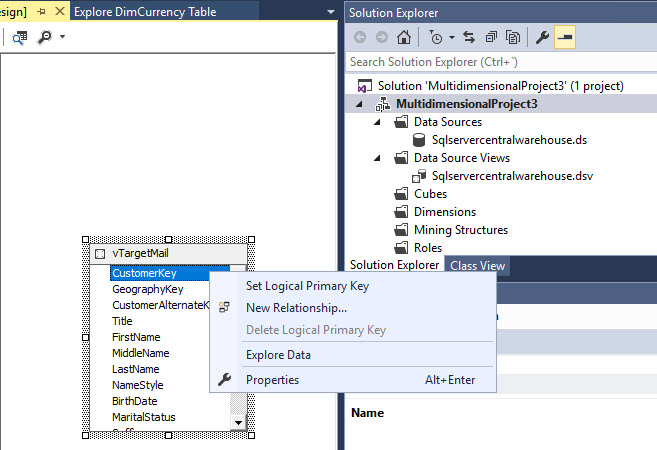
You can now work with the view just added. We will add a primary key. In the design pane, right click the customer key attribute in the view and select set logical primary key:
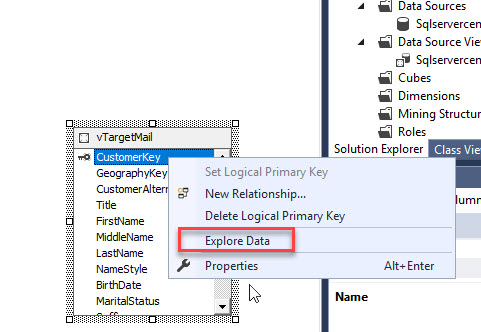
You can check the data by right clicking the view and selecting Explore Data:
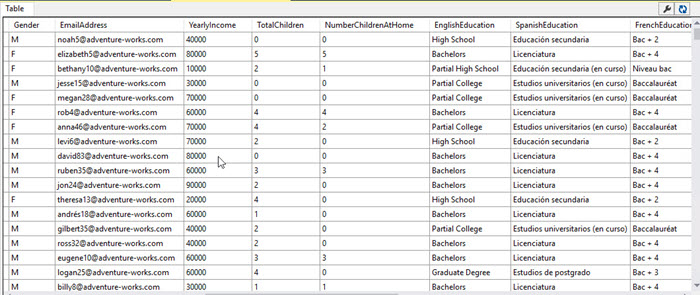
The view shows the gender, email, age, incomes, number of children, number of children at home, education and more:
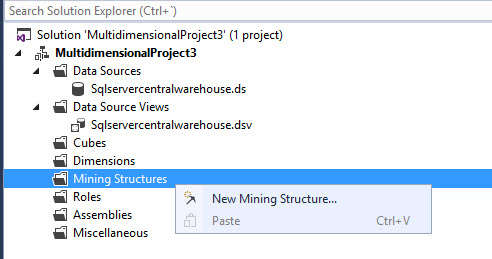
We have a Data Source and a Data Source View. Now, we will create a New Mining Structure:
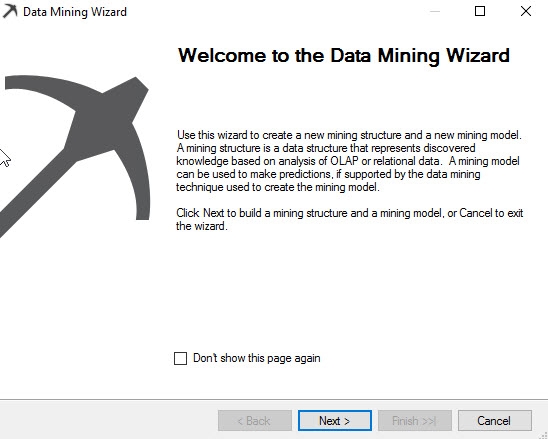
We will have a Welcome wizard:
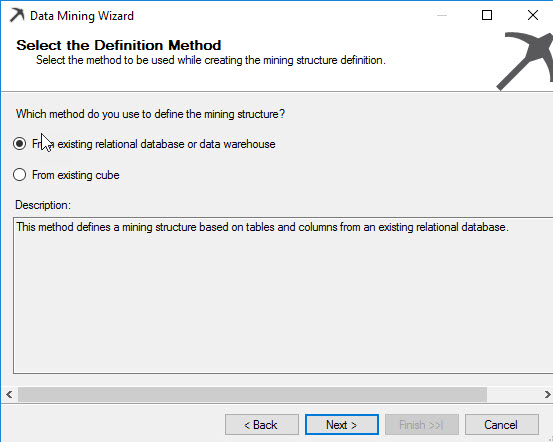
We can create a Data Mining structure from a relational database or a data warehouse or a Cube. In this example, we will do from an Azure Data Warehouse:
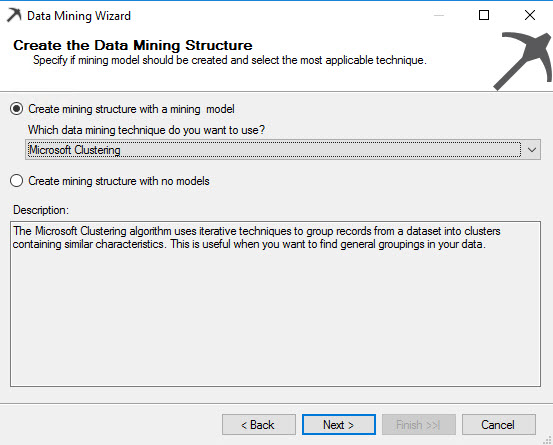
There are several mining techniques like the Microsoft decision trees, Microsoft Clustering, Microsoft Neural Networks and other techniques. In this example, we will choose Microsoft Clustering. This is an Algorithm to group customers in clusters. Each cluster has common attributes.
Select the data source view just created:
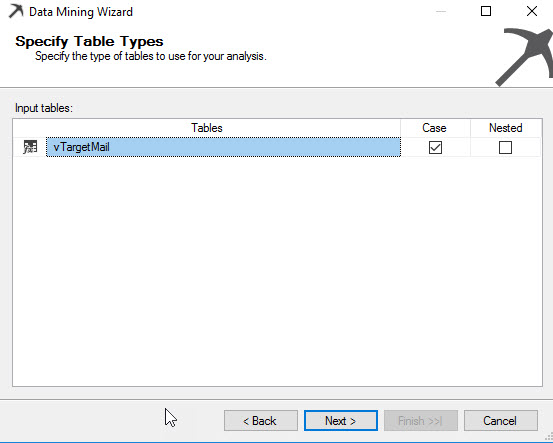
Specify the view used for analysis:
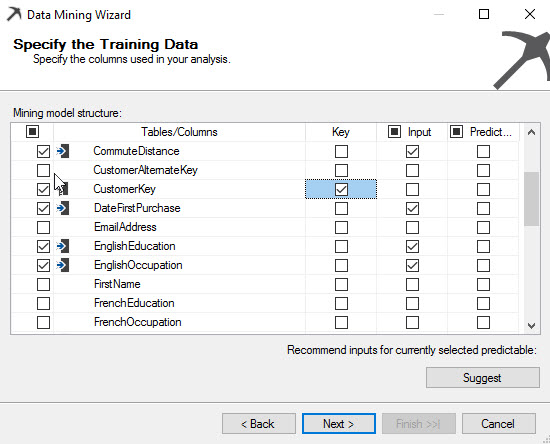
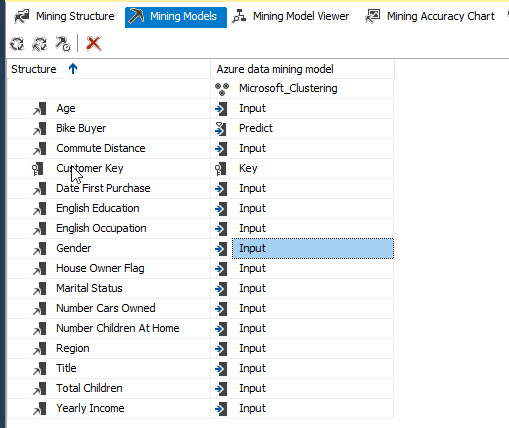
CustomerKey will be the key. Input will be any information that can affect if a customer will by or not the company items. Bike Buyer is the predictable item and inputs will be the commute distance, English Education, English occupation, Gender, House Owner Flag, Marital Status, Number of cars owned, Numbers of children at home, Total children and year income:
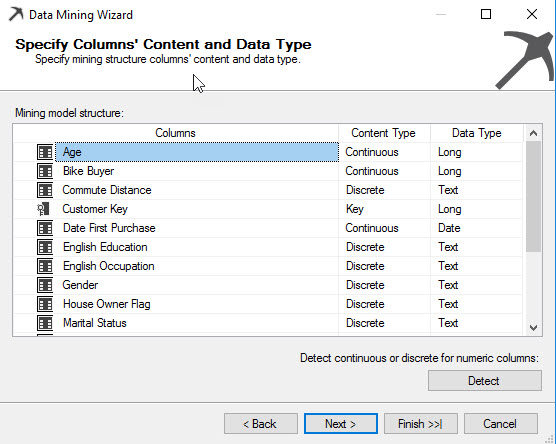
Content type is to check if the values are discrete or continuous. For example, the number of children are discrete values. One can have 1 to 16 children usually. The number is limited. By the other hand, values continuous are for example a salary. The range of values is continuous.
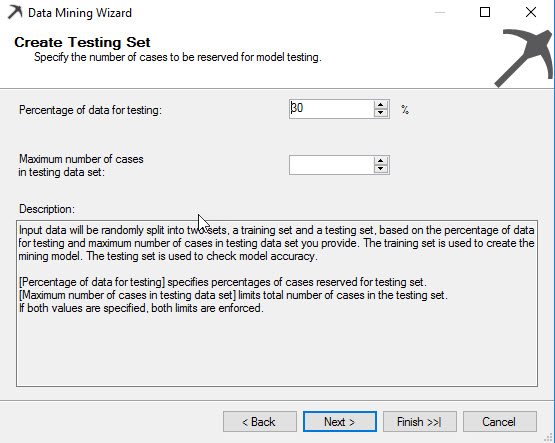
The values are tested and validated. By default, it uses a sample of 30% to validate the data.
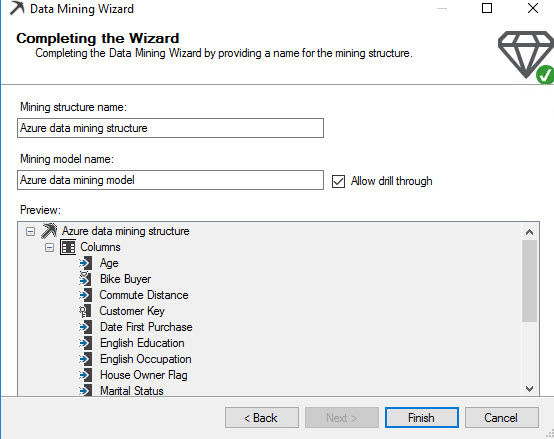
Finally assign a name for the structure and the model:
Once created the structure, go to Mining Models tab:

You can modify the predict, key and input values here:
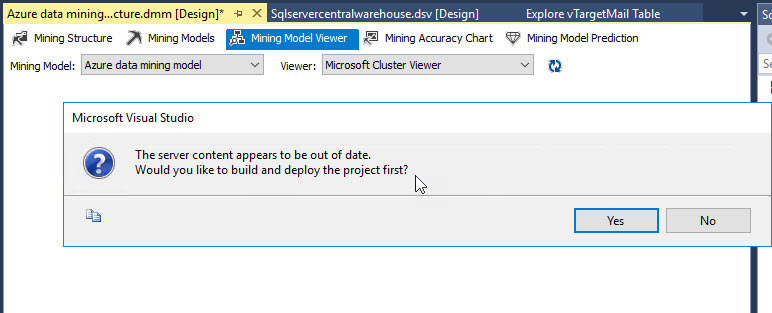
Click on Mining Model Viewer. You will be asked to deploy the model:
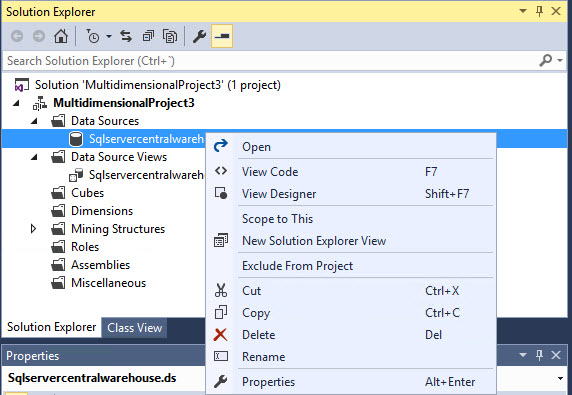
If you have problems to deploy, go to Data Sources, right click and select properties:
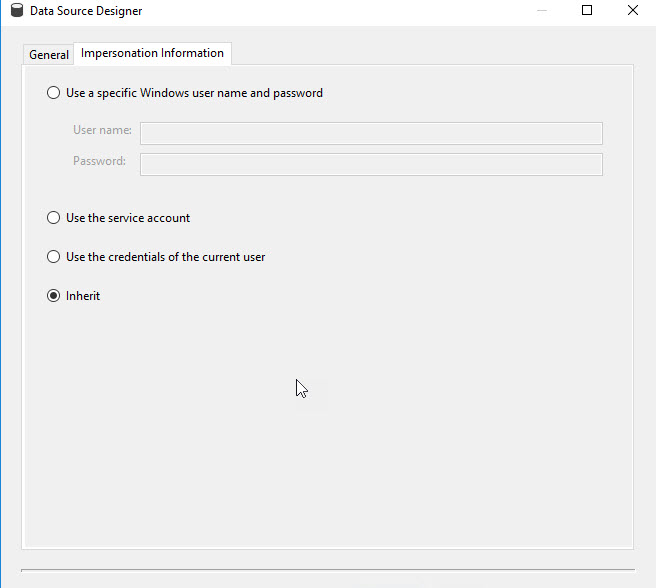
In impersonation information tab, select the inherit option:
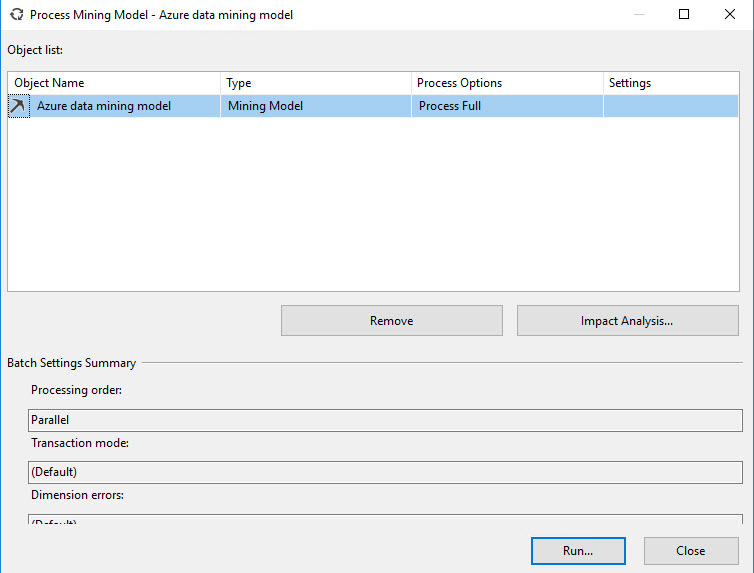
In the Process Mining Model, press run to process the model.
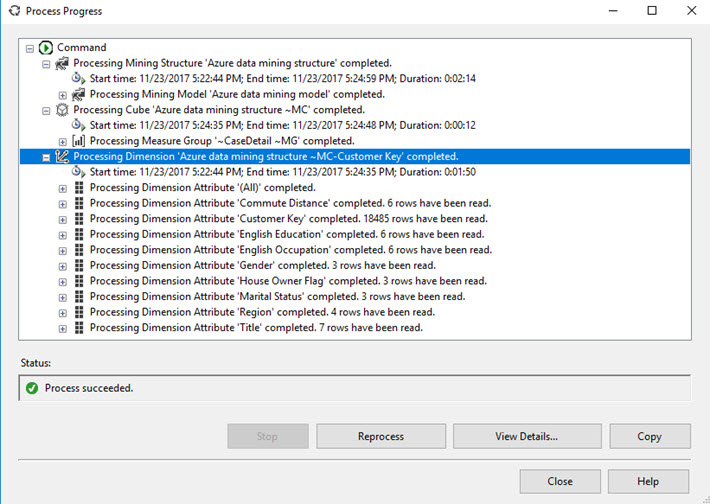
Once that the data is processed press the Close button:
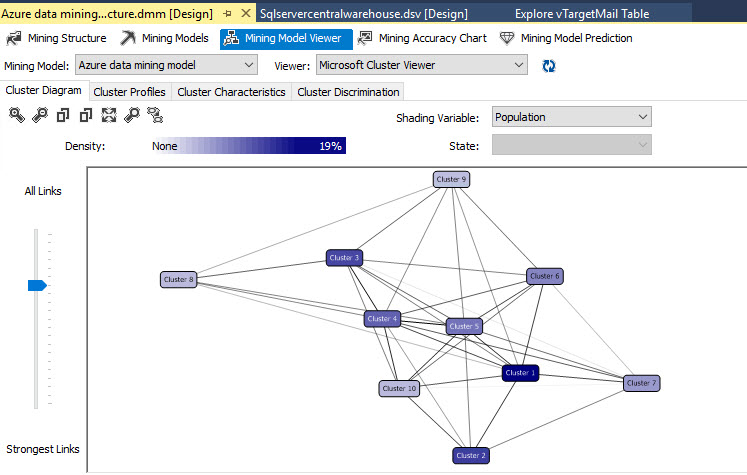
In the Mining Model Viewer, you will be able to see the clusters in the design pane. Each cluster contains groups classified by similar attributes:
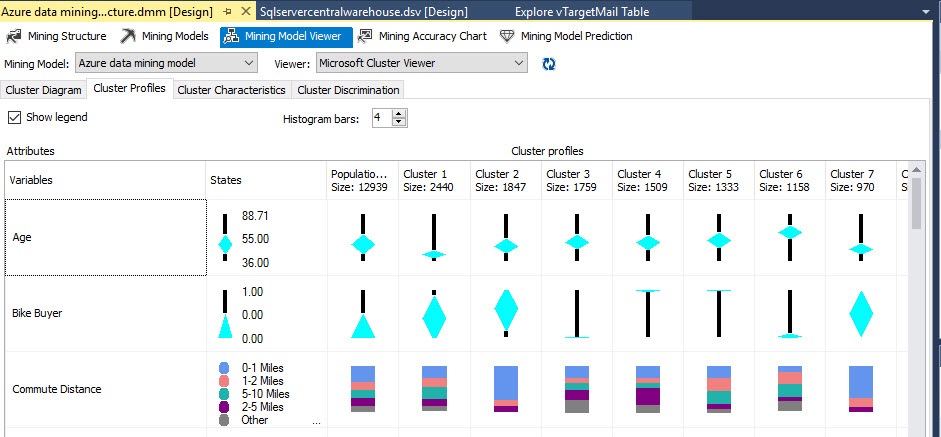
If you go to Cluster Profiles, you will be able to see the population is 12939 customers. The Cluster 1 contains 2440 customers and Cluster 2 contains 1847 customers. Members of Cluster 1 are not potential buyers, but in Cluster 2 they are. In Cluster 2, the commute distance is between 0 and 1 miles.
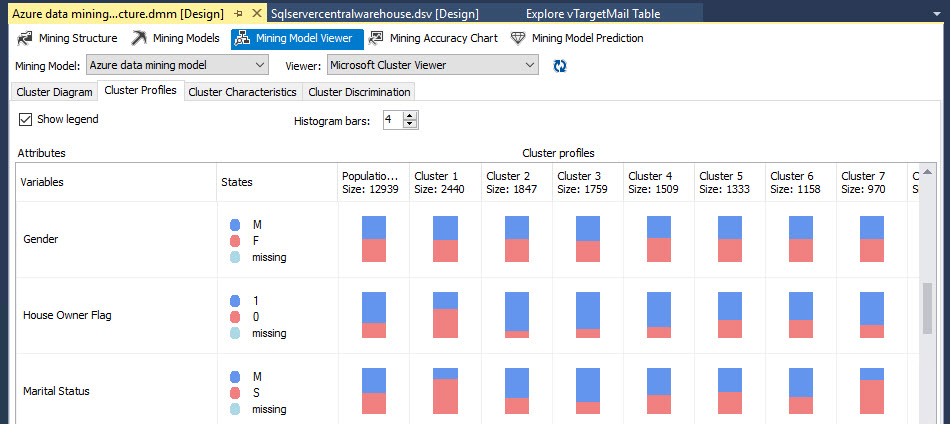
You also have information about the gender. It is close to 50% each gender in all the nodes.
The marital status for most of the members of Cluster 1 is single and married for Cluster 2.
Conclusion
In this article, we learned how to create a data source in SSAS to connect to ASDW. We then connected to Data Source View and connected to a View in Azure. This view contains customer information like marital status, gender, number of children and if the customer is a potential buyer or not. After that we created a mining model with the view as the input and we choose the cluster algorithm to analyse the data.
Once created we checked the data. Now you can play with it and predict the future.