

Introduction
In this article, we will use Azure Data Factory to import two tables from SQL Server on-premises to Azure SQL Data Warehouse (ASDW). Azure Data Factory is a Cloud Platform used to import/export data from/to Azure. It can accomplish similar tasks than SSIS, but it is completely different UI, architecture, logic and design. It is designed for Big Data and for Azure.
Requirements
- SQL Server on-premises installed
- AdventureworksDW installed on SQL Server on-premises
- An Azure SQL Data Warehouse account
Getting started
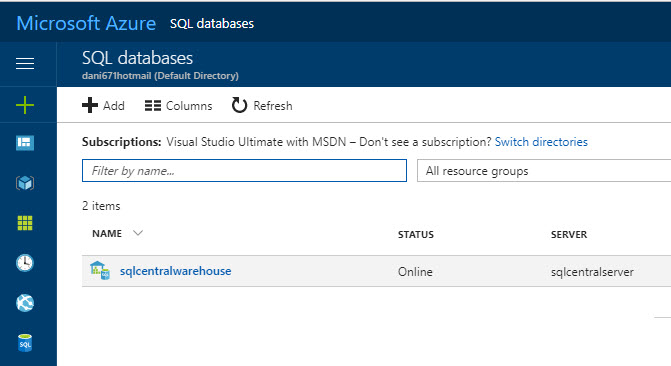
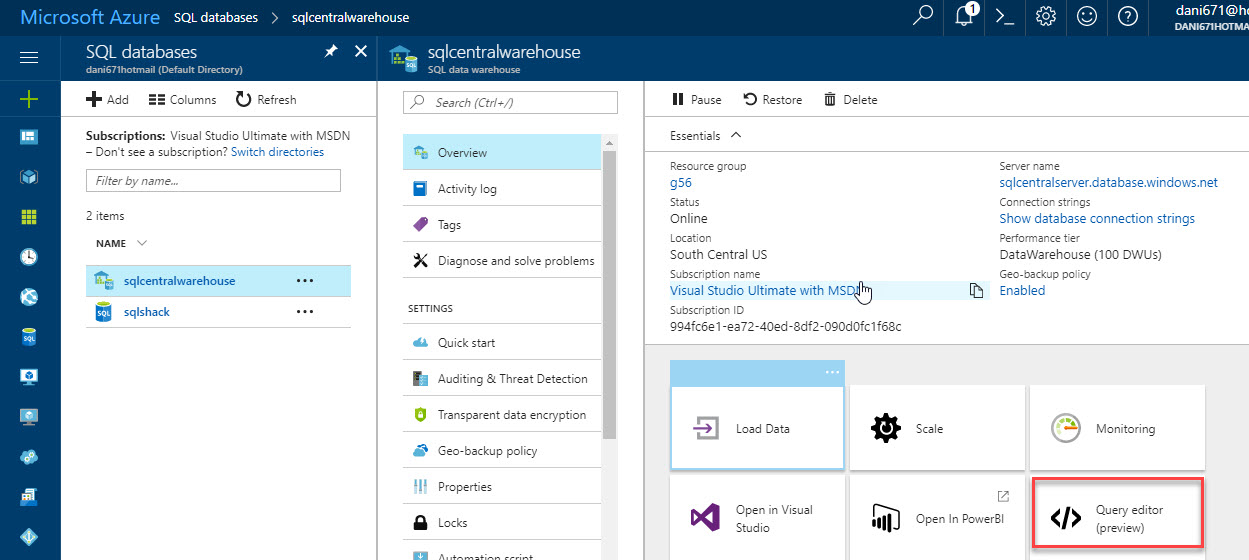
We are assuming that you already have an ASDW, go to the database:
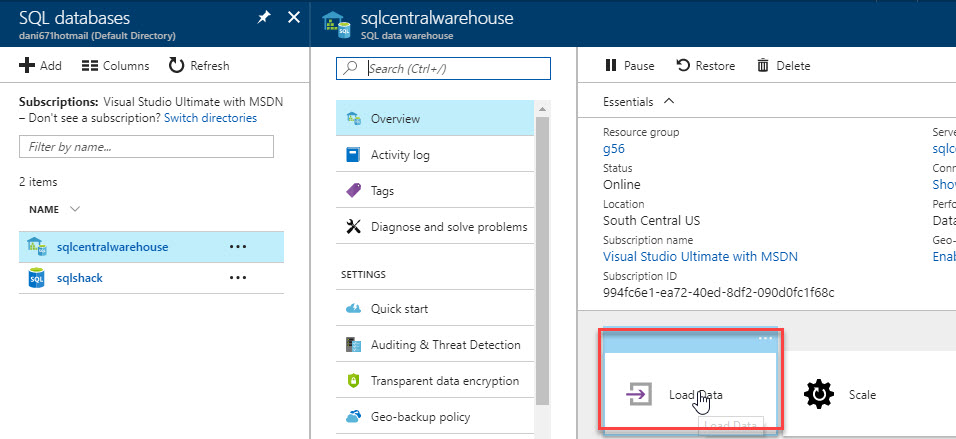
In Overview, select the option Load Data:
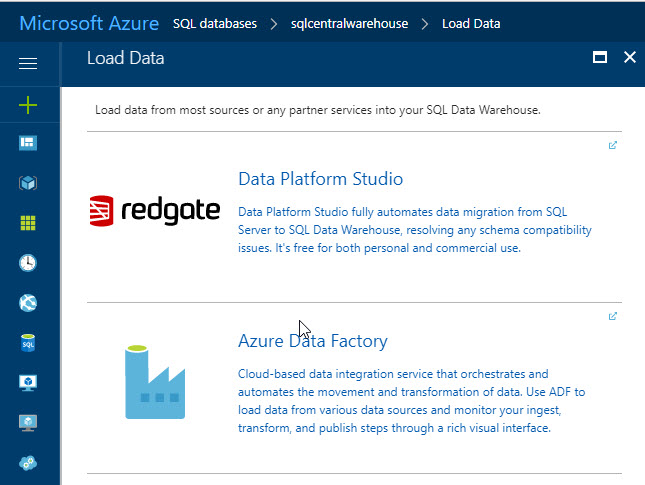
We have 2 options:
- Data Platform Studio, which was explained in chapter 13.
- Azure Data Factory (ADF), which is used to orchestrate and move and transform data. We will work with this option.
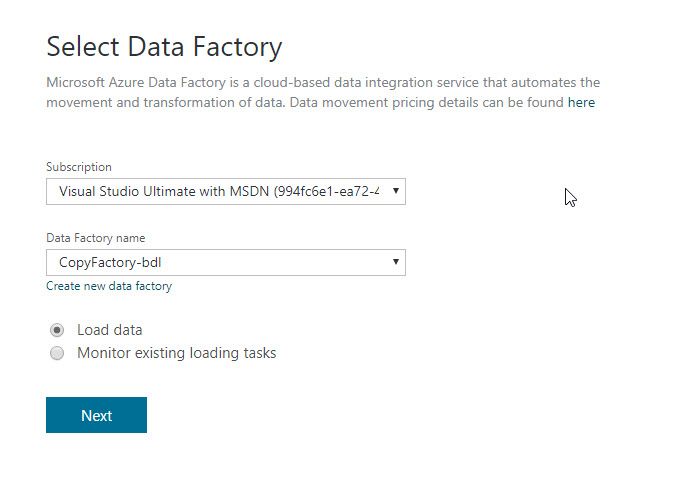
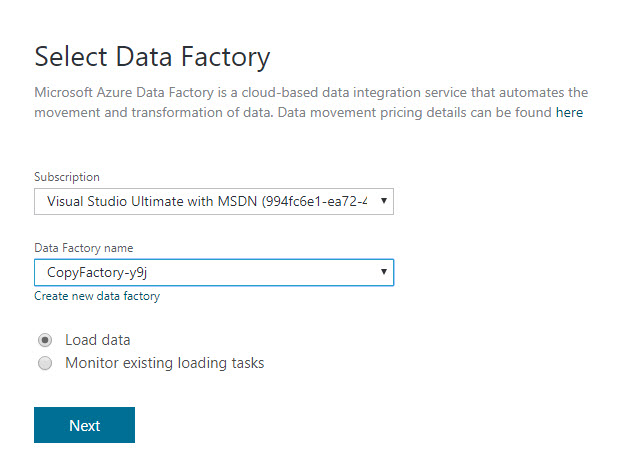
You will need to select your subscription (this is relevant if you have more than 1 subscription). If you do not have an existing data factory, you will need to create a new data factory:
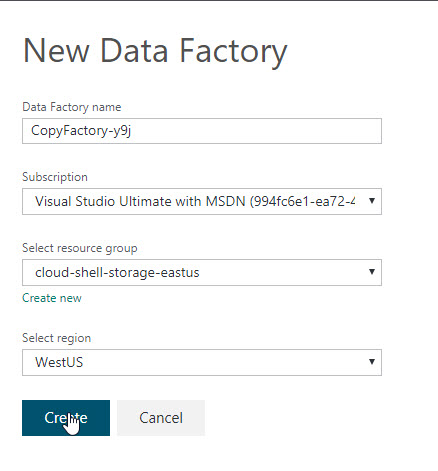
You will be asked for a name, resource group. You can create a new group or use existing ones. In regions, I recommend using the same region than the ASDW (you can check in the overview the region). Once selected the options, press create:
Once created the Data Factory. Select the option to Load data. We will load information from SQL on-premises to ASDW:
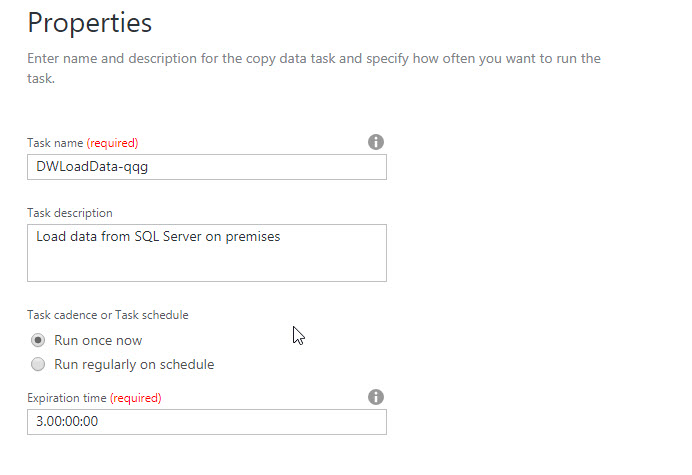
You can modify the task name and add a description. We will run once and now the task:
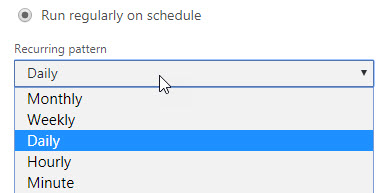
Optionally, you can set the schedule and run daily and specify the start time:
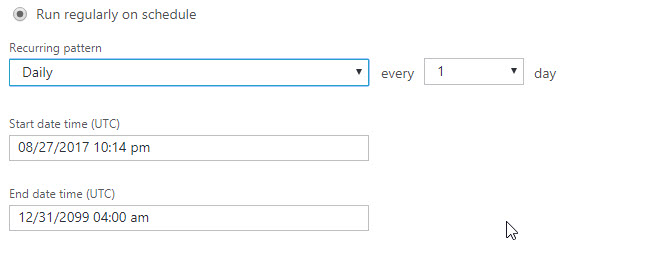
There are options to run monthly, weekly, daily, hourly and per minute. We will not use these options in this article:
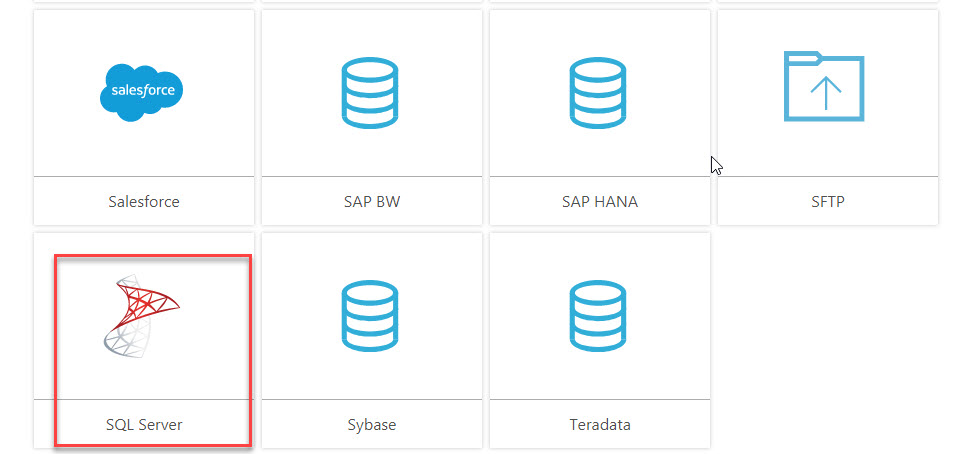
There are several sources supported like Amazon Redshift, Amazon S3, Azure DocumentDB, Azure SQL Database, SFTP, Salesforce, SAP BW, Sybex, Teradata and more:

In this example, we will use SQL Server on-premises:
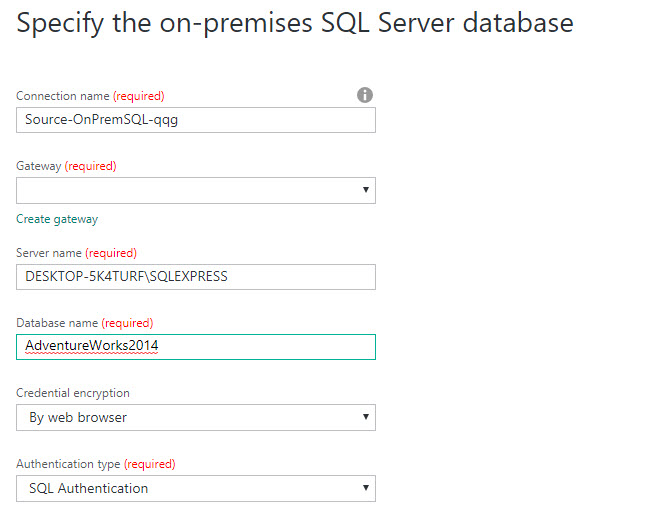
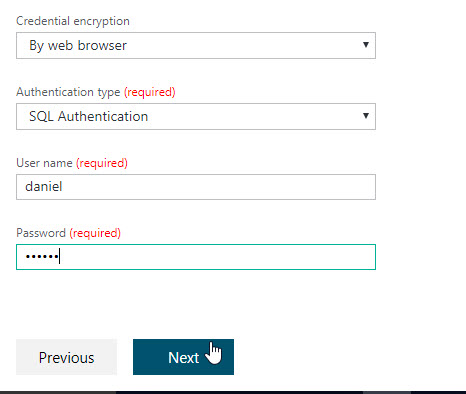
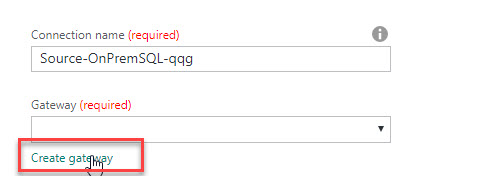
You can specify a connection name. The Server name is the name of the SQL Server on-premises instance. The database name is the name of the SQL Server on-premises with the Data. You can use SQL Authentication or Windows Authentication. In both cases, you will need to provide login and password. Make sure that your user has enough privileges in the database:
If it is your first time using Azure Data Factory (ADF), you will need to create a new gateway:
There are 2 options. One is to download, install and register your gateway and the other is the manual setup:
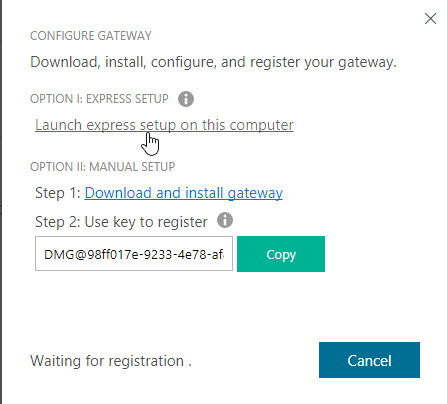
The Microsoft Data Management Gateway uses 321 MB. You will need to open it and send the registration key.

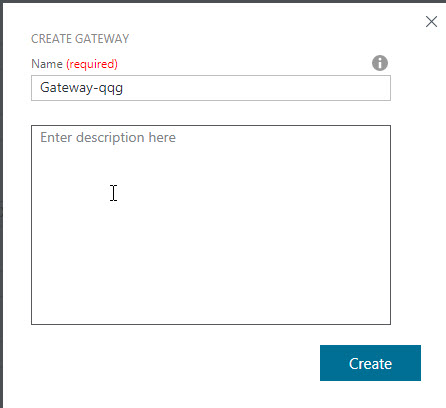
Once registered, press the create button:
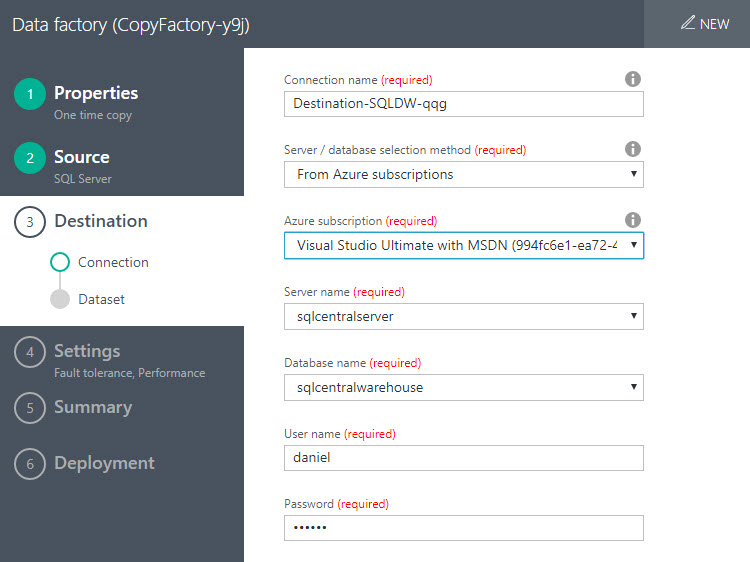
The next step is to specify the destination ASDW. In server, we will select that the Server and database is from the Azure subscription. We will select the subscription and specify the Azure SQL Server. We will also specify the ASDW database name, login and password:
We will select the databases. You can check existing tables or use queries:
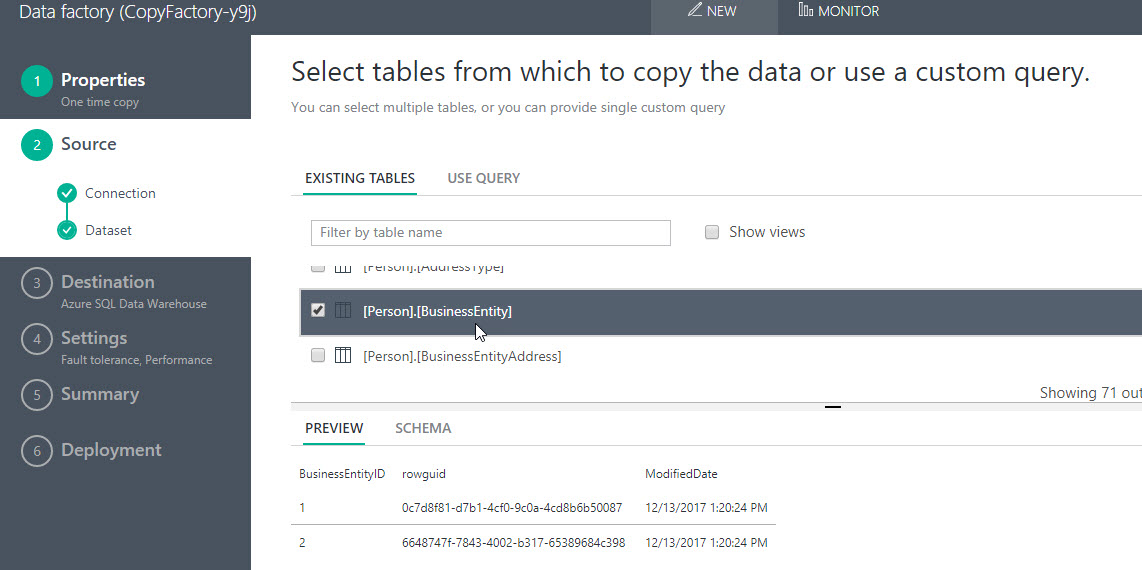
In this example, we will import the Person.BusinessEntity and Person.BusinessEntityAddress tables:

Sometimes, there are columns with a data type that is not compatible and you will receive and error when processing the request:
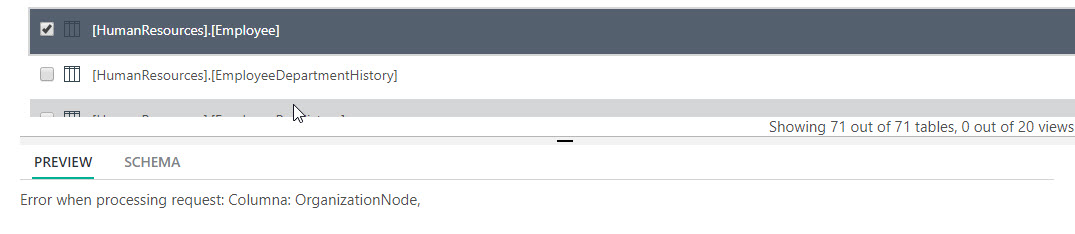
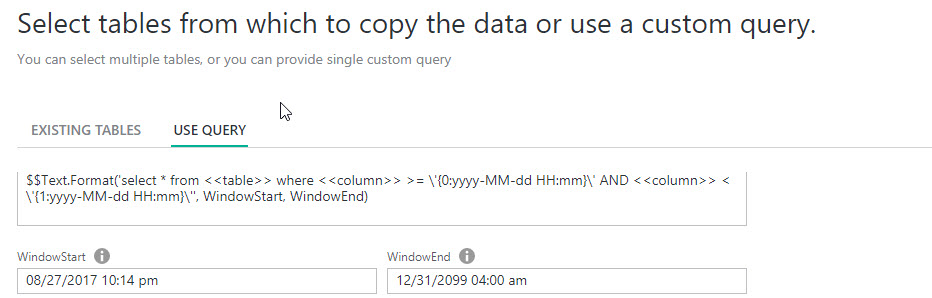
In that case, you will need to specify and query and remove the columns that are not allowed:
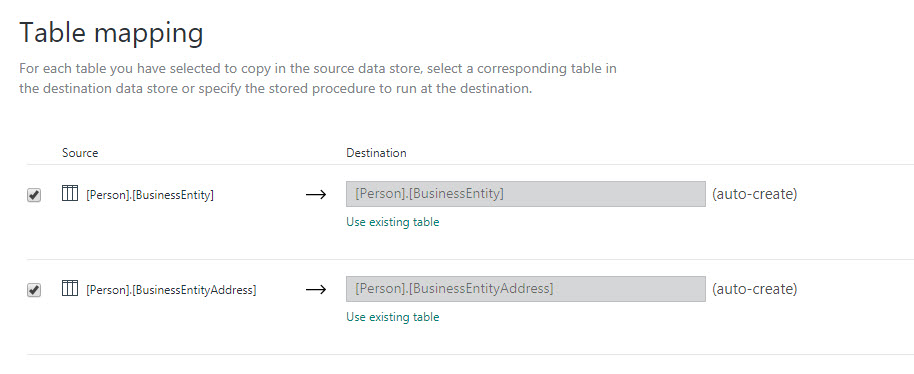
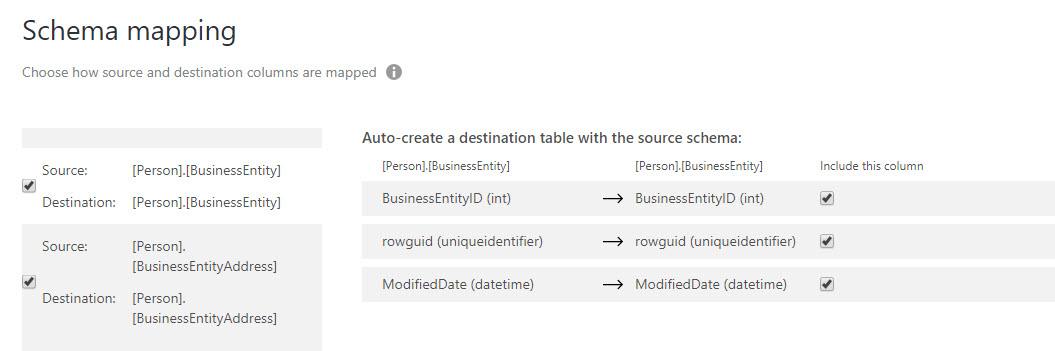
In table mapping you are mapping the source table to the destination table. You can use existing tables or create new ones:
Schema mapping will match source and destination columns:
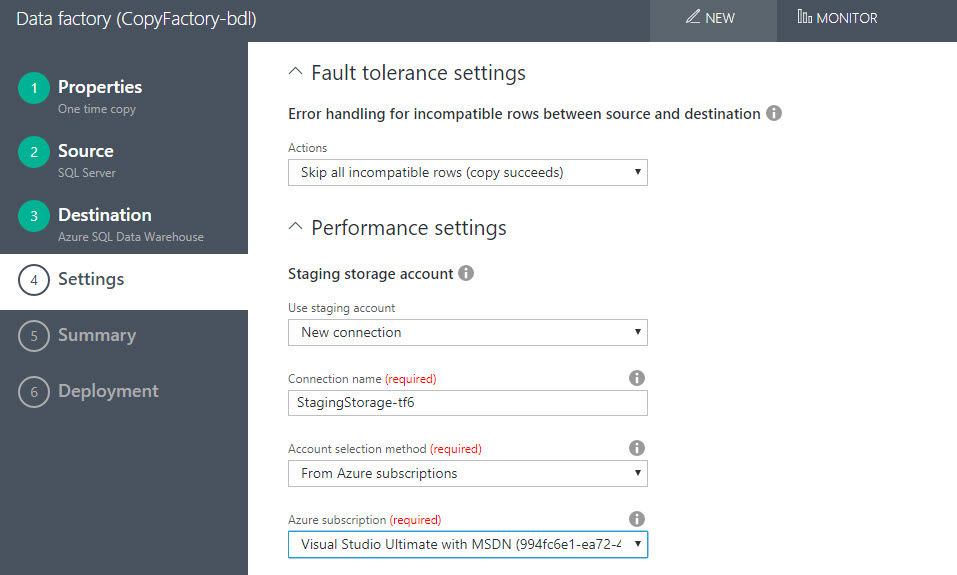
SQL Server will copy the data to the Azure Blob and then it will be copied to the ASDW:

There are options to skip the errors or stop if there are some errors when the rows are copied. Here you will specify the Blob storage connection information:
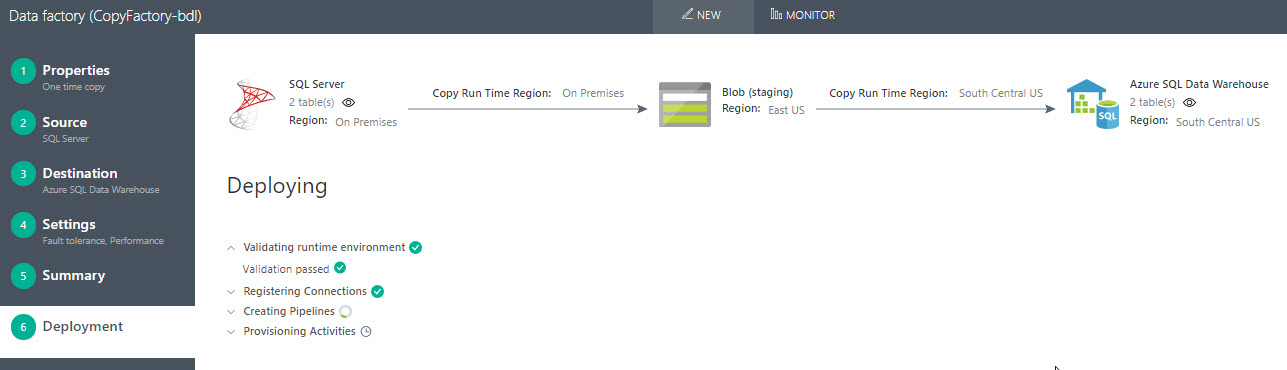
In the deployment step, you will be able to see the validation, connection registration, creation of pipelines and provision of activities:
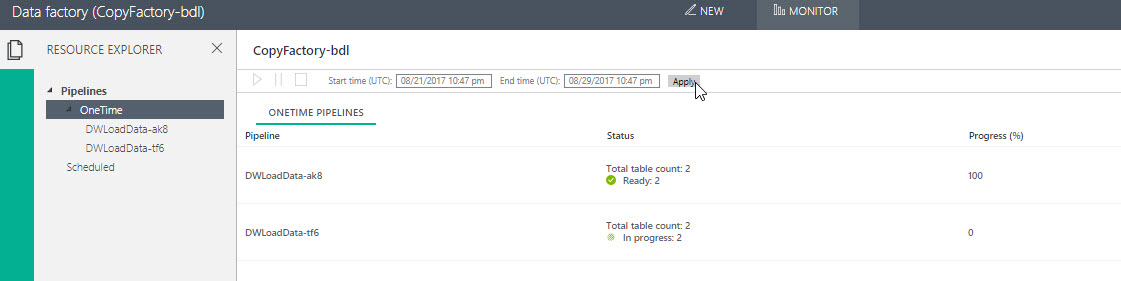
In the MONITOR tab, you will be able to monitor the status of the import process:
To verify that the data was imported successfully, you can go to your ASDW database and select the query editor in the Overview section:
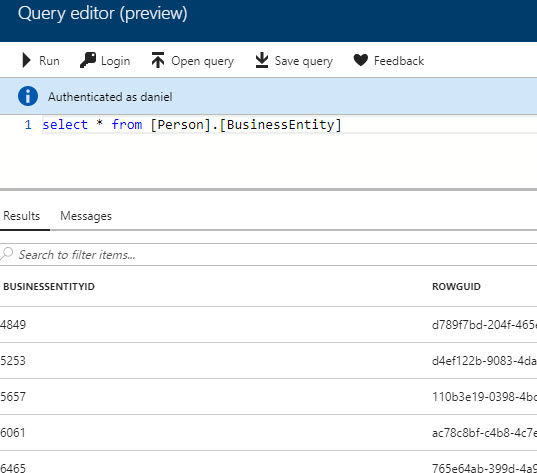
Login and do a select to the BusinessEntity table:
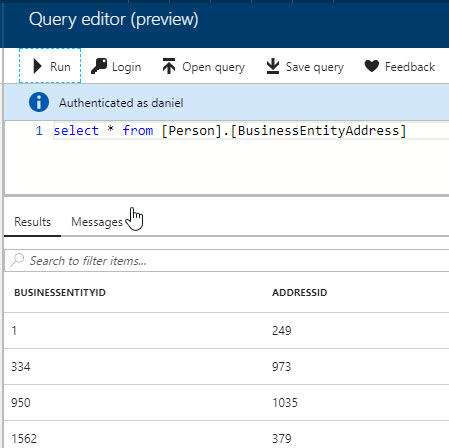
The same for the BusinessEntityAddress:
Conclusion
Azure Data Factory is a pretty cool tool to import and export data from multiple data sources in Azure. As you could see it is easy to use, but it requires to install and register a Gateway. Besides the gateway, it is very simple to use. In this example, we exported from SQL Server on-premises, but you can import from different datasources like Oracle, Sybex, MySQL and many other sources.