Introduction
In the Stairway Level 6, we successfully backed up the Azure Key Vault key that protects our SQL Server Transparent Data Encryption (TDE) database. While generating and securely storing a backup file is an important milestone, it does not by itself guarantee recoverability. A disaster recovery strategy is only proven when the backed-up key can be successfully restored and used by SQL Server to access encrypted data. Without this validation, the backup remains an untested safeguard.
In this level, we will complete that validation cycle. We will create a new Azure Key Vault to simulate a recovery scenario, configure the necessary permissions, restore the previously backed-up key, and reconfigure SQL Server to authenticate against the recovery vault. Finally, we will verify that the encrypted database comes online successfully using the restored key.
This level transitions from preparedness to proof — demonstrating a fully functional disaster recovery workflow for Azure Key Vault–protected TDE.
Restoring the Key Using the Azure Portal
Backing up the key represents only half of the disaster recovery process. To conclusively validate your strategy, the key must be restored to another Azure Key Vault and verified for operational use.
You have the ability to restore the key to another Key Vault that should be in the same Azure subscription and Azure geography. Azure Key Vault backups can only be restored to a Key Vault within the same Azure subscription and Azure geography. Therefore, ensure that the recovery vault is created within the same regional boundary as the source vault.
For this demonstration, follow the Key Vault creation procedure outlined in Stairway Level 3 and create a new vault, named TDEKeyVaultV-Recovery, with the appropriate configuration and access policies.
Important: Ensure that both Key Vaults are created in the same region. In this example, both vaults are deployed in the US East region.
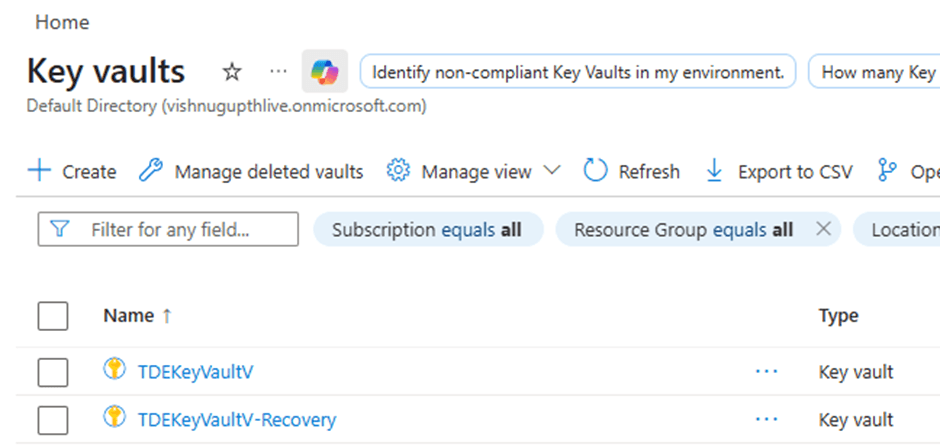
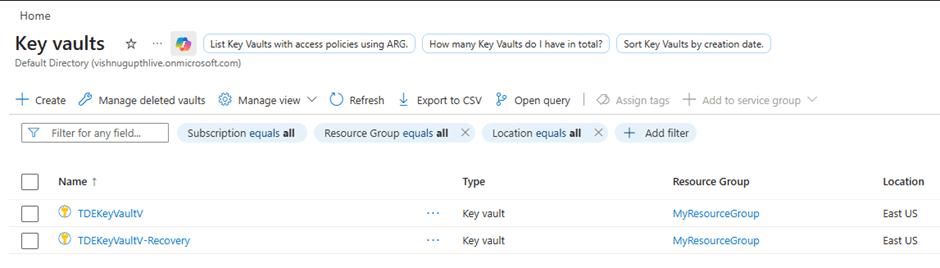
Once the recovery vault has been provisioned, it will appear in the list of Key Vaults within the Azure Portal, as shown in the image below.
Next, we need to configure the appropriate access permissions for the TDE_Application in the recovery Key Vault before proceeding further.
Mapping the TDE_Application App to the Access Policies
After restoring the key into the new DR Key Vault, SQL Server will not automatically gain access to it. The Azure AD application (used earlier for EKM authentication) must be explicitly granted permissions in the new vault.
In our configuration, SQL Server authenticates to Azure Key Vault using the application 'TDE_Application', which was created during Stairway Level 3. The same application must now be granted access to the recovery vault.
Why This Step Is Required
When SQL Server uses Azure Key Vault through EKM, it authenticates using the Azure AD application mapped to the SQL credential. If the application does not have appropriate permissions in the new vault, SQL Server will fail to:
- Retrieve the key
- Wrap or unwrap the Database Encryption Key (DEK)
- Access encrypted databases
Steps to Map the Application to the New Vault
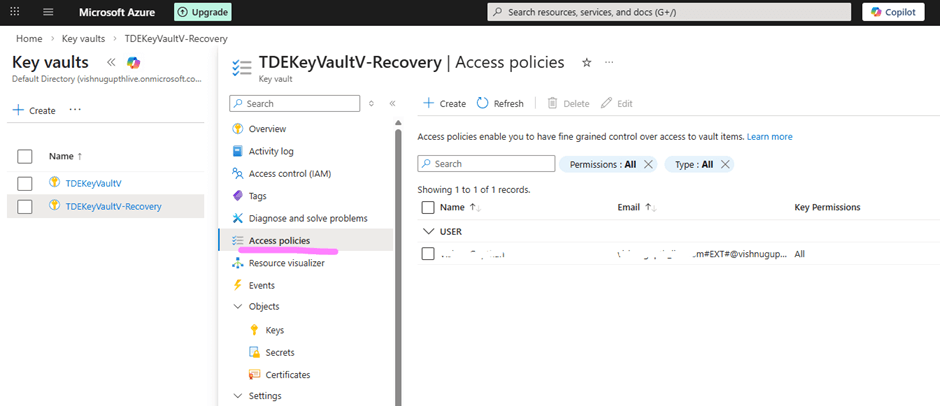
Navigate to the newly created DR Key Vault (TDEKeyVaultV-Recovery) and click on Access policies as shown in the image below.
Click Create from the top ribbon. This will open the access policy configuration page as shown below.
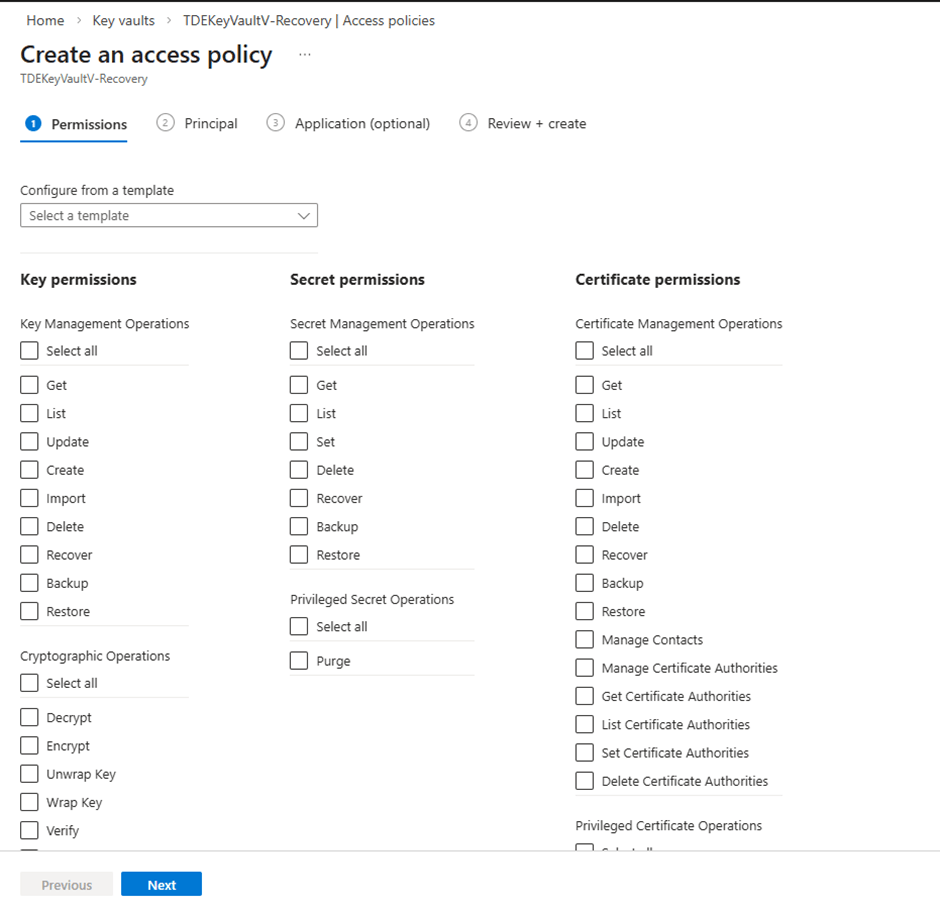
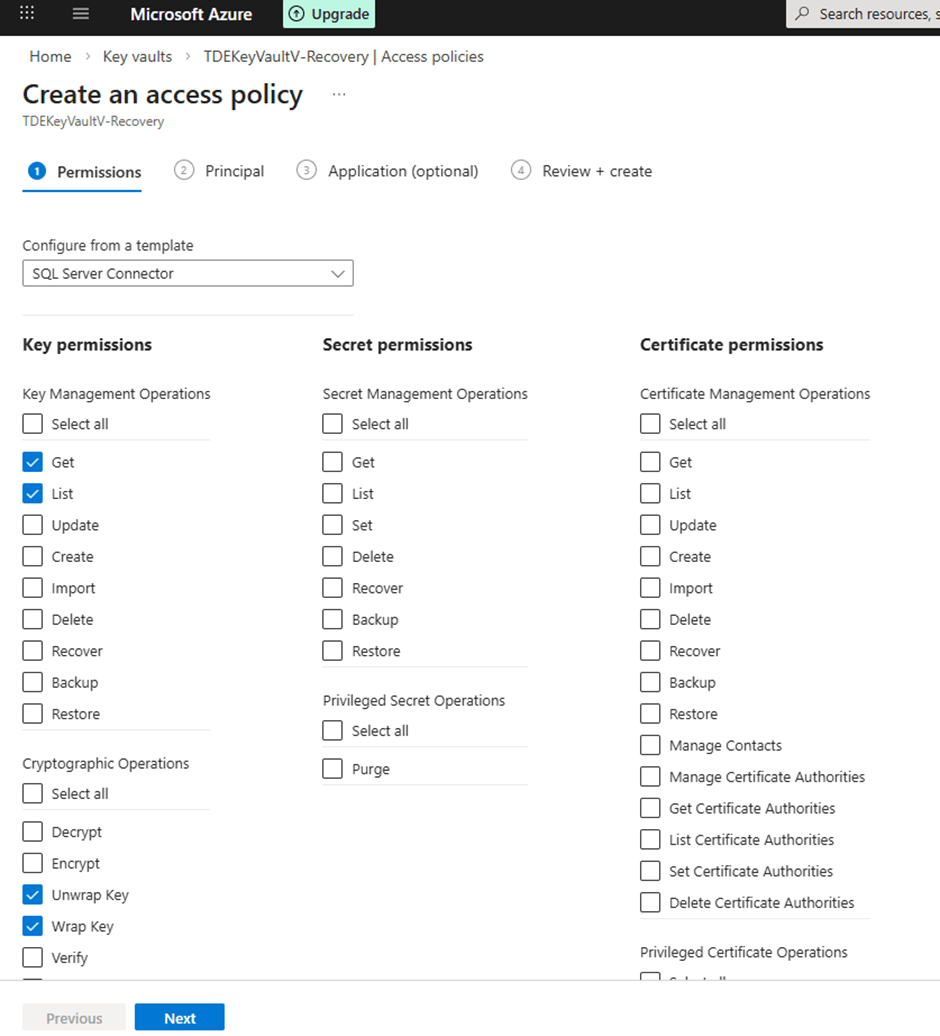
Under Template, choose 'SQL Server Connector'. Selecting this template automatically configures the required key permissions for SQL Server EKM integration, including Get, List, Wrap Key, and Unwrap Key, as illustrated in the image below.

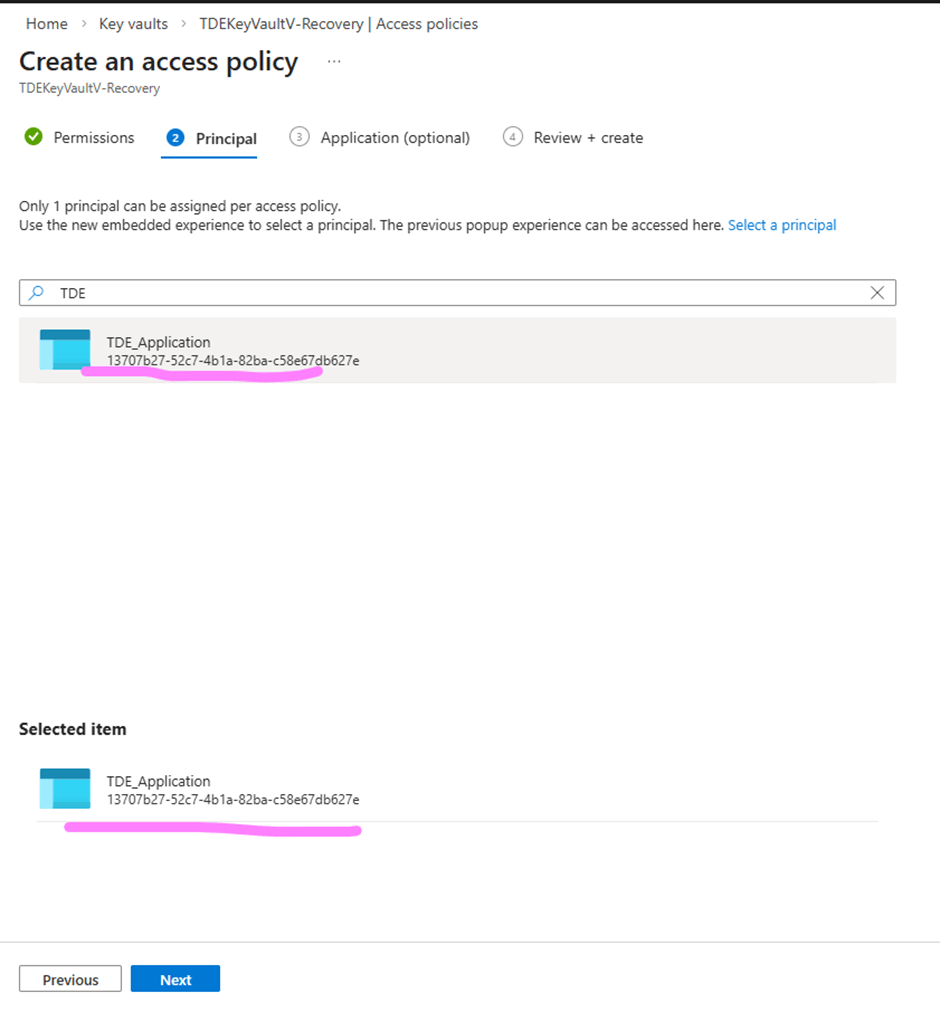
Click Next to proceed to the Principals page. Under Principal, search for TDE_Application and select TDE_Application, which is the Azure AD application used by SQL Server for Key Vault authentication.
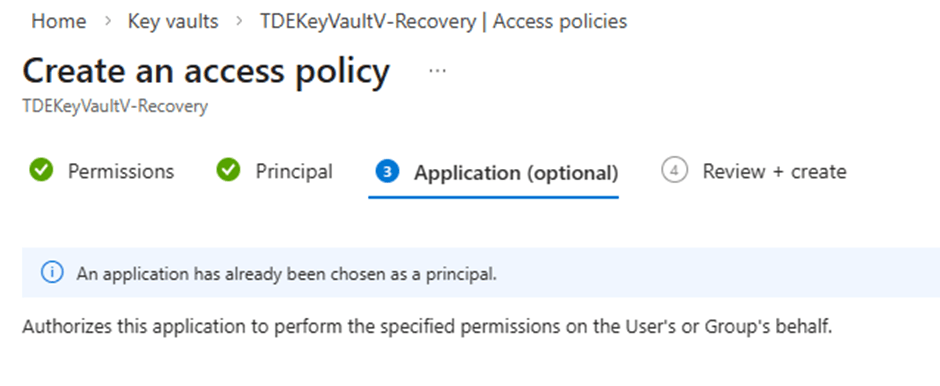
Click Next to go to the application page as shown below.
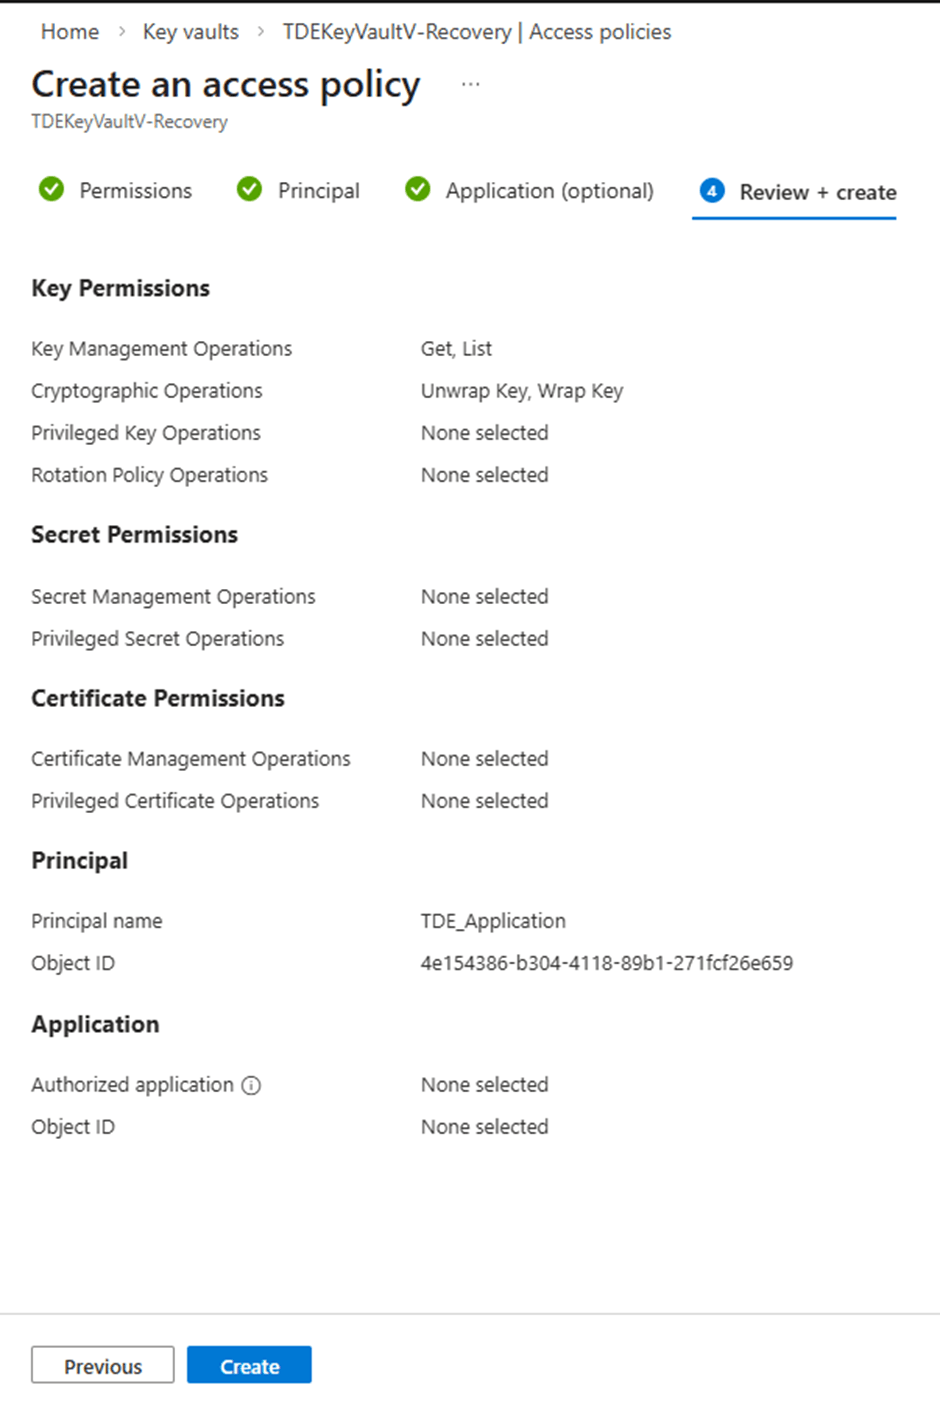
Click Next to go to the 'Review + create' page as shown below, followed by Create to complete the process as shown in the image below.
Once the access policy has been successfully created, TDE_Application will appear in the list of configured access policies for the recovery vault, as shown below.
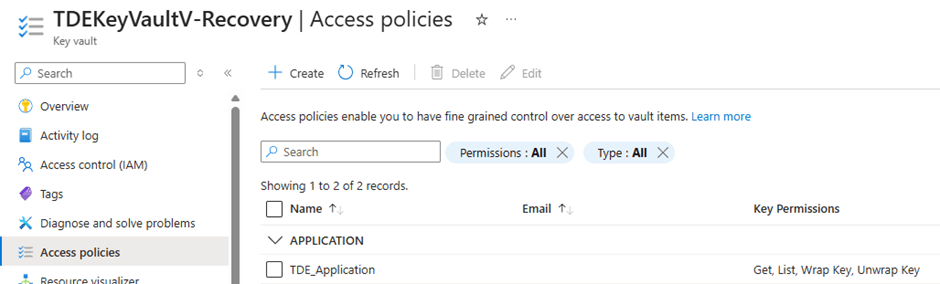
With this step completed, the 'TDE_Application' is now properly mapped to the recovery Key Vault, enabling SQL Server to authenticate and access the restored key.
Restore the Key to the new Key Vault
Now follow the steps below to restore the previously backed-up key into the newly created Key Vault TDEKeyVaultV-Recovery. Open the Azure Portal and navigate to Key Vaults. Select the target Key Vault named 'TDEKeyVaultV-Recovery' from the Key Vault list shown below.
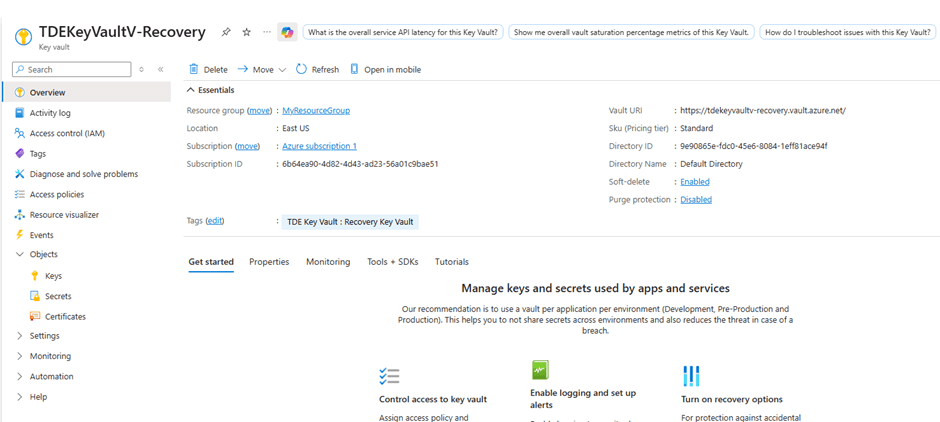
Selecting 'TDEKeyVaultV-Recovery' will take you to the page shown in the image below.
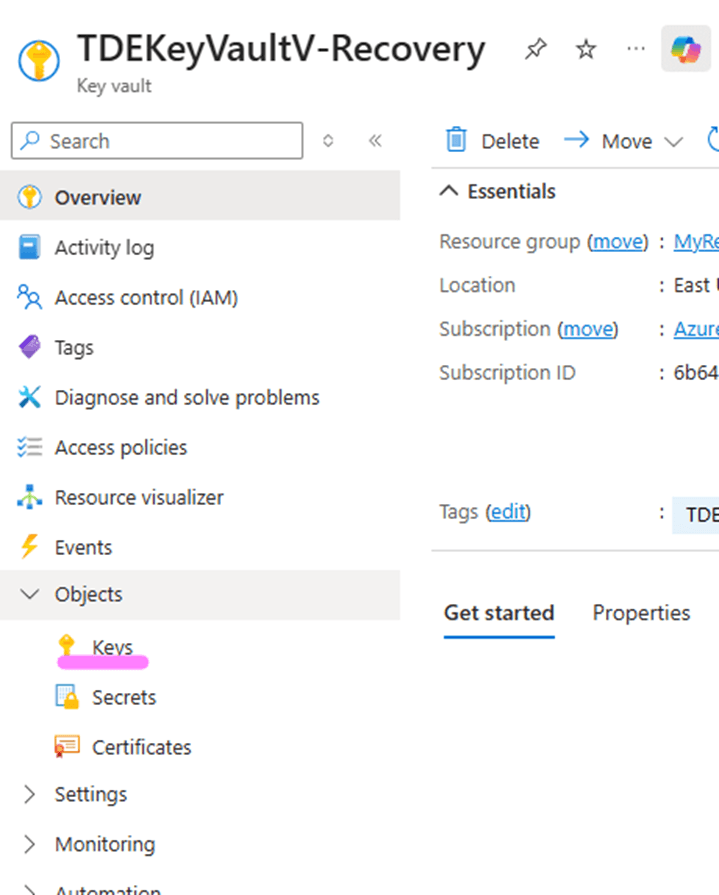
To restore the backed-up key, click on the Keys option in the left-hand pane of the page.
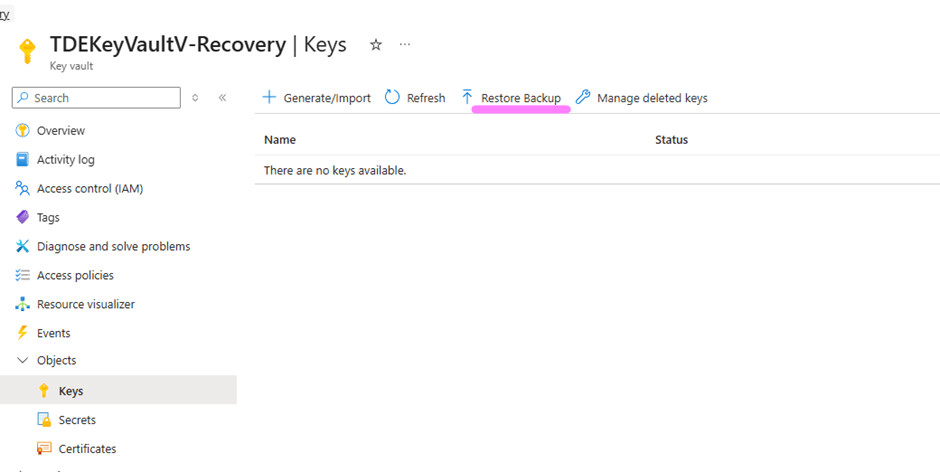
This will open the Keys blade as shown below, where you can initiate the restore operation. Click on the option 'Restore Backup' in the top ribbon, highlighted as shown in the image below.
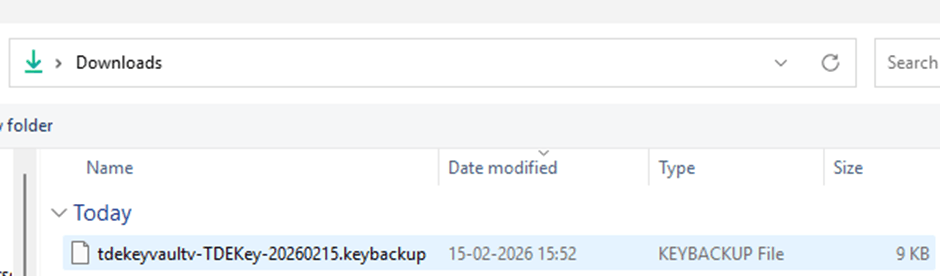
Select the backup file taken earlier, named 'tdekeyvault-TDEKey-20260215.keybackup', and click Open. This action uploads the previously saved .keybackup file to the Key Vault and initiates the restore process.
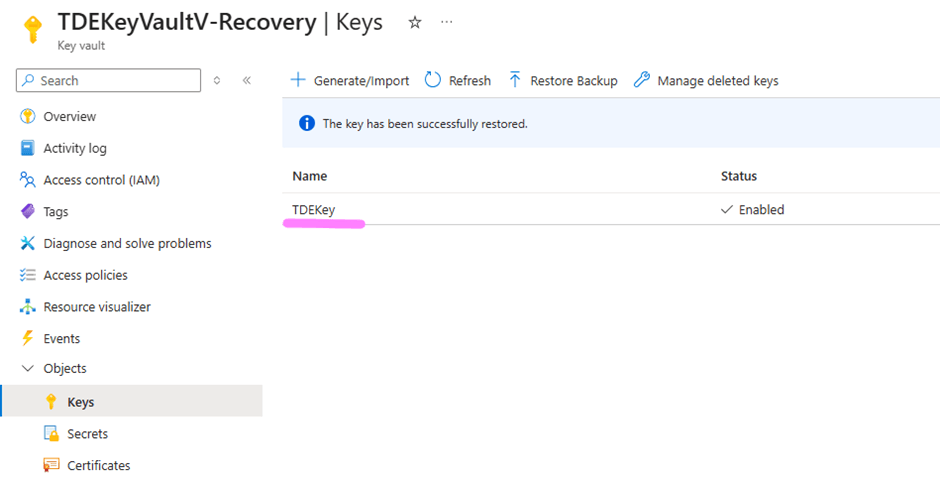
Once the restore operation completes successfully, the key will appear in the list of keys within TDEKeyVaultV-Recovery as shown in the image below. The restored key retains the same name, version history, and underlying key material as the original, ensuring seamless continuity for SQL Server TDE operations.
Validating the Restored Key with SQL Server
Restoring the key is only half the story. You must also verify that SQL Server can use the restored key to encrypt and decrypt data. Follow the steps below to verify that the SQL Server TDE encryption works with the newly restored key in the new Key Vault.
Create a New Credential for the Restored Vault
After restoring the key and configuring application permissions, the next step is to create a new SQL Server credential that points to the recovery Key Vault. This credential enables SQL Server to authenticate against the restored vault using the Azure AD application created earlier.
A new credential named Azure_EKM_Recovery_Cred can be created using the script below. The IDENTITY value must match the exact name of the restored Key Vault. In this case, the target vault name is: TDEKeyVaultV-Recovery. The SECRET must be derived from the Azure AD application TDE_Application that SQL Server uses for Azure Key Vault access. As configured in Stairway Level 3, the SECRET is created by concatenating:
- The Application (Client) ID with hyphens removed
- The Client Secret generated during application registration
Refer to the Application Registration section in Stairway Level 3 for a detailed explanation of how the Client ID, Client Secret, and final SECRET string are created.
Replace <<ClientSecret>> with the SECRET value constructed as described above.
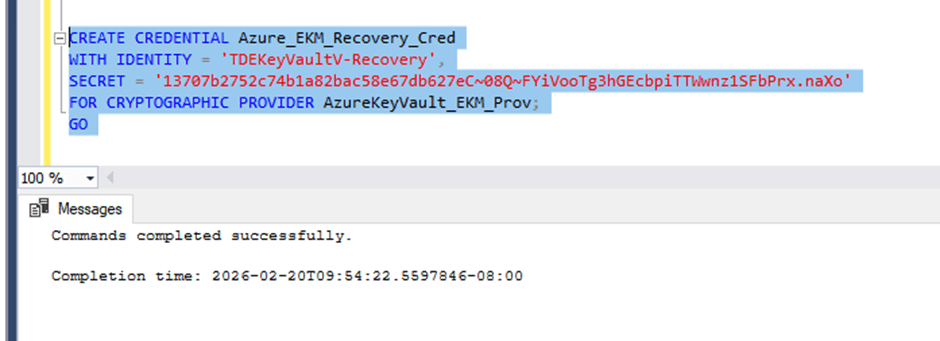
USE master;
GO

CREATE CREDENTIAL Azure_EKM_Recovery_Cred
WITH IDENTITY = 'TDEKeyVaultV-Recovery',
SECRET = '<<ClientSecret>>'
FOR CRYPTOGRAPHIC PROVIDER AzureKeyVault_EKM_Prov;
GO
Script execution output looks like the image below
Remap the TDE Login to Use the New Credential
The login created from the asymmetric key, 'TDE_Login', is the security principal SQL Server uses to unwrap the Database Encryption Key (DEK) during database startup. Since we have created a new credential pointing to the recovery vault, we must first detach the old credential from this login.
Execute the following script to unlink the existing credential 'Azure_ekm_TDE_cred' from 'TDE_Login':
ALTER LOGIN TDE_Login
DROP CREDENTIAL Azure_ekm_TDE_cred;
GO
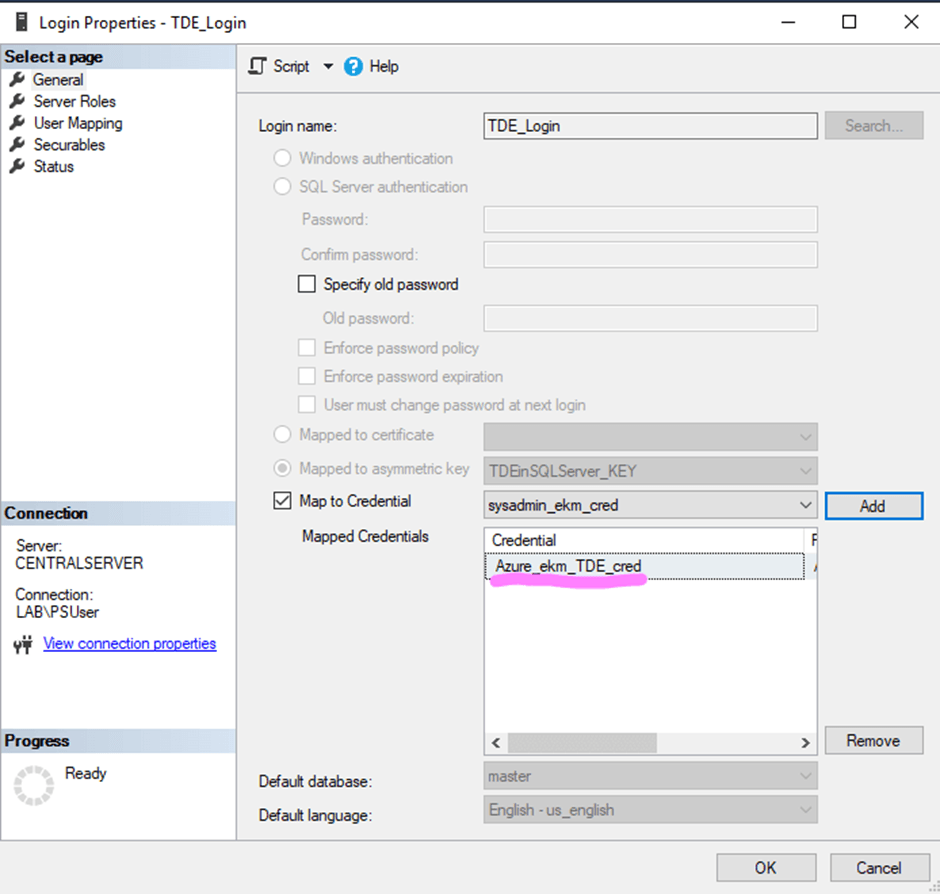
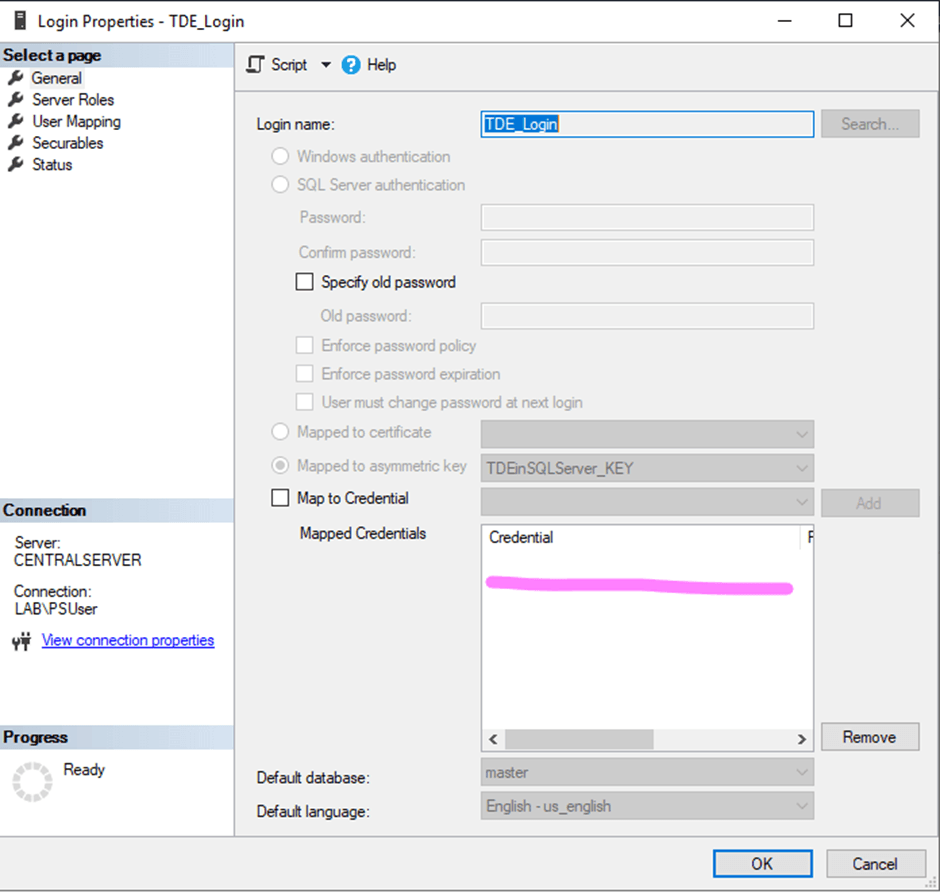
This script will unlink the old highlighted credential shown below from the login TDE_Login.
The TDE_Login properties before the script execution is shown in the image below
After script execution, if you check the TDE_Login Properties, the Mapped credentials tray will be empty as shown in the image below. The TDE_Login properties after the script execution is shown in the image below
Next, attach the newly created recovery credential to the login used for EKM authentication:
ALTER LOGIN TDE_Login
ADD CREDENTIAL Azure_EKM_Recovery_Cred;
GO
Script execution output shown below.

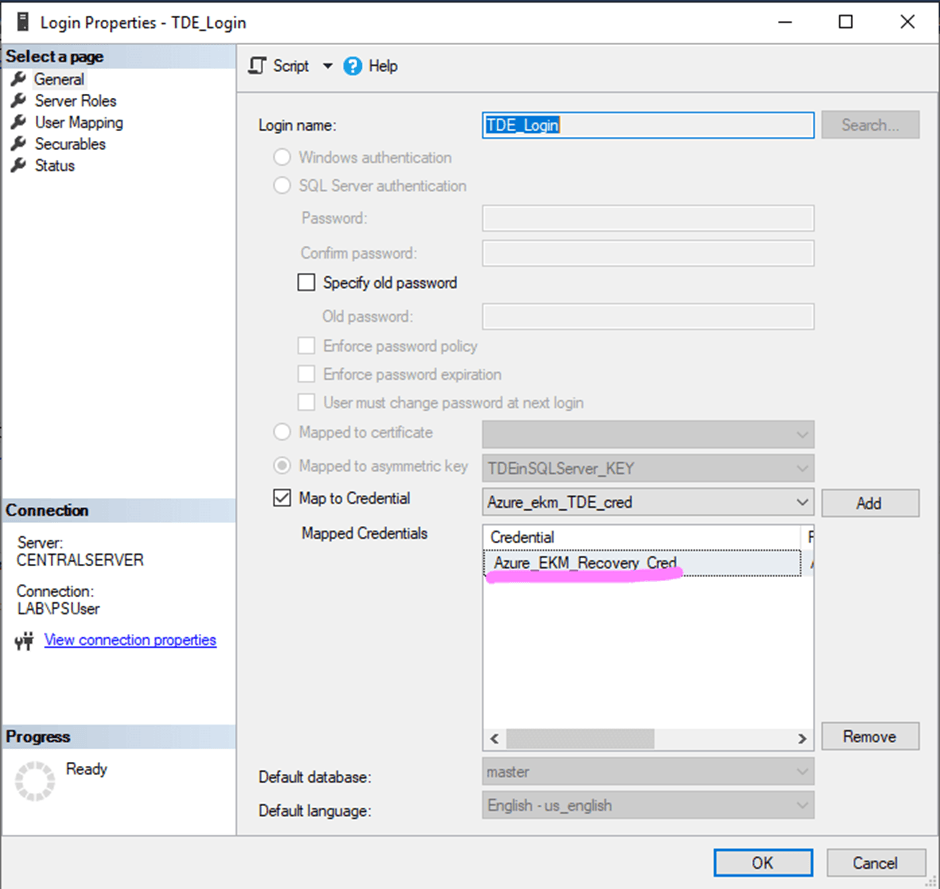
This statement maps the SQL Server login TDE_Login to the new credential Azure_EKM_Recovery_Cred, which contains the authentication details (Client ID and Client Secret) for the Recovery Key Vault.
Once executed successfully, reviewing the 'TDE_Login' properties will show 'Azure_EKM_Recovery_Cred' listed under mapped credentials as shown below.
At this stage, SQL Server authentication has been redirected to the recovery vault. The next step is to validate that TDE operations are functioning correctly using the restored key. We need to re-encrypt the database to ensure that the updated key configuration is fully applied and the changes take effect. Follow the steps below to complete this process.
Re-Encrypt the Database (Clean Rewrap)
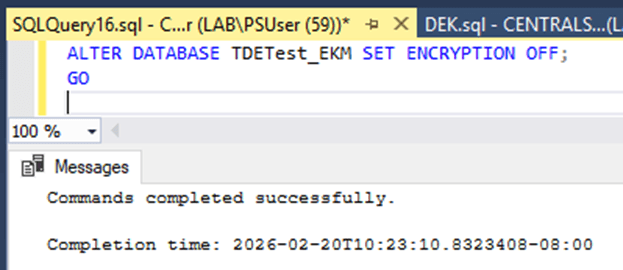
To ensure that the Database Encryption Key (DEK) is freshly wrapped using the restored key instance from the recovery vault, we will perform a clean rewrap operation. First, disable encryption for the TDETest_EKM database using the script shown below.
ALTER DATABASE TDETest_EKM SET ENCRYPTION OFF;
GO
The script output looks like the image below.
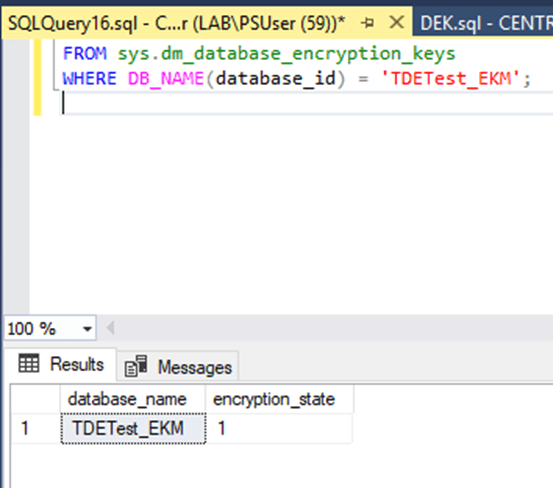
After executing the command, monitor the encryption status until the database reaches encryption_state = 1, which indicates that it is fully unencrypted. You can verify the current encryption state using the following query:
SELECT
DB_NAME(database_id) AS database_name,
encryption_state
FROM sys.dm_database_encryption_keys
WHERE DB_NAME(database_id) = 'TDETest_EKM';
Script output looks like the image below.
Once the database is confirmed to be unencrypted, enable encryption again using the script below.
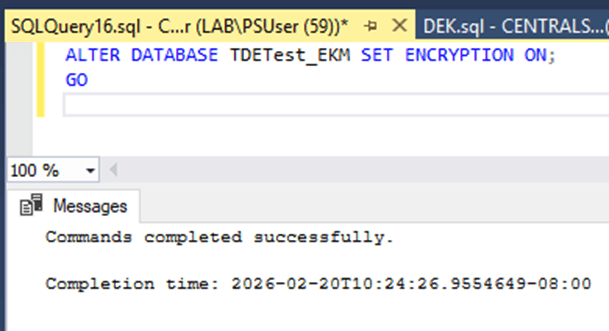
ALTER DATABASE TDETest_EKM SET ENCRYPTION ON;
GO
Script output looks like the image below.
Re-enabling encryption forces SQL Server to generate and wrap the DEK using the currently configured asymmetric key, which now points to the recovery Key Vault. This completes the clean rewrap process.
Confirm TDE_Login Uses the Recovery Vault
Next, validate that the login TDE_Login is mapped to the correct credential associated with the recovery vault using the following query
SELECT
sp.name AS login_name,
c.name AS credential_name,
c.credential_identity
FROM sys.server_principals sp
JOIN sys.server_principal_credentials spc
ON sp.principal_id = spc.principal_id
JOIN sys.credentials c
ON spc.credential_id = c.credential_id
WHERE sp.name = 'TDE_Login';
Script output looks like the image below.
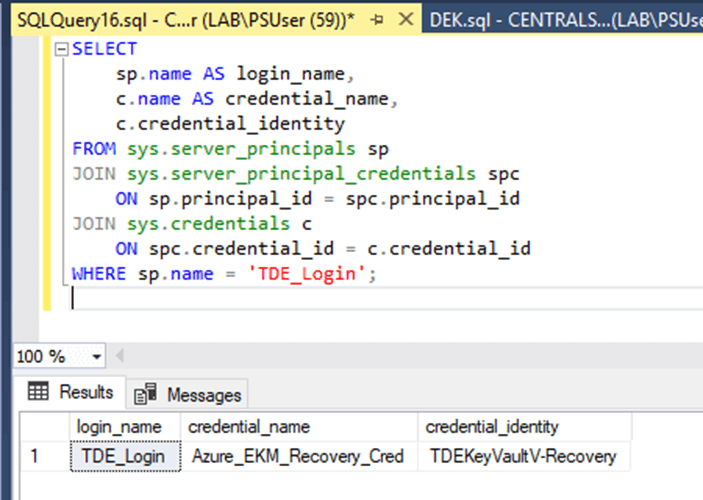
In the result set, verify that the credential_identity column displays ' TDEKeyVaultV-Recovery'. This confirms that SQL Server is authenticating against the recovery Key Vault.
Validate Encryption Status
Finally, confirm that TDE is fully operational by querying the encryption metadata using the below query.
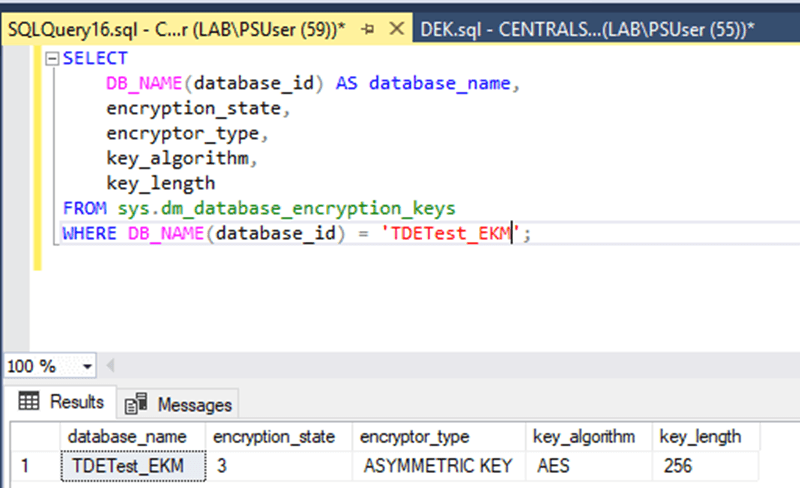
SELECT
DB_NAME(database_id) AS database_name,
encryption_state,
encryptor_type,
key_algorithm,
key_length
FROM sys.dm_database_encryption_keys
WHERE DB_NAME(database_id) = 'TDETest_EKM';
Script output looks like the image below.
In the script output, the following columns represent the corresponding details.
- encryption_state = 3 - This indicates that the database is fully encrypted.
- encryptor_type = ASYMMETRIC KEY - This confirms that the Database Encryption Key (DEK) is protected using an asymmetric key stored in Azure Key Vault via EKM.
- key_algorithm = AES_256 - This verifies that the DEK is using the AES 256-bit encryption algorithm.
If these values are returned, it confirms that:
- SQL Server is successfully communicating with the Recovery Key Vault.
- The restored asymmetric key is functioning correctly.
- TDE remains fully operational after the vault restoration scenario.
Final Validation
To conclusively demonstrate that the database now depends on the Recovery vault, restart the SQL Server service and observe the database state during startup.
After the restart, confirm that the encrypted database comes ONLINE automatically without any manual intervention. If the database transitions to the ONLINE state successfully, it demonstrates that SQL Server was able to authenticate against the Recovery vault, establish a session with the EKM provider, retrieve the asymmetric key, unwrap the Database Encryption Key (DEK), and mount the encrypted database.
A successful startup without encryption-related errors confirms that the restored key in the Recovery vault is fully operational and that the disaster recovery configuration is functioning as expected.
Conclusion
A strong encryption strategy is only as reliable as its key management practices. Backing up your Azure Key Vault EKM key—and, more importantly, validating that the backup can be restored and successfully used by SQL Server—is a foundational operational requirement for any production environment.
In this level, you completed the full recovery validation cycle. You restored the Key Vault key into a new vault, configured the necessary permissions, remapped SQL Server authentication, rewrapped the database encryption key, and verified that the encrypted database could successfully come online using the restored key.
With this, you now have a tested and proven disaster recovery workflow for Azure Key Vault–protected TDE.
In the upcoming levels, we will move beyond manual portal-based operations and explore automation using PowerShell and Azure CLI. This will enable you to build a robust, repeatable, and audit-ready key management framework suitable for enterprise-scale deployments.