

As a refresher from the previous article, the Azure SQL Migration extension in Azure Data Studio uses the Azure Database Migration Service to enable both online and offline database migrations to Azure SQL Managed Instance or SQL Server on Azure Virtual Machines.
In this article, we’ll build on the migration experience from the previous article using Azure Data Studio and the Azure SQL Migration extension, this time performing offline migrations targeting Azure SQL Managed Instance and SQL Server on Azure Virtual Machines (VM).
Offline Migration to Azure SQL Managed Instance
The first migration we cover in this article is an offline migration of a SQL Server 2012 database to Azure SQL Managed Instance with the database backup hosted in an Azure Storage Blob Container. In an offline migration, the application downtime begins when the database migration starts and lasts for the duration of the time needed to restore the database to its target. Offline migrations are generally best suited for applications that can tolerate extended downtime.
Connect to Azure
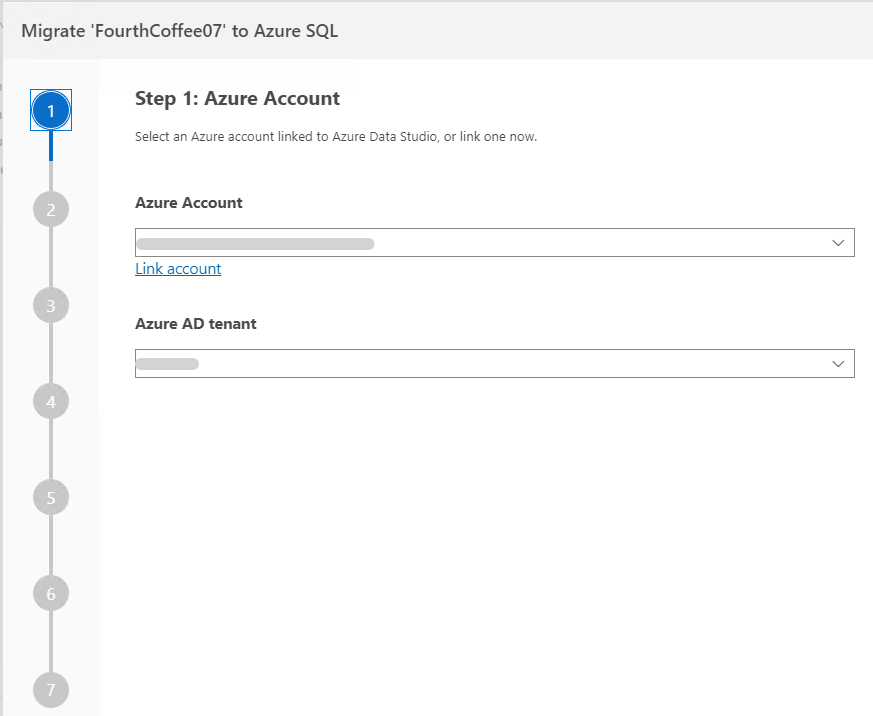
Just like the online migrations detailed in the previous article, offline migrations also consist of six steps with the seventh step providing a summary of the migration activities. The first step in the migration is to choose the Azure account under which the migration will run. You can link an Azure account in this step or choose from an existing account linked in Azure Data Studio.
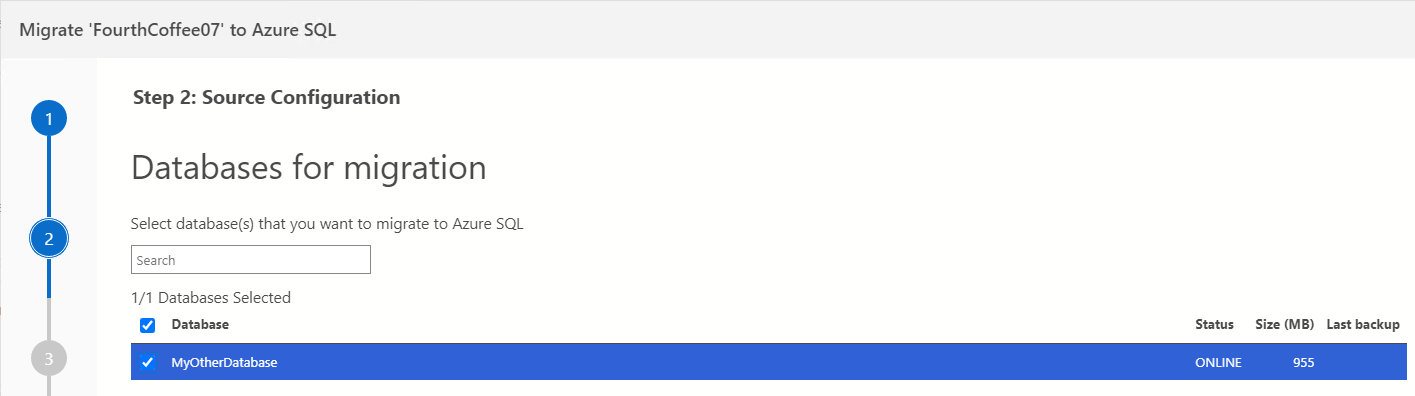
Choose Databases
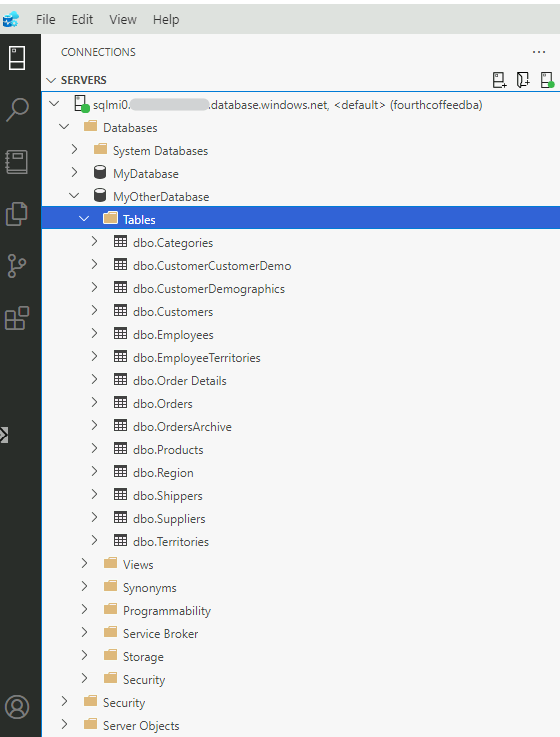
In step two, select the database or databases to be migrated.
Choose the Target
In step three of the migration wizard, choose the Azure SQL target. Notice that a database assessment occurred between steps two and three. For this migration, we’ll choose Azure SQL Managed Instance (PaaS) as our target.
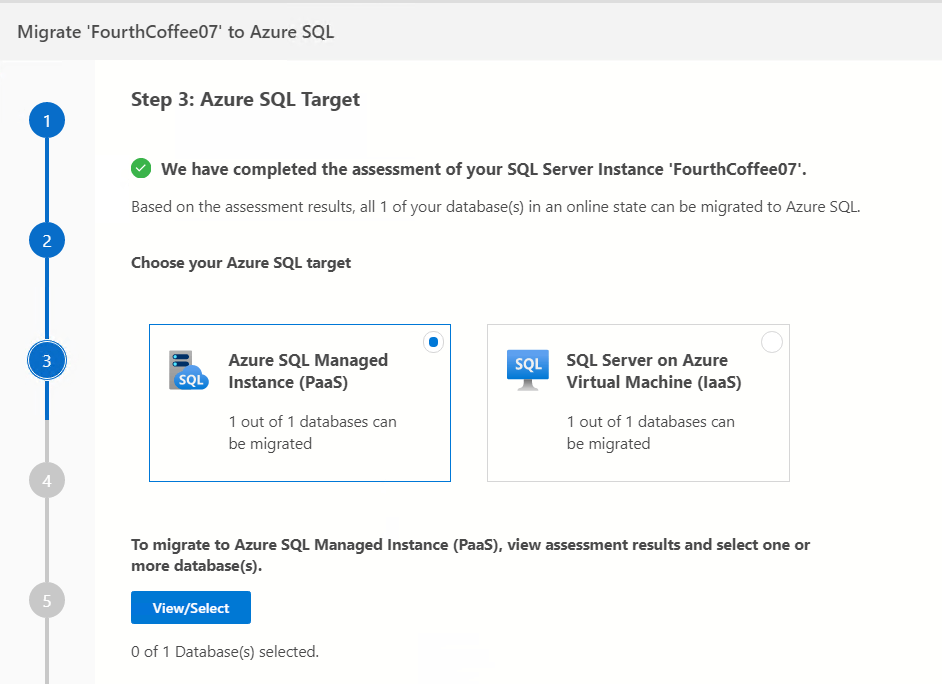
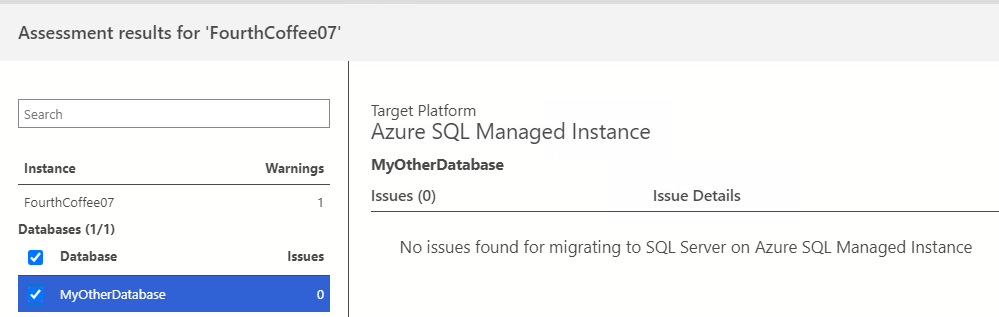
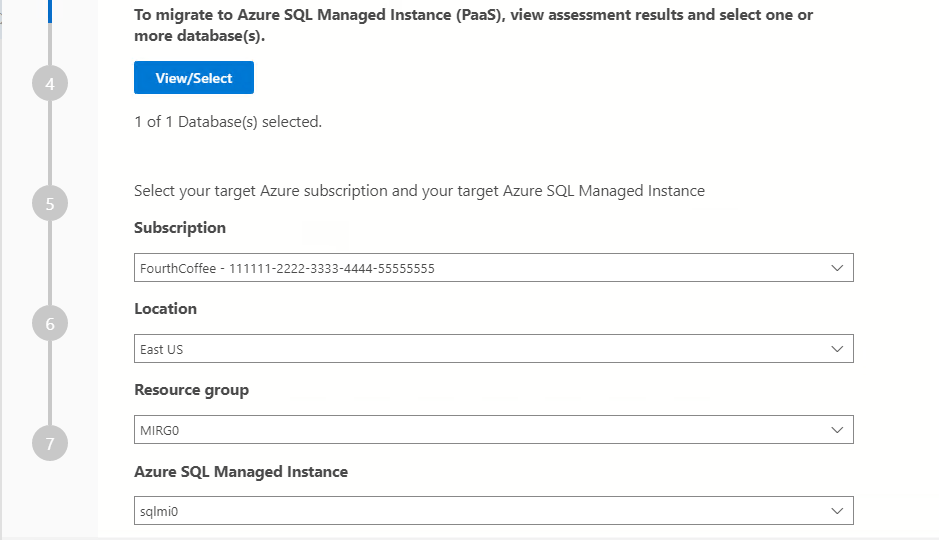
Choose the “View/Select” button to review any potential migration issues for the selected database or databases.
Next, select the Subscription, Location (Azure Region) and Resource Group containing the target Azure SQL Managed Instance.
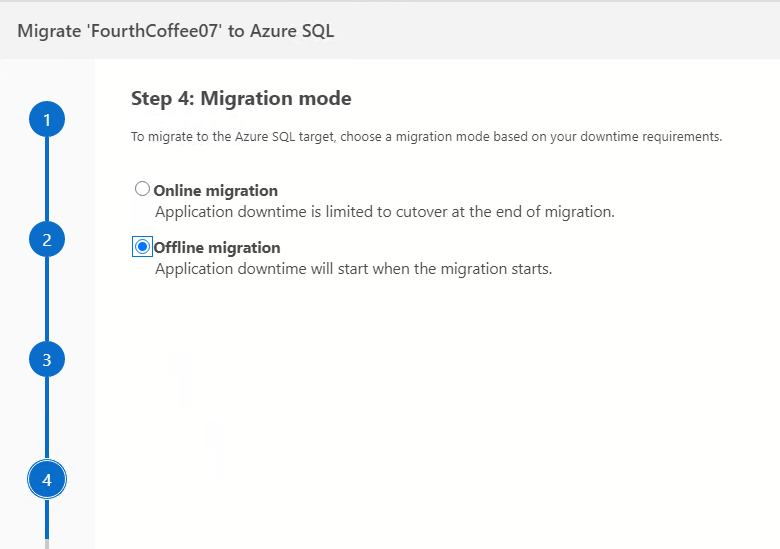
Choose the Migration Method
In step four, choose the migration mode. As noted above, we’ll be performing an offline migration.
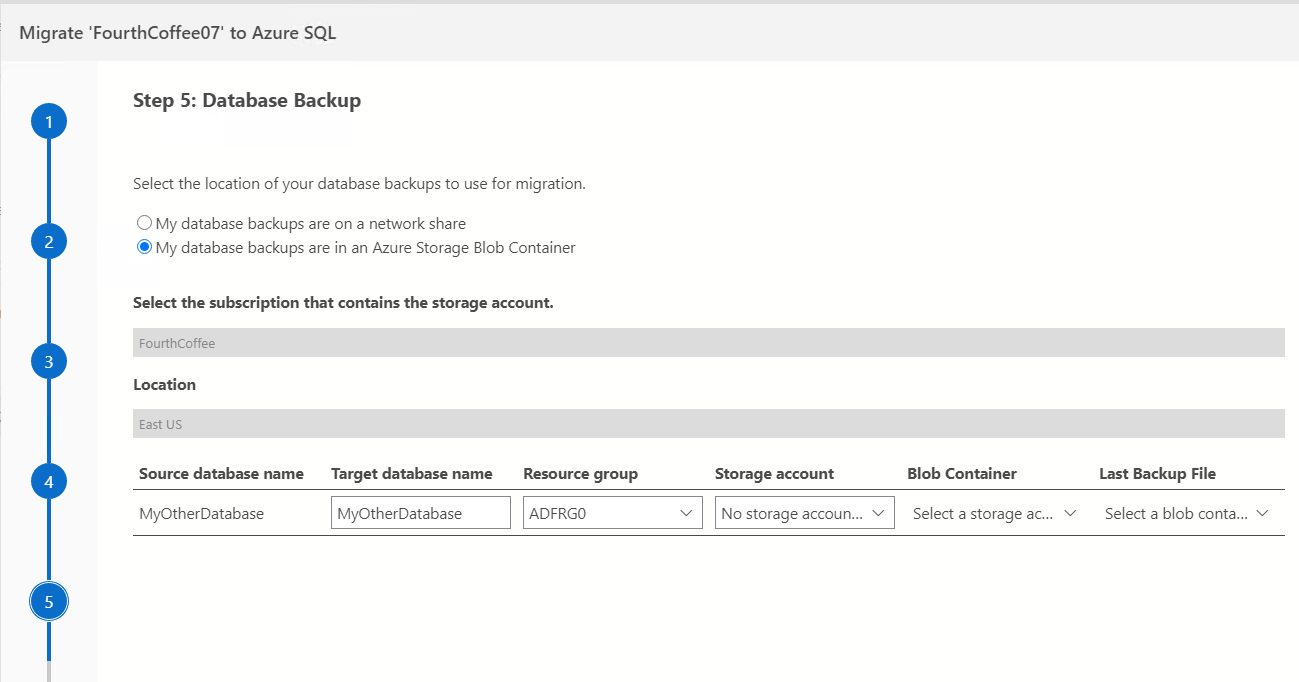
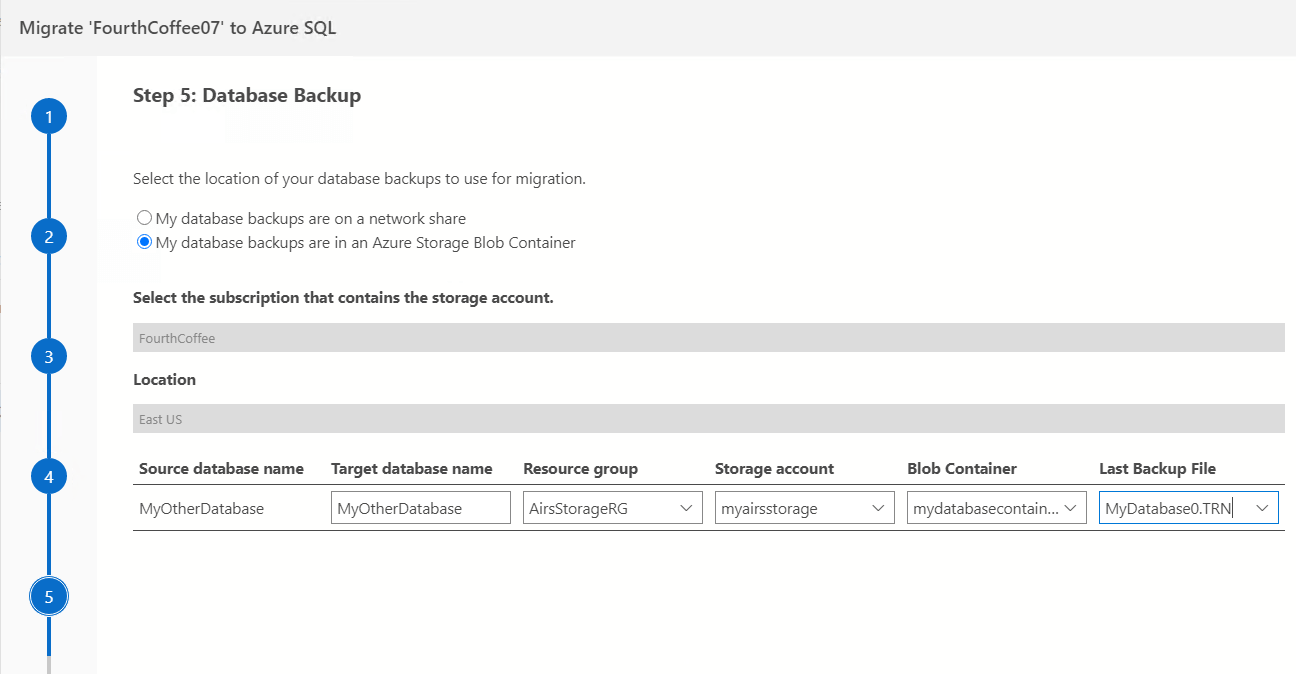
Choose the Backup Location
In step five, we specify the location of the source database backups. For this migration we’ll be using an Azure Storage Blob Container. This step requires a few additional pieces of information that are selected using the provided drop-down menus. Let’s review each item.
- Source database name: The source database name. This cannot be changed.
- Target database name: The Azure SQL Migration extension supports renaming of a database during migration, if desired.
- Resource group: The resource group containing the source storage account for the database backups.
- Storage account: The name of the storage account with the Blob Container containing the backups.
- Blob container: The Blob Container that contains the database backup files to be restored.
- Last backup file: This drop-down will display all the database backup files in the container. Choose the final database backup file to be restored on the target database. In the example below, the transaction log file named “MyDatabase0.TRN” is the last file I want restored to the target database.
Note that the best practice is to have a separate container for each database being migrated.
Don’t forget that each database backup for use in the migration, whether a FULL backup or a LOG backup, must be taken using the “WITH CHECKSUM” statement.
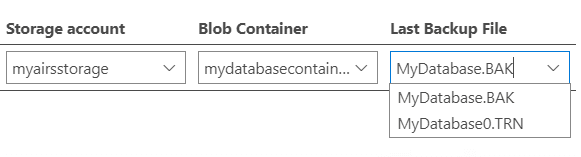
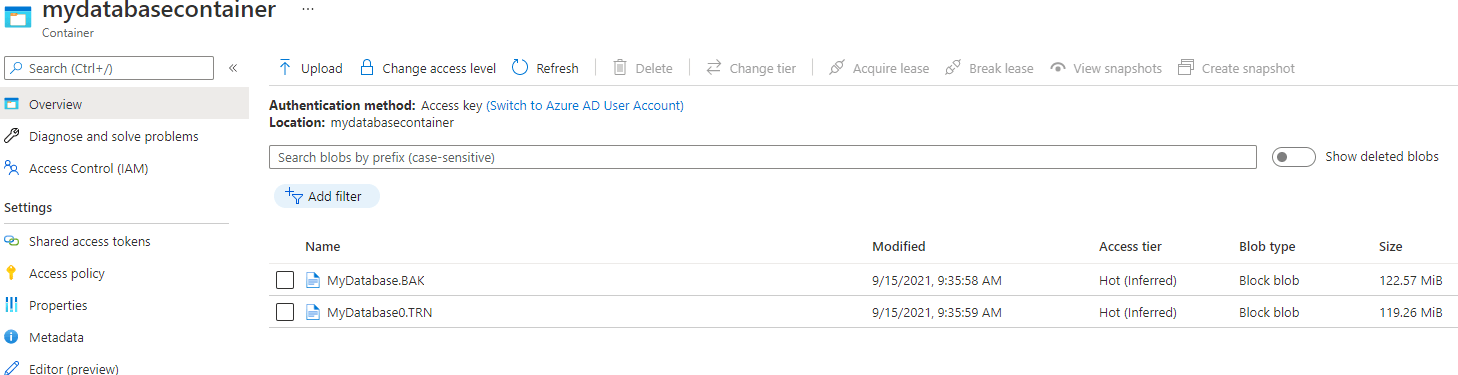
Here is a view of the database backup files from within the Azure Storage Blob Container.
Select the Resource Group
For step six of the migration wizard, select the Resource Group containing the Azure Database Migration Service as well as the Azure Database Migration Service itself.
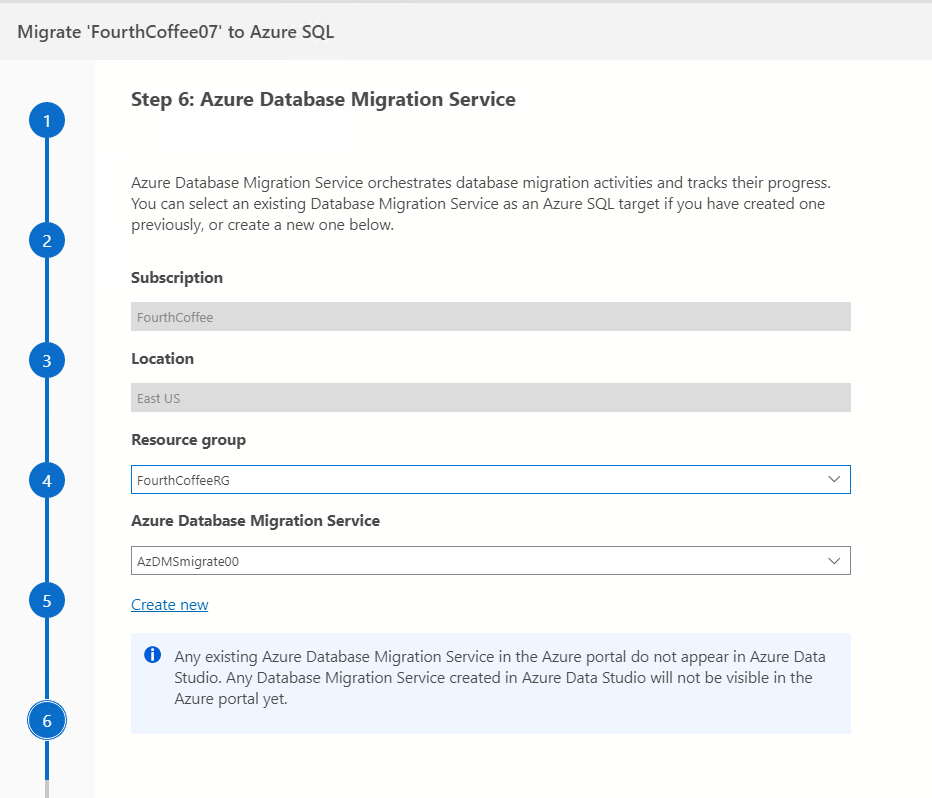
Note that since we are using Azure Storage Blob Container as the source of database backups, the self-hosted integration runtime is not used during this migration.
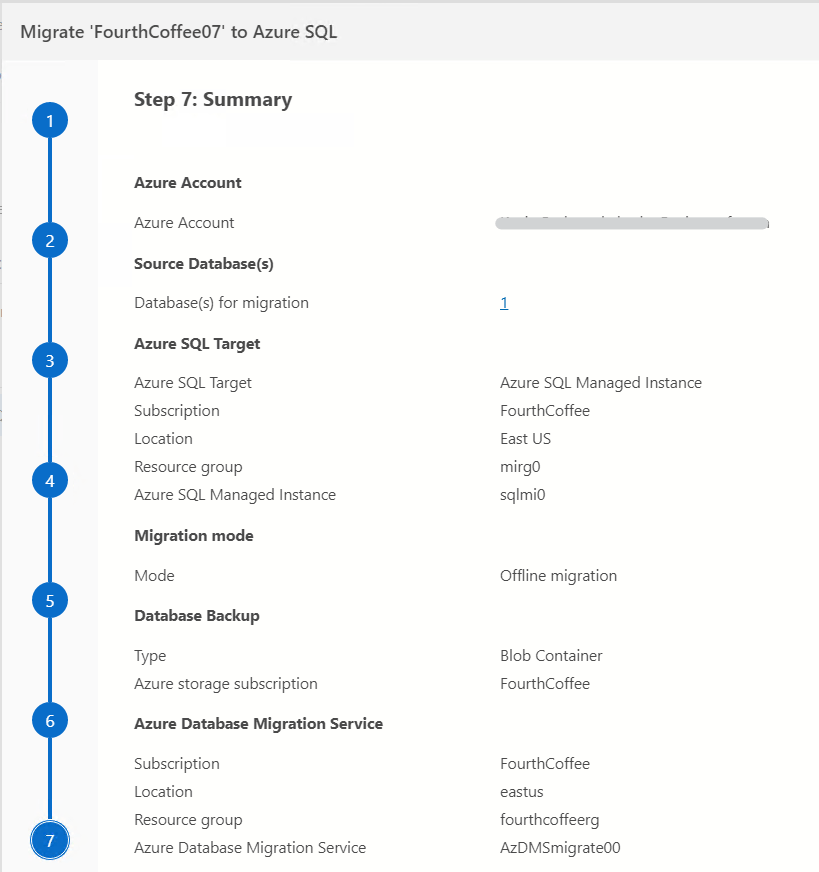
Summary
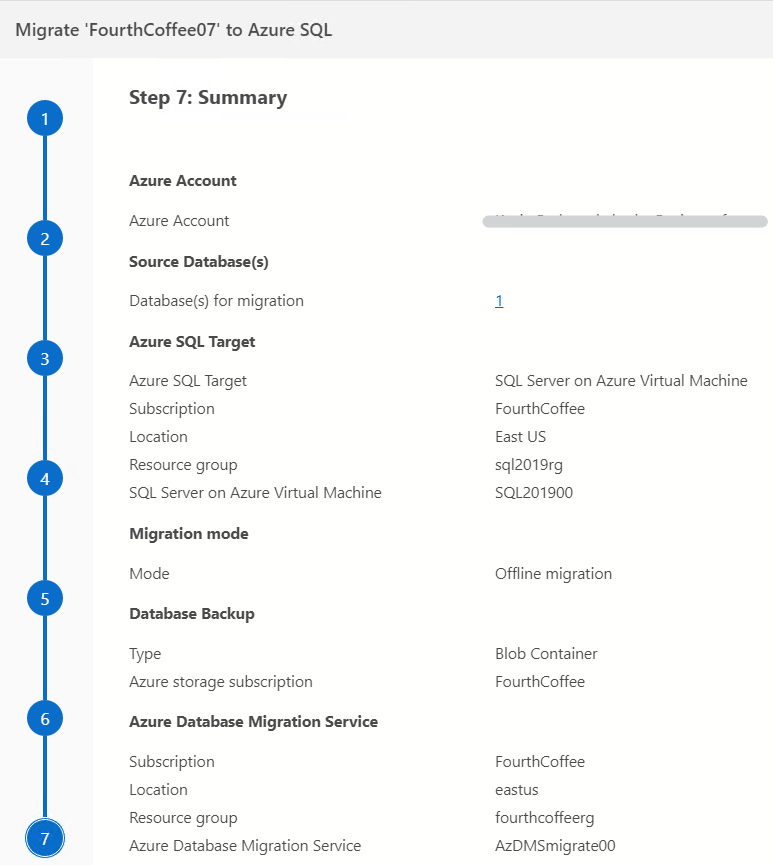
Step seven of the migration wizard provides a summary of the migration. Choose "Done" in the lower right corner to begin the migration.
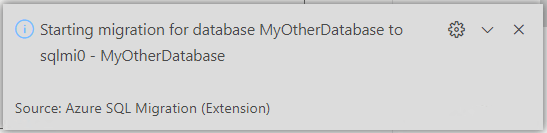
A pop-up appears in the lower right corner of Azure Data Studio indicating that the migration has started.
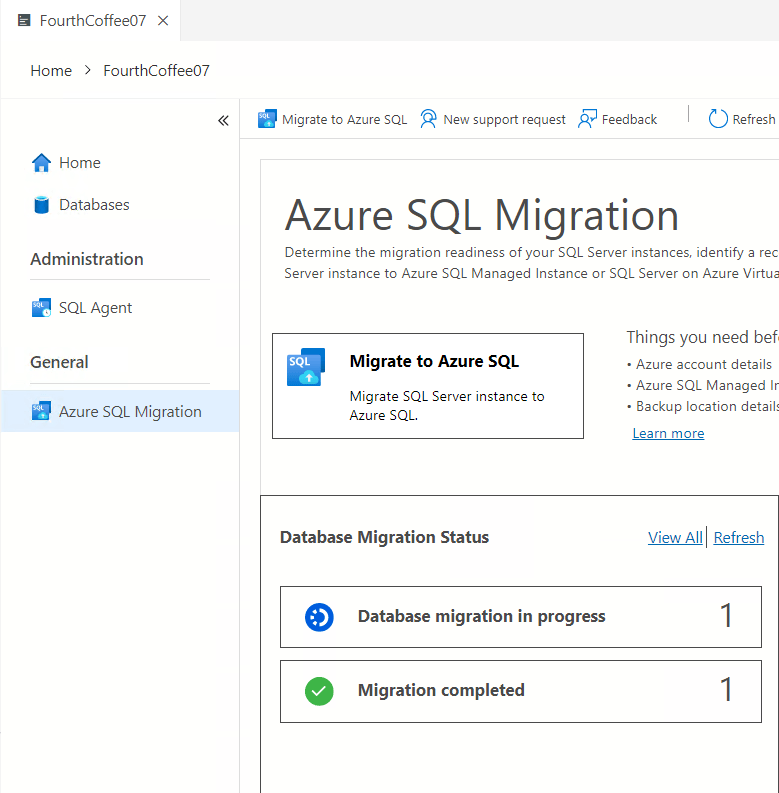
The Database Migration Status section of the Azure SQL Migration tab will also indicate the number of migrations that are in progress. Choose "Database migration in progress" to view migration details on the Migration Status screen.
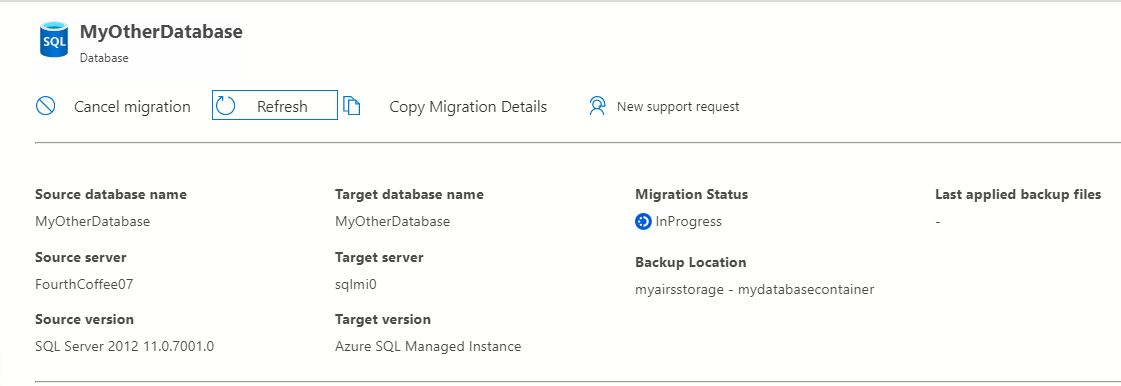
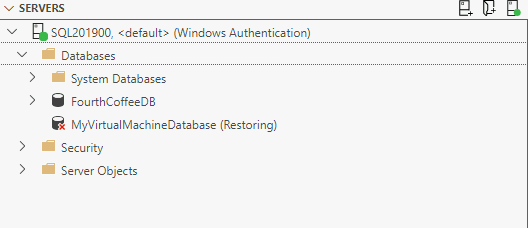
The database details page displays database migration progress. Note that because this is an offline migration, there is no “Complete cutover” button. The database backup files in the Azure Storage Blob Container will be restored and the database immediately brought online.
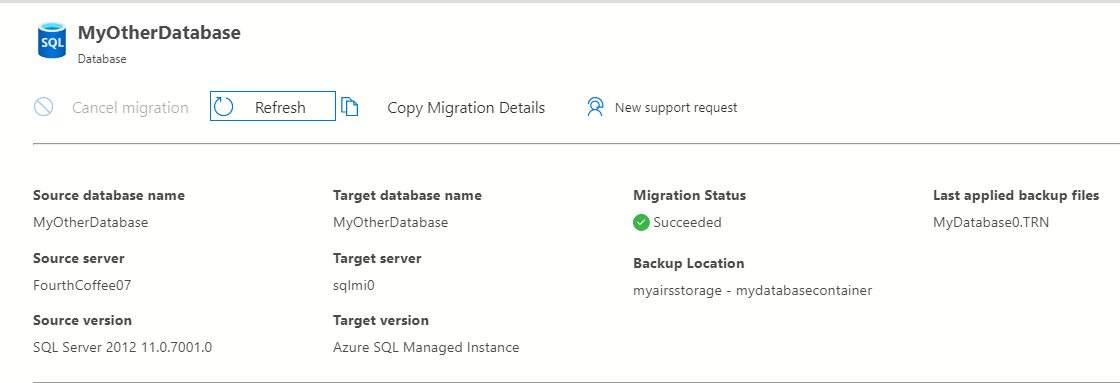
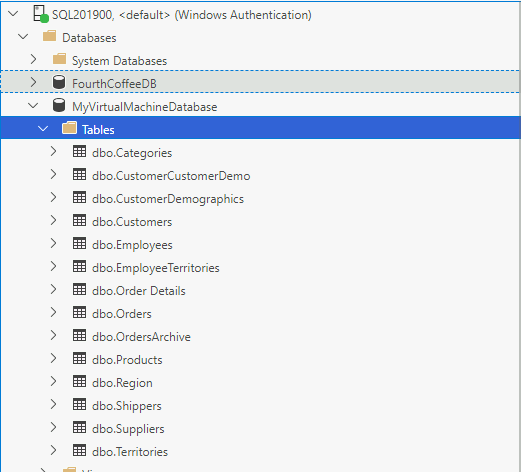
On the target Azure SQL Managed Instance, the database is online and ready for use.
Offline Migration to SQL Server on an Azure Virtual Machine
For the second migration detailed in this article, we’ll perform an offline migration of a SQL Server 2012 database to SQL Server 2019 running on an Azure Virtual Machine with the database backups again hosted in an Azure Storage Blob Container. As with the previous article, we’ll focus on the migration steps that differ from the previous offline migration.
With a migration to SQL Server on Azure Virtual Machines, the SQL IaaS Agent extension is a requirement. The IaaS Agent extension is what enables the Azure Database Migration Service to communicate with the SQL Server instance installed on the Azure VM. By default, when a SQL Server VM is created using an Azure Marketplace image, the SQL IaaS Agent extension is pre-installed and registered. For SQL Server instances running on Azure VMs that were not provisioned from a marketplace image, follow the steps detailed in this Microsoft Docs article to install and register the SQL Agent IaaS extension prior to performing a migration.
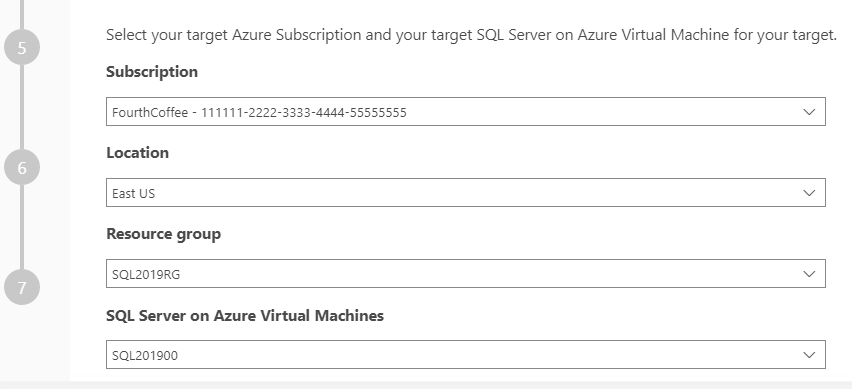
Step three is the first difference from the previous migration, in that here we’ll select SQL Server on Azure Virtual Machine (IaaS) as our target.

Still on step three, select the Resource group and name of the Azure VM running the target SQL instance.
Note that the summary screen will display information regarding the Resource group and Azure VM name.
Beyond those small differences, an offline migration to SQL Server on Azure Virtual Machine is very similar to the steps outlined above for migration to Azure SQL Managed instance.
Conclusion
In this article we performed two offline migrations using the Azure SQL Migration extension in Azure Data Studio. The first migration moved an on on-premises SQL Server 2012 database and migrated it to Azure SQL Managed Instance. The second migration was a similar offline migration, differing only in SQL Server on Azure Virtual Machine serving as the target.
The Azure SQL Migration extension is a great addition to Azure Data Studio and it will be interesting to watch future enhancements extend its capabilities. Thanks for reading!
