

This document aims to explain the process of using ADF (Azure data Factory) to make a copy of a Cosmos DB (Instance A) collection into a new collection in another Cosmos DB Instance effectively and cost effectively.
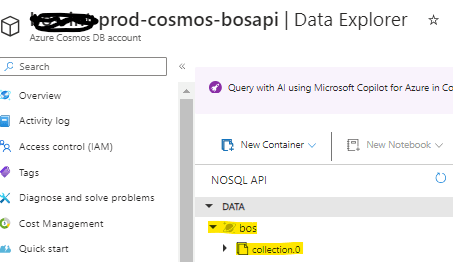
For example, here is our Instance A in the Data Explorer:
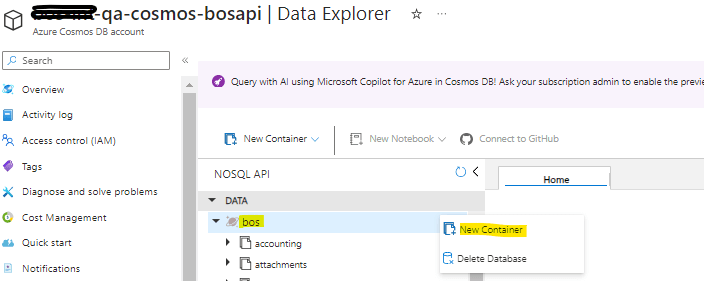
Here is Instance B:

We are looking to move this instance:
- Instance A : Prod-cosmos-bosapi, Bos(database)>>collection.0(ContainerName)
to this one:
- Instance B: Qa-cosmos-bosapi>>Bos(database)>>collection.0(ContainerName)
Please note: The Instance B is something we have yet to create.
Pre Steps: Creating the Instance B collection
These are steps that must be followed to achieve the migration effectively, however, we should make the predefined steps in order to make the entire exercise smooth. Otherwise this process can end up becoming time consuming and costly. In order to predefine our process we are performing the following things.
Creating a New Collection
We need to create the new collection i.e Qa-cosmos-bosapi>>Bos(database)>>collection.0(ContainerName). In order to create a collection you will need to click on the '...' (3 dots next to the database). The database name below is 'bos' and we will be able to see the 'New Container' to click to create a new container.
This will lead to the below screen. We have to create a collection under the same database, so we have to choose "Use existing"
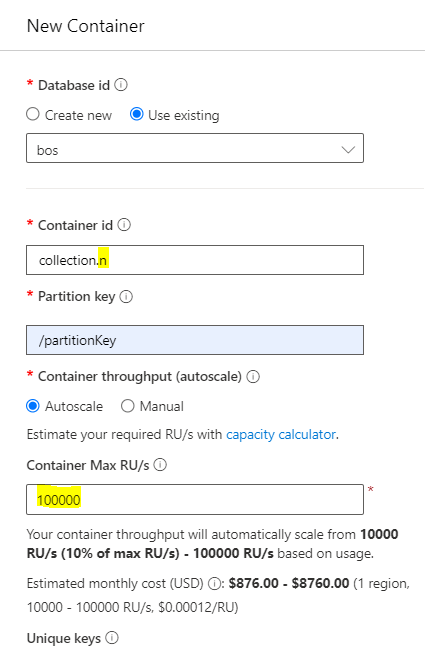
In order to make a decision on the number of RUs, we can follow this process. Firstly, create a collection in instance A, ensuring that the Request Units (RUs) are set higher. The formula to calculate the higher RUs is as follows: MAX(1000, Highest max RUs ever provisioned / 10, current storage in GB * 100), with the result rounded to the nearest 1000 RU/s.
For instance, consider Example 1. Here, an autoscale container is created with a maximum of 20,000 RUs, and the storage capacity is 100 GB. Therefore, the calculation for the lowest permissible RUs would be: MAX(1000, 20000/10, 100*100), which equals 10,000 RUs.
Similarly, in Example 2, an autoscale container is set up with a maximum of 100,000 RUs and a storage size of 100 GB. Following the same formula, the calculation becomes: MAX(1000, 100,000/10, 100*100), resulting in 10,000 RUs.
Consequently, these examples illustrate how to determine the maximum RUs, based on the maximum RUs ever provisioned and the current storage capacity.
Updating the index to speed up the copy activity
Usually the indexing looks like the code below when we create a collection:
{
"indexingMode": "consistent",
"automatic": true,
"includedPaths": [
{
"path": "/*"
}
],
"excludedPaths": [
{
"path": "/\"_etag\"/?"
}
]
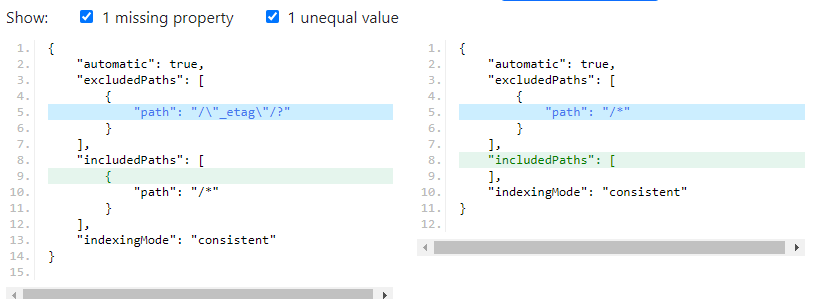
}We have to change the indexing to the code below.
{
    "indexingMode": "consistent",
    "automatic": true,
    "includedPaths": [

    ],
    "excludedPaths": [
        {
            "path": "/*"
        }
    ]
}
The difference between the above two indexes is shown here. We have removed the included path in order to make the upsert/insert/update operation much faster.
Logical Divisioning
To illustrate, let's take Employee data as an example. This dataset will encompass various elements such as Employee, Contact, Department, and others. This approach significantly streamlines the parallel run process. Once the data is logically divided, the next step is straightforward. Proceed to Azure Data Factory (ADF) where you can create a pipeline. This pipeline will leverage the structured organization of the data, facilitating efficient processing and management.
Step 1: Create pipeline that can achieve quick and effective copy from one collection to another collection.
in order to create a pipeline we first need to enter into our Azure Data Factory instance and click on the 'Open Azure Data Factory Studio' to enable the instance.
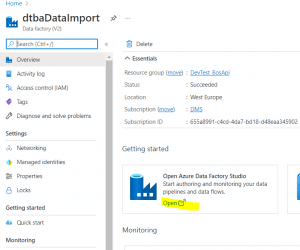
Click on Open.
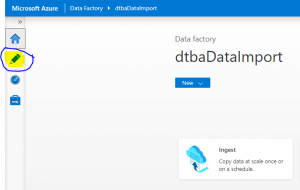
Initially, click on the pen symbol to begin the process. Following that, proceed to create a branch. This step is crucial as it allows for the organization and management of different versions or variants of your work. Once the branch is established, the next step is to create a pipeline within that branch.
Within this pipeline, you can then execute various tasks and operations relevant to your project or data management needs. This structured approach ensures clarity and efficiency in your workflow.
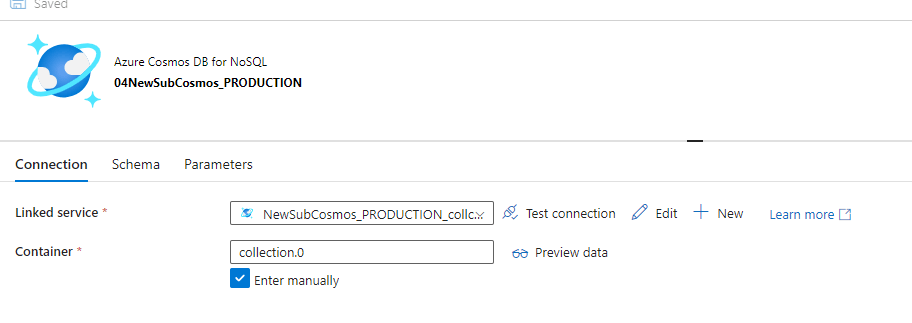
We must use a lookup activity in order to identify the the number of logical divisions in the database in order to have parallel runs for the foreach activity. In the source dataset, it's essential to create a dataset that establishes a link to the collection from Instance A. Lookup4Prodtypes name of the lookup task. In the settings, we can see the Source dataset.

Once you click Open , we must make sure this is pointed to the the right instance, i.e Instance A as discussed in the initial summary. This will be Prod-cosmos-bosapi>>Bos(database)>>collection.0(ContainerName)
Once we go back to the previous screen, next to the Use query item, click on the "Query" button. This action will lead you to the Query field.

Within the Query field, write a query that is designed to retrieve the names of the logical divisions from the Cosmos DB collection from Instance A. This query is pivotal for accessing the specific data you need from the collection.
SELECT distinct(c.type) FROM c
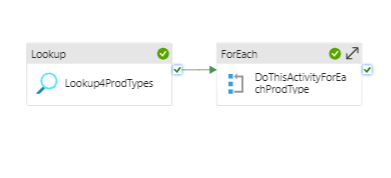
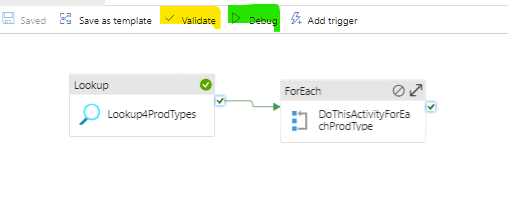
The ForEach actitivy makes sure to take individual inputs from look up and sends to the internal activities. We must use ForEach activity that reads the data from Lookup activity and make sure the perameterised data is used to have multiple activities under ForEach loop. Set the Batch count to 50 as the maximum is 50 in any ForEach activity.
The Items setting must be filled with the below query that refers to Lookup activity name from above. We have to use the below code for the Items field
@activity('Lookup4ProdTypes').output.valueThe diagram follows with the above information portrayed.

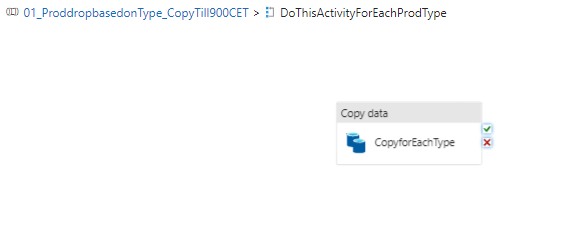
When we double-click on the ForEach activity, we will be presented with a configuration that looks something like this. At this stage, it's important to utilize the Copy activity, which is specifically designed to perform the actual task of copying.
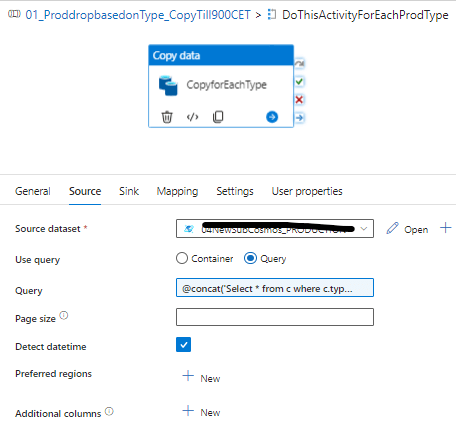
Under the copy activity. The source data set must be the instance A again, i.e Prod-cosmos-bosapi>>Bos(database)>>collection.0(ContainerName).
The query value will be:
@concat('Select * from c where c.type= "',item().type,'"')Please note that the type from the item().type must be same from the look up activity column name.

Once this is done and save and validate to see any errors.
Run the pipeline
Once we click the debug
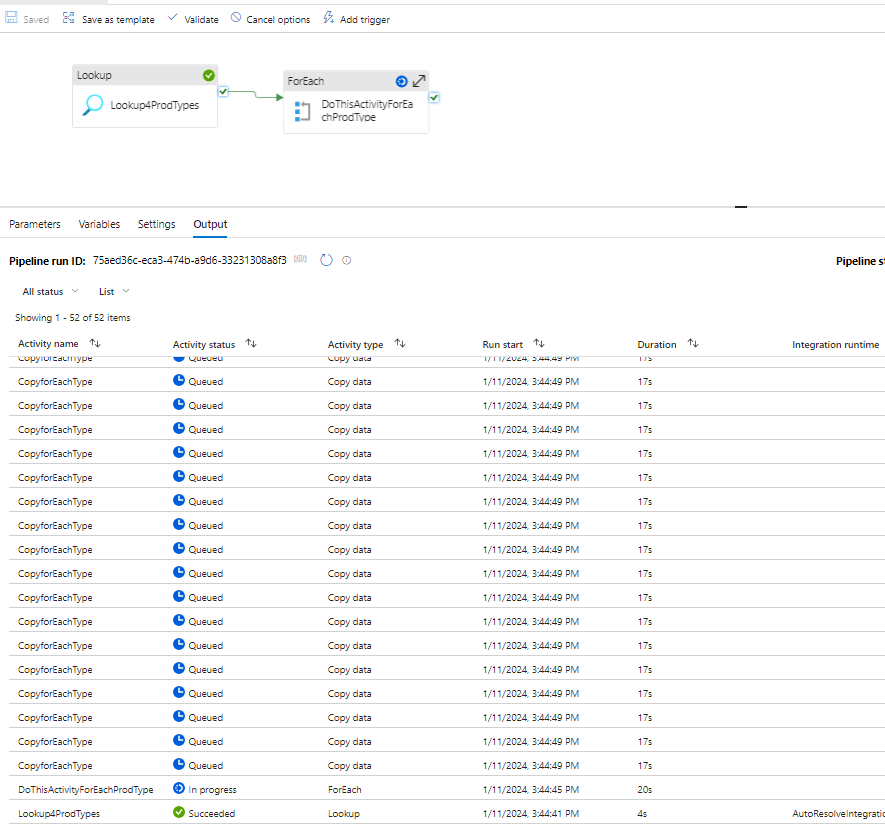
There will be number of types from the logical divisions of parallel runs that makes an effective data copying using single and very simple pipeline.
Validations
Make a note of the number of records in the Instance B
select COUNT(1) as Computed from c
and validate once all the runs are successful with the instance B with the above query. The count must match and the whole process of copy is complete.
Post Copy Activities
First, reinstate the indexes. Please remember to change the indexes back to
{
    "indexingMode": "consistent",
    "automatic": true,
    "includedPaths": [
        {
            "path": "/*"
        }
    ],
    "excludedPaths": [
        {
            "path": "/\"_etag\"/?"
        }
    ]
}
Also, reinstate the RUs and set the RUs back to the smaller value based on the formula mentioned in the RUs decision section
Use Case
In a scenario where we handle approximately 6.5 million records, consuming 150GB of data and 40GB for index usage, the Azure migration tool initially required over 48 hours to complete the copying process. However, we have now successfully reduced this time to a mere 45 minutes.
It's important to note that for some entity types, the process may still take longer than 1 or 2 hours. In these instances, we recommend actively applying the same technique and manually running these entities to bring the duration down to under an hour.
Significantly, this method greatly affects costs. By employing the discussed technique, we can potentially reduce costs to below $500, marking a considerable cost-saving achievement.
