In this new article, we will see how to create a PostgreSQL database using the Azure Portal and create some objects on it. We will install the Azure Data Studio extension to work with the PostgreSQL database and create some objects on it.
Requirements
- First of all, an Azure Portal subscription.
- Secondly, a machine with Azure Data Studio installed.
Getting started
In the Azure Portal, Create a resource.
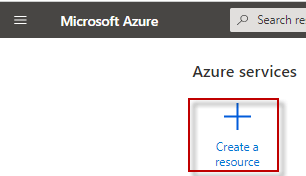 Create a new resource in Azure
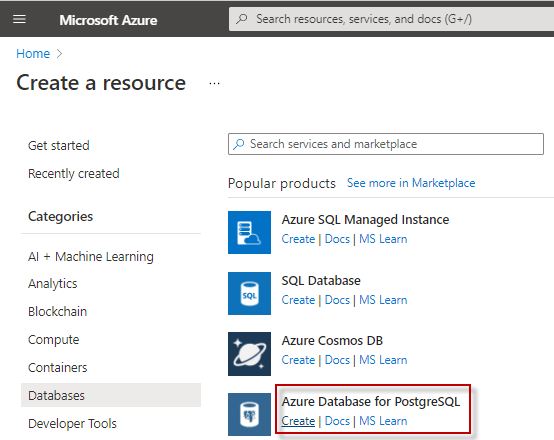
Go to Databases and select Azure Database for PostgreSQL. Click "Create".
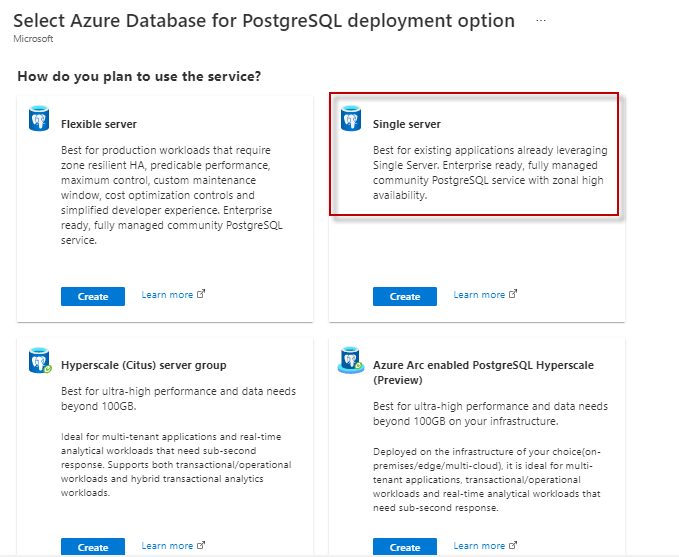
There are several options, let's talk about them.
- First, we have the Flexible server. This is a high availability option for customers that require a predictable performance.
- Secondly, we have the Single Server. This is the cheapest option. It uses a single server.
- Thirdly, it is the Hyperscale server group. For the highest performance and data beyond 100 GB.
- Finally, we have the Azure Arc enabled PostgreSQL Hyperscale for data beyond 100 GB. This can be deployed on-premises, edge, and multi-cloud.
In this example, we will use a Single server.
 Select a type of database
Something extremely important is the price. For more information about prices, review this link: Azure PostgreSQL pricing.
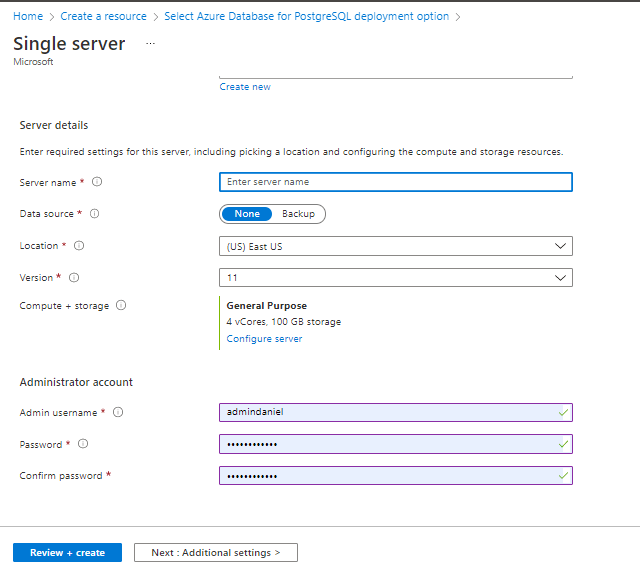
We will need to enter the following information.
- First of all, the server name is the name of the server. This information is very important because you will need it to connect later. If you do not have a server, create one.
- Secondly, the Data source. It could be a backup. In this case, is None.
- Thirdly, use the location close to your local machine.
- Also, the last version is currently 11. This value is usually the default one.
- In addition, we have the compute + Storage. This information is very important. We will talk in detail about this later. If you read and configure the correct options, your prices can be reduced considerably.
- Finally, you have the user name and password. Please write this information including the confirm password option. This information will be used later to connect to Azure using the Azure Data Studio.
We will use the Server name, Admin username to connect to PostgreSQL. We need to Enable our machine to connect to PostgreSQL.
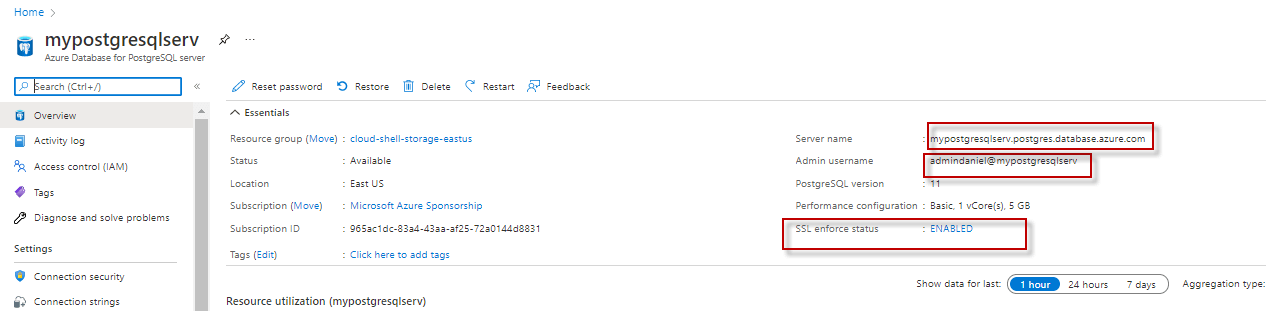 Enable SSL in Azure PostgreSQL
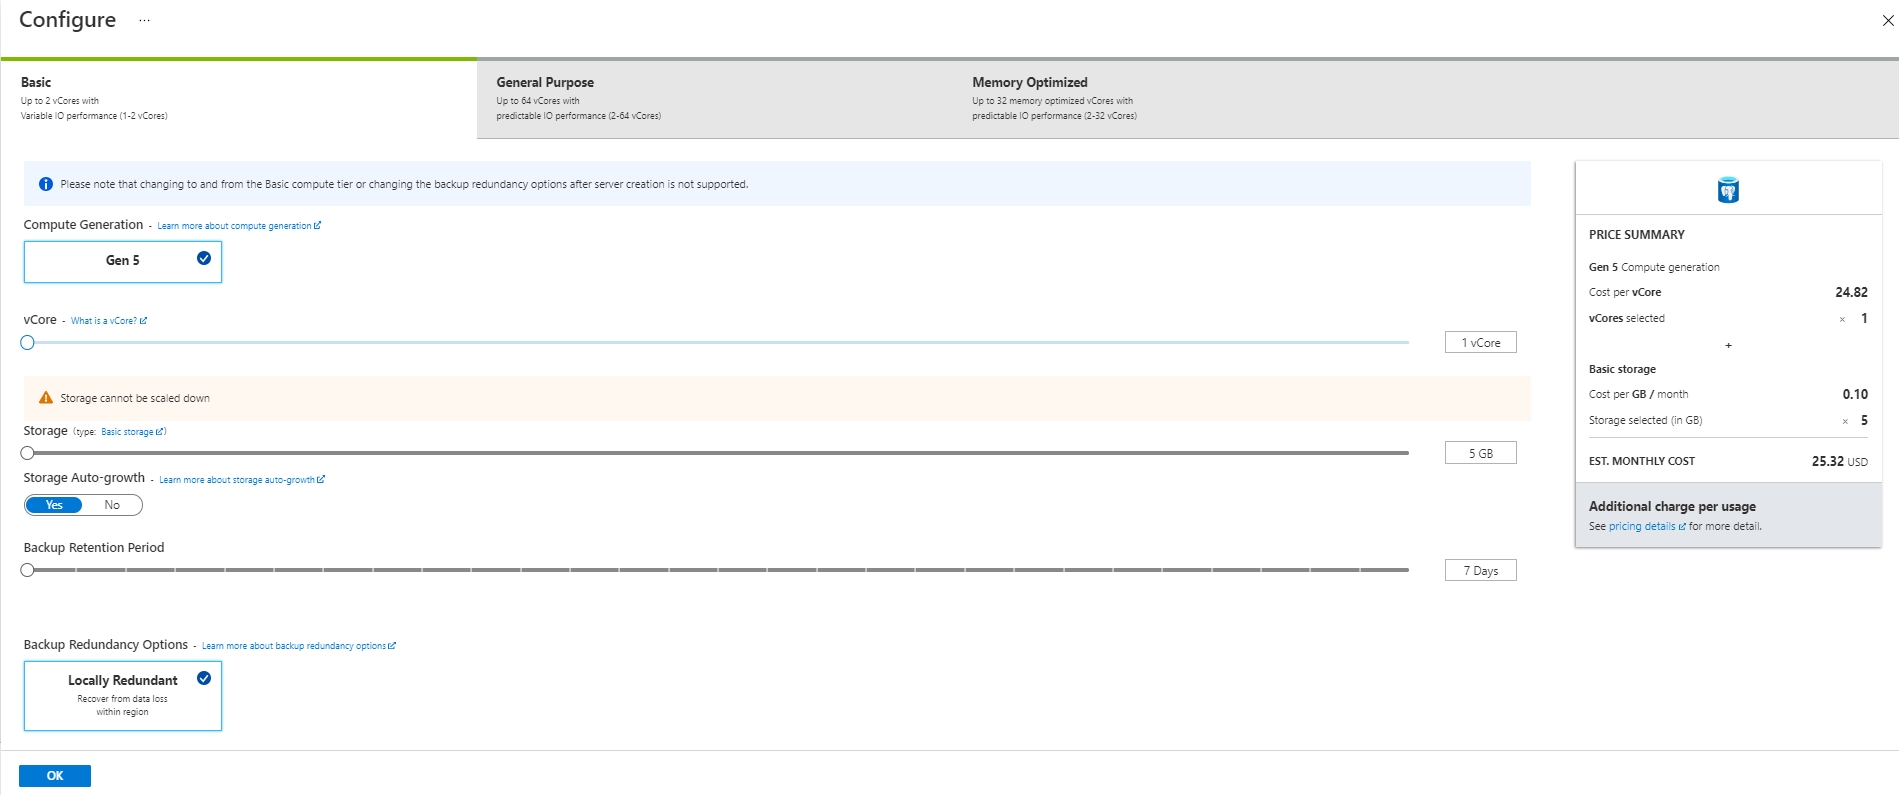
There are several options like Basic, General Purpose, and Memory-optimized. You can also select the number for vCores and the Storage in Gb. Note that you also have the Price summary to detect if the price is under your budget. You need to consider of your application is critical or not to select the best option. Also, you can talk select the redundancy options. For more information about these options, refer to these links:
- Compute and Storage options in Azure Database for PostgreSQL - Flexible Server
- Backup and restore in Azure Database for PostgreSQL - Single Server
 Azure Postgres prices
Working with PostgreSQL in Azure Data Studio
If you followed, the requirements, you should have the Azure Data Studio installed. Once installed, we will install the PostgreSQL extension. This extension will allow administering the PostgreSQL database. Let's install it.
First of all, go to Extensions in Azure Data Studio and search PostgreSQL and install it.
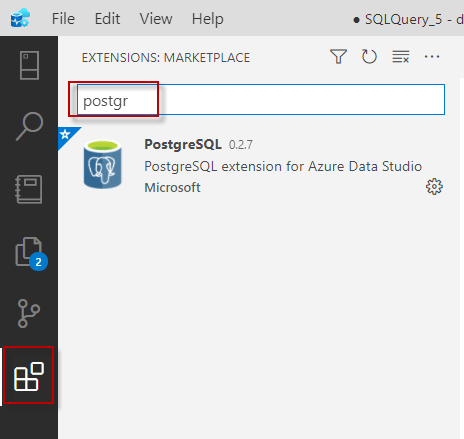 Extension in Azure Data Studio
Also, go to connections and add a new connection.
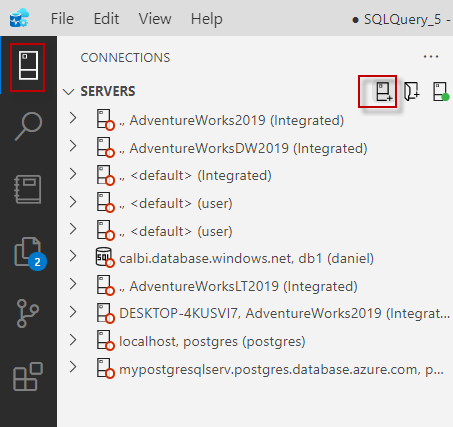 Add a Postgresql connection
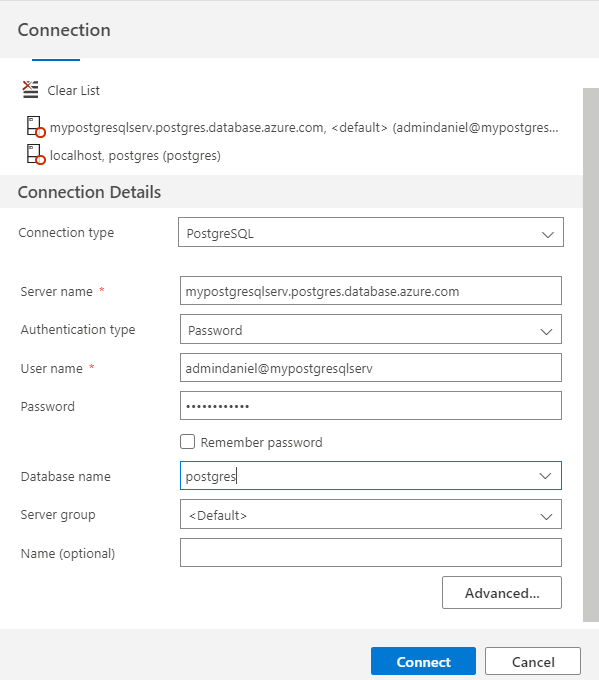
Finally, in connection type, select PostgreSQL, in Server Name, use the Server name used in the Azure Portal. For the authentication type use Password. The User name is the administrator name from the Azure Portal. The same for the password. If everything is fine, you will be able to see the available databases. In Database name, select the Postgres database and press connect.
Working with PostgreSQL in Azure Data Studio
Firstly, we will create a table with great soccer players. The table will be named public.player. This table will contain the soccer players and the total goals scored. After that, we will create a function named.
In connections right click on databases and select New Query.
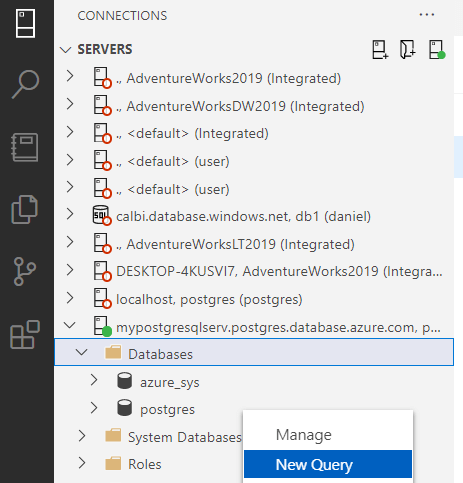 Create a new query in PostgreSQL
The following code will create a table named player.
CREATE TABLE player (

id serial PRIMARY KEY,

firstname VARCHAR ( 50 ) NOT NULL,

lastname VARCHAR ( 50 ) NOT NULL,

goal int

);
Next, we will insert some data with the best soccer players, Cristiano Ronaldo, Lionel Messi, and Robert Lewandowski.
insert into player values(1, 'Lionel','Messi',758)

insert into player values(2, 'Cristiano','Ronaldo',801)

insert into player values(3, 'Robert','Lewandowski',5621)
You can select rows or edit data using Azure Data Studio. Refresh the tables node and right-click the table created and select the Edit Data option to edit the information.
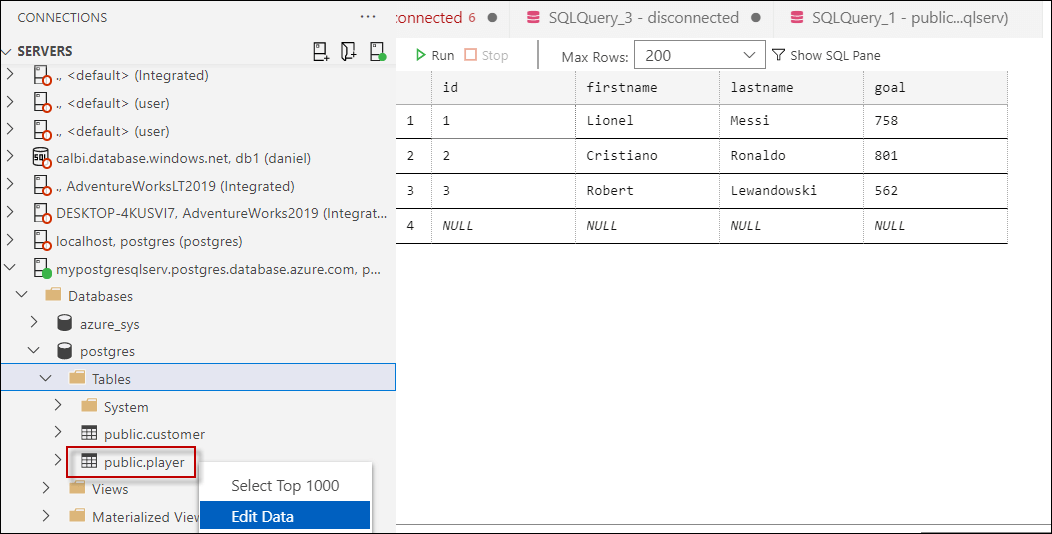 Edit Postgresql data
Create a function
Finally, we will create a function that will receive the last name as input and return the total goals of the player according to the last name. Here is the function.
create function goalsNumber(my_lastname varchar(50))

returns int

language plpgsql

as

$$

declare

v_goals integer;

begin

select goal

into v_goals

from public.player

where lastname= my_lastname;


return v_goals;

end;

$$;
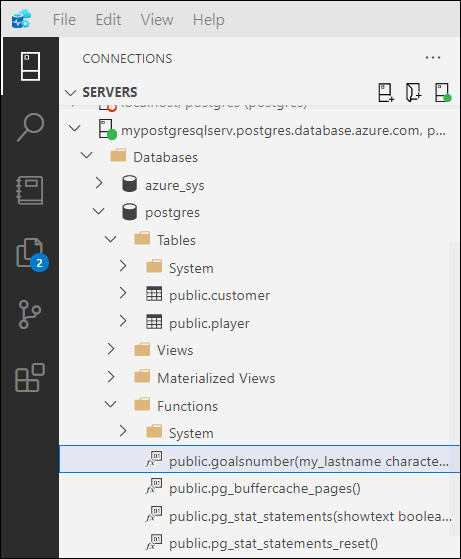 This will show the function created in Azure Data Studio
The function will return the goals of the given last name. Let's try with Messi.
select public.goalsNumber('Messi') as goalsThe function will return the following values.
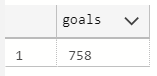 Goals of Messi
Conclusion
To conclude, we can say that creating an Azure Postgres database is a straightforward process. We show how to create a PostgreSQL database in Azure, and then we learned how to connect to it. Finally, we created a database with data and a function to it. Azure is growing each day and allowing to have more resources in the portal. If you want to learn more about Azure Data Studio, we strongly recommend reading these tips.