Azure Data Studio (ADS) comes with an extension to access a PostgreSQL database. In this article, we will talk about Postgres, install the Windows version On-premises and then connect with ADS and create some objects like a table, view, and select some data.
About Postgres
This database is one of the top 10 most popular databases in the world. PostgreSQL was developed at the University of California and the name was Postgres as a successor of the Ingress database. And then they changed to PostgreSQL to reflect that the database supports SQL. The database was released in 1996, so it is a lot of time in the market. Safe and secure. It is an open-sourced relational database.
The Elephant logo is named Slonik. It is inspired by the book, Elephants Can Remember, by Agatha Christie.
Installing Postgres
You can download the installer from this link: Download PostgreSQL
First, run the Windows installer and install it on a machine. You will have the Welcome message first. Press Next.
 PostgreSQL installation welcome
Secondly, you can select the directory where Postgres will be installed or use the default values.
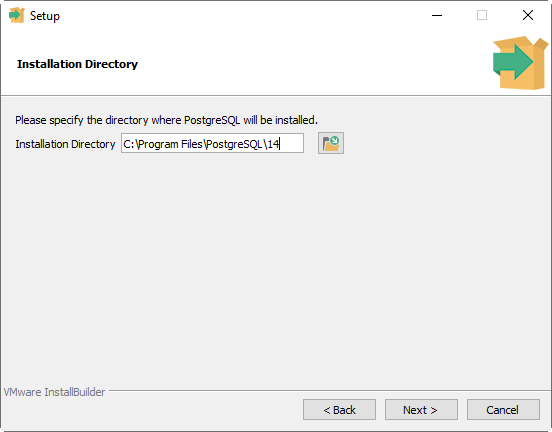 directory to install
Also, you need to install the components like the server and pgAdmin. PgAdmin is like SSMS. The Stack Builder is the graphical interface to download and configure modules.
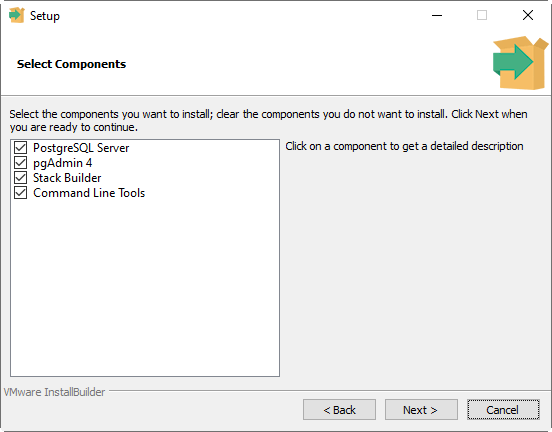 Components to install
In addition, provide a password. The superuser is Postgres. Write a password and a retype password and do not forget it. It will be used to connect to PostgreSQL later.
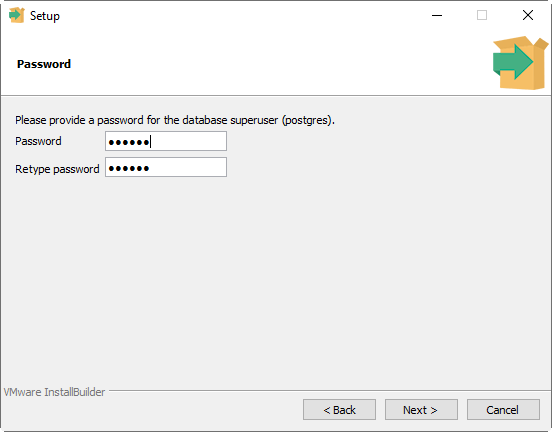 Postgres password
Select the port used by Postgres. The default is 5432.
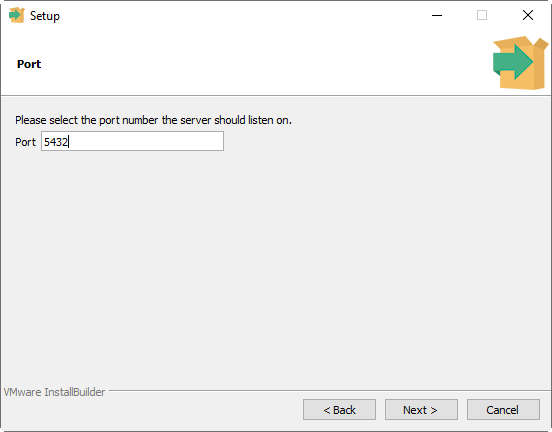 PostgreSQL port
In addition, we need to select the locale used by the new database cluster. This is used to set the code page.
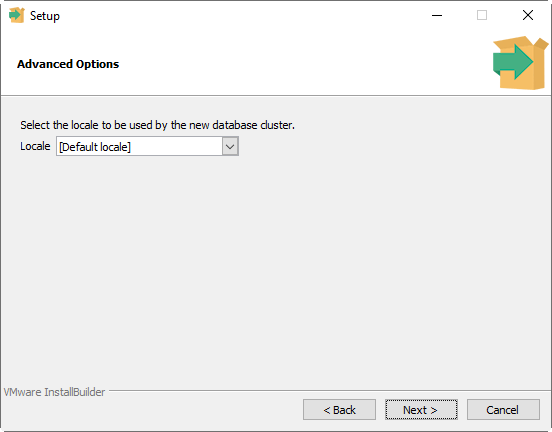 installation advanced options
Also, after selecting all the options a summary will be displayed.
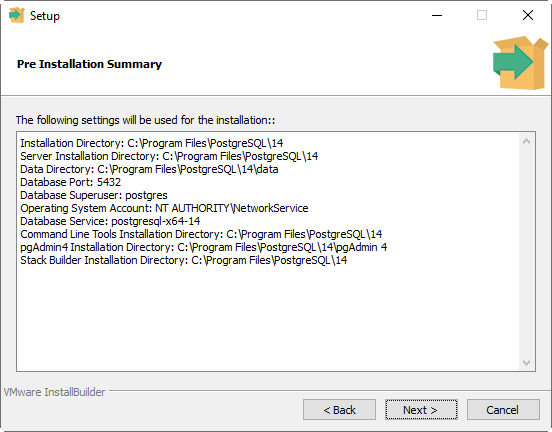 pre-installation summary
You will then have a Welcome to Stack Builder. Select the installation of your PostgreSQL in the Combobox.
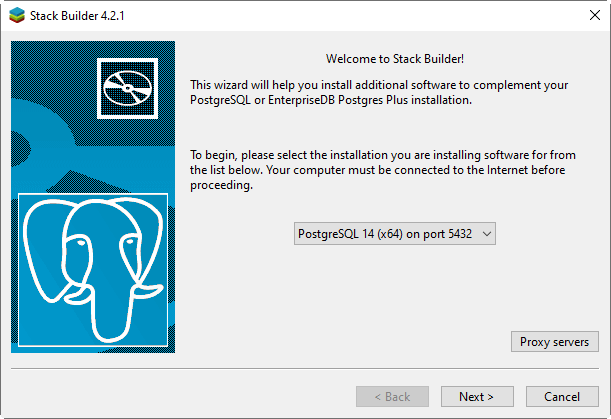 Stack builder installer
Also, select the applications to install.
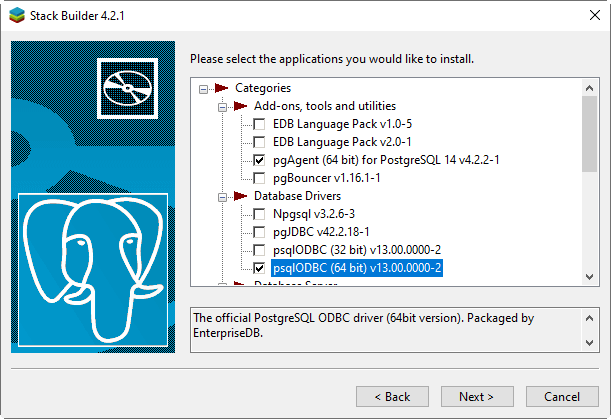 Applications to install
Finally, press next to finish the next options and write the Postgres password and login when necessary.
Working with PostgreSQL in Azure Data Studio
Azure Data Studio, now includes a new extension to connect to PostgreSQL. If you like Azure Data Studio and you also have a PostgreSQL database, it could be a great idea to use the extension. In Azure Data Studio, go to extensions and look for the PostgreSQL extension.
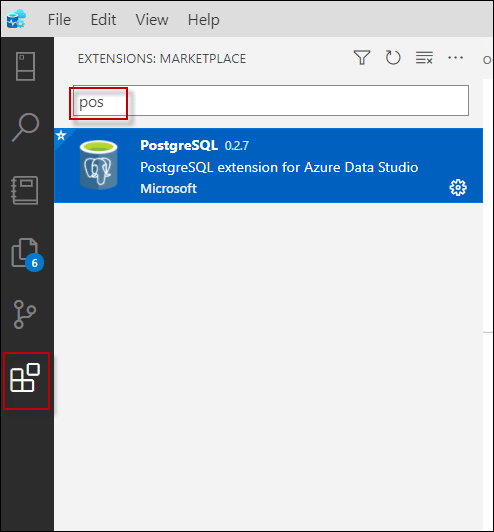 Install PostgreSQL extension
Secondly, press the add icon to add the Postgres Server.

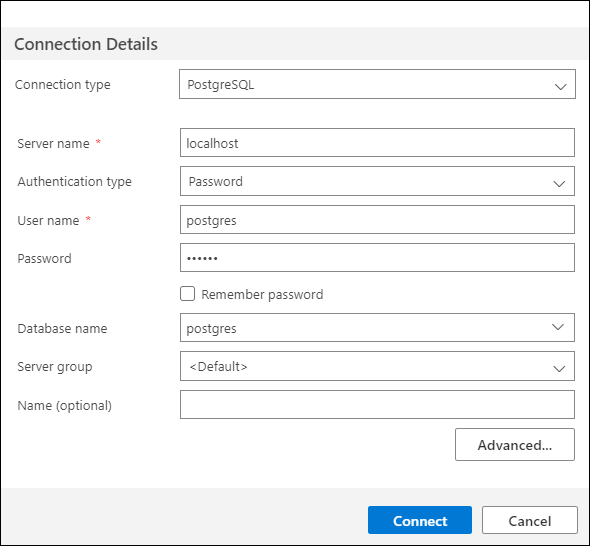
Thirdly, in Connection type, select PostgreSQL. Write the name of the Server name. In this example, the server name is the localhost. The user name is postgres and the password is the one used during the installation.
If everything is fine, in the database name, you will be able to see the Postgres database. This database is the default database installed by default. Finally, press the Connect button.
 PostgreSQL in Azure Data Studio connection
Create Objects with Azure Data Studio
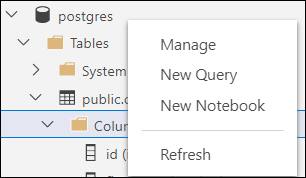
First, let's create a new table. Right-click the database and select new query.

Postgres new query
Additionally, write the following query to create a table and execute it.
CREATE TABLE customer (


   id integer,


    firstname       varchar(40),


    lasttname       varchar(40),


    email           varchar(40)


);
Also, if you cannot see the new table right-click the Tables node and select the Refresh option.
 Refresh data
Thirdly, you can insert, delete or update data using the Edit Data with the right click on the table.
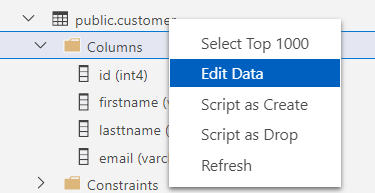 Edit table data of PostgreSQL in Azure Data Studio
You can write new rows, edit or delete them.
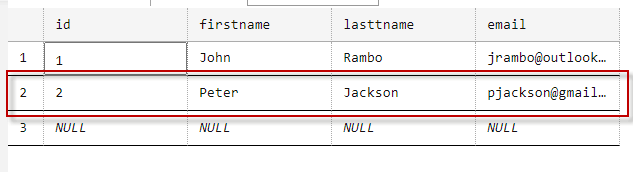 New data to edit PostgreSQL in Azure Data Studio
Also, you can insert data using the traditional T-SQL
insert into customer values(1,'John','Rambo','jrambo@outlook.com')
The Select Top 1000 option allows doing a select to the data table.
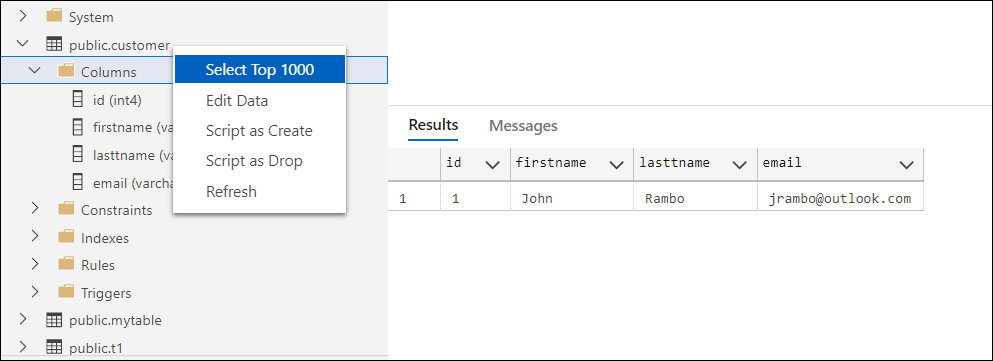 Postgresql in Azure Data Studio select top 1000 rows
In addition, we will create a view based on the customer table.
CREATE VIEW vcustomer AS


    SELECT email


    FROM customer
Also, you can select the view created and right-click and select the Script as Create option to generate the T-SQL script. It will generate the CREATE and the ALTER T-SQL code.
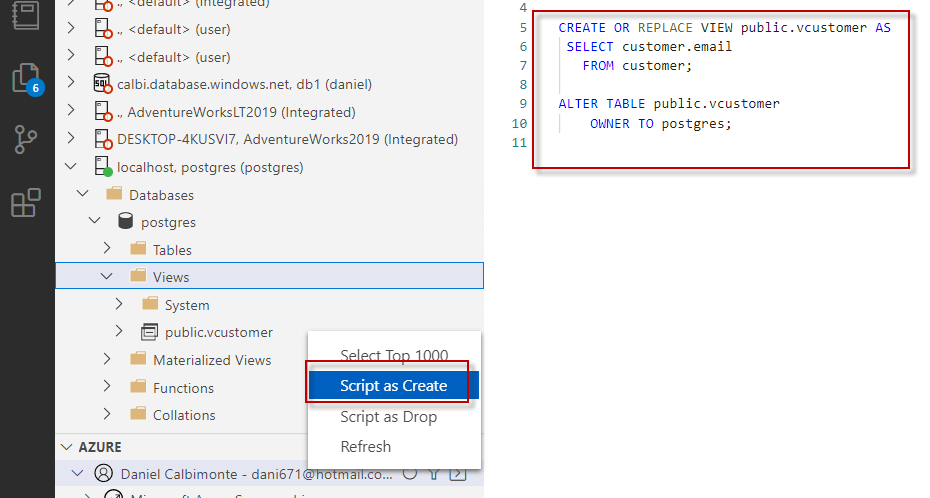 script created
In addition, you can also generate the DROP T-SQL code by right-clicking the view and selecting the Script as Drop option.
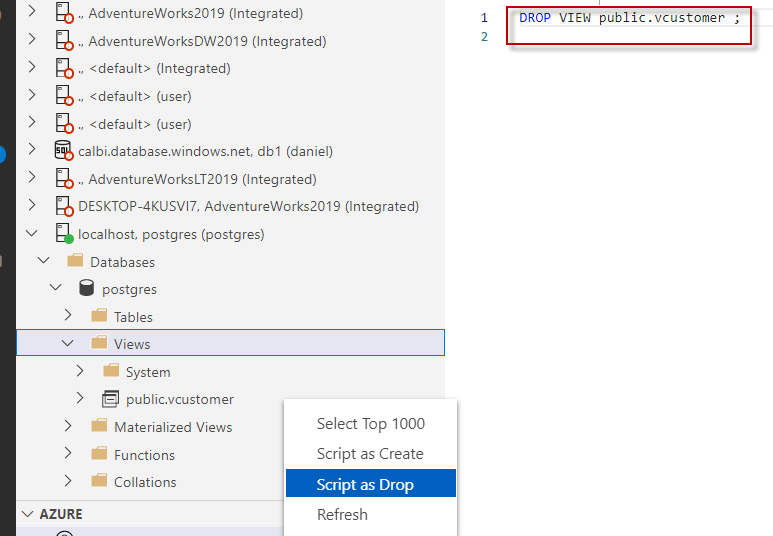 Select database
Finally, you can Select Top 1000 rows of the view by right-clicking on it and selecting that option.
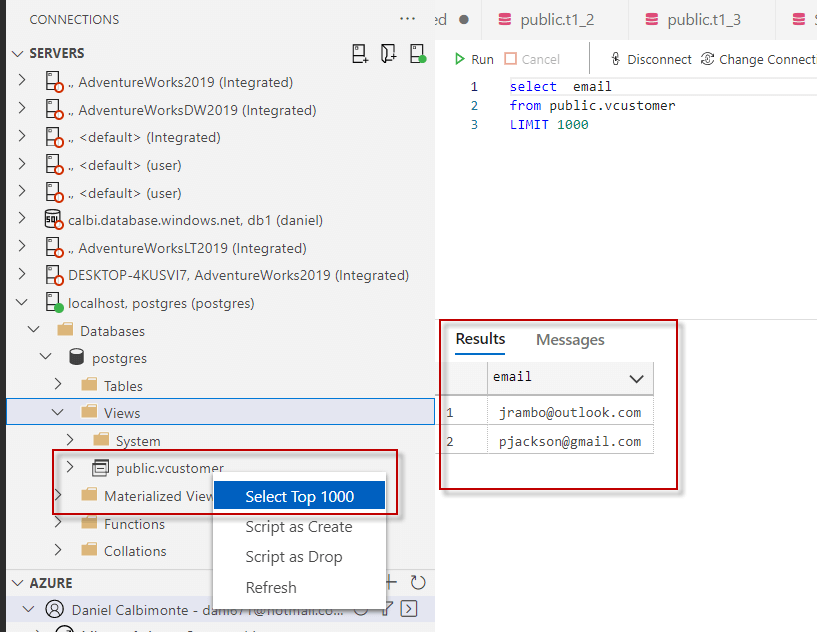 view select
Conclusion
To conclude, we learned how to install the Windows version of Postgres and then how to connect to it using Azure Data Studio. Finally, we learned how to create a table, a view, and how to select the data.