

Microsoft Azure offers the Azure Elastic Job agent as a managed service, enabling efficient scheduling of T-SQL workloads on Azure SQL Databases. Similar to the SQL Server Agent job Wizard in SQL Server Management Studio, Azure Elastic Jobs Manager streamlines job deployment oversight with a Visual Studio extension, allowing seamless management from your desktop. This article demonstrates managing Elastic Jobs in Azure using Azure Elastic Jobs Manager, highlighting its resemblance to the SQL Server Agent job in management capabilities.
Prerequisite: Azure Elastic Jobs service in Azure. In case you do not have the service created, you can follow these steps to create the service.
Connect to Elastic job database
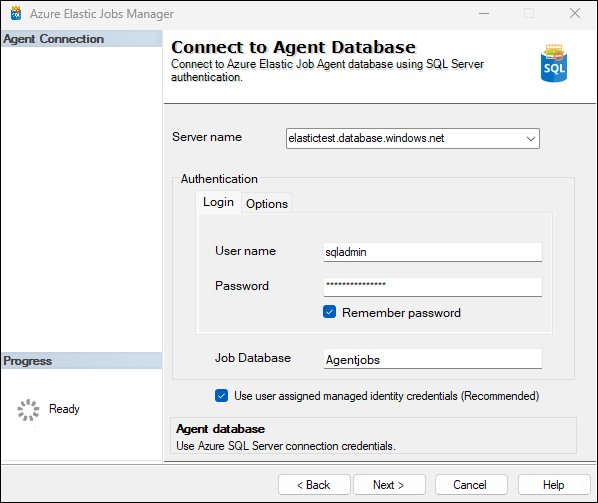
Launch Azure Elastic Jobs Manager and enter Elastic Jobs database SQL server authentication credentials. If you have enabled user-assigned managed identity credentials to authenticate targets in Azure elastic jobs, check the 'user-assigned managed identity' checkbox as shown in the image below and Click 'Next' to connect.
Once connected, you will see elastic jobs objects on the landing screen as shown in the image below.

Create Credentials for Jobs
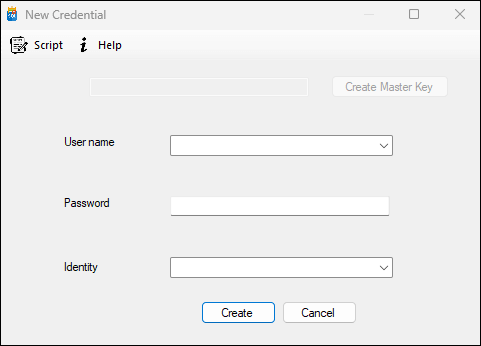
If you are not using user-assigned managed identity credentials, you must create credentials for elastic jobs. Click the New Credentials button to create it. Learn more about how to create credentials.
Create a Target group and add targets
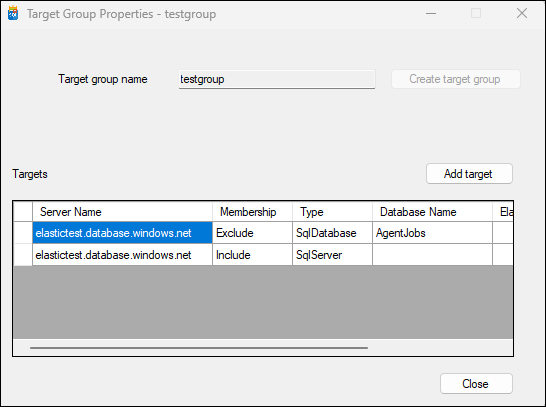
Define the target group where the job will run. These can include individual databases, all databases on a server, or all databases in an elastic pool. Elastic jobs provide flexibility to include or exclude specific databases. Click on the New TargetGroup button to create a new target group or double-click the existing target group to edit it.
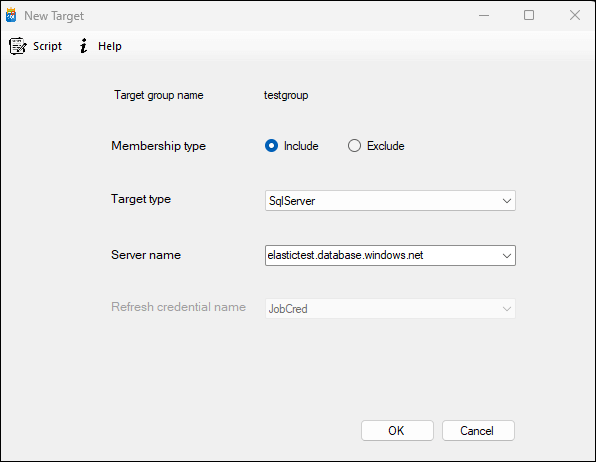
To add a target, click on the Add target button. Choose the appropriate settings for the target and Click 'OK' to add the target to the target group.
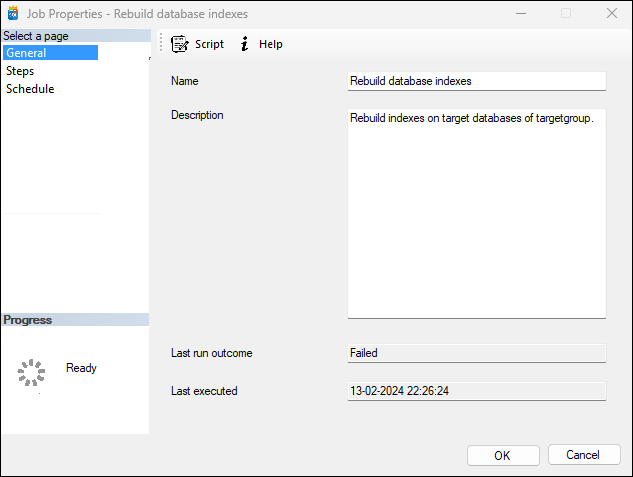
Create and Configure Jobs
Now that the target group is set up, create jobs to execute on them. Click the New Job button on the landing screen to create a new job or double-click on the existing job to edit it.
To manage steps within the job, click the 'Steps' page
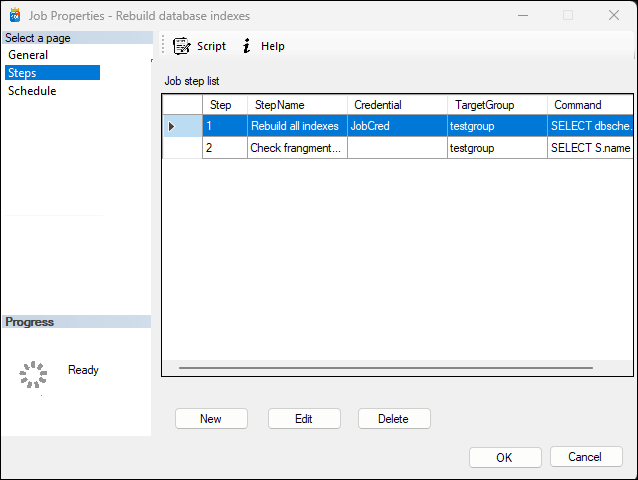
Click the 'New' button to create a new step or double-click on an existing step to edit the existing step.

To manage advanced properties such as timeout settings, click the 'Advanced' page. Click on the 'Output' page if you want to store the output of the SQL into an output table. Click 'OK' to save changes in the step.
Manage the Job Schedule
To manage the job schedule, click the 'Schedule' page in the job properties. By default, the scheduling options will be in the local time zone. To change the timezone, navigate the 'Settings' page of the wizard and set the preferred time zone for future use.
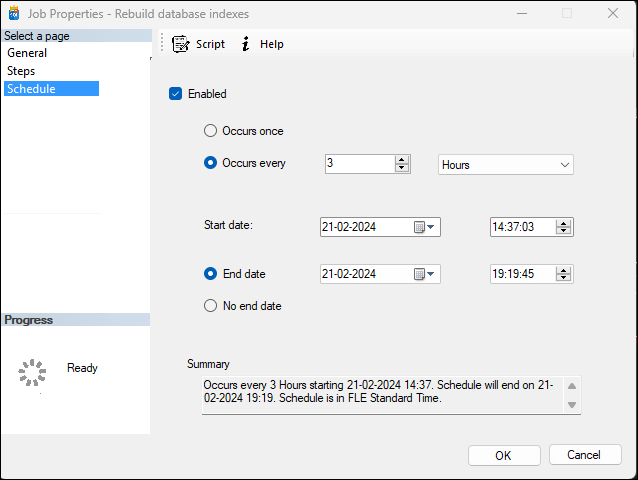
Click 'OK' to save changes to the job.
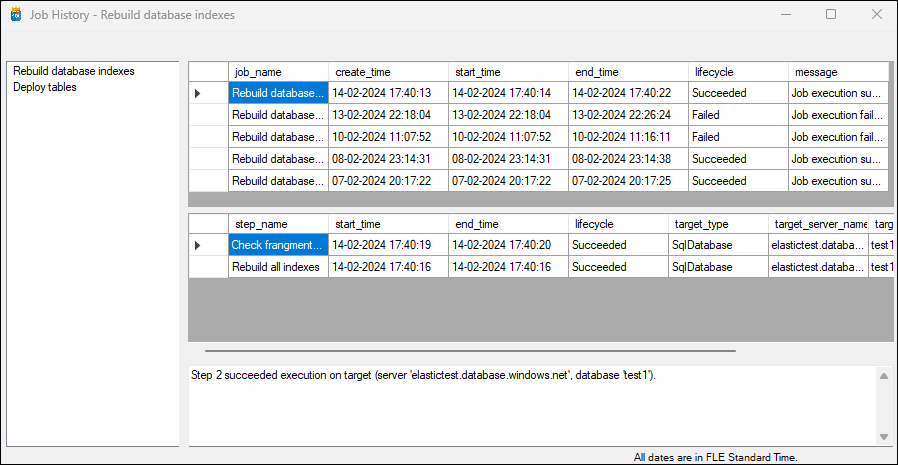
Monitor Jobs
Once you create the jobs, you can perform various actions on the job like Start job, stop job, Enable job, Disable job, View history, etc.
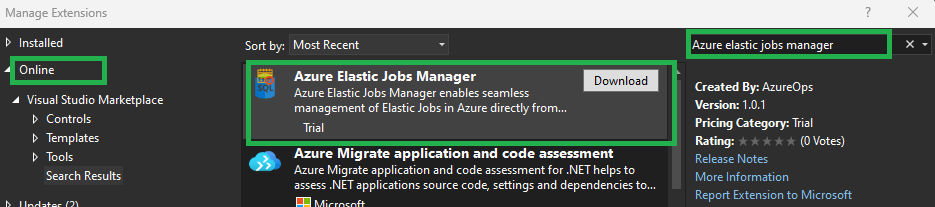
Install the Extension
Azure Elastic Jobs Manager is a desktop application published on Visual Studio Marketplace. This tool serves as an extension to Visual Studio 2017, 2019, and 2022, as well as SQL Server Management Studio versions 18 and 19, and can work as a standalone tool. Learn more about how to install the plugin.
You can see a video of this article below:
The post Create Elastic Jobs Using Azure Elastic Jobs Manager appeared first on AzureOps.

