

This article explains different methods to move a SQL database into a new directory of Ubuntu Linux. This article covers the following topics.
- How to install SQL Server 2022 on Ubuntu Linux.
- How to add a new drive in Linux.
- Attach the StackOverflow database using the database.
Install SQL Server 2022 on Ubuntu
I have created a virtual machine on my computer and installed Ubuntu 22.0 on it. The process to install SQL Server 2022 on Ubuntu is straightforward.
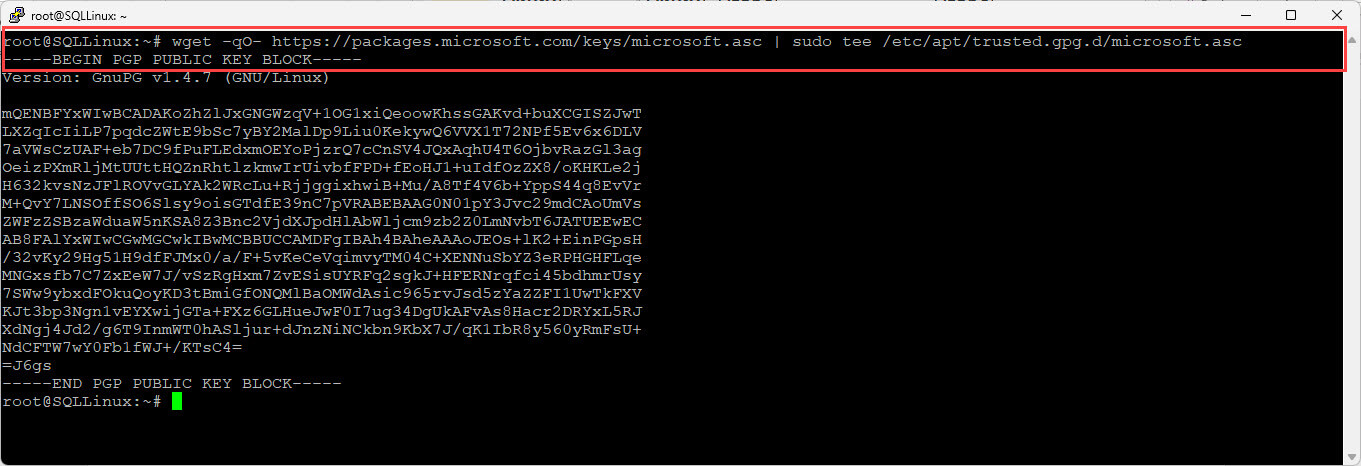
Step 1: Import GPG keys by running the following command.
vboxuser@SQLLinux:~$ wget -qO- https://packages.microsoft.com/keys/microsoft.asc | sudo tee /etc/apt/trusted.gpg.d/microsoft.asc
Screenshot:
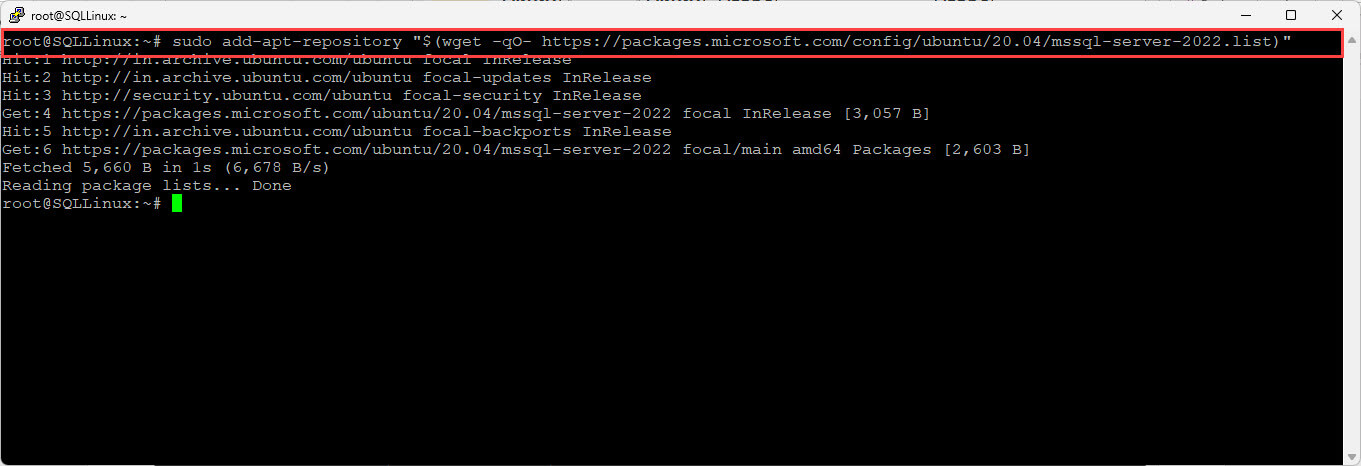
Step 2: Register the SQL Server repository using the following command.
vboxuser@SQLLinux:~$ sudo add-apt-repository "$(wget -qO- https://packages.microsoft.com/config/ubuntu/20.04/mssql-server-2022.list)"
Screenshot:
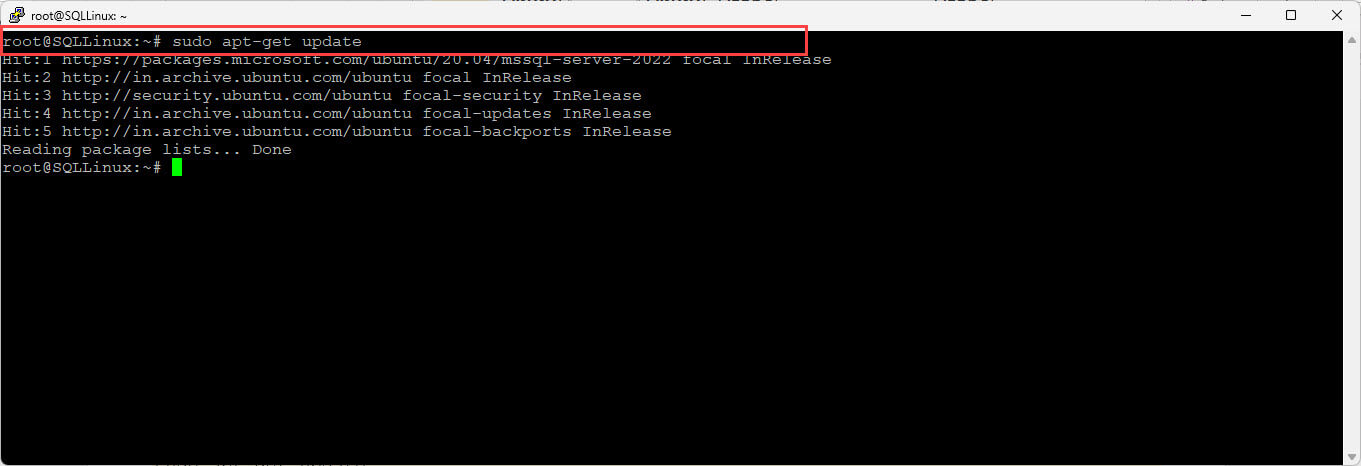
Step 3: Update the repository using the following command:
vboxuser@SQLLinux:~$ sudo apt-get update
Screenshot
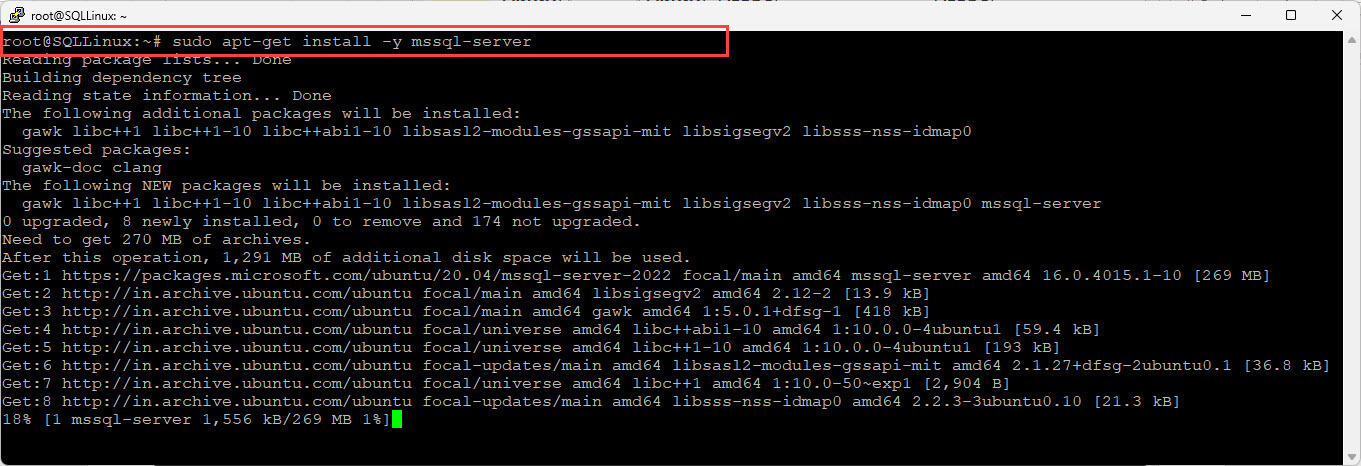
Step 4: Install SQL Server by executing the following commands:
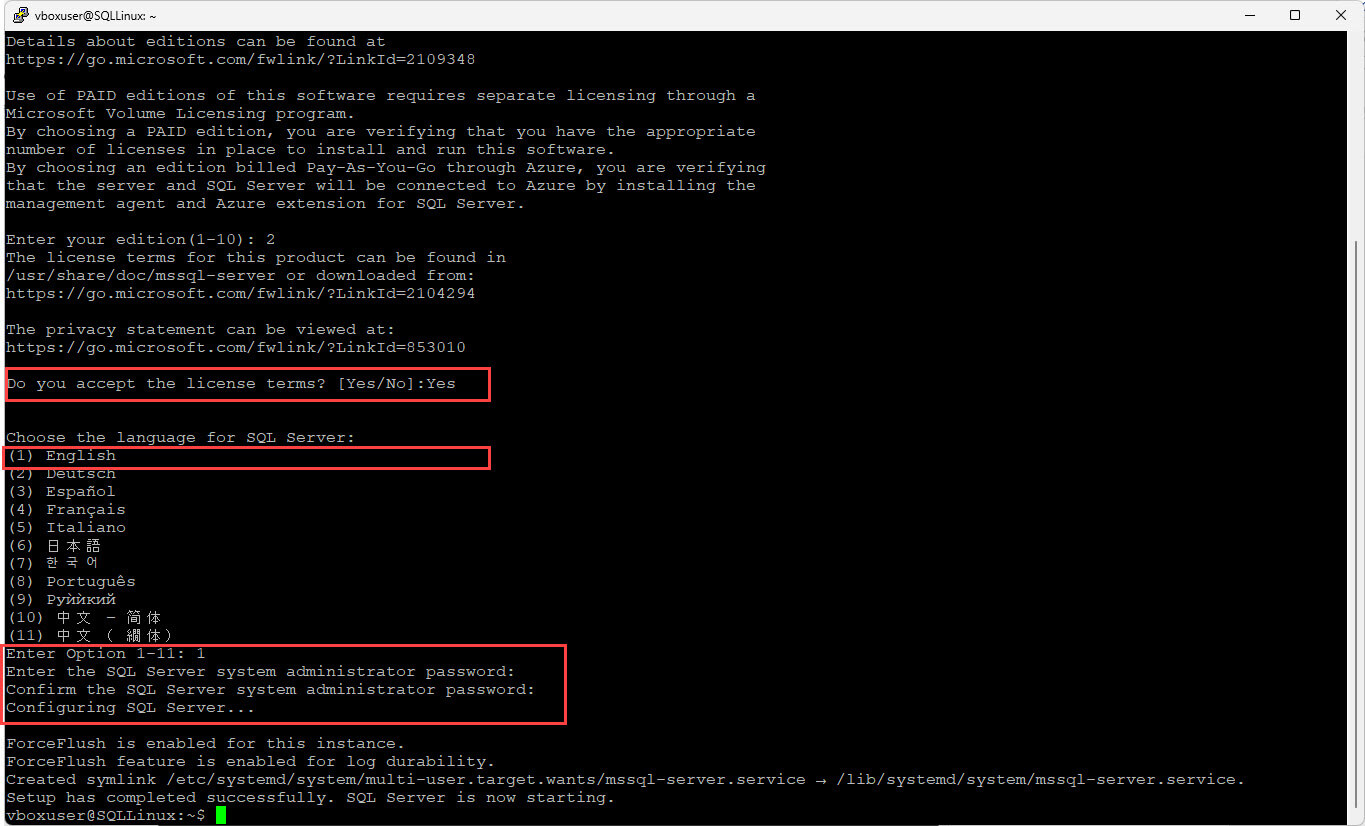
Step 5: Complete installation using the mssql-conf-setup command. You will be prompted for the password of the SA user and select the edition. Note that we are installing the Developer Edition of SQL Server.
vboxuser@SQLLinux:~$ sudo /opt/mssql/bin/mssql-conf setup
Screenshots:
Image: 1 Screenshot of SQL Server edition selection
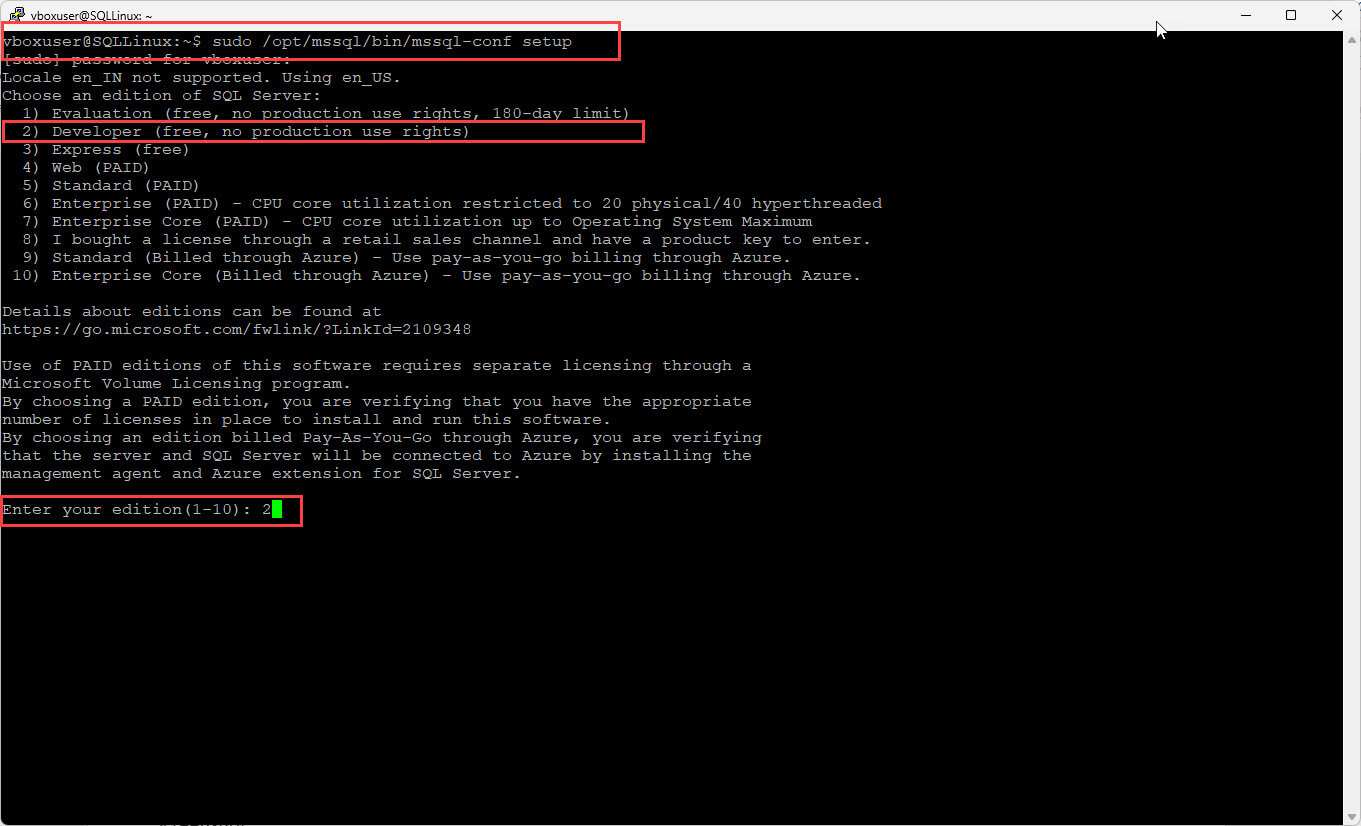
Image 2: Screenshot of Language selection and System administrator password.
Now, let us install command line tools
Install SQL Command Line Tools
Once SQL Server is installed, we will install command-line tools like sqlcmd and bcp. Execute the following commands in a sequence:
Step 1: import GPG keys.
vboxuser@SQLLinux:~$ curl https://packages.microsoft.com/keys/microsoft.asc | sudo tee /etc/apt/trusted.gpg.d/microsoft.asc
Step 2: Register the Ubuntu repository.
vboxuser@SQLLinux:~$ curl https://packages.microsoft.com/config/ubuntu/20.04/prod.list | sudo tee /etc/apt/sources.list.d/msprod.list
Step 3: Update the latest version of command-line tools and install them.
vboxuser@SQLLinux:~$ sudo apt-get update
vboxuser@SQLLinux:~$ sudo apt-get install mssql-tools
Step 4: Set the PATH environment variable to the command-line tools that can be accessible from bash.
vboxuser@SQLLinux:~$ echo 'export PATH="$PATH:/opt/mssql-tools/bin"' >> ~/.bash_profile
Let us connect to SQL Server 2022 on Linux.
Connect to the SQL Server 2022 Instance
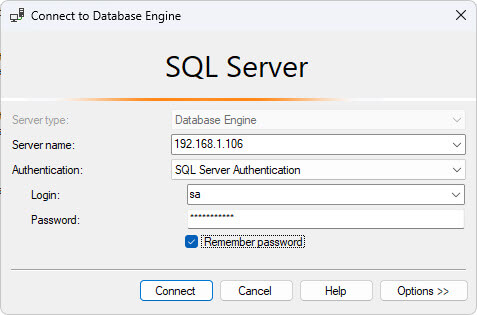
Once everything is configured, open SQL Server management studio or dbForge Studio for SQL Server.The dbForge Studio for SQL Server is an IDE designer and covers a lot of database-related tasks. Connect to the database engine. Enter your host name, username, and password as shown in the following image:
Once connected, execute following query to check the version of the SQL Server.
USE master
GO
PRINT @@version
Query output
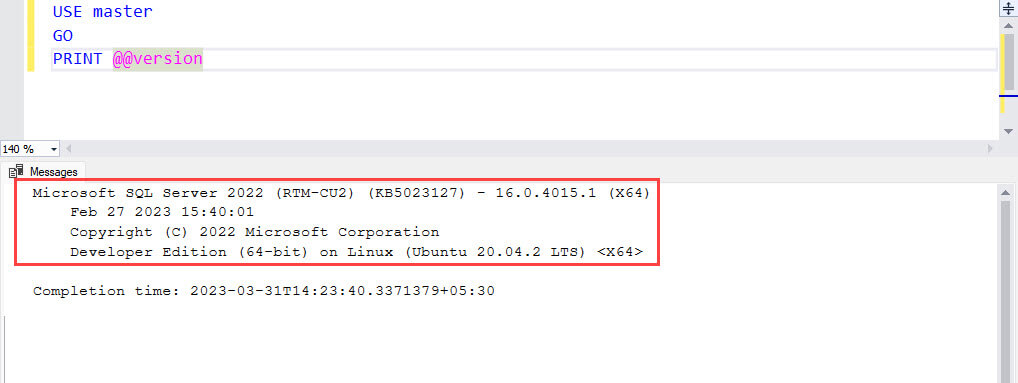
As you can see, the SQL Server 2022 has been installed.
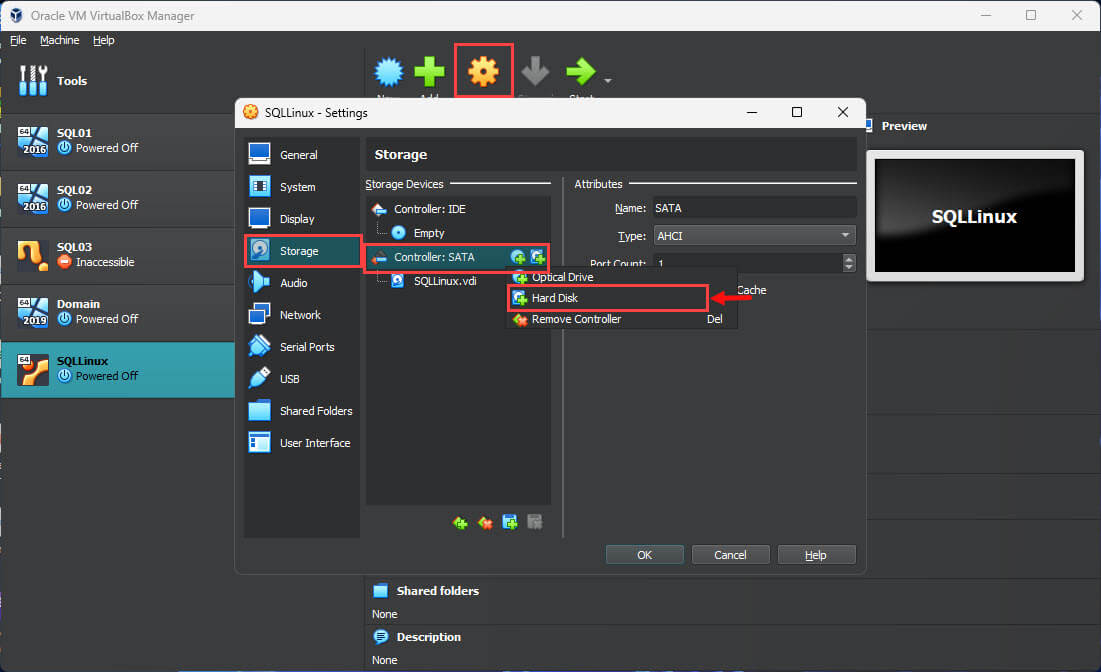
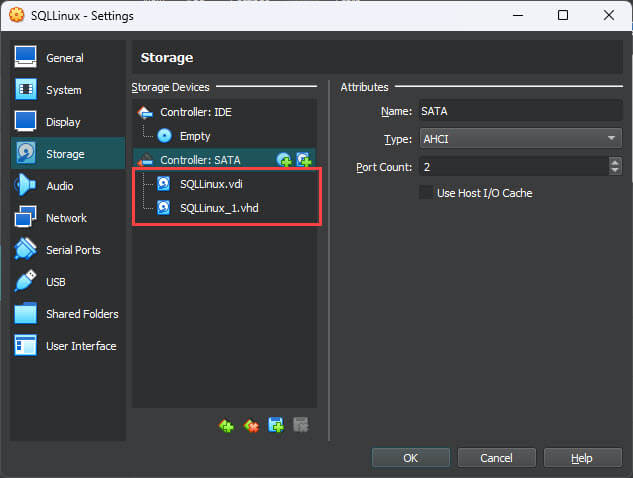
For demonstration, I am restoring Stackoverflow2010, which I have downloaded from here. Thanks, Brent Ozar, for providing the direct link to the StackOverflow database. We will install the database on a separate disk. To do that, we will add another virtual disk drive. Open Virtual Box Manager --> Open Settings --> Select Storage --> Right-click on Controller: SATA --> Select Hard Disk.
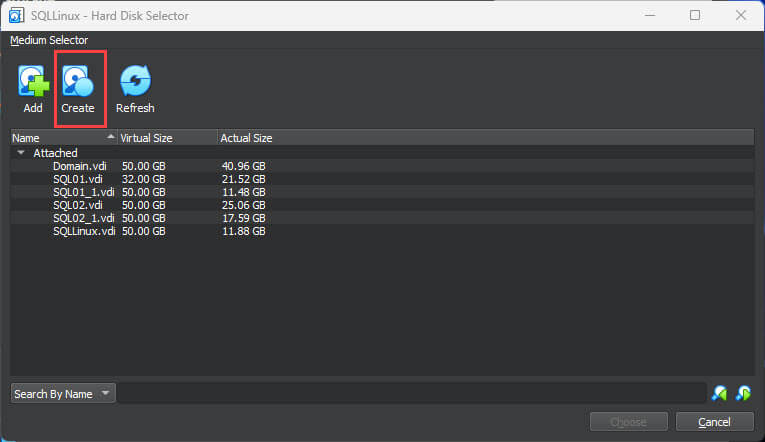
A dialog box Hard Disk Selector opens. Select Create. The Create Virtual Hard Disk wizard starts.
On the Virtual Hard disk file type screen, select VHD (Virtual Hard Disk)

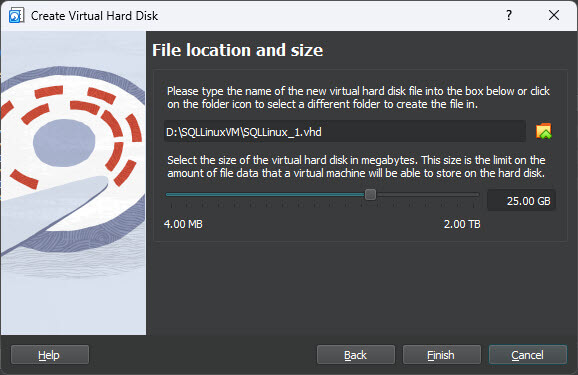
On the File location and size screen, specify the size and location of the new virtual hard disk.
Click Finish. You can see the new hard disk in Hard Disk Selector.
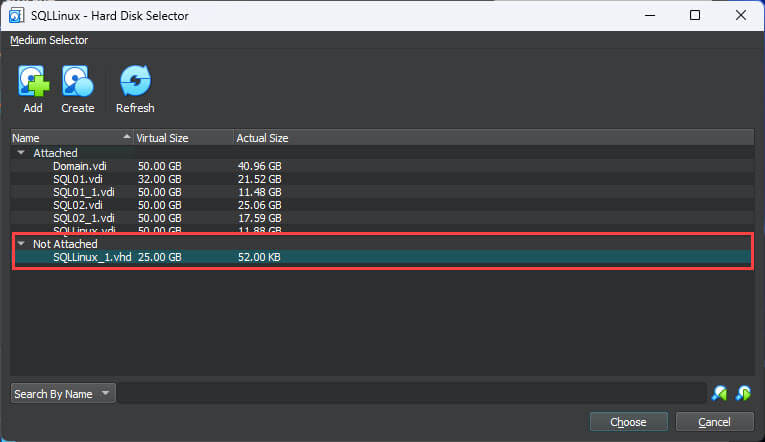
Select New storage and click on Choose. The new storage is visible in the Storage section of the Virtual box manager.
Now, let us configure new storage in Linux. Start the Ubuntu Linux virtual machine.
Configure the new storage drive
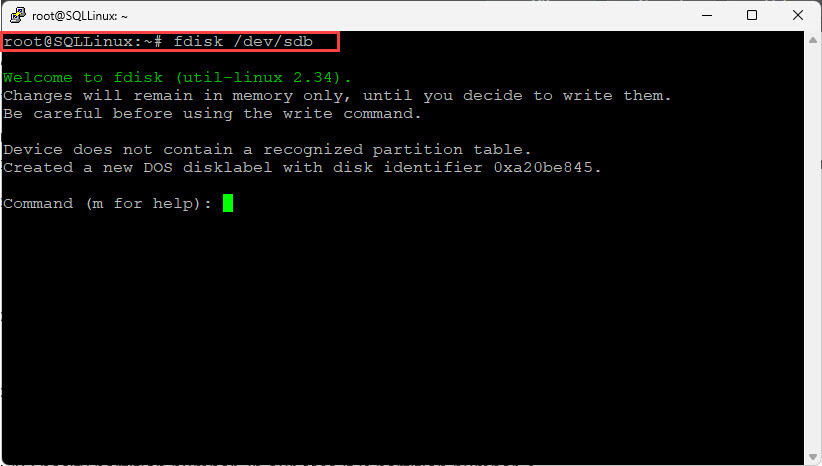
To use the new storage drive, we must create a partition, format the new partition, and mount the partition on a specific directory. We will use the fdisk command to create a new partition. Execute the following set of commands in sequence.
Step 1: start the fdisk command.
root@SQLLinux:~# fdisk /dev/sdb
Step 2: We are creating a new partition therefore, press n.
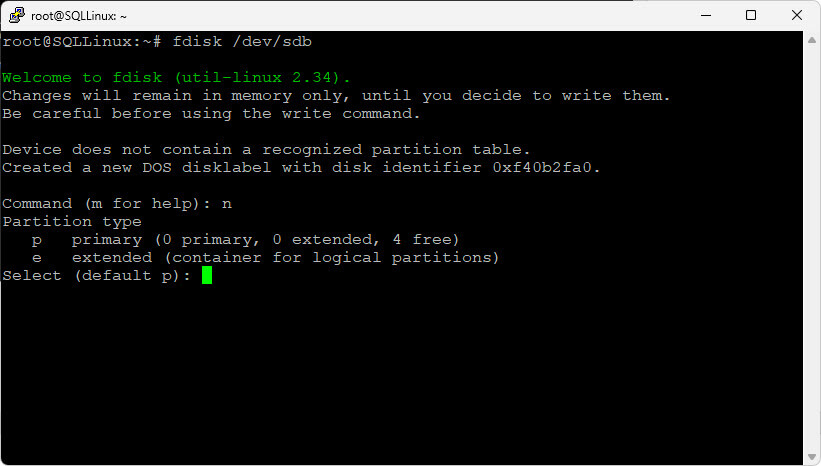
Step 3: New partition is primary partition hence press p.
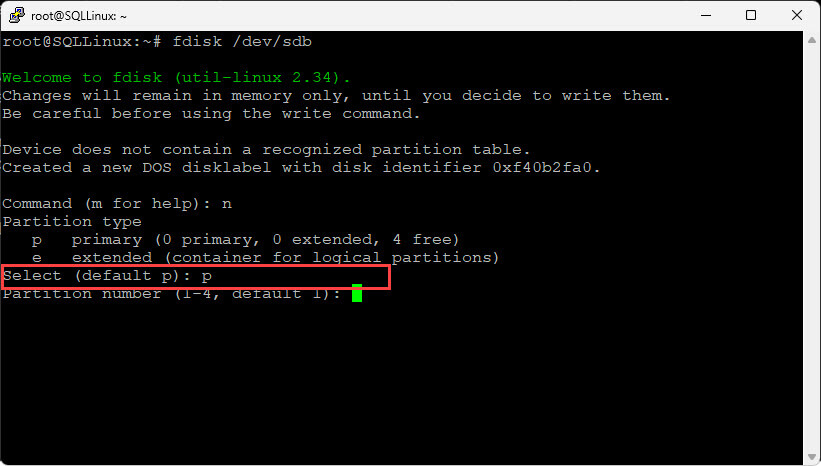
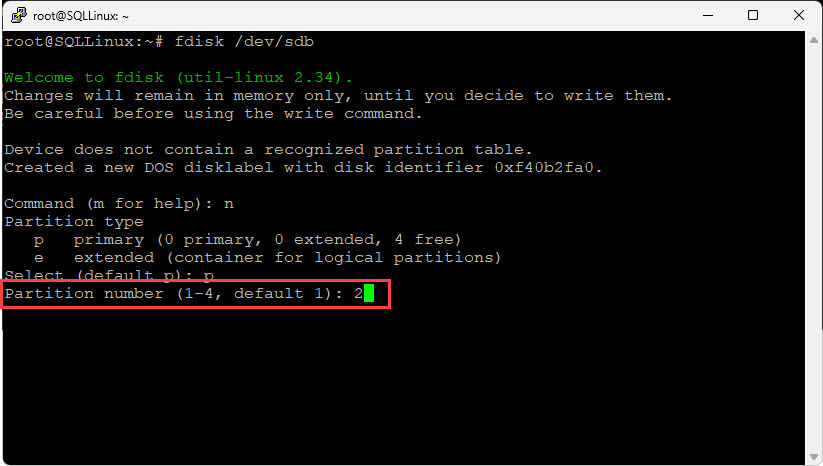
Step 4: Specify the partition number. In our case it is partition number 2.
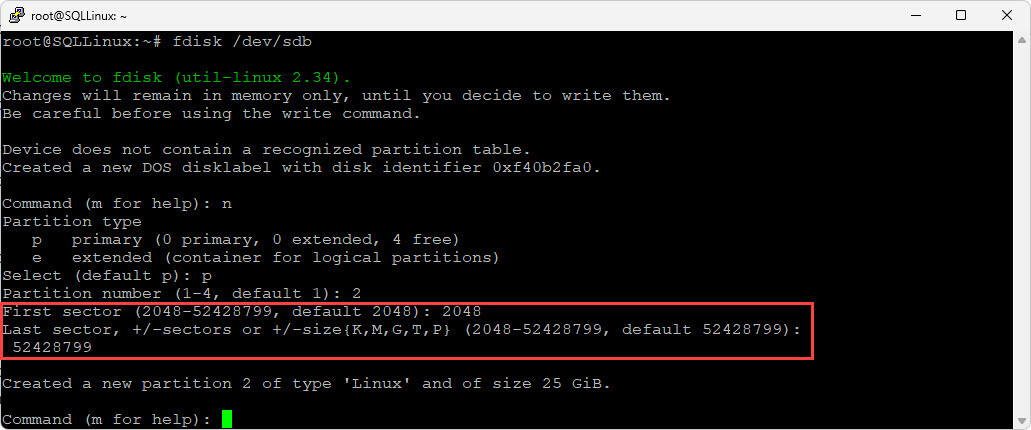
Step 5: Size of the first and last sectors of the disk. In this demo, we are using default values.
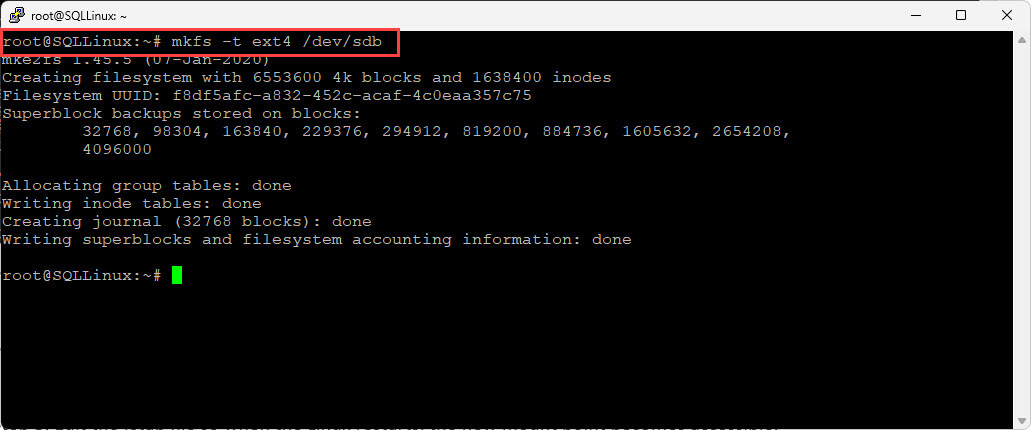
Step 6: Exit from the fdisk command. Format the partition with the ext4. and mount it using the mkfs command.
root@SQLLinux:~# mkfs -t ext4 /dev/sdb
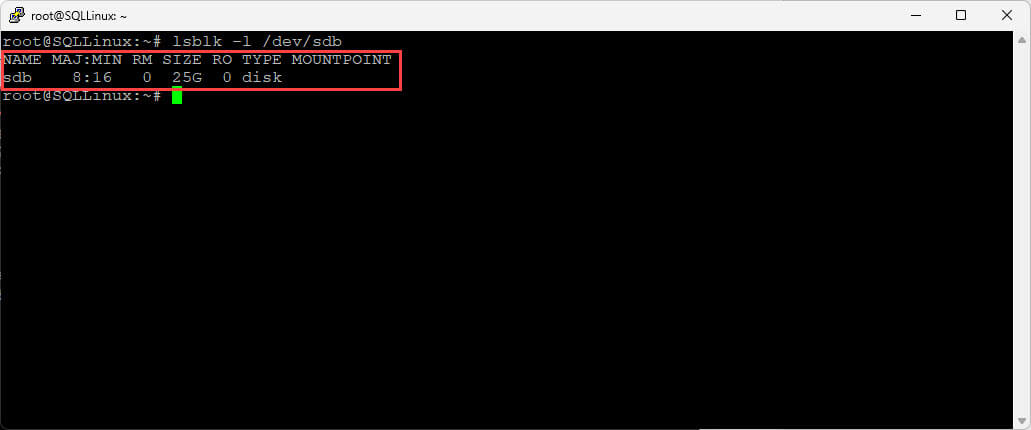
You can view the new partition by executing the below command:
root@SQLLinux:~# lsblk -l /dev/sdb
Moving to the next step.
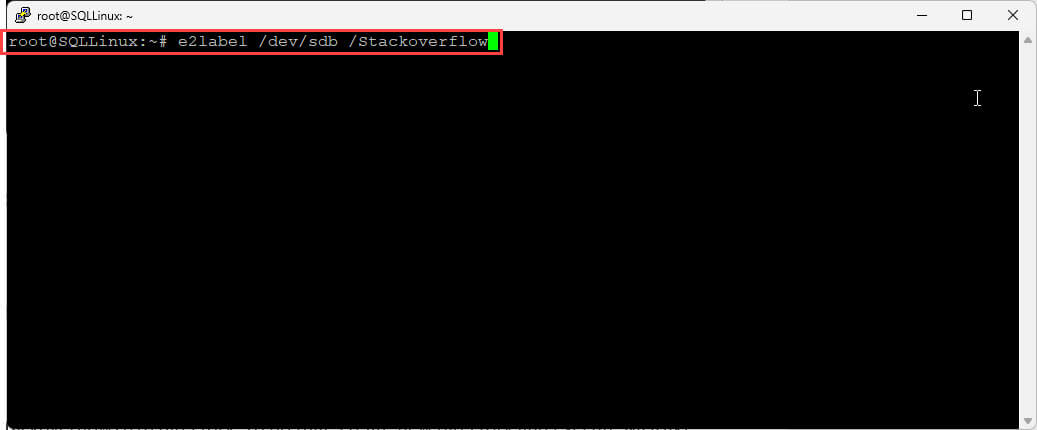
Step 7: Assign a label to the partition. The partition label will be StackOverflow.
root@SQLLinux:~# e2label /dev/sdb /Stackoverflow
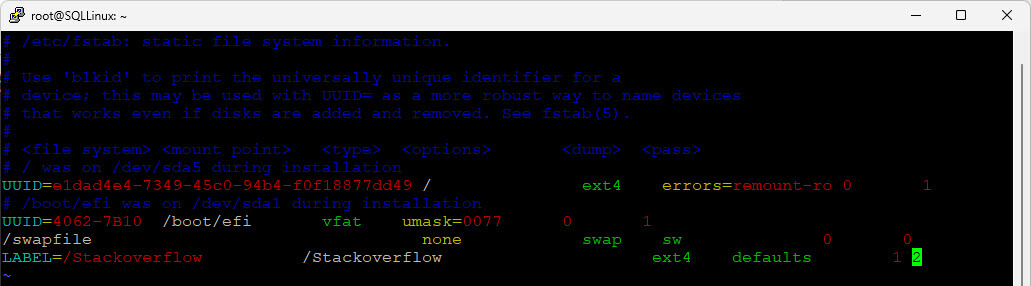
Step 8: Edit the fstab file and add an entry of the new partition so that when the Linux restarts, the new mount point becomes accessible. I have installed vim editor in ubuntu. To edit the /etc/fstab file, run the following command:
root@SQLLinux:~# vim /etc/fstab
Enter following entry and press :wq to save the changes.
LABEL=/Stackoverflow /Stackoverflow ext4defaults 1 2
Screenshot:
Step 9: Mount the new drive on /Stackoverflow2010DB directory. To do that, create a new directory using MKDIR and execute the MOUNT command.
root@SQLLinux:~# mkdir /Stackoverflow2010DB
root@SQLLinux:~# mount /dev/sdb /Stackoverflow2010DB/

Run the below command to check the status of our new mount drive.
root@SQLLinux:~# lsblk -o name,label,size,mountpoint /dev/sdb
Screenshot:
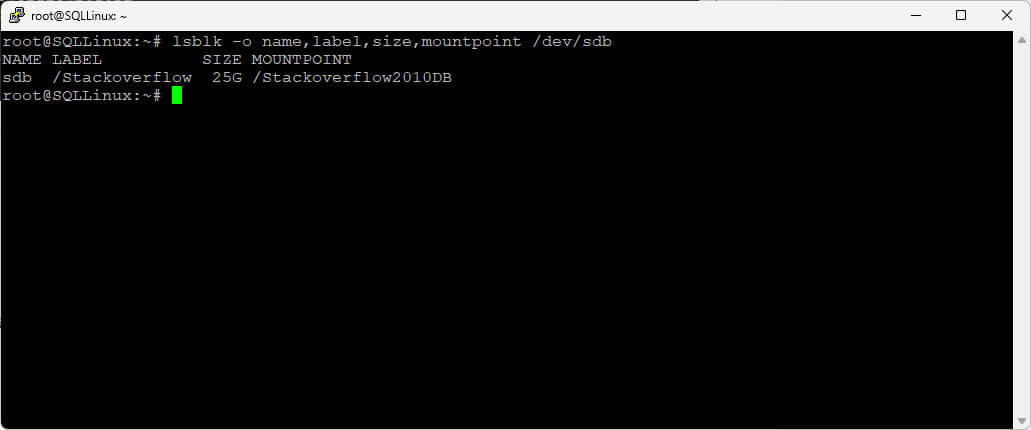
As you can see, the new drive has been successfully mounted.
Now, copy the database file and log file to /Stackoverflow2010DB and execute the following T-SQL script to attach the database.
USE [master]
GO
CREATE DATABASE [StackOverflow2010] ON
( FILENAME = N'/Stackoverflow2010DB/StackOverflow2010.mdf' ),
( FILENAME = N'/Stackoverflow2010DB/StackOverflow2010_log.ldf' )
 FOR ATTACH
GO
Once database is attached, run following query to verify the status of database.
USE master
GO
SELECT name,create_date,state_desc,compatibility_level
FROM sys.databases
Query Output
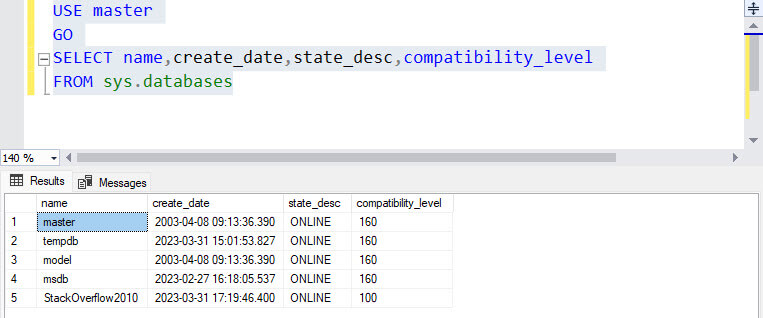
As you can see, the SQL database has been created.
Summary
In this article, we learned the step-by-step process of adding a new virtual hard drive to a virtual machine. We have downloaded the database file and log file of the Stackoverflow database, so we copied the files and created a database by attaching them. In the next article, we will learn how to move the system database files to a new drive. Stay tuned.