Overview
PostgreSQL has been one of the most widely used relational database management system. PostgreSQL is open-source and has very powerful community-driven support which enables it to be one of the most popular relational database management systems after MySQL. This database is available to be used in multiple platforms such as Windows, Linux and macOS. In this article, I am going to explain how to install and use PostgreSQL on a Mac.
Installation
Installing Homebrew
There are multiple ways to download and install the PostgreSQL server on a Mac. You can either download the specified version from the official website or use homebrew to install it. The latest stable version that can be installed is 13.0. Nowadays, most of the latest macOS machines are installed with homebrew, which is a package manager for the Mac operation system. You can just open your terminal on Mac and type "brew".
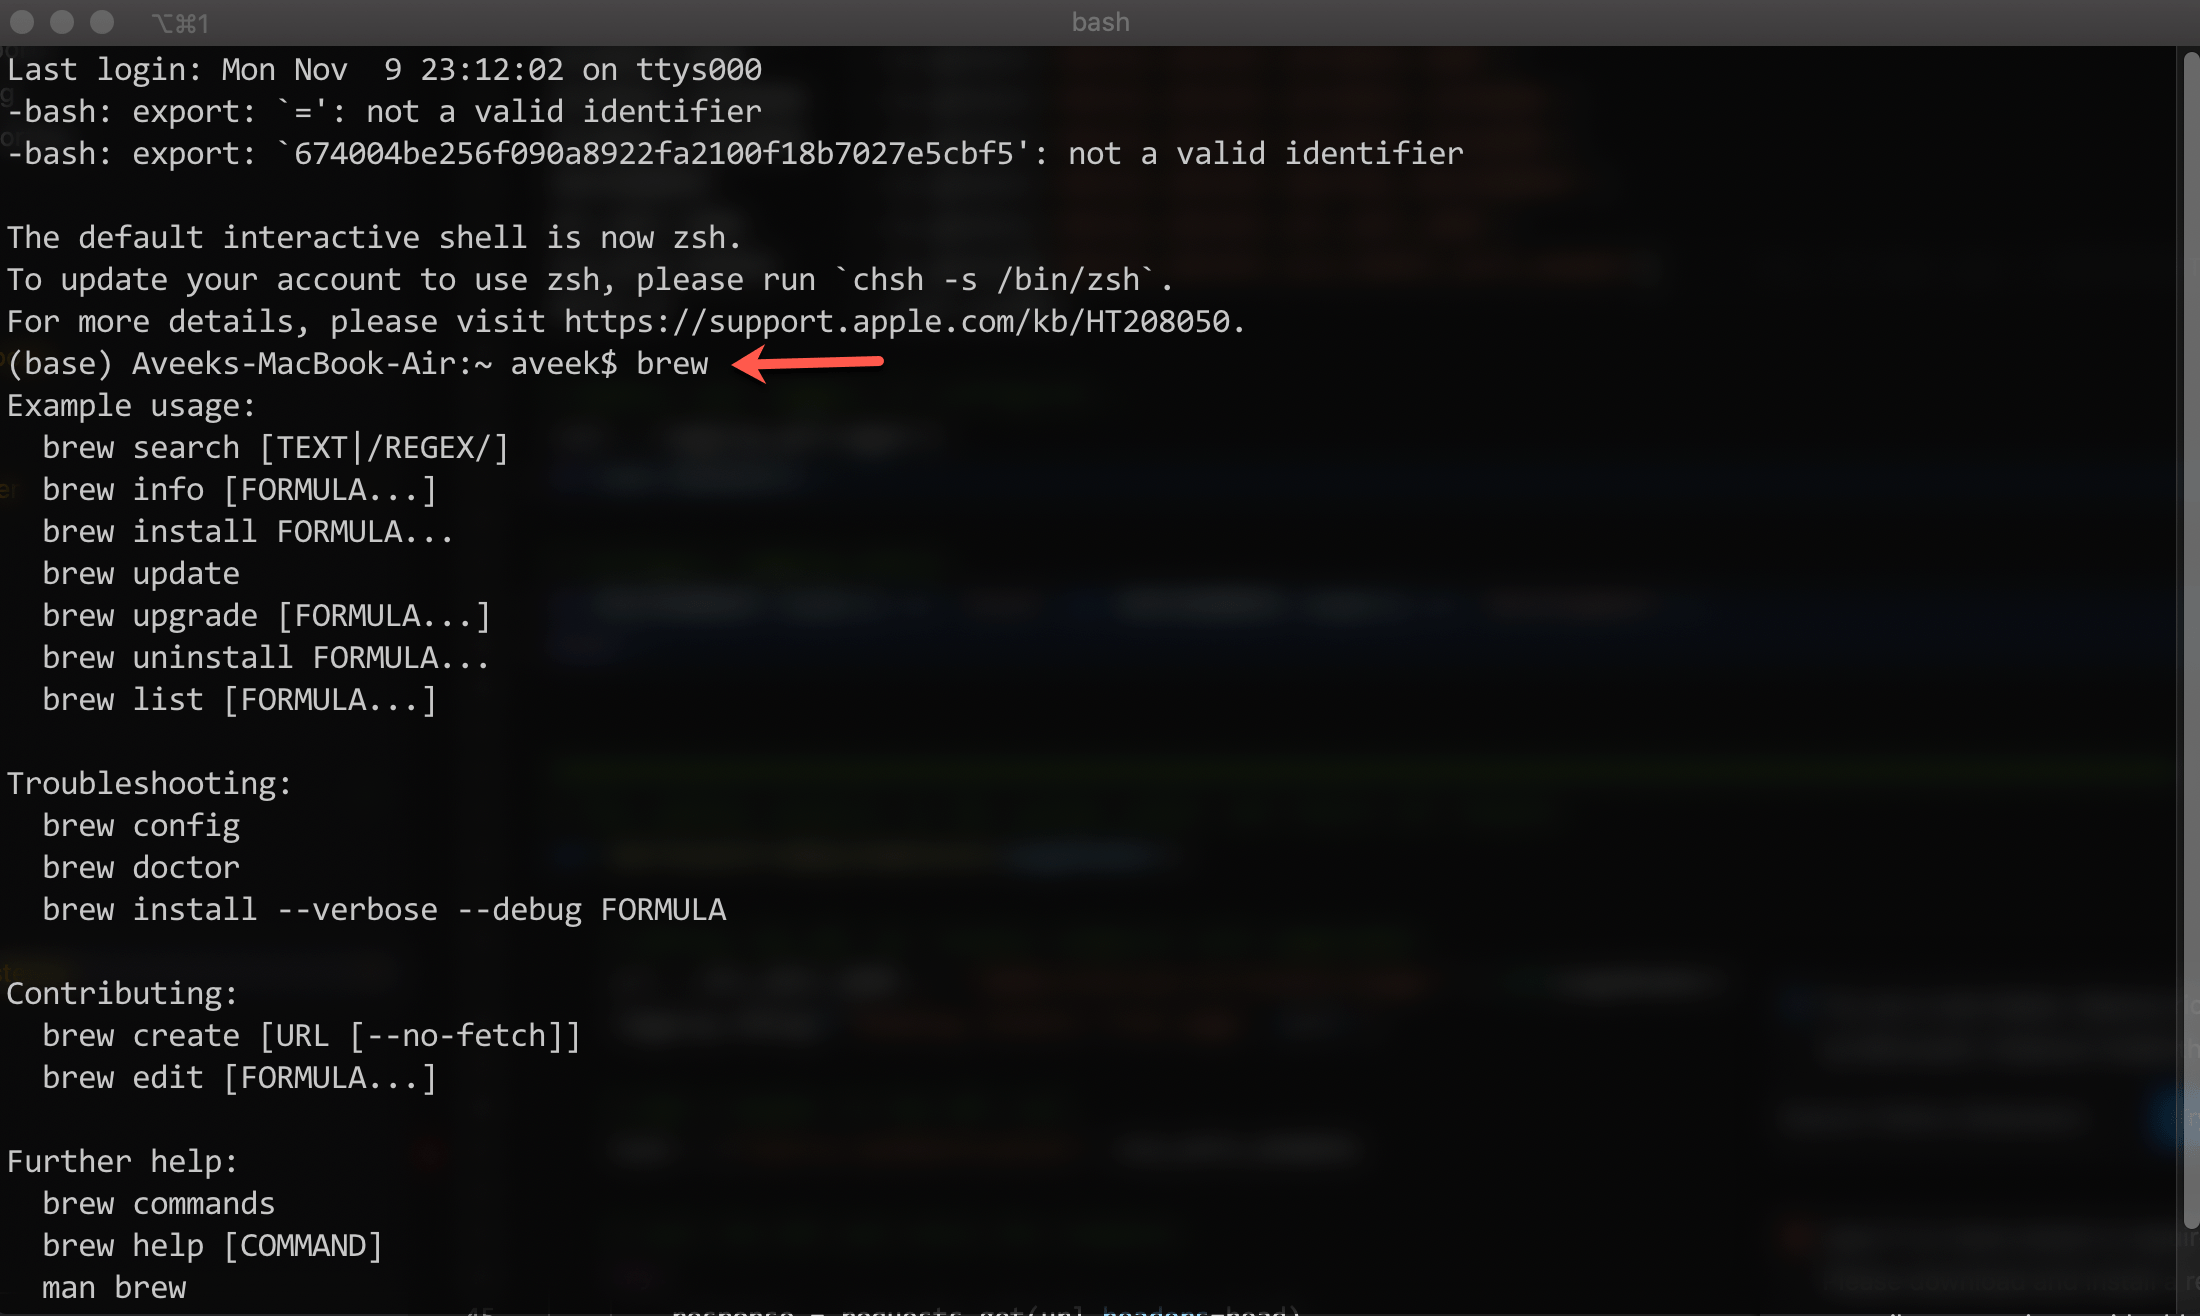
In case you find that your machine is not equipped with Homebrew, you can run the following command to install it.
/bin/bash -c "$(curl -fsSL https://raw.githubusercontent.com/Homebrew/install/master/install.sh)"
This command will install Homebrew on your machine. If you want to understand more about how Homebrew works, there is a good article here.
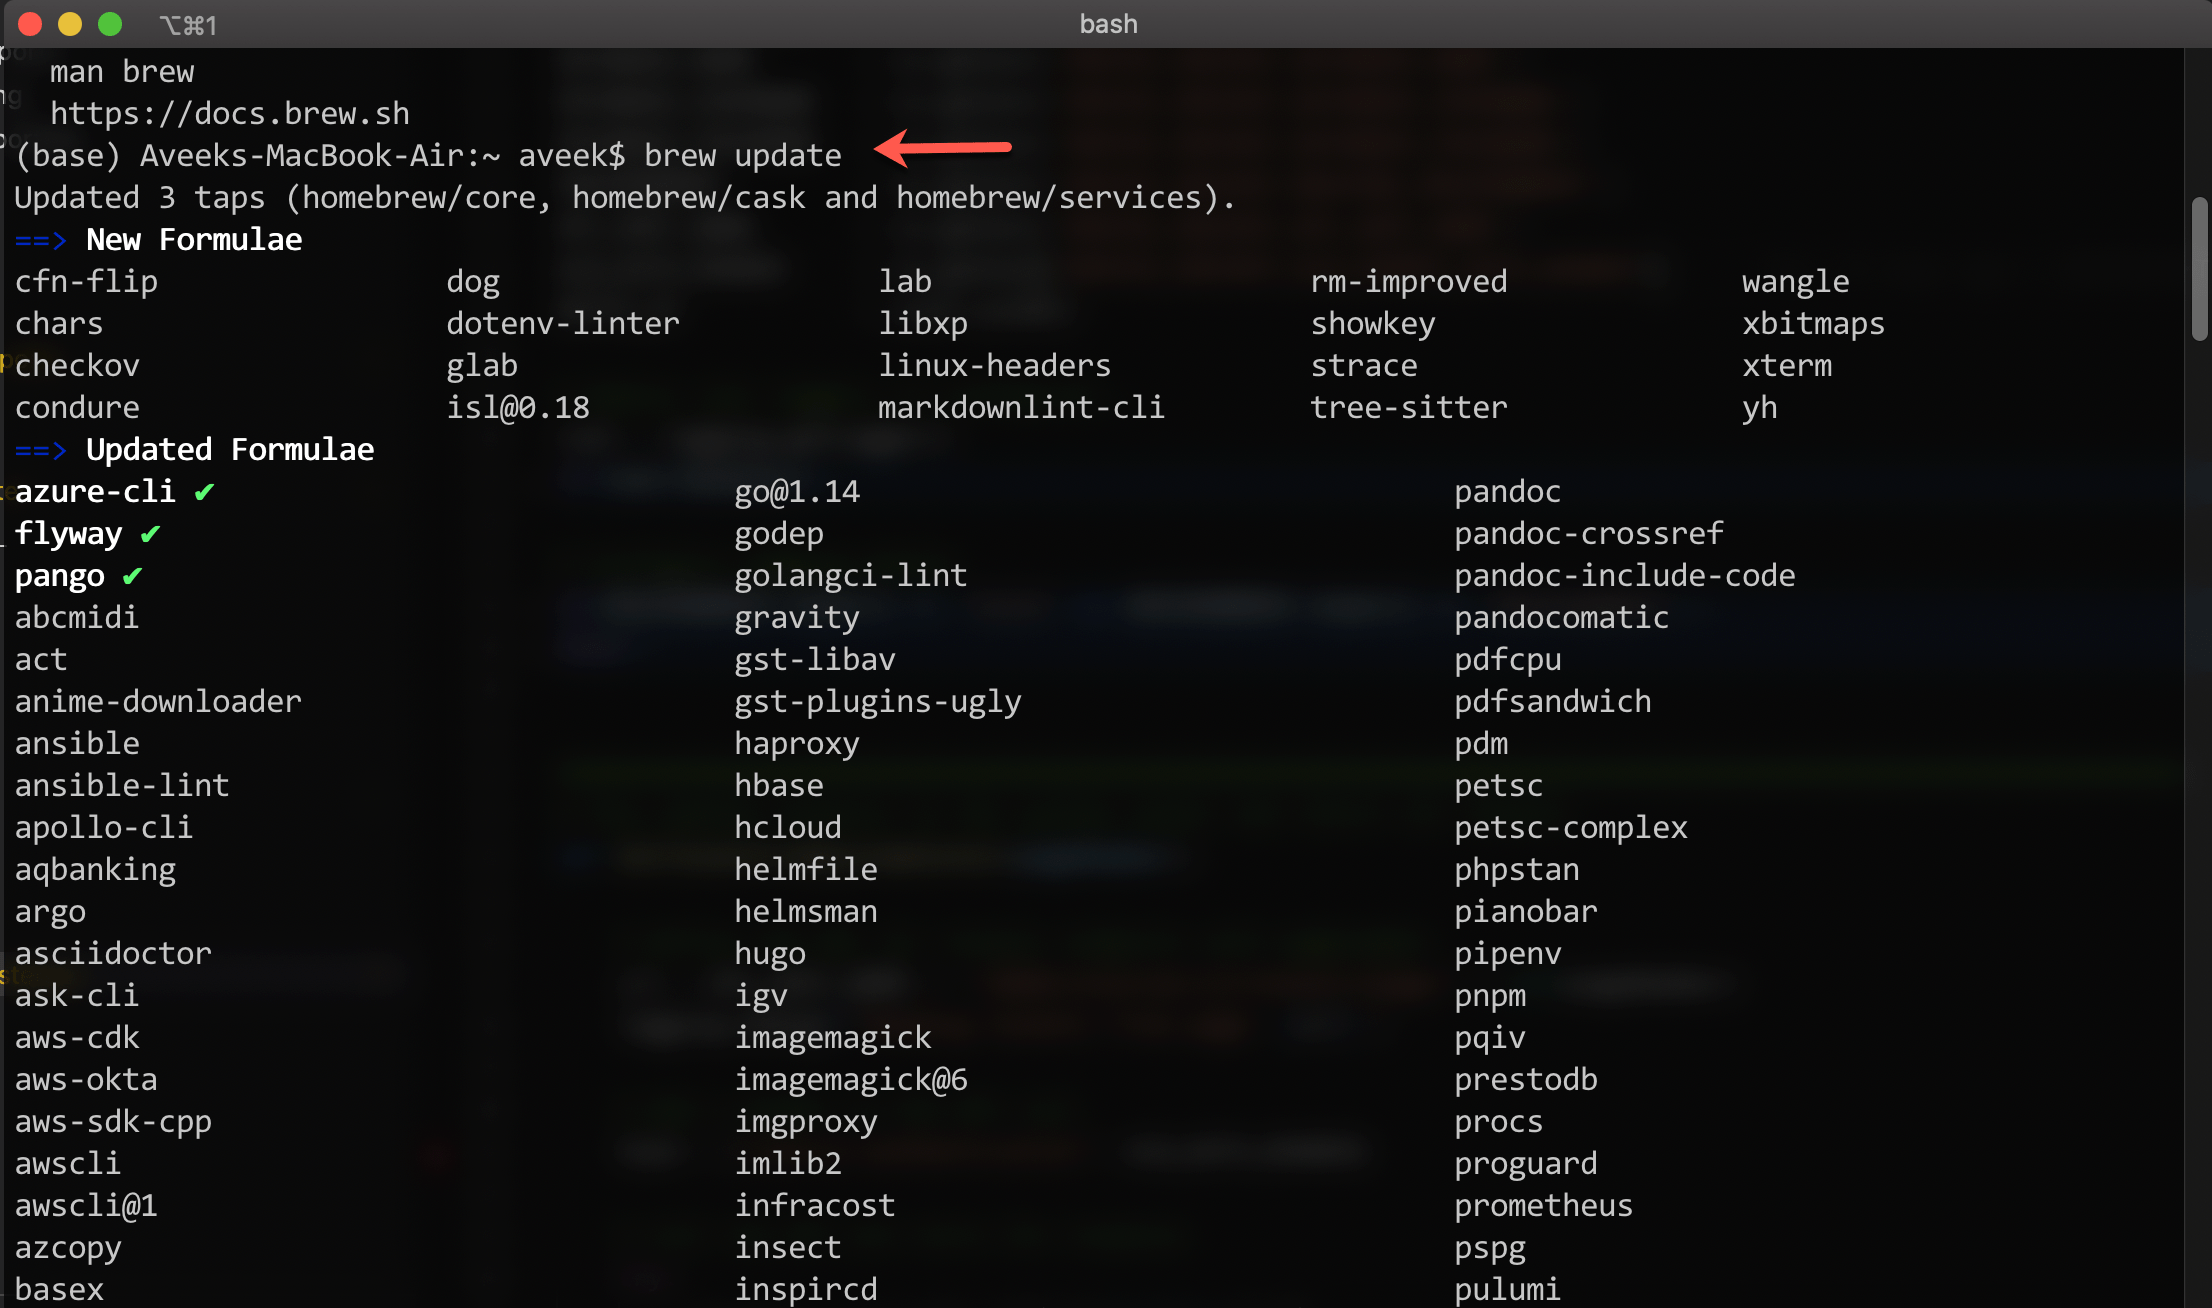
If you already have Homebrew installed, it would be a good practice to update it using the command below.
brew update
Installing PostgreSQL using Homebrew
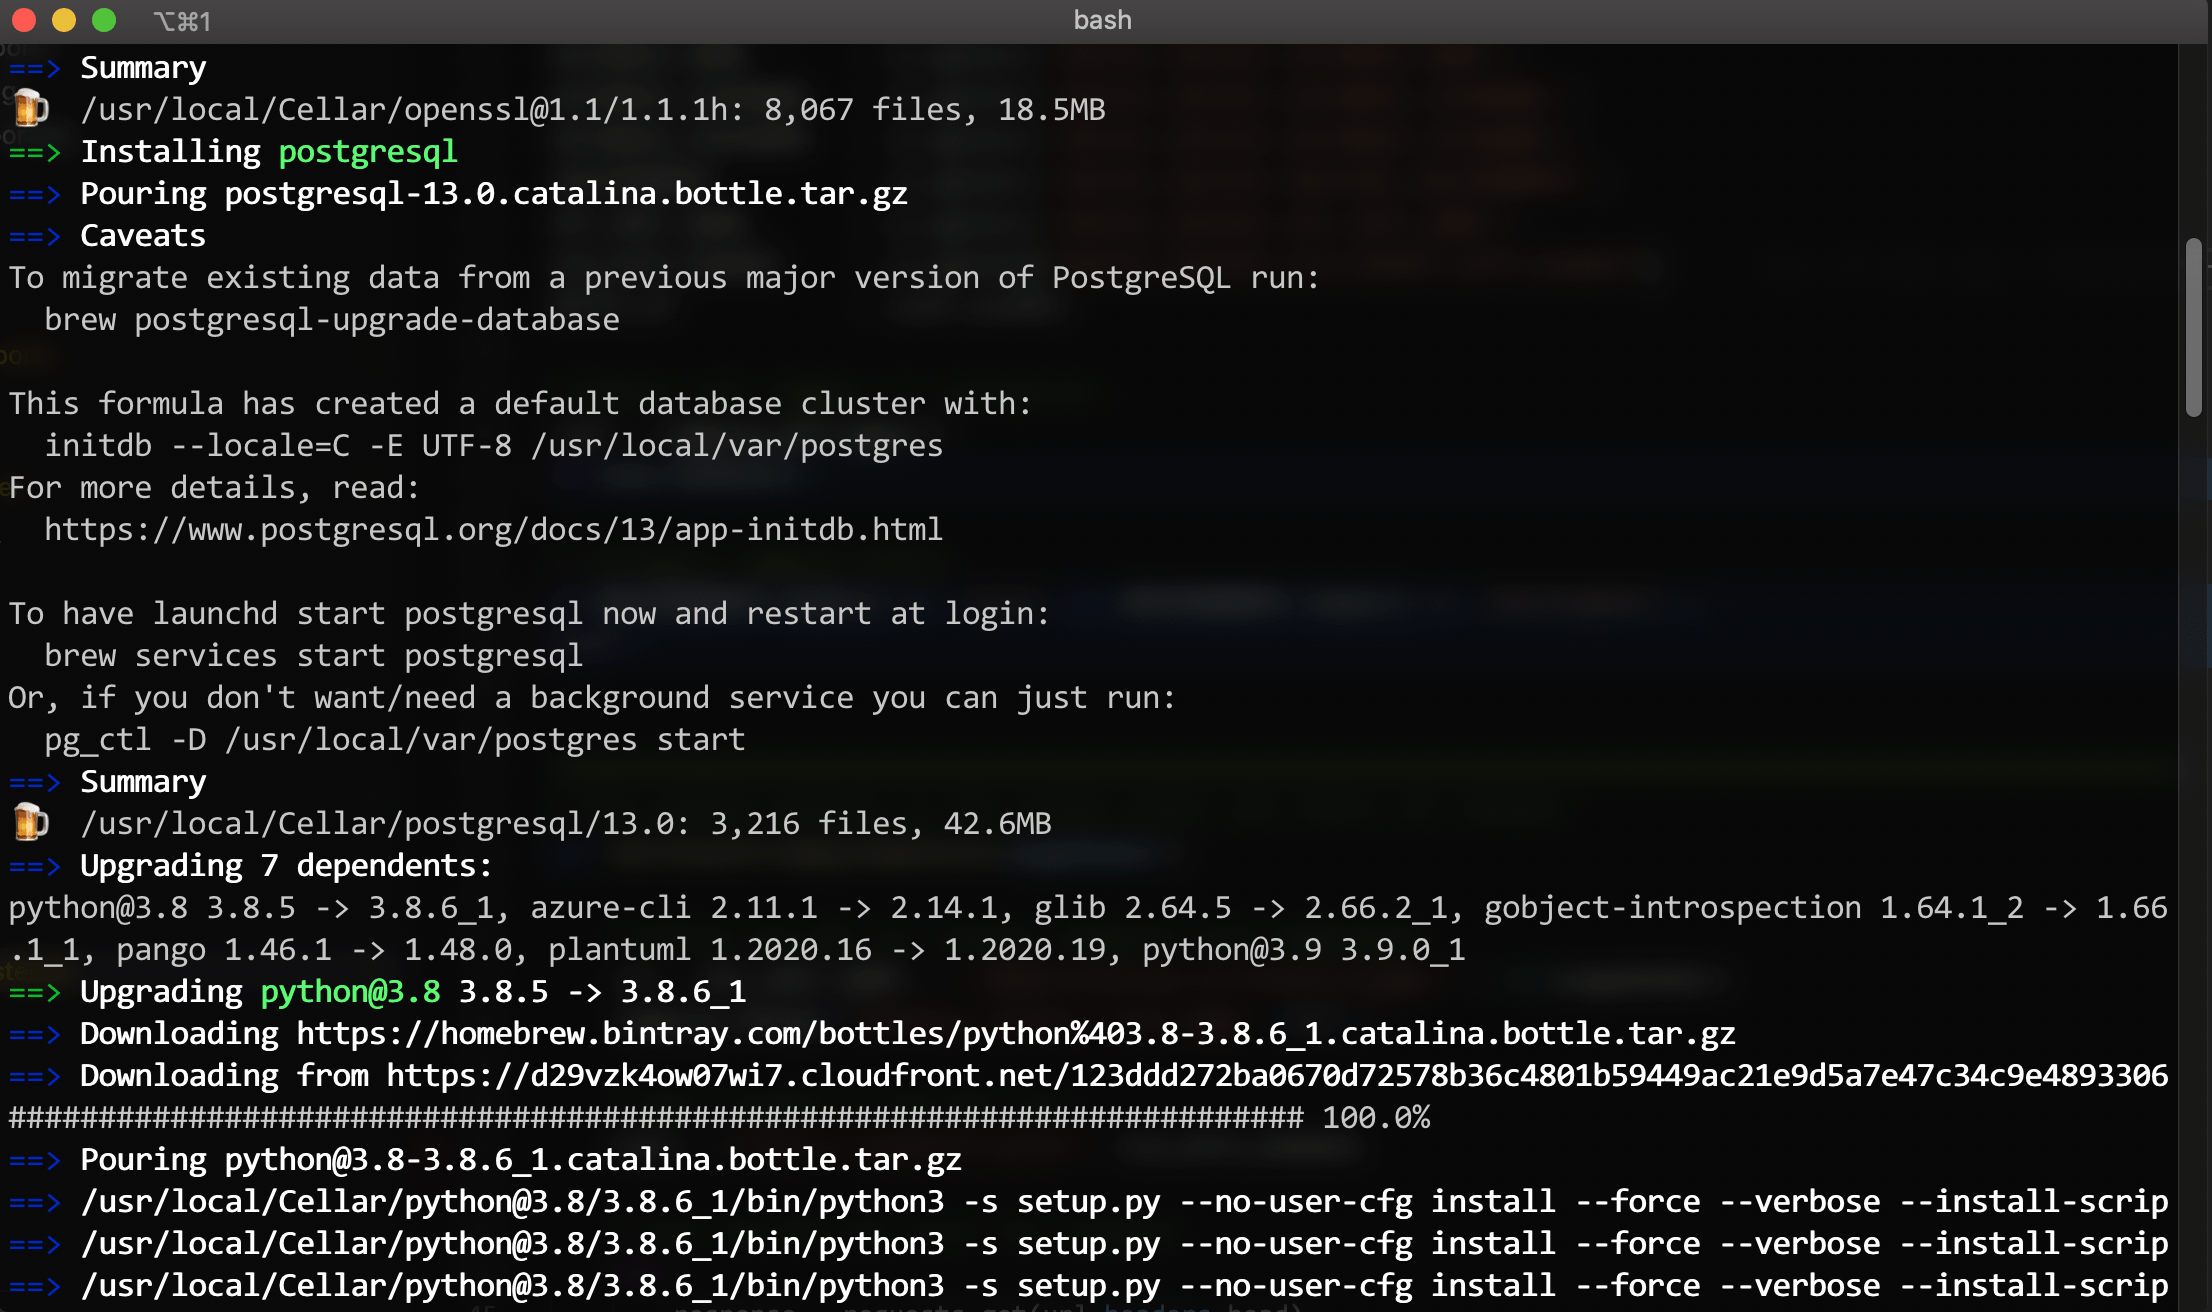
Once your machine is equipped with Homebrew, now you can install the PostgreSQL database. You can use the following command to install PostgreSQL using Homebrew.
brew install postgresql
Installation using this method can take some time depending on the network bandwidth. It will also install other dependencies required for the PostgreSQL database to run properly. Once PostgreSQL has been installed, you can see the status on the terminal window as follows.
Starting the PostgreSQL service
Once the database system has been installed on your machine, the next step is to start the service. Usually, it is a good practice to restart the system before starting the service as it might save your system from consuming extra computing resources. Once you have restarted the system, run the following command to start the service.
brew services start postgresql

As you can see in the figure above, the service has been started successfully.
Similarly, you can use the following command to stop the service once you are done working with it. Currently, I am not going to stop the services as I will be working further to setup the root user.
brew services stop postgresql
Configuring the PostgreSQL database
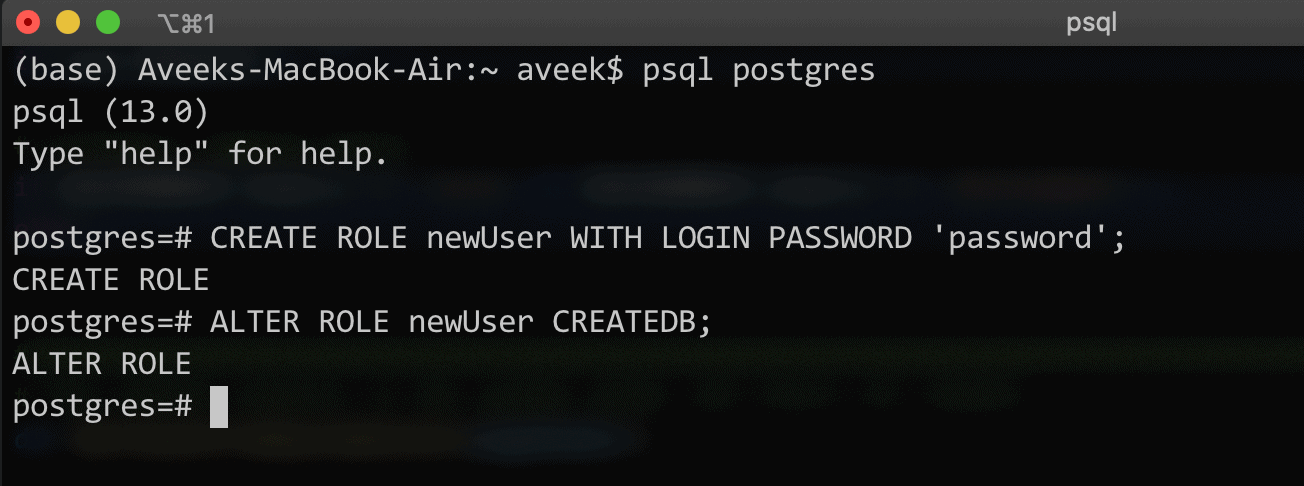
Now that our service is running fine, we need to set up a root user with admin privileges that can be used to manage the database service. In order to create the root user, make sure the service is running and then execute the following command. This will connect the terminal to the default database available in PostgreSQL, i.e. postgres.
psql postgres

Let us now create a new user with a sufficient role to create and manage databases within the PostgreSQL environment. You can run the following command to create a new user with a password of your choice and grant the user the CREATEDB permission, which will allow them to create and edit database objects.
CREATE ROLE newUser WITH LOGIN PASSWORD 'password';

ALTER ROLE newUser CREATEDB;
Log in with the new user
Now that we have created a new user, let us connect to the PostgreSQL database using the new user. We need to exit from the PG terminal that we are using now and reconnect with the newUser details. Type the following commands to first exit from the PG terminal and the re-connect with the newUser.
\q

psql postgres -U newuser
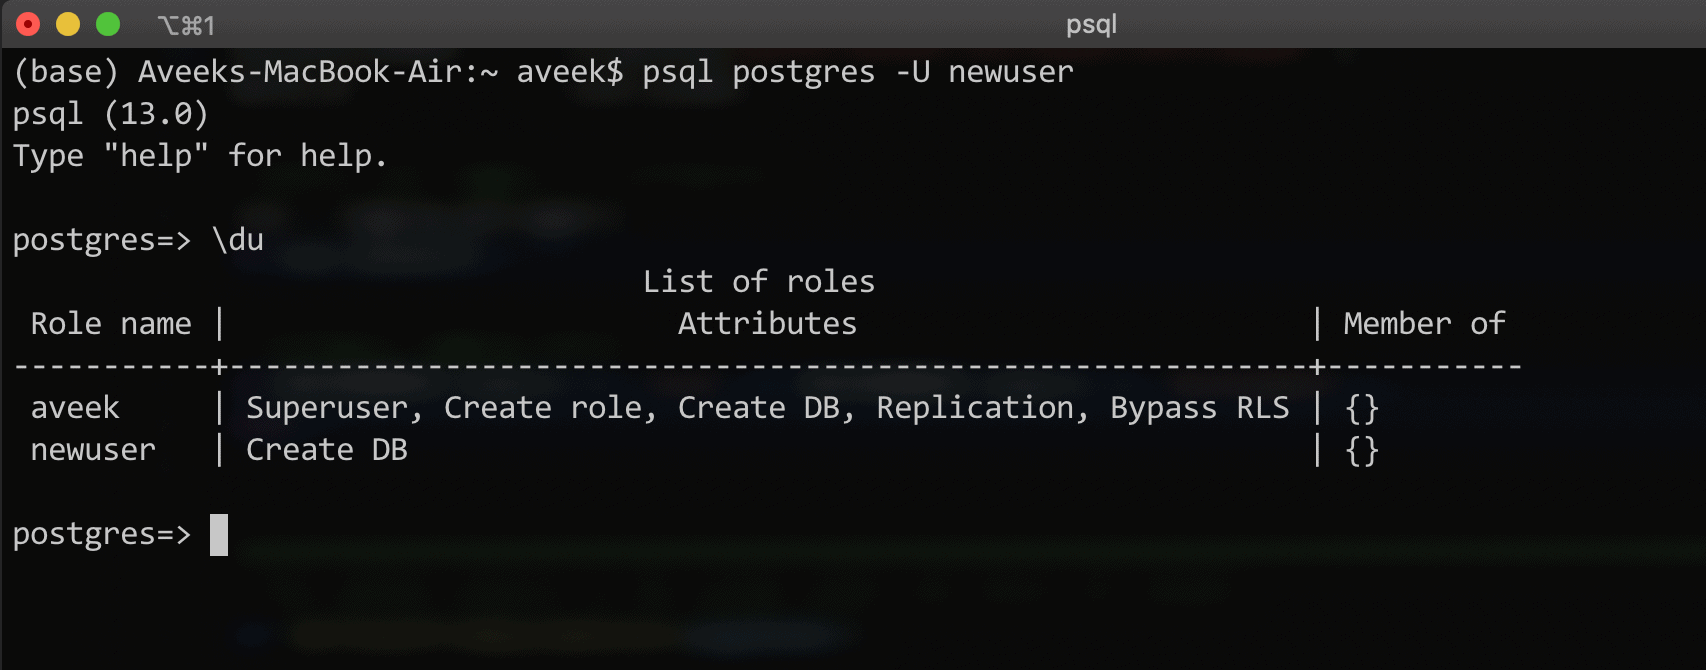
As you can see in the figure above, we have logged in using the newuser that we have created in the previous step.
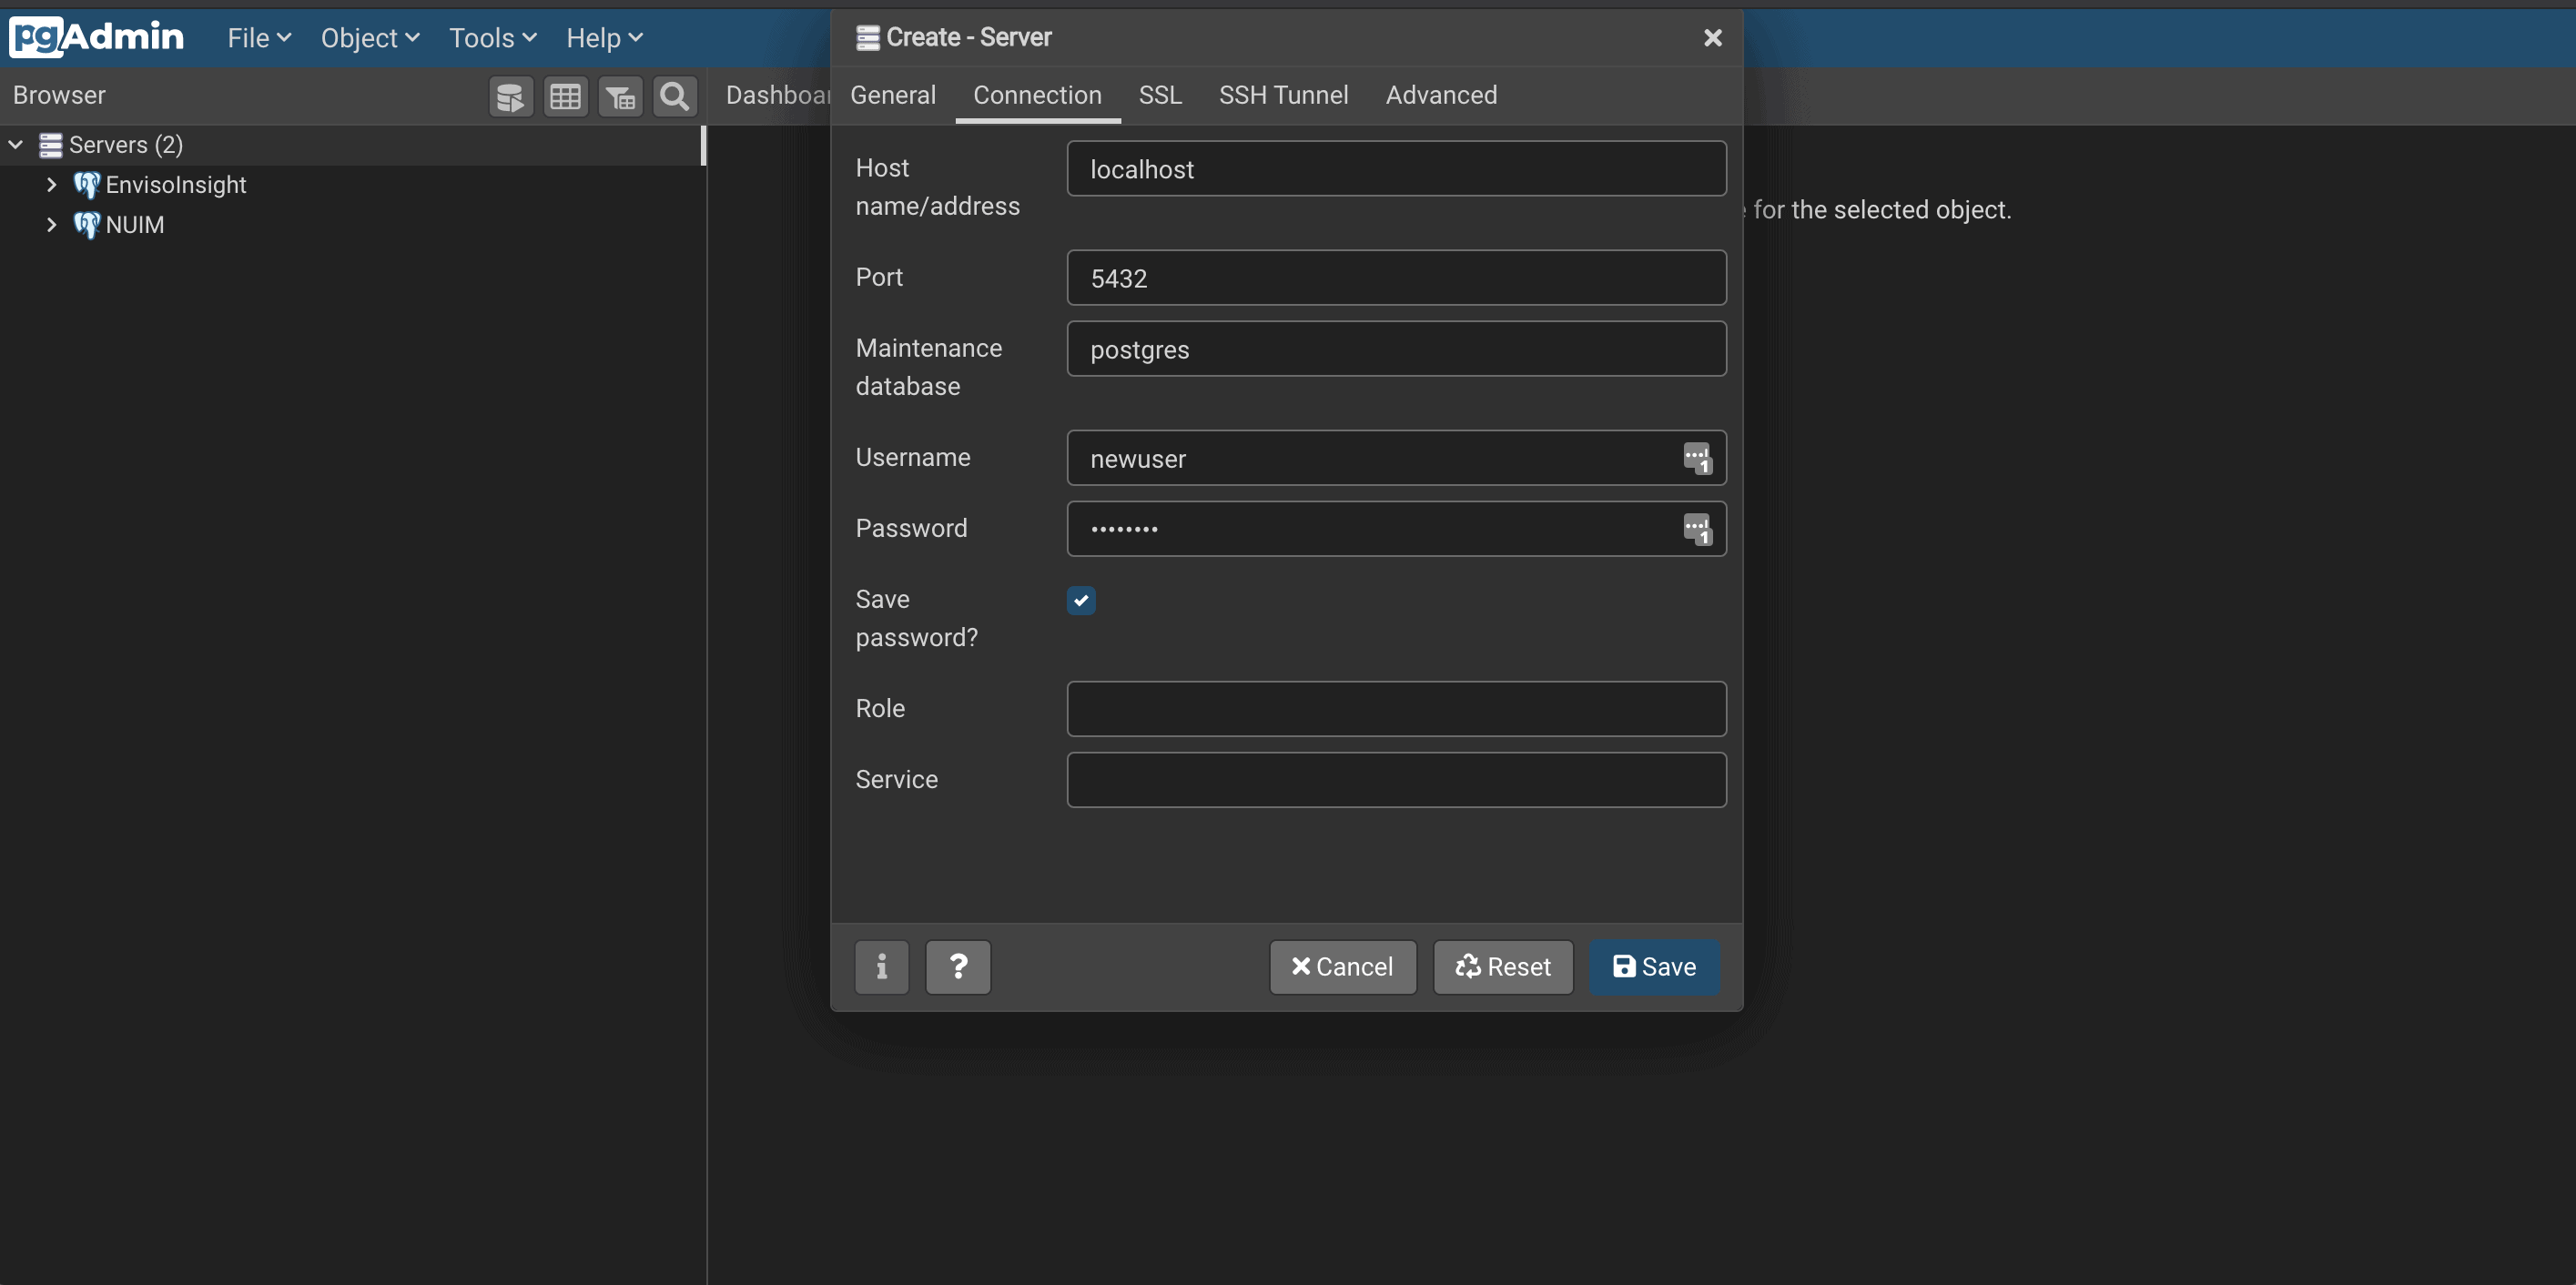
Using PGAdmin to connect to the database server
So far, we have been using the terminal to connect to the database. Although using the terminal is the first approach while installing and connecting to a database, it is not very intuitive. There are many client applications which provide quite well defined GUI in order to communicate with the database server. One of the most popular clients for PostgreSQL is PGAdmin. You can download the latest version of this application from the official website. You will receive a DMG file that you need to install. Once you have installed the application, you can start it by double-clicking on the icon. Enter the connection details from the figure below and click on Save.
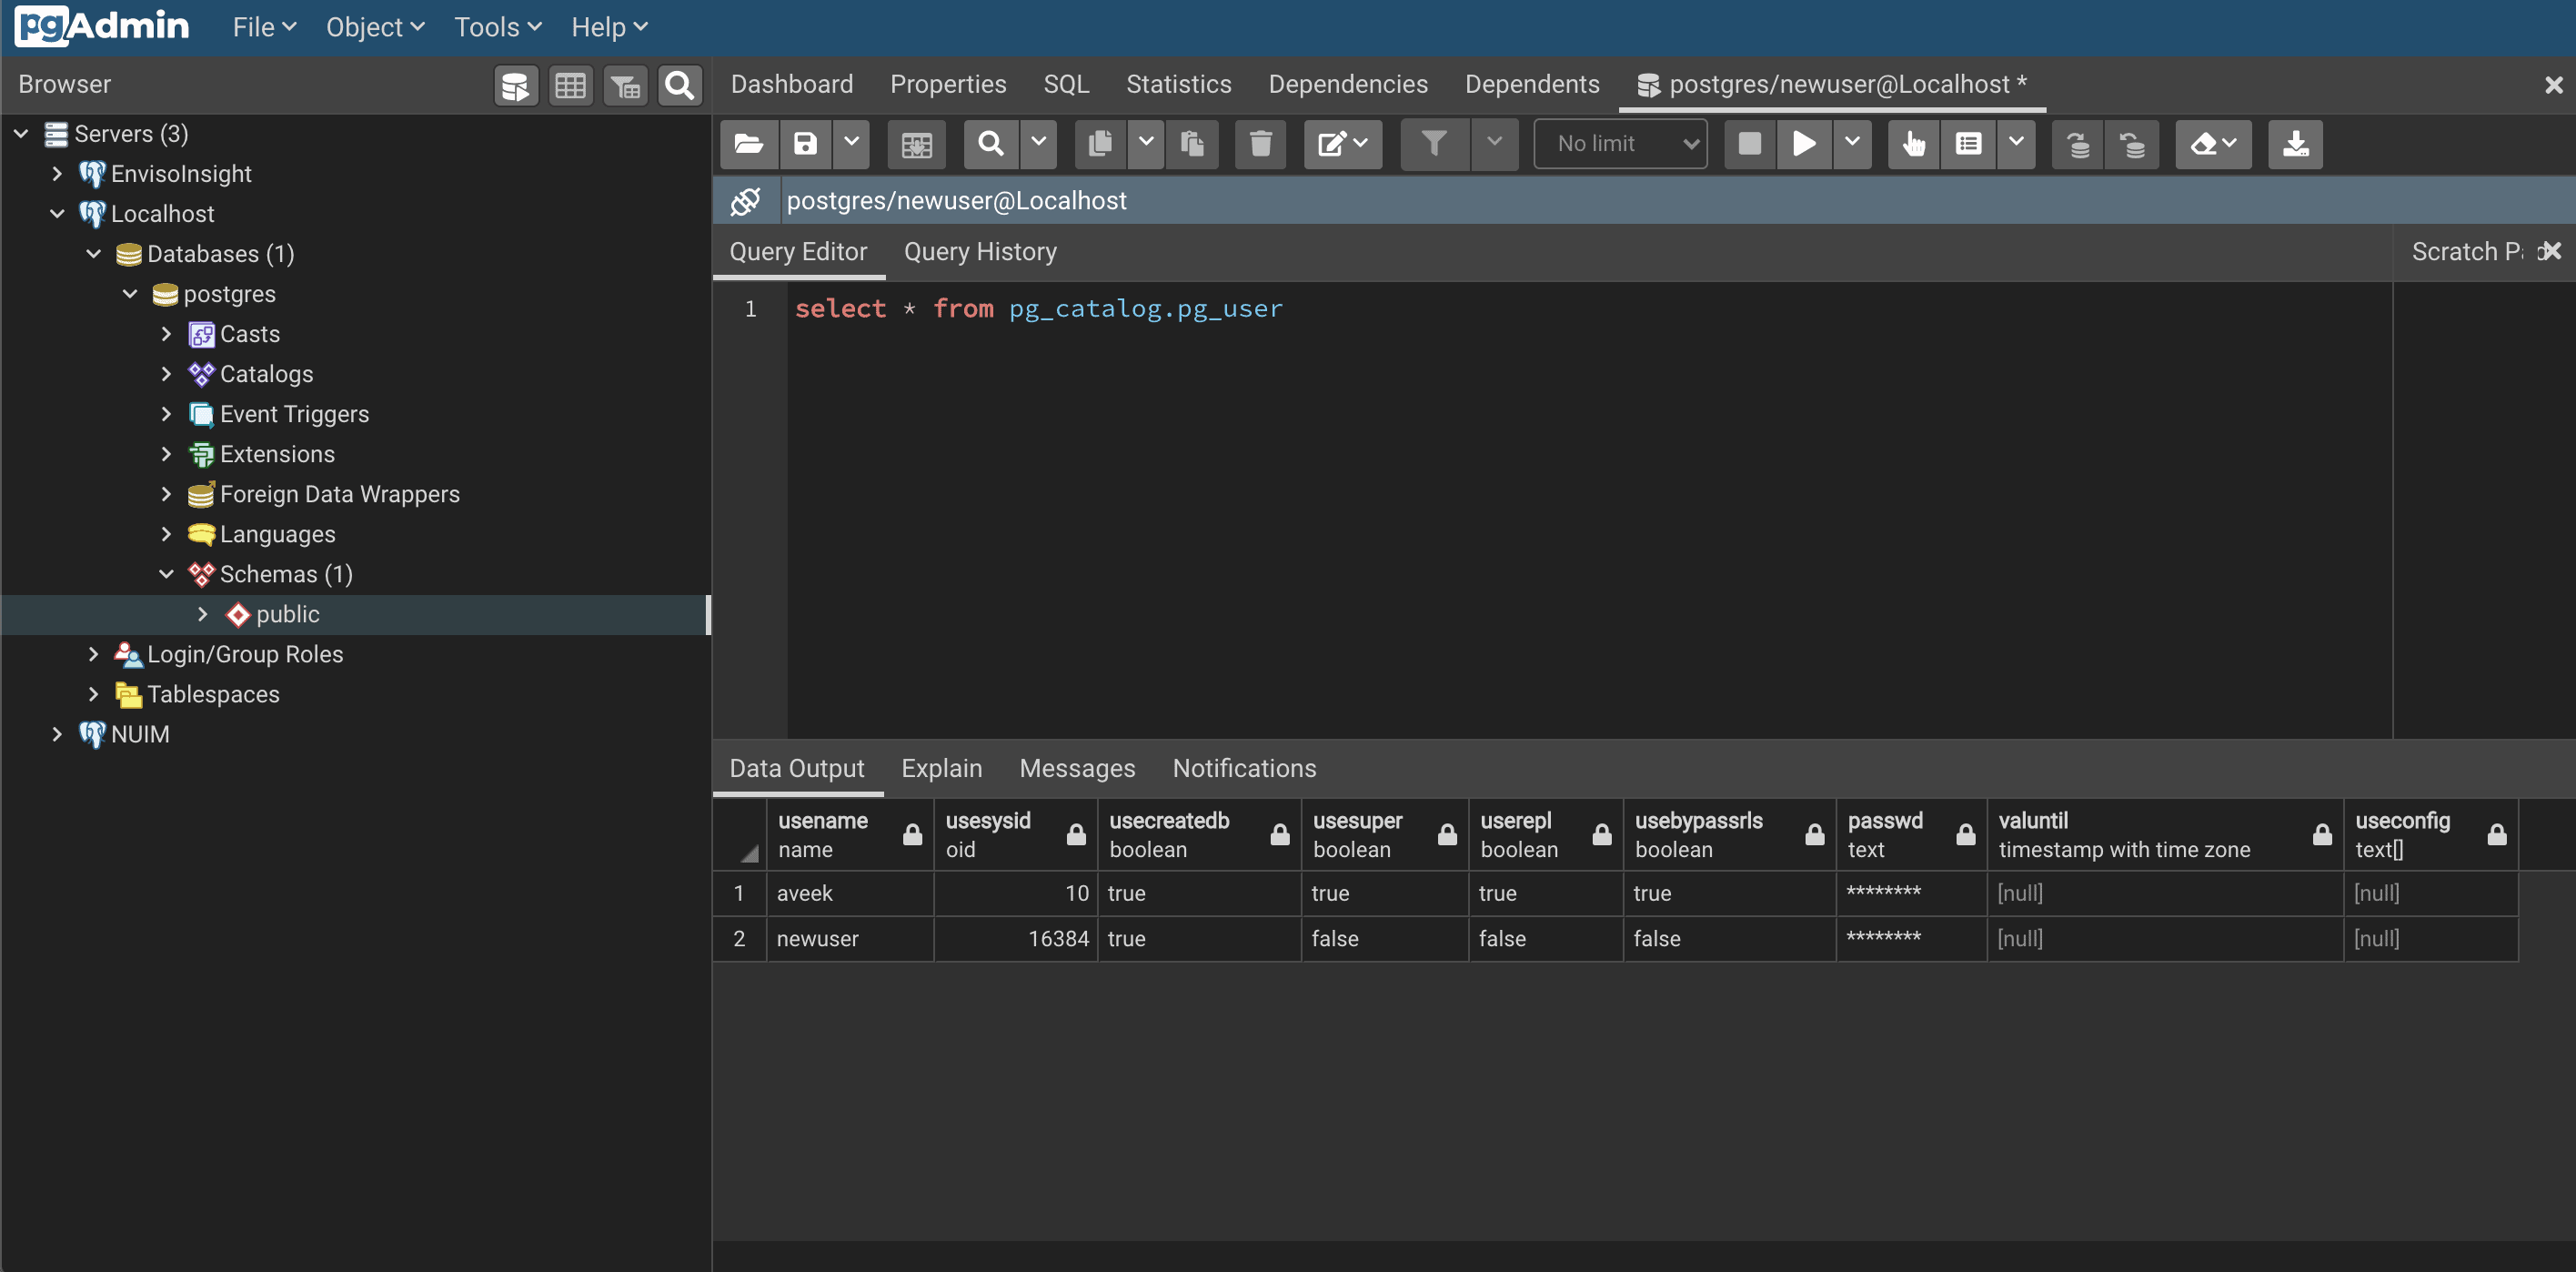
You can then connect to the database and perform your database operations.
Takeaway
This article explains how to install PostgreSQL on a macOS and use PGAdmin as a client to connect and use the database server. For more information on PostgreSQL, follow the official website.