Power BI has the versatility that you can publish your reports to the cloud (Power BI Service) and grant your organization’s individuals with access to view them anywhere and from any device. If there’s changing data then you need a way to refresh it automatically.
Also, senior management may need a way to refresh it on demand, i.e. when a major sale occurs, or when they’re expecting to reach end of month sales goals.
If the report is published to the Power BI Service, it doesn’t have access to your on-premises SQL Server (intranet), so you need an additional configuration to connect both.
Step 1: Install .Net Framework 4.8
It can be downloaded from here: https://dotnet.microsoft.com/es-es/download/dotnet-framework/thank-you/net48-web-installer
This is only necessary if you try to install the Power BI Gateway (step 2) and you get the following message:
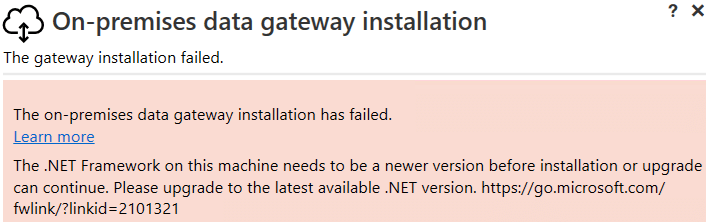
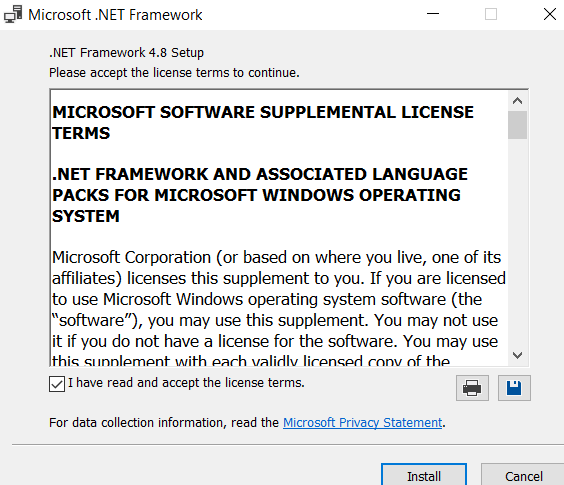
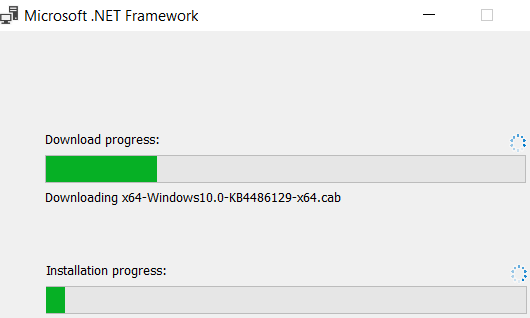
Following the link takes you to multiple downloads for .Net Framework, but don’t download the latest version; only version 4.8 works, the one from 2019, the other versions don’t: 4.8.1, 8, 9, etc. The file is named “ndp48-web.exe” with a size of 1.37 MB, so go ahead and install it:
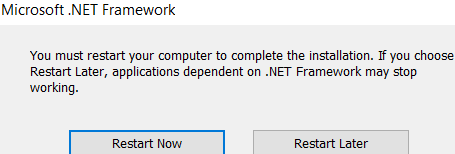
Finally, you need to restart the machine. After that, you won’t see it in the installed programs, nor in the Windows features; it will be listed under Windows Updates as KB4486129.
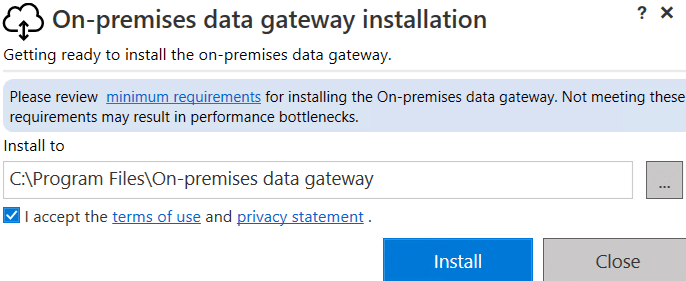
Step 2: Install Power BI Gateway
The gateway acts as a secure bridge (HTTPS) between Power BI Service (cloud) and your local network, so it needs Internet connectivity. When Power BI wants to update the dataset, it asks the gateway (in your local network) to make the request to the SQL Server database. Then, the gateway runs the query and returns the data to Power BI Service.
The installer can be downloaded from here: https://www.microsoft.com/en/power-platform/products/power-bi/gateway
You need to click on “Download standard mode” (avoid the one that says “Personal mode”). The file is named “GatewayInstall.exe” with a size of 761 MB.
Go ahead and install it; if you follow the link you can see the minimum requirements: https://learn.microsoft.com/en-us/data-integration/gateway/service-gateway-install#minimum-requirements
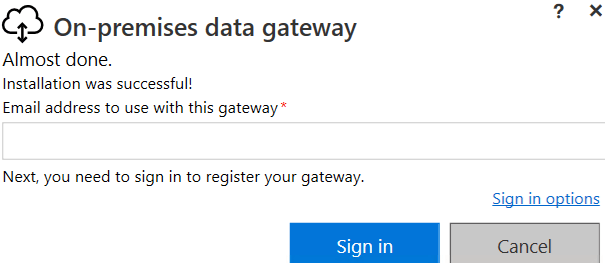
Step 3: Configure the gateway
When the installer finishes, if it doesn’t run automatically, then search for “On-premises data gateway” and run it. In the next screen you need to enter your organizational account:
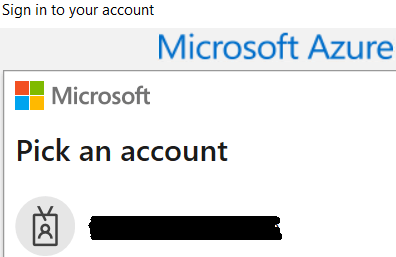
Next, you need to authenticate against your organization:
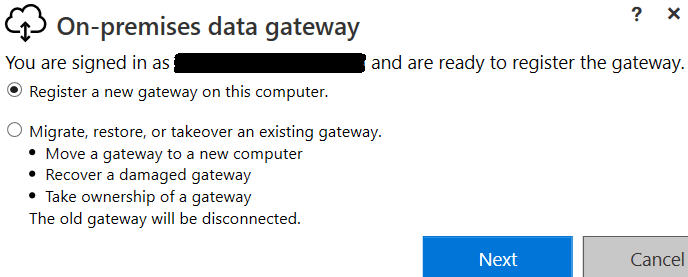
Next, you need to choose “Register a new gateway on the computer” and click “Next”:
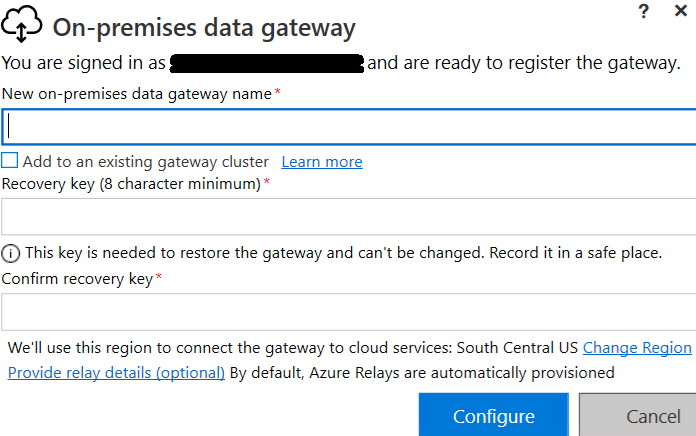
Then, enter a name you can recognize from Power BI Service, and enter a recovery key:
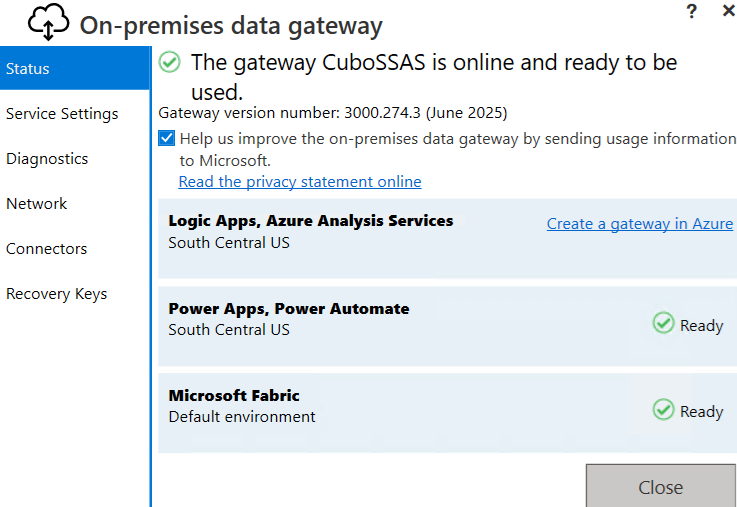
Finally, you will see the gateway is online and ready to be used:
Step 4: Configure the Cloud Power BI dataset
Go to https://app.powerbi.com/
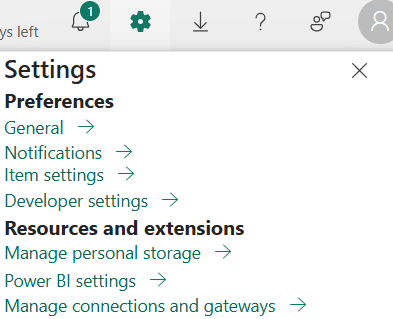
In the upper right corner, click on the gear (Settings) and go to “Manage connections and gateways” (3rd option beneath “Resources and extensions”):
In the second column, you will see your gateway under “On-premises data gateways”:

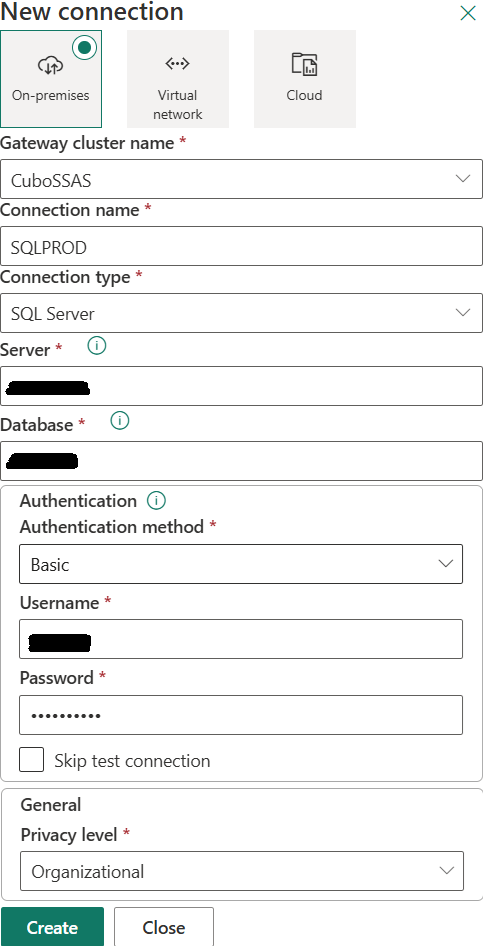
But you need to go to “Connections” and click on “+ New”, then you can create a new connection using the gateway:
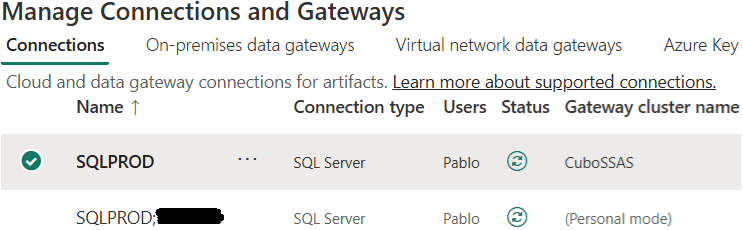
Once created, you will see both your personal connection (used with Power BI Desktop) and the one to refresh data in Power BI Service (cloud):
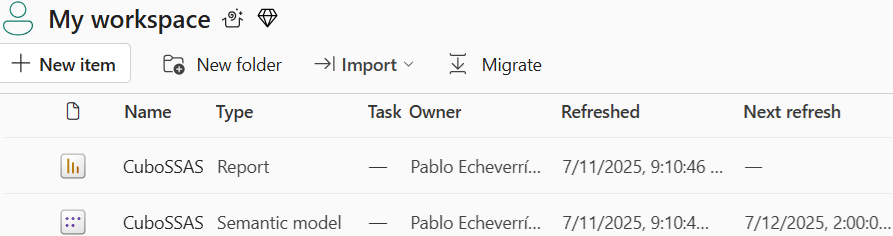
Now you need to go to your workspace and locate the semantic model (not the report):
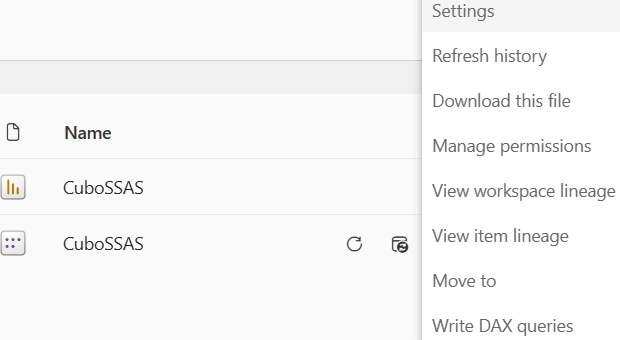
Next to its name, click on the three dots that read “More options” and then select “Settings”:
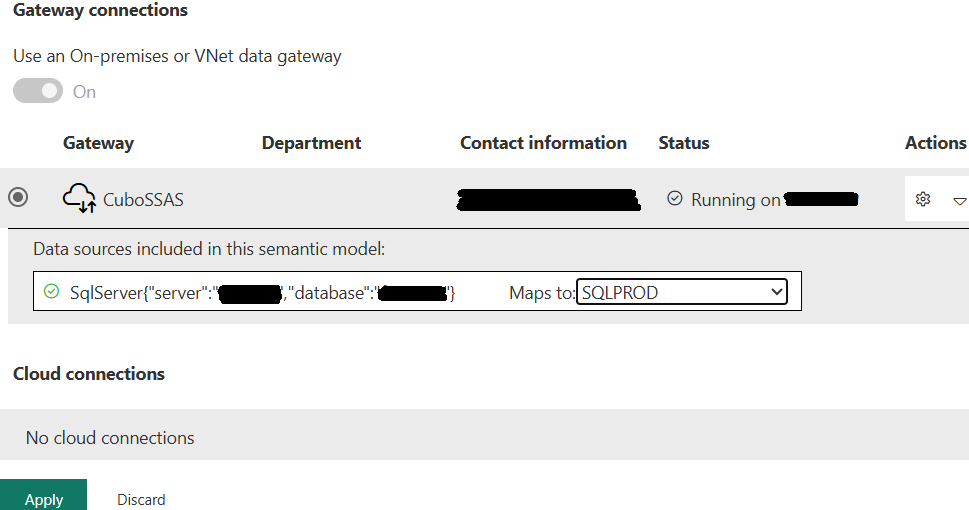
Now, under “Semantic models” expand the option “Gateway and cloud connections”:
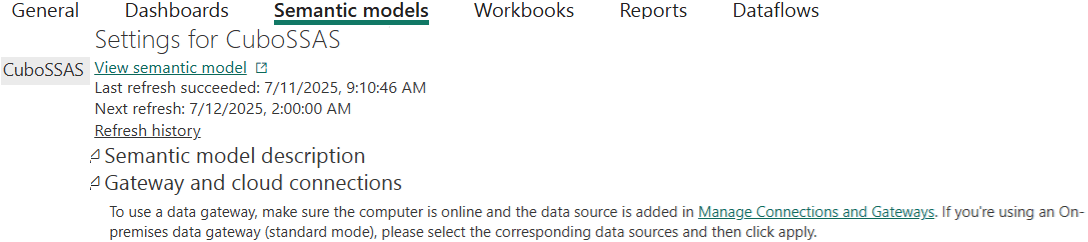
Turn on to “Use an On-premises or VNet data gateway”, verify the information, choose the gateway next to “Maps to”, and click on “Apply”:
Finally, you will see a message that the connection has been updated:

Once done, anyone will be able to refresh the data when needed. For example, you can add a Power Automate button in your report to trigger the dataset refresh. Or you can schedule automatic refreshes (maximum 8) on the dataset.