
The Azure portal will be where you spend the majority of your time whilst working with Azure. It is your single unified view of all your cloud resources from virtual machines to storage accounts. In this level we will be creating a “logical” SQL Server where it will become the central administrative point for your database(s).
Why do I say a “logical” server? This is because we are not physically creating anything. It is a logical construct that is distinct from a SQL Server instance that you may be familiar with in the on-premises world. This is why no instance level features are exposed to us.
Each database must belong to a logical server, so this is the first construct that we will create. After completing this level, you will be comfortable with creating the server via the Azure portal and PowerShell.
How to create a SQL Server?
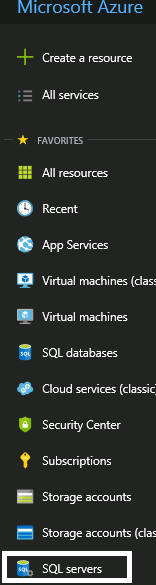
From the main resources menu bar navigate to SQL Servers.
You will then be presented with the SQL Servers blade; you will need to click Add.

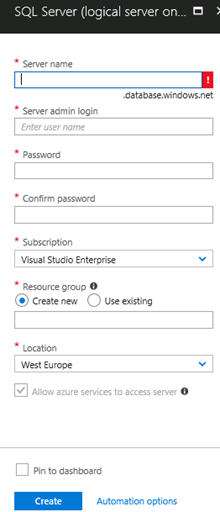
Next, you will need to fill out the following information for the logical server. This is the metadata and configures the server object.
Key Components
There are two important pieces of information we should discuss. An explanation of what subscriptions and resource groups are is included in this section.
A subscription is essentially an active agreement with Microsoft to provision resources, which are billable. The subscription determines how you are charged for resource usage, though there are no charges for a logical SQL Server. The charges will be made for the individual databases.
A resource group is a way to logical group a set of resources (which could be an end to end solution) under a specific subscription. Different types of resources can in a Resource Group and are often included when they are a part of the same application. You can read more about Resource Groups in this article.
Based on this you will see during this level I will be placing all my resources under a resource group called AKS_Prod which is within my Visual Studio Enterprise subscription.
What does it mean for us?
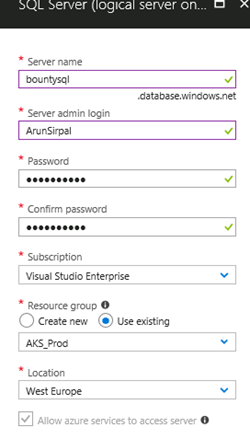
Server name – This must be a globally unique name thus provides a connection endpoint for database access. This becomes an important piece of information when connecting to the database via a tool such as SSMS (SQL Server Management Studio). I will be calling this server bountysql.
Server admin login / password - While not sysadmin like, it is still a powerful account, it has the ability to create, alter, and drop databases, logins, users and server-level firewall rules. Also it can add and remove members to the dbmanager and loginmanager roles (These are roles specific to Azure SQL Database) so make sure the password is very strong.
Subscription – The subscription that you want to use when creating the server. For you that will be the free trial subscription that we created in level one (I have multiple subscriptions and you will see that I am using my Visual Studio Enterprise subscription).
Resource Group – You will need to state what resource group you would like this server to be a part of. I actually have multiple resource groups for different environments. I suggest that you create a dedicated resource group for all your work during this series. As mentioned earlier on I will be using a resource group called AKS_PROD.
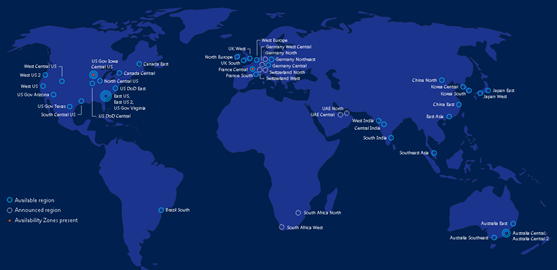
Location – Select your region where you would like to build the server. Look at the options available, it is a truly global presence. It makes sense to create your resources in a region that is close to your geographical location.
Complete the setup as shown below and click create.
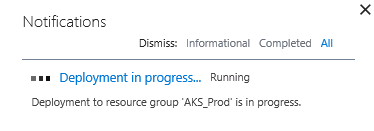
If you check the notification bar - deployment will be in progress and it should only take a couple of minutes for it to be created.
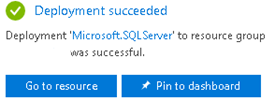
Deployment completed as indicated below.
Refresh the main server blade and you will see the new server created (bountysql). We will come back to this server to make changes to the firewall just before we try connecting to it, this will be in a later level.

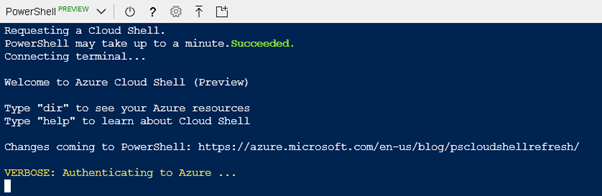
Azure Cloud Shell
If you fancy doing this via Azure cloud shell using PowerShell, click the >_ button.
Then issue the following command.
New-AzureRmSqlServer -ResourceGroupName "AKS_PROD" -Location "WEST EUROPE" -ServerName "mygalaxsqlserver01" -ServerVersion "12.0"
You will be prompted to enter the server admin details as indicated below.

Once completed output will be provided.
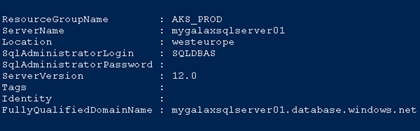
To confirm and view your list of SQL Servers you can execute the following:
Get-AzureRmSqlserver
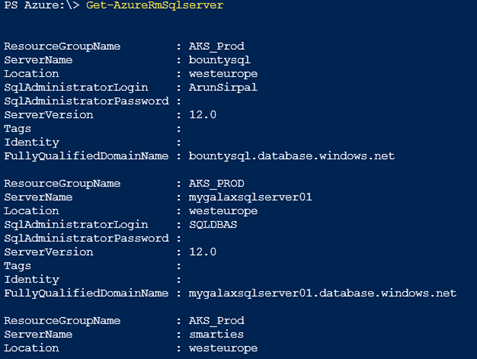
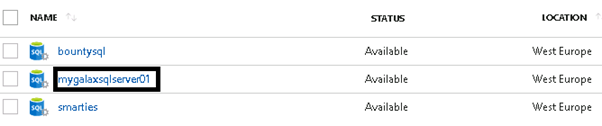
You also confirm the creation of the “logical” SQL Server via the Azure portal.
Next Steps
In this level we basically created a “home” for our Azure SQL databases in the form of a “logical” SQL Server. In the next level we will create a database (from a sample backup) within this newly created server and briefly discuss some of the purchasing models available to us.