
Introduction
Azure SQL Database is an extremely popular product and the chances are that if you have not yet looked into this technology then you soon will.
It does share its code base with the Microsoft SQL Server database engine. Microsoft have a cloud first strategy which actually does impact us, in a good way. The newest capabilities of SQL Server are released first to Azure SQL Database and then to SQL Server itself.
Azure SQL Database is known as Platform as a Service (PaaS) or database as a service (DBaaS). Whatever you want to call it this technology removes a lot of the physical administration (as indicated by the image below) that you are probably used to because we no longer need to manage the hardware, operating system or even the database software (for example no need to patch SQL server).

Fig 1 - The Data Platform Chart
This obviously means that there is a change in the type of work that you as a traditional DBA will be doing. The first phase of this change is to get a solid understanding on how you create an Azure SQL Database, the importance of firewall rules and best practices around logins (which can be both SQL authentication and Azure AD authentication). This is just one flavour of the product, don’t forget we also have the ability to create SQL elastic pools and managed instances, which we will not be covering in this stairway series.
Creating an Account
To start this journey, the first and most important step is to create an Azure account. This is free and you will be given $200 / £150 worth of credits. What happens once you consume all your credits? Microsoft will notify you so you can decide if you want to upgrade to a Pay-As-You-Go Azure subscription. If you do, you’ll have access to all the free products that you built. If you don’t, your account and products will be disabled.
First, click the following link https://azure.microsoft.com/en-us/free/
Naturally you will want to click the start for free option, unless you are willing to actually commit money straight away. Microsoft’s most popular and flexible payment plan is the Pay-As-You-Go plan because there is no monthly payment commitment, pay for what you use and you can cancel anytime. Naturally if you work for a large organisation then you will probably already have an Enterprise agreement in place, but I suggest that you create your own personal one, think of this as your own lab environment.
I will be showing you how to setup the free trial subscription but once we start creating resources in Azure in the later levels I will be switching to my Visual Studio Enterprise subscription.
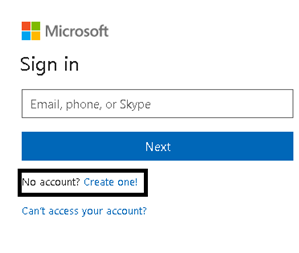
Next you will be asked to sign in, this assumes that you have an account setup, if not click the create one as shown below.
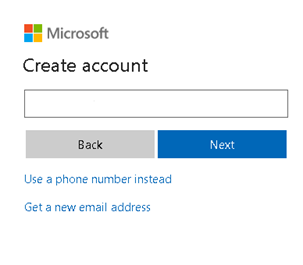
This will take you through the account creation wizard. For this step I entered my personal email address. Note that there are different directories for Azure, some of which are for personal accounts and some map to work accounts. You can choose either one, but keep in mind they are completely separate directories.
It goes without saying, it is always best to create a complicated password. If you do not enter a complex passwords, the site will prompt you to meet certain complexity requirements.
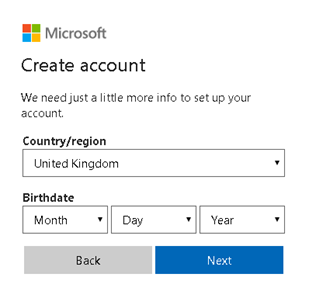
Some extra expected details are required such as location and birthdate.
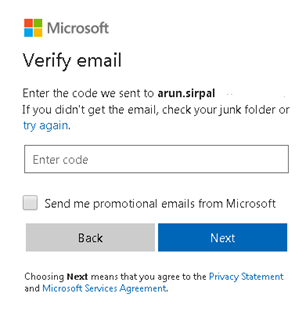
At this stage you will be sent a verification email to the email account that you used in step three. Enter the code that is in the email into the site.
Once you have entered the verification code there is one final verification step.
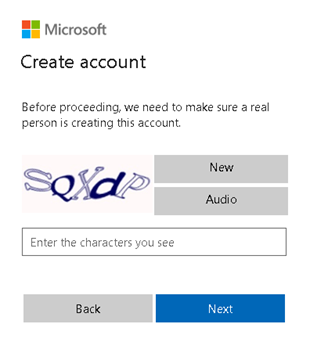
This completes the account creation.
Free Trial Subscription
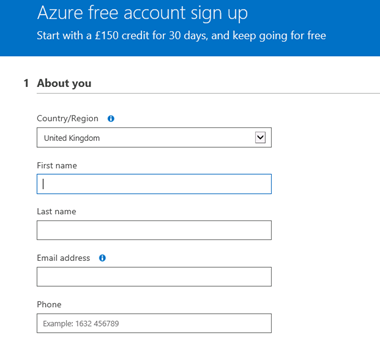
Once you have completed this section you will have a free trial subscription assigned to your account. This picks up from the end of the account creation stage.
We start with a few more personal details that are required. These help to ensure that your billing and support needs are covered and linked to your Azure account.
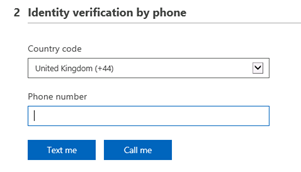
Another verification process where there is a choice of receiving a phone call or a text message with a code. Enter information and then respond as appropriate.
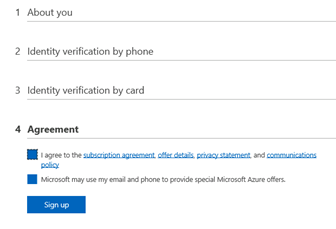
You will need to connect a credit card to the account, don’t worry you will not get charged unless you convert to a paid offering. You can cancel the subscription anytime you wish. You can also set a spending limit to ensure you do not exceed your free credits.

Once you click sign up, Azure will then setup your subscription. Be sure to agree to the terms.
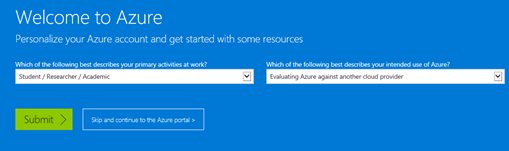
You can skip the questions about why you are using Azure as shown below and continue to the Azure Portal.
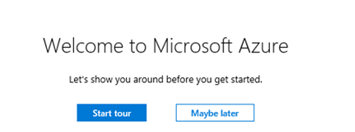
That’s it! You will now be presented with the welcome to Microsoft Azure splash screen. Feel free to select the tour option otherwise in the next stairway level we will dive right into creating resources.
The Azure Portal
This is what the Azure portal looks like. I have colour-coded some important areas. The yellow box section is where all your resources are located. Here you will find everything that Azure has to offer. The red box section is a searching tool where if you want to quickly find a specific resource then this is your best option. The white box section is your notification centre and the green box section is where you will find cloud shell. Cloud shell is a browser based shell experience where you can use PowerShell or bash to carryout tasks whilst persisting files to cloud storage.
The blue box section is your main dashboard view which you can further customise by pinning certain specific resources such as your production Azure SQL Database(s).

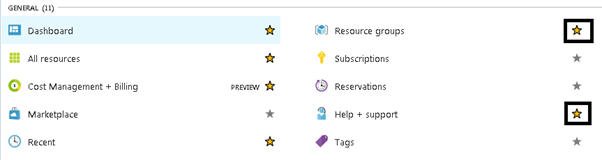
You can customise this menu bar by marking the resource as a favourite via a star symbol (see image below), this is a good idea for all the resource types of interest. For example, I have the below yellow stars marking the below resources as my favourites which will then become visible within the main resource menu bar.
Azure Cloud Shell
So, lets click the green box (the cloud shell tool) and issue some basic commands. Once you have clicked it a PowerShell window will pop up.
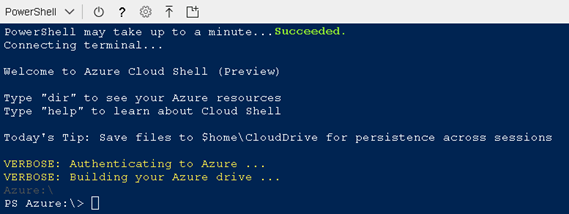
The first time that you do this you will be asked to associate a new or existing file share to persist files across sessions. The file share mounts as cloud drive in your $Home directory. This is a one-time action, and the file share mounts automatically in subsequent sessions.
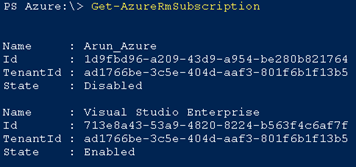
Let’s get a list of all your subscriptions. If you have followed this level thus far you will only have a free trial one. Below I have two (even though one is disabled).
Get-AzureRmSubscription
A handy command in the real world is to change the current context to use a specific subscription, that is when you have multiple subscriptions which you probably will one day. So for this example I want my Visual Studio Enterprise subscription.
Select-AzureRmSubscription -SubscriptionName "Visual Studio Enterprise"

Execute Get-AzureRmContext to confirm that you have selected the correct one as shown below.

Once you have set your default subscription, all subsequent Azure PowerShell commands run against this subscription.
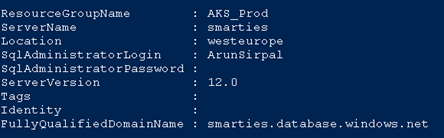
When we have finished the stairways series and have created some resources you will be able to run more commands against your environments such as showing all the Azure SQL Servers assigned to a resource group with this cmdlet:
Get-AzureRmSqlServer -ResourceGroupName "AKS_Prod"
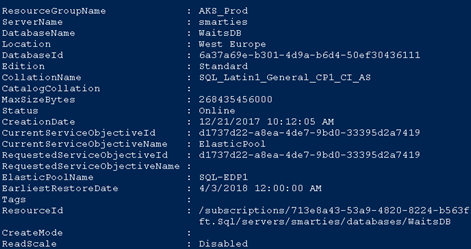
You can run the following to get more information about all the databases on a specific server.
Get-AzureRmSqlDatabase -ResourceGroupName "AKS_Prod" -ServerName "smarties"
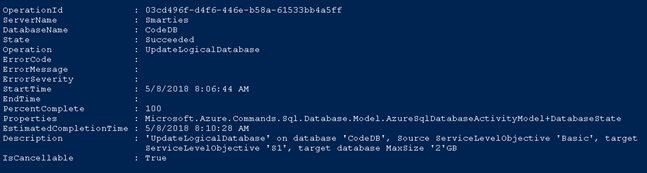
Here is a completed scale up request to move from a basic database to an S1 database (more CPU, RAM, and disk).
Get-AzureRmSqlDatabaseActivity -ResourceGroupName "AKS_Prod" -ServerName "Smarties" -DatabaseName "CodeDB"
Next Steps
This has been quite a long introduction but a necessary one. We have setup an account with a free trial subscription and seen what the Azure Portal looks like. Then we did a small introduction into Azure Cloud Shell. In the next level we will be focusing on using the Azure portal to create an Azure “logical” SQL Server.