

Introduction
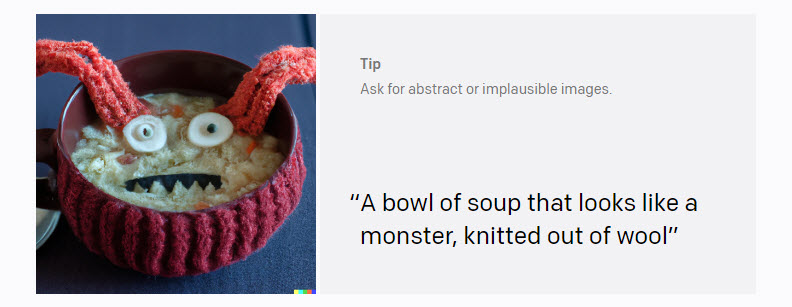
In this article, we will learn how to generate images with AI. This time we will work with DALL·E. DALL·E is an image generator using AI. You just need to provide a description and DALL·E will generate the image:
In this article we will learn these topics:
- First, we will learn what is DALL·E and how to work with it using the web.
- Secondly, we will learn how to invoke the DALL·E REST API in Python and save it in SQL Server. If you do not have experience in Python, this tutorial should be able to teach you.
- Finally, we will show how to retrieve the values stored in SQL Server and watch the images.
Requirements
- First, you will need SQL Server installed.
- Secondly, Visual Studio Code installed.
- Also, SSMS installed.
- Finally, we need a table to store images in SQL Server. The following code creates the table required.
CREATE TABLE [dbo].[image](

[id] [int] NULL,

[picture] [varbinary](max) NULL

) ON [PRIMARY] TEXTIMAGE_ON [PRIMARY]

GO
What is DALL·E?
This AI deep learning model was created by OpenAI (the famous creators of ChatGPT). The name DALL·E comes from the famous Spanish artist Salvador Dalí and WALL-E. The famous robot of Pixar. The name combines art and AI. This software generates images according to a text provided.
Getting started
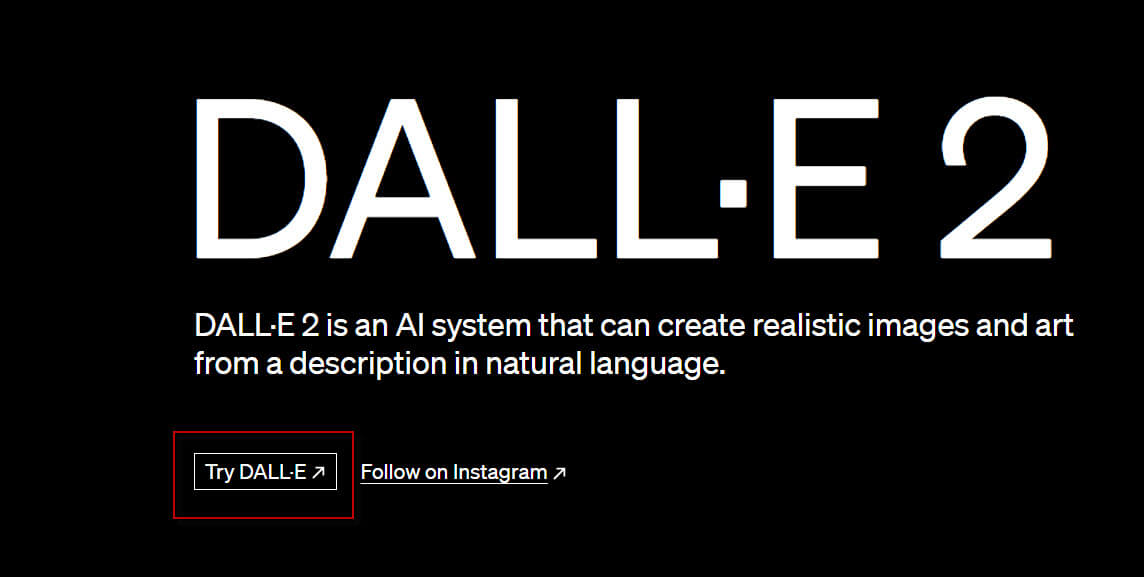
First, go to the DALL·E web page and press the Try DALL·E.
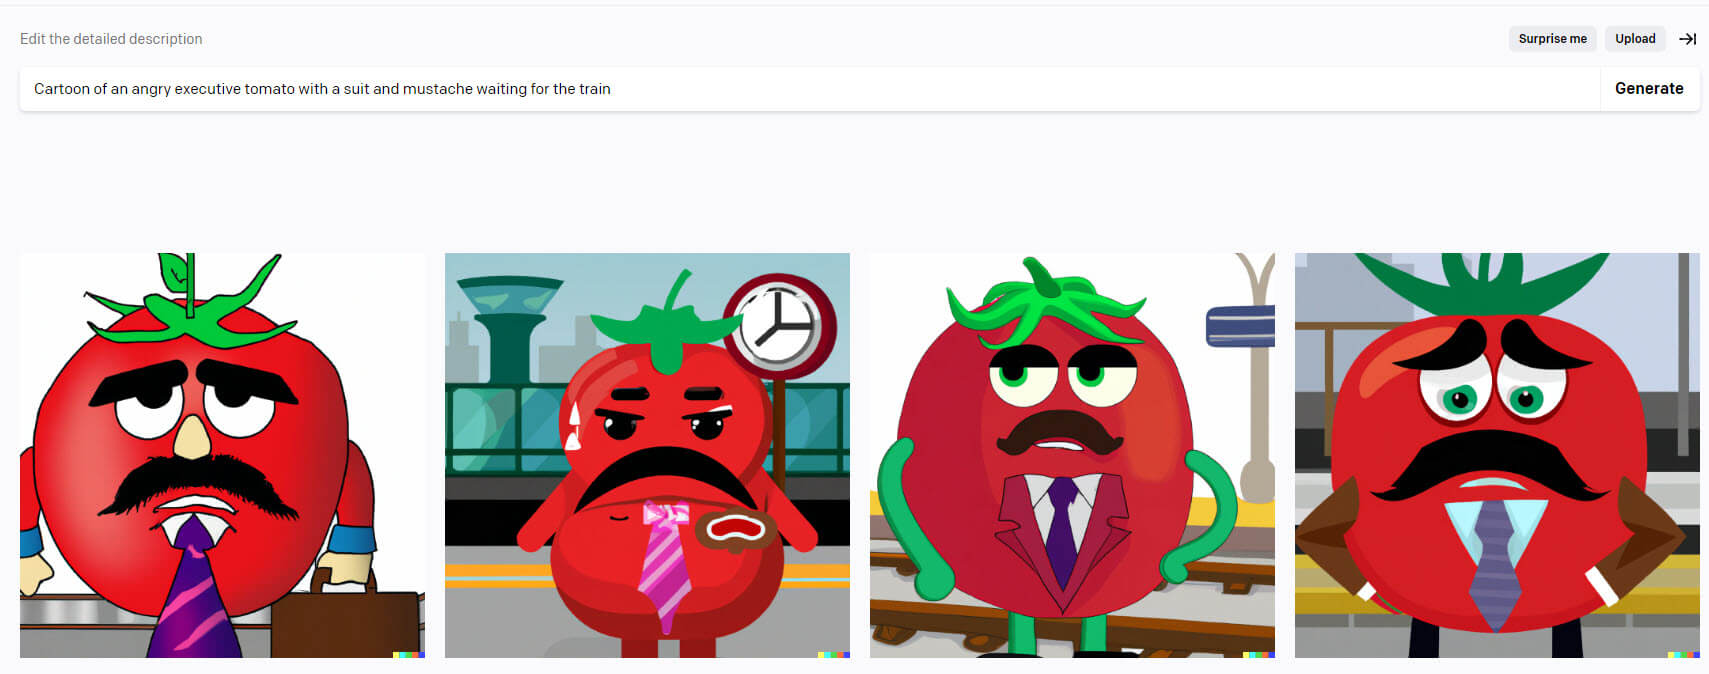
Secondly, write a description of the image using natural language. In this example, I will create a cartoon of an angry executive tomato with a suit and mustache waiting for the train.
Thirdly, press the Generate button.
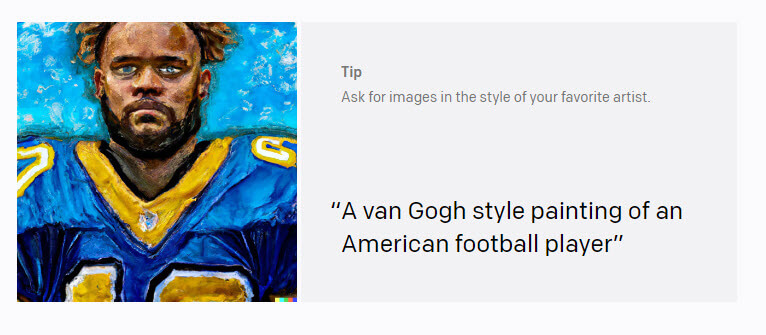
Also, you can generate images using painting styles. The following example shows how to create an image in van Gogh’s style:
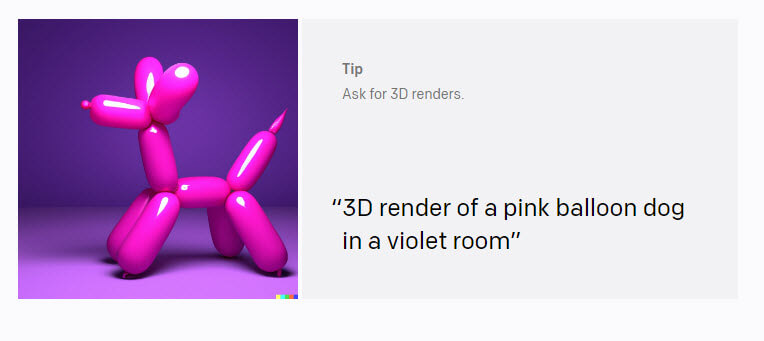
In addition, we can use the 3D render style:
This is the ukiyo-e style:

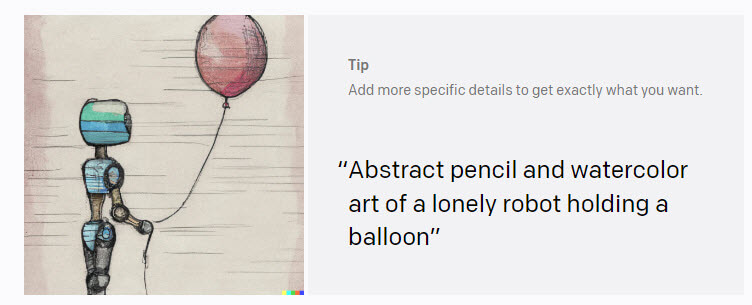
Finally, we have the abstract pencil style:
My personal gallery
First, we have a robot on a throne conquering the world.

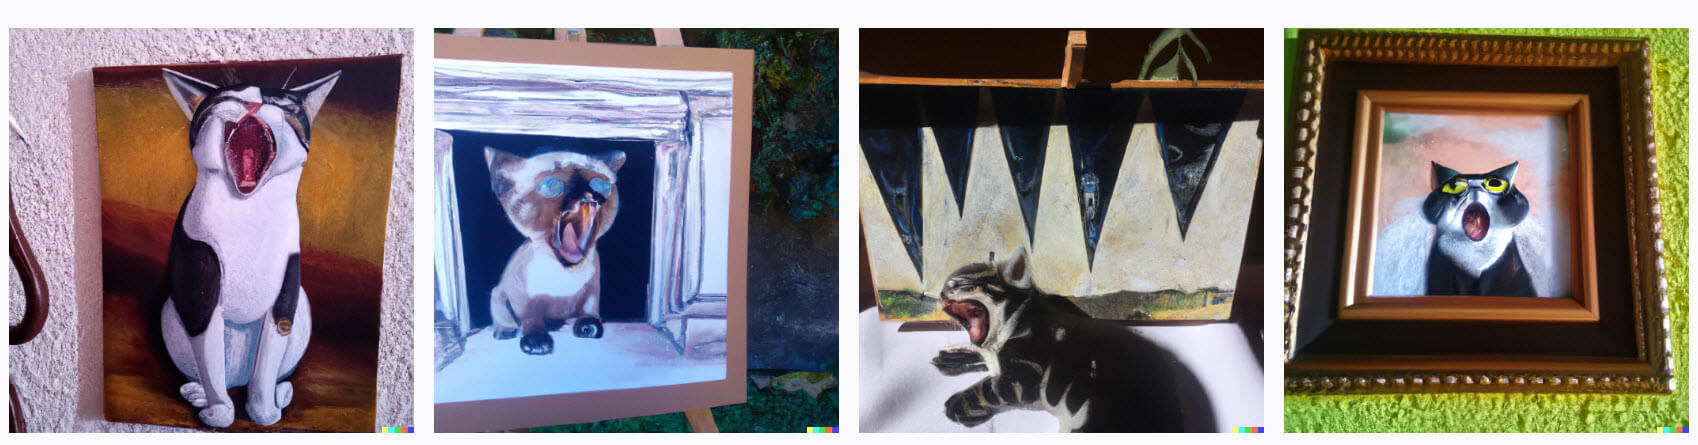
Secondly, on of my favorite paintings. The Scream from Edvard Munch. This time with a cat.
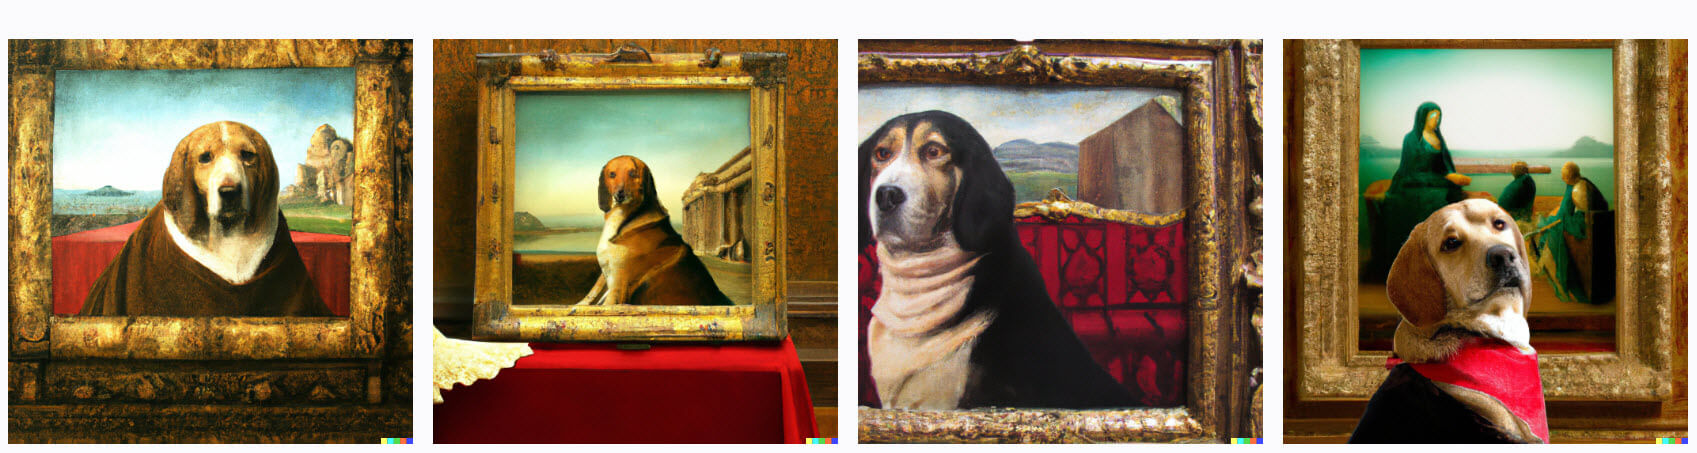
Finally, this is a mixture of a dog and the Mona Lisa painting.
How to generate images with AI and store them in SQL Server using Python
First, we will use Visual Studio Code which is free software. However, you can use any software to create your Python code.
Once installed go to Extensions and install Python from Microsoft and optionally Pylance.

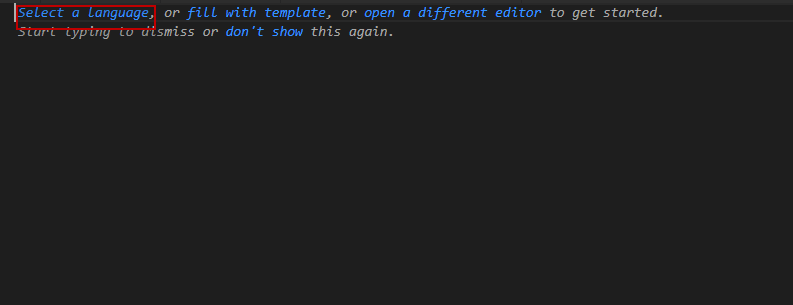
Secondly, go to the Menu and select File>New File
Thirdly, in the new file click on the Select a language option and select Python.
Also, you need to install in the command line the following libraries. Run this code in the command line where Python is installed. Pip is the command line used to manage Python packages. In this example, we are installing some extra packages.
pip3 install pyodbc

pip3 install openai

pip3 install base64

pip3 install requests
Finally, we have the code. This code provided was generated by myself and ChatGPT as well in a human-robot alliance.
import os

import pyodbc

import base64

import openai

import requests

openai.api_key = "sk-Z5KNDHB8hthJYIfRaNqj"

# Create the image using the OpenAI API

response = openai.Image.create(

prompt="cartoon soldier green fighting",

n=2,

size="256x256"

)

# Connect to the SQL Server database

conn = pyodbc.connect('DRIVER={SQL Server};SERVER=.;DATABASE=adventureworks2019;Trusted_Connection=yes;')

# Download and save the images

for i, img_data in enumerate(response["data"]):

#save the urls in the c:\data drive

url = img_data["url"]

filename = f"image_{i}.png"

filepath = os.path.join("c:\\data", filename)

response = requests.get(url)

with open(filepath, "wb") as f:

f.write(response.content)


# Insert the images into the SQL Server database, image table and column picture

with open(filepath, "rb") as f:

picture = f.read()

cursor = conn.cursor()

#user the insert statement

cursor.execute("INSERT INTO image (id, picture) VALUES (?, ?)", i+1, pyodbc.Binary(picture))

#commit and close the cursor

cursor.commit()

cursor.close()
Code explanation to generate images with AI using Python – Code explanation
This code stores the images generated in the c:\\data folder in the SQL Server. It assumes that you already have the folder.
First, If we go to the c:\data folder, we will see the pictures.
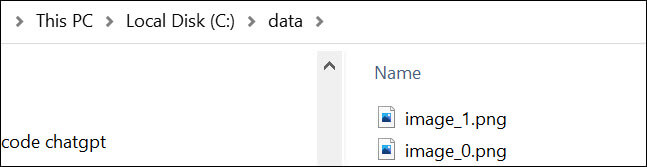
Secondly, if we open the images, we will see green soldiers generated by DALL·E.


Finally, if we do a select in SSMS, we will see two images stored in a table named image created in the requirements.
SELECT *

FROM dbo].[image]

Code explanation to generate images with AI using Python – import statements
First, we need to import some packages to make this work:
import os

import pyodbc

import base64

import openai

import requests
We installed these with the pip3 command these packages and now we are using them to import the images. Let’s explain the packages:
- First, we have the os package to store the images in the hard drive. The os (operative system) is a basic package included by default in Python. You do not need to install it.
- Secondly, we have the pyodbc package which is used to connect to SQL Server using ODBC.
- Thirdly, we the base64 which is used to handle binary data. In this example, the images.
- Also, we have the openai package which will be used to work connect to DALL-E using REST API.
- Finally, we have the requests package used to send an HTTP request with a URL specified. We will use this to store the value from the url image into the disk and then into SQL Server.
Code explanation to generate images with AI using Python – Creating the image
After importing packages, we have this code:
openai.api_key = "sk-Z5KNDHB8hmMd801XWwthJYIfRaNqj"

# Create the image using the OpenAI API

response = openai.Image.create(

prompt="cartoon soldier green fighting",

n=2,

size="256x256"

)
First, we use the openai.api_key to connect to the DALL·E REST API. You will need to Sign-up to openai. If you have already worked with ChatGPT, you already have an account. Once you have an account go to the API keys link.
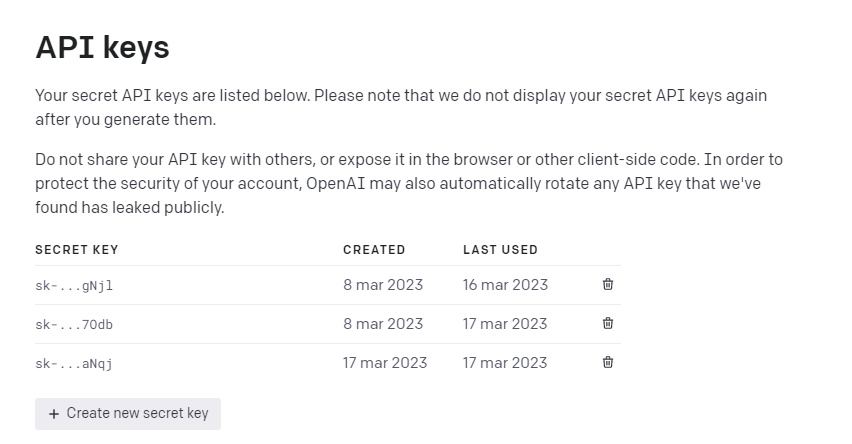
Secondly, on the API keys page, press the Create a new secret key and copy the key (in this example sk-Z5KNDHB8hmIfRaNqj) into your code:
openai.api_key = "sk-Z5KNDHBIfRaNqj"
Thirdly, we have the following code:
# Create the image using the OpenAI API

response = openai.Image.create(

prompt="cartoon soldier green fighting",

n=2,

size="256x256"

)
Let’s explain line by line:
First, we create an image using the openai package:
response = openai.Image.create(
Secondly, in the prompt, we send a description of the image (cartoon soldier green fighting):
prompt="cartoon soldier green fighting",
Thirdly, n=2 is used to enter the number of images created.
Finally, Size is used to specify the image size.
Code explanation to generate images with AI using Python – Saving images
The next section is about how to save the images in the c:\data folder.
First, we use a for loop to store the URLs from the openai response. The URLs are stored in an attribute named data.
for i, img_data in enumerate(response["data"]):
Secondly, we save the URL in a variable:
url = img_data["url"]
Thirdly, we create a filename with an f prefix, plus the word image plus the underscore and a number, and the extension png (image_0.png and image_1.png). A PNG (Portable Network Graphics) is a well-known extension to store digital images.
filename = f"image_{i}.png"Also, we create the file path by joining the folder path plus the file name.
filepath = os.path.join("c:\\data", filename)In addition, we request the URL data.
response = requests.get(url)
Finally, we save the URL’s content.
with open(filepath, "wb") as f:

f.write(response.content)
Code explanation to generate images with AI using Python – Store the data in SQL Server
For this section, we will explain the following code:
# Connect to the SQL Server database

conn = pyodbc.connect('DRIVER={SQL Server};SERVER=.;DATABASE=adventureworks2019;Trusted_Connection=yes;')

# Insert the images into the SQL Server database, image table, and column picture

with open(filepath, "rb") as f:

picture = f.read()

cursor = conn.cursor()

#user the insert statement

cursor.execute("INSERT INTO image (id, picture) VALUES (?, ?)", i+1, pyodbc.Binary(picture))

#commit and close the cursor

cursor.commit()

cursor.close()
First, we create the connection. We use the pyodbc package. The Driver is SQL Server because we want to connect to SQL Server. The server is the SQL Server name. In this example a . means to use the local SQL Server. The database name is in this example Adventureworks2019, but you can use any existing SQL Server database of your preference. A trusted connection means using Windows Authentication to connect to SQL Server. So, make sure that your Windows account has permission to SQL Server.
# Connect to the SQL Server database

conn = pyodbc.connect('DRIVER={SQL Server};SERVER=.;DATABASE=adventureworks2019;Trusted_Connection=yes;')
Secondly, we are reading the file and storing a variable named picture:
with open(filepath, "rb") as f:

picture = f.read()
Thirdly, we are opening a cursor to manipulate the data.
cursor = conn.cursor()
Also, we are inserting the data in the image table. Note that this table was created in the Requirement section.
cursor.execute("INSERT INTO image (id, picture) VALUES (?, ?)", i+1, pyodbc.Binary(picture))Finally, we are doing a commit and closing the cursor.
cursor.commit()

cursor.close()
Conclusion
In this article, we saw how to generate images with AI and store them in SQL Server using Python. DALL·E is an amazing tool to generate images. We saw how to connect and generate images manually using the website and then using REST API in Python. Finally, we saved the images in SQL Server.
