

I have been experimenting with Azure in my spare time, trying to better understand this cloud service and how I can use it for data projects. My employer is considering building some applications here, so I want to be prepared.
In this article, I decided to document the process of creating a serverless database and give some impressions of what this means for me.
A New SQL Server Database
In the Azure portal, https://portal.azure.com, I can select the "Create a resource" link to create a new anything.
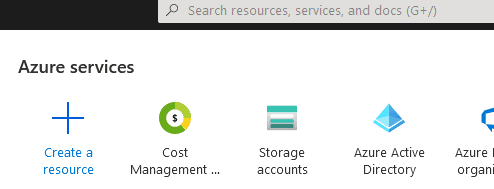
Or at least it seems like anything. When I click this, I see lots of stuff. I'll click the SQL Database item.
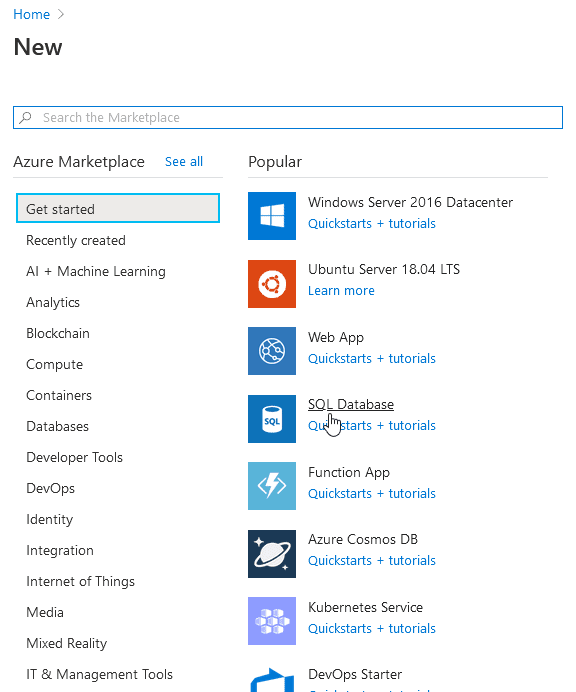
This opens a wizard of sorts. I see opens to fill in and a "Review+Create" or a "Next:" button at the bottom. I can take defaults in many things, or I can customize them. Here, I'll fill out some of these items.
The first thing to select is your subscription. I only have one, so there isn't any choice here. If you have your account linked to something at work, you may have more choices.
For the Resource Group, I created a new one for this article. This way I can delete the Resource Group and all the things in it will go away. I do this often so that I can avoid unnecessary charges. I do have some free credits, but I also don't want to waste those.
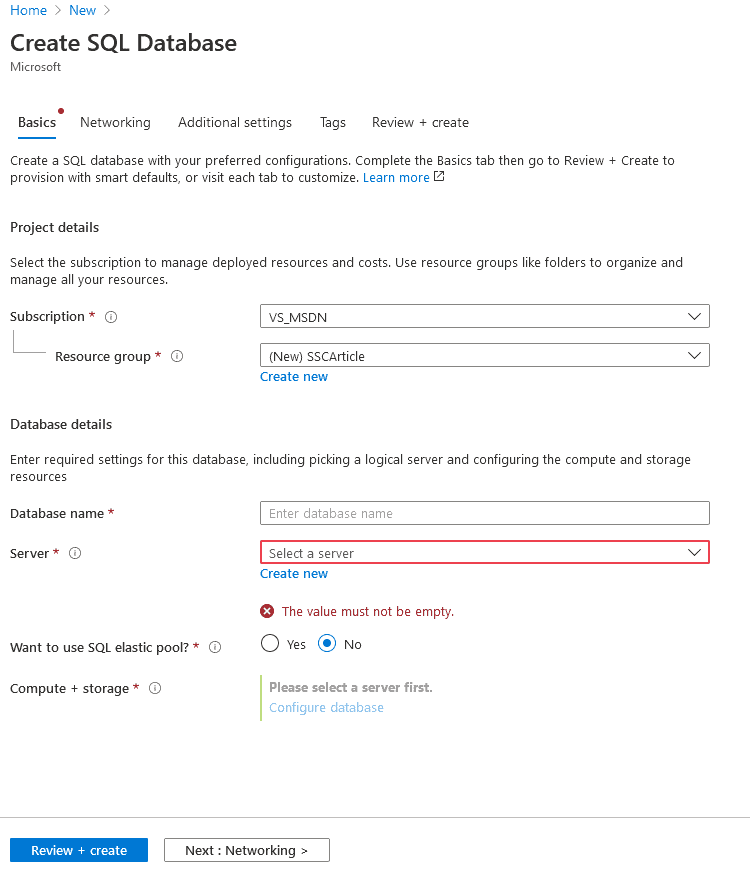
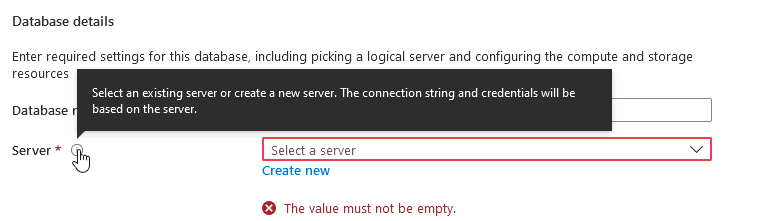
I need a server. In this case, from what I know, this isn't a real server, as in a VM or some machine in an Azure data center. Instead this is some virtual construct. This is a logical construct that has the same logins, firewall rules, and a few other things. However, there isn't, as I understand it, any guarantee that all the databases exist on the same host OS. I assume some Azure magic keeps things in sync, but we should think of this as a logical organization item, not a real server.
Also, I'm limited to 6 of these in a subscription. I give a better description because this is the tooltip.
I click the "Create new" link, and I get a blade on the far right of my browser. Things that open or add onto the form are called "blades" in Azure. I see this term everywhere, but no real good definition of this from the docs. Oh well.
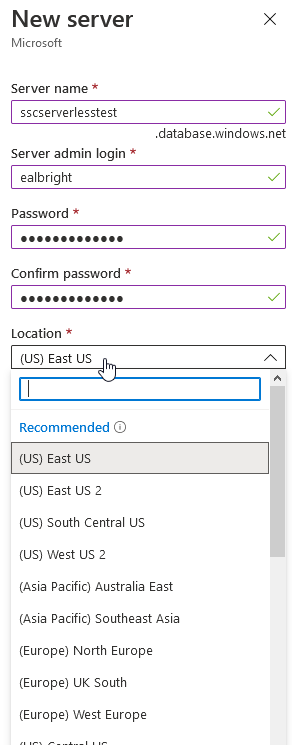
This blade asks for a server name, an admin login, password, and location. Note, the location doesn't need to match your location. You can put things in most any Azure data center, at least, those of us in the US can. Not sure about other regions.
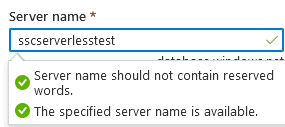
The first thing I need to do is pick a name. This name is in the database.windows.net domain, so I have to have a unique name. Personally, I think this is going to be a hassle over time, and there is a first mover advantage. I would guess my company would have some prefix we use to try and namespace our servers over time. Azure lets you know if you have a unique name.
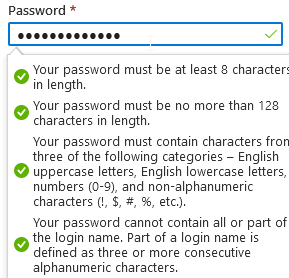
Once I do that, I need to add a login and a password. Resetting these is a pain, so save this immediately. I use LastPass to store these. My initial password didn't have all these elements. The generated password didn't have a number, so I added one. Azure requires something complex, though I wish this were more than 8 characters at a minimum.
Once these items are enetered, I picked a region. I tend to pick something near my physical location, but in some very basic testing, there doesn't seem to be much latency difference for me.
Once this is done, I click "Create" and after a few seconds the blade closes. I now see my server listed, with a "(new)" in front of it.
Now I need to enter a database name. Again, there is live validation as I type to let me know if I'm picking something that won't work.

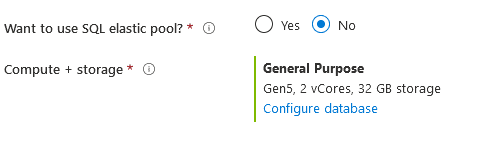
Next we get to the resource contract. First, I have the choice to include this in an elastic pool. This is essentially one set of resources I allocate across many databases. From my reading, this is the choice when I will have lots of sharded (similar, federated, etc.) databases that I want grouped together for billing. In this test, I'll leave this at No.
I need to pick the compute and storage. The default (as of mid 2020) is a General Purpose, 2 vCore, 32GB storage machine. This is not a big choice, but it will cost US $380.03/month. I can click the "Configure database" to get other choices.
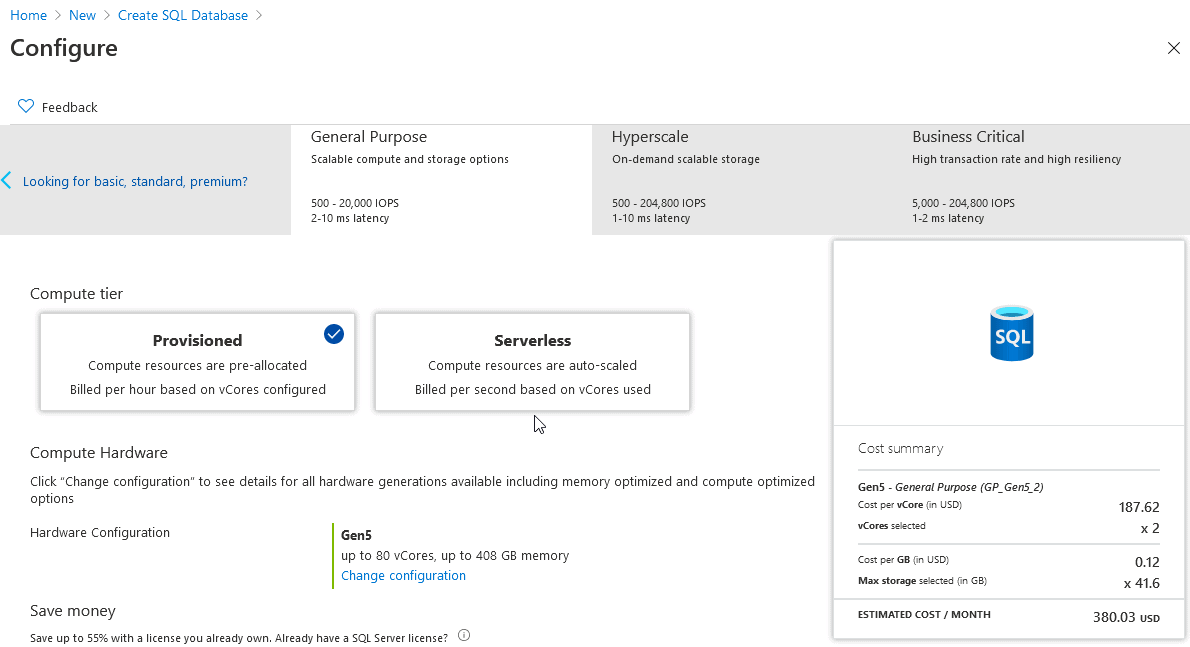
When I do that, I get a whole new screen. I think this is the equivalent of a dialog popup, as there is an "x" in the upper right. The deault is the General Purpose tier, which is a set of certain sized options. In this tier, I configure the vCores I want. At some other tiers, I set DTUs. There's a lot here, so I split this into two images. First, the top shows me the different tiers I have: Basic, Standard, Premium, General Purpose, HyperScale, Business Critical. Think of this as cheaper to expensive. Inside each tier, I can choose the scale at that level. The main three shown all work with vCores. The "looking for" cheaper series use DTUs. I think MS is moving away from DTUs.
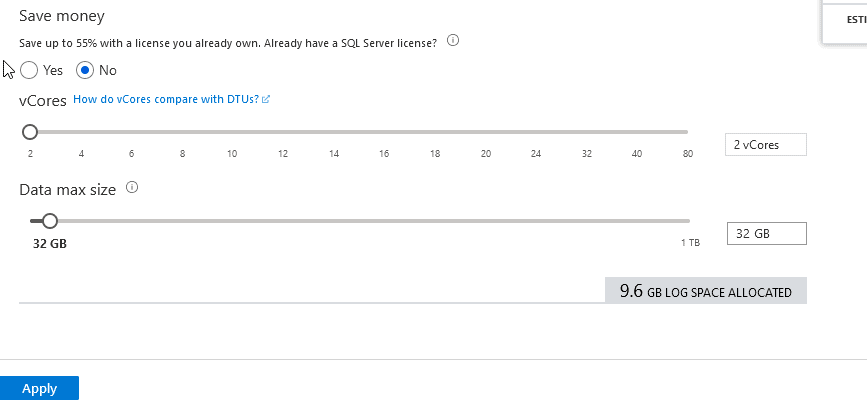
Serverless is only in the General Purpose tier, so I'll stick with this. I can't go below 2 vCores, and I don't have $380 in credits each month, but that's the advantage of serverless. It shuts down.
I also can set the max data size. The default is 32GB, with some log allocated.
This goes up to 1TB, but the price changes. Note the log allocation also changes.
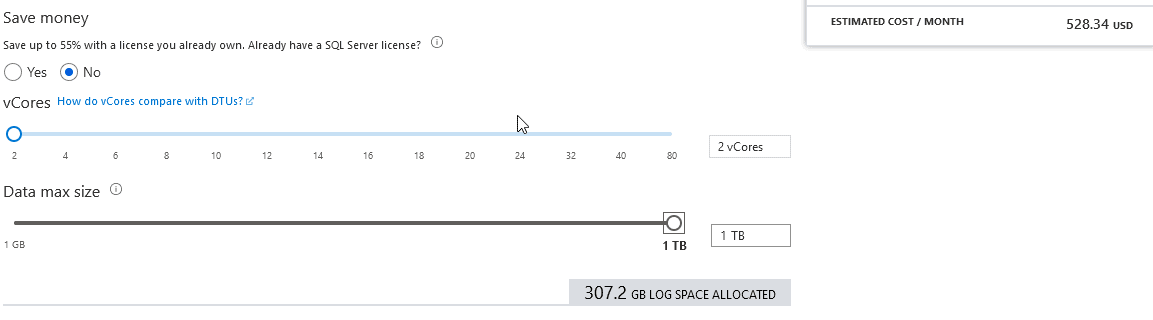
I can take this down to 1GB, but the price only drops to $375. I suspect that a 32GB volume is the min they really allocate here.
However, I want to use Serverless, so I need to click that big box. An easy thing to mix. I messed this up and burned through quite a few credits across a day before I realized this.
HIT THE SERVERLESS BUTTON.
When I do that, I don't get vCores, but I get min and max vCores, as well as the Auto-pause delay. This defaults to 1 vCore max and 0.5 as a min. This determines your computer capacity, so if you want things to run quickly when they're running, adjust this. Note that the min is a billing thing. You could have less than 0.5vCores in use with your queries, but you're going to be billed for that.
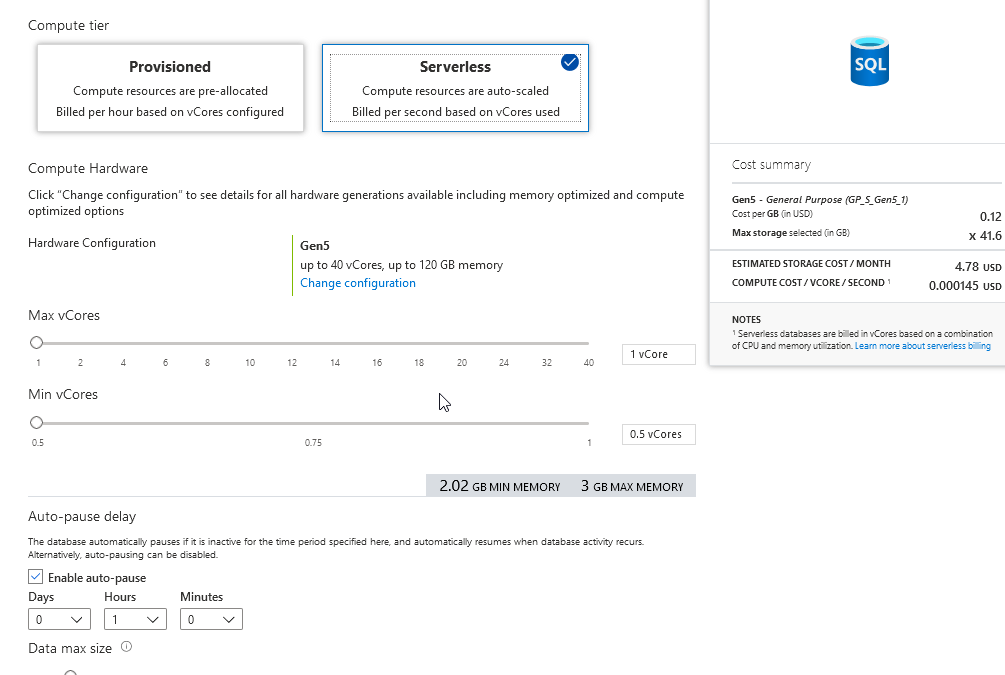
On the right is the billing. In this case, for 32GB, I will pay US$4.78 for storage and then a small amount per vCore per second. Not something that I can easily guess on until I start to run queries. I'll leave things at the min here for testing. However, based on performance, you might adjust this over time to ensure you balance performance and cost.
I click "Apply" and go back to the Create blade. I'll then click the "Next: Networking" button. When I do this, I get networking settings, and I get the flow of what is coming (Additional settings, Tags, Review).
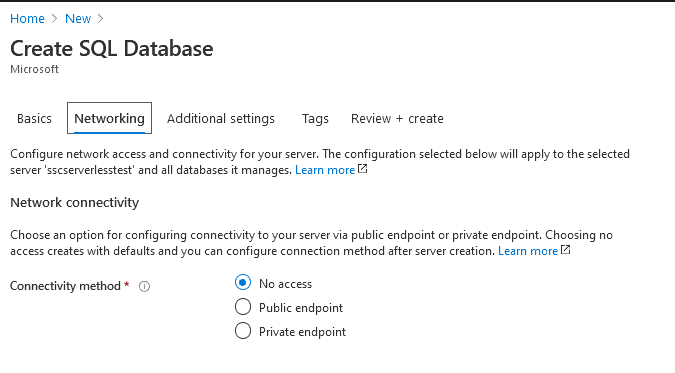
What to I pick? The tooltip is useless. The Learn More link goes to an article that describes a bit more. This is really built for the edit, or "after create", scenario, so you have to guess a bit here. I think that the "No access"is a setting for only Azure resources to connect here. The private link appears to be for some virtual networks or a private contracted link. I don't want to mess with a private endpoint, or honestly, try to figure that out. The Azure docs are often a rabbit hole of research.
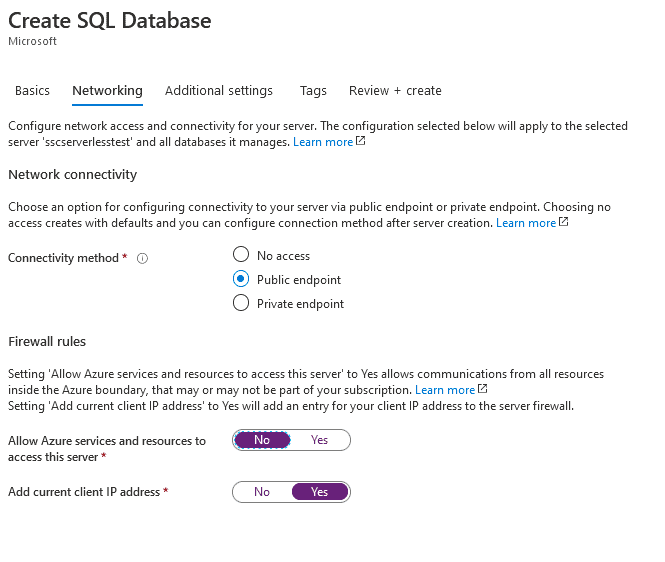
Clicking the public endpoint gets me a few items. First, I can allow Azure services here. I assume this means any sort of Azure app, container, analytics, storage, etc. I have left this alone because I'm unsure and I don't know. That might be the wrong choice, but I also don't know and so it's probably the better security choice, but the docs are poor here.
The ClientIP thing is necessary if you are going to connect from your desktop with SSMS or ADS. You can do this later, but you'll be clicking the same boxes in the database edit blades. Allow and add the current client IP. Note this is your public IP, not any internal network IP.
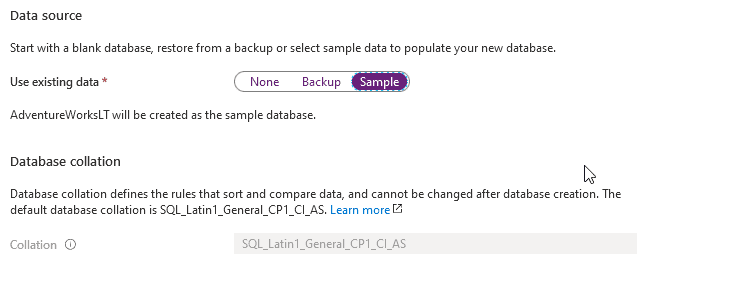
I'll click Next, which takes me to Additional Settings. This is an interesting collection of things. I can set a source for my database. I can pick a backup from another database or choose a sample database. For this test, I'll choose sample, and I get the AdventureWorksLT database. Note, I then lose control of the collation. That seems wrong. Can't they have all these copies around?
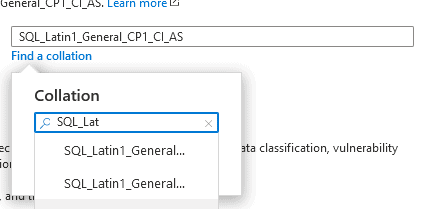
Anyway, you can set a different collation if you choose none. Find one and pick it, but really poor UI here. How do I tell what is what? I'm going to leave this alone.
I can then start a trial of the Advanced Data Security. I think there is some good stuff here (learn more), but at $15 for test database, not sure this is something I want. For corporate assets, this is likely a good idea, especially if I allow public access.
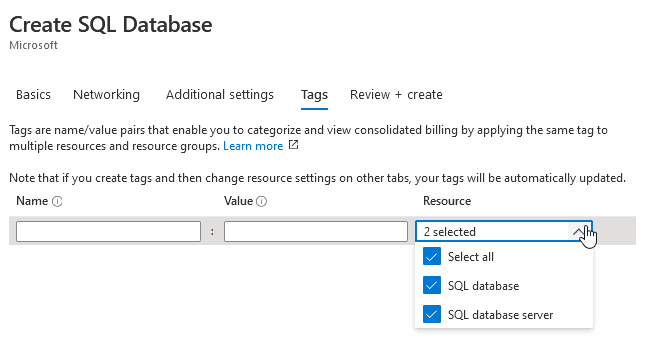
Click Next to get to tags. These are ways to add metadata to your database. If you have any random key-value pairs you want to add, this is good. Resources grow quickly inside Azure, so if you have some app or department, or something else, you will want to add tags. Not sure what I'll add, but I know I need to add some if we deploy resources here. This allows me to both group things across resource groups, but also sub divide things in a resource group (like note which are test dbs, qa dbs, finance assets, etc.).
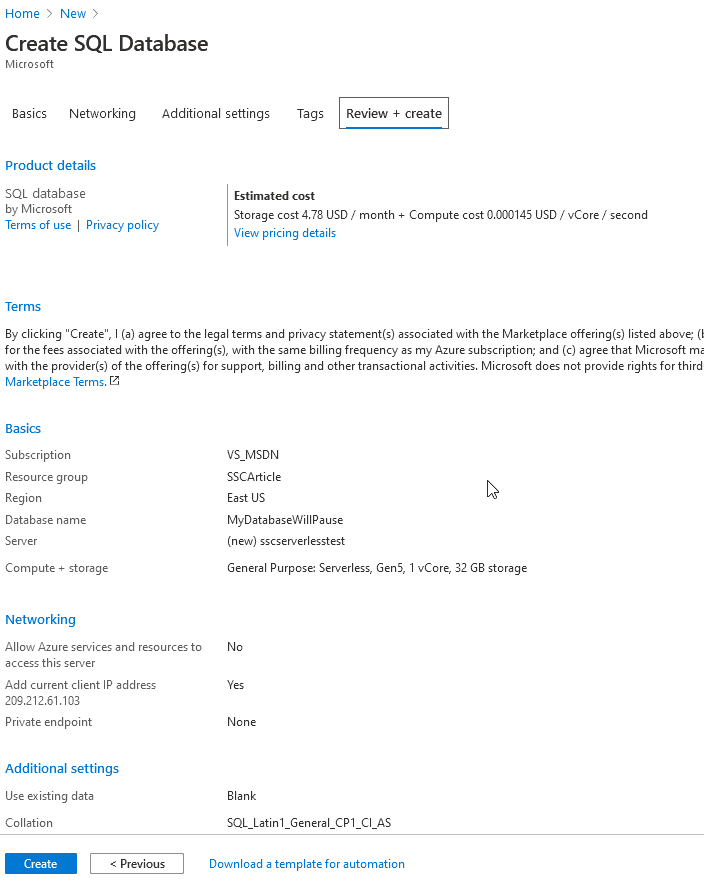
The last "next" is the review page. I see all my settings. I do like to review this, especially seeing the cost at the top. double check this, and the Compute+Storage level.
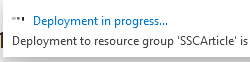
If everything is good, click "Create". When I do that, there's a notification in the upper right. The Portal includes a Notifications item i the upper right that is bell shaped. This has notes about all the stuff that takes place in your subscription. When the deployment is complete, and your db is ready, you will see something there.
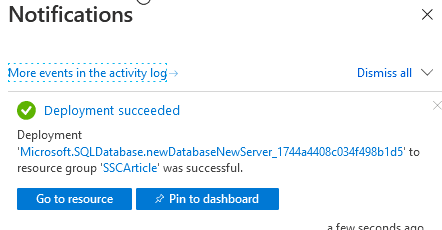
When things are done, I see that, and have a link to the resource itself.
When I view the resource, I start at the Overview. I won't go into what all the items are, but down the left are menu choices for different areas. On the right is the host URL that I can use.
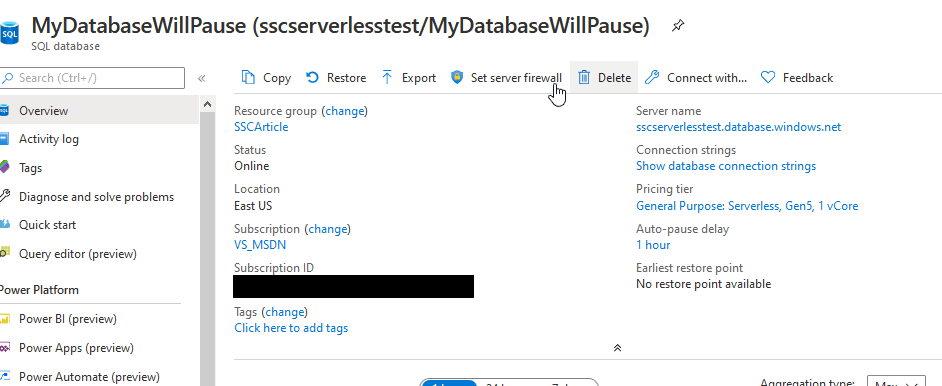
I'll put the URL in SSMS and connect.
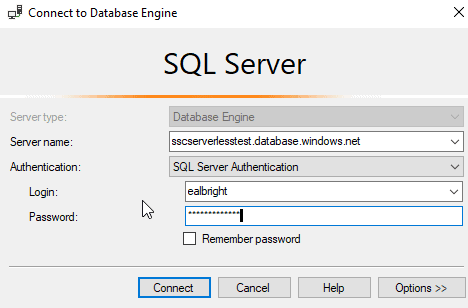
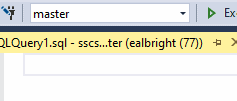
Since I had the create resource add my IP to the firewall, I connect right away. However, I end up in master. This is where my admin login for the logical server has the default. On the "Options" item in SSMS, I could have entered the database name.
The Pause
After running a few queries, I left the database alone overnight. I came back to this overview in the morning. Note that the status of this database is paused.
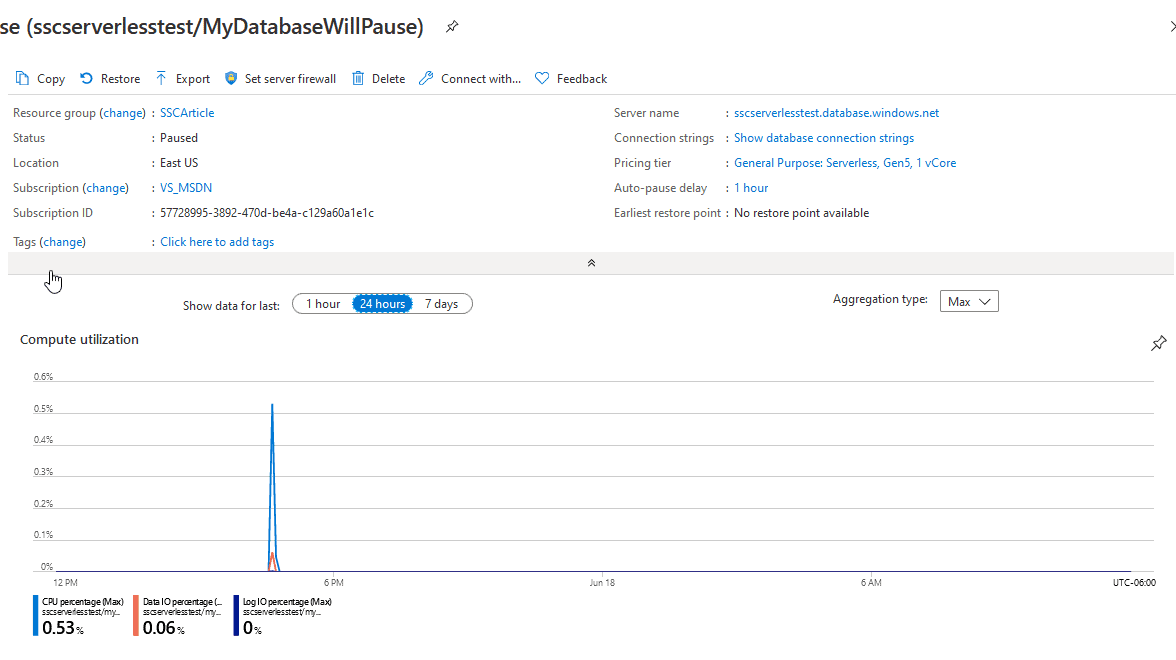
You can also see the compute utilization where I ran a few queries and then nothing happened. The database has that hour pause, so here is a look at the billing. You can see I was charged for about an hour, then nothing.

I'll keep this for a week and then delete it, doing some start stop and see how it affects my bill.
Summary
That's about it. From here, this is just a normal database. I can use it when I need it, paying for the compute I use, and always pay for storage, but for systems where I don't use them often, it's cheap. Not as cheap as an always on low tier db, but those have poor performance.
This does seem to be a good fit for development dbs that might only get used 1/3 of the day, but during that 1/3 we want good performance. Working out the costing comparison might be complex, and I may try to set up two different dbs and apply changes to both, seeing how they work as well as the cost. If my company starts to move closed to Azure, this may be something that I need to write about.

