

Introduction
Microsoft Fabric is an end-to-end analytics solution that includes data lakes, data integration, data engineering, data science, real-time analytics, and business intelligence together. Currently, Fabric is in public preview. In this article, we will create a pipeline to explore the data factory in Fabric.
Pipeline Demo
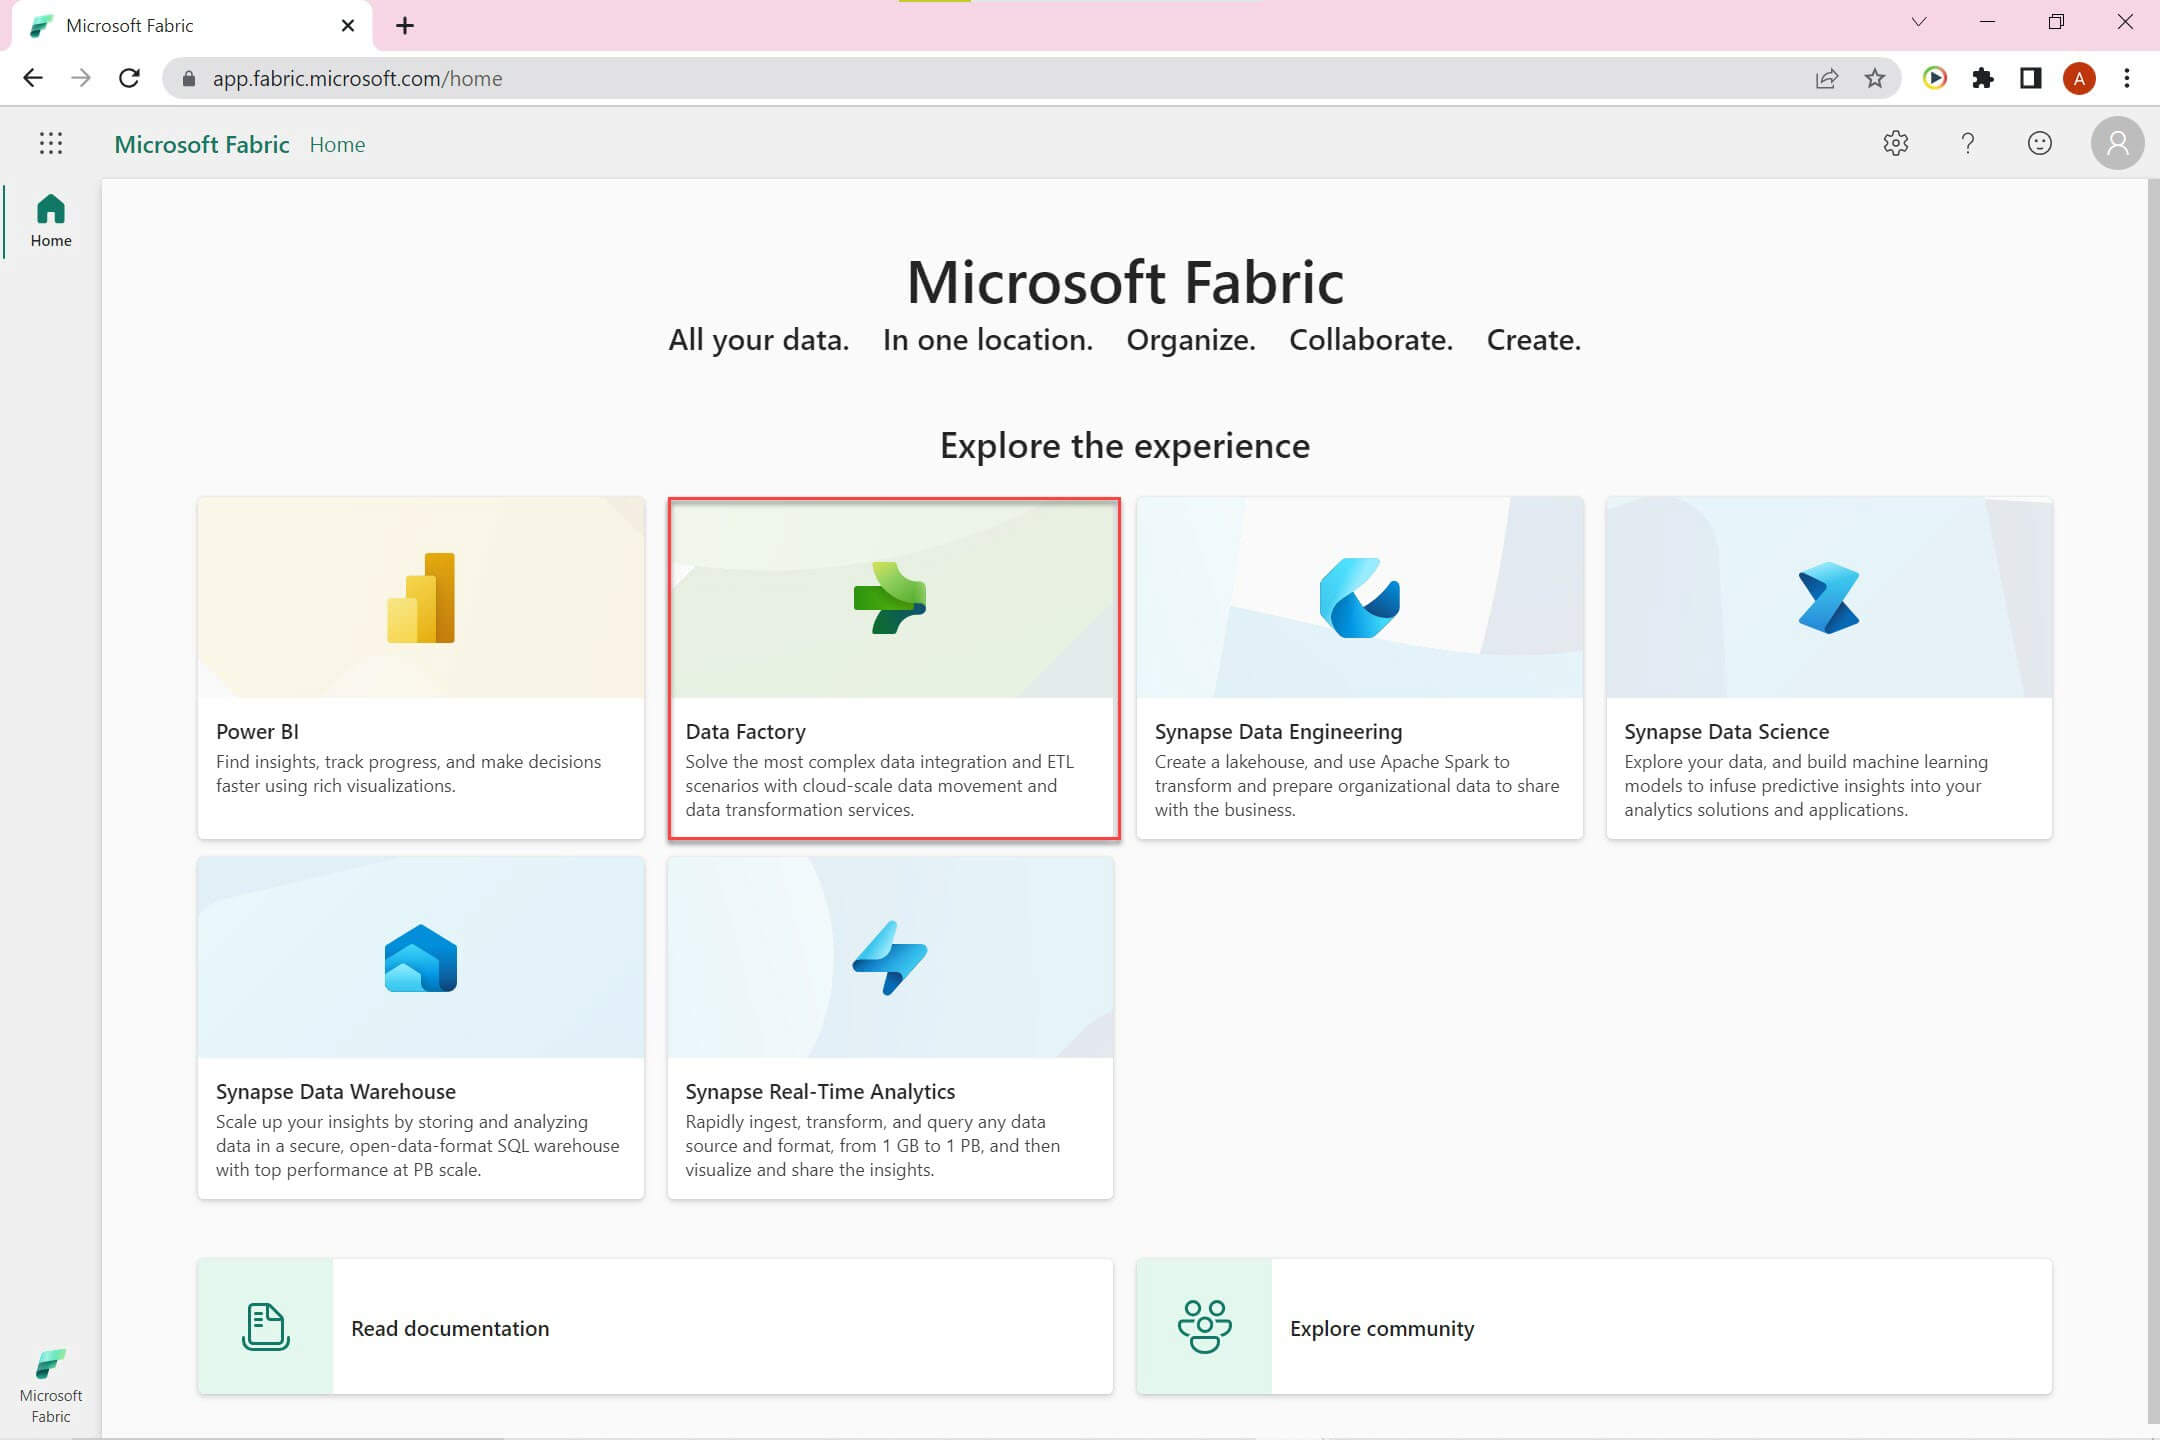
Open the Fabric home page using app.fabric.microsoft.com. If you have not started a free trial, you can do so by clicking the start trial option in your profile section on upper right corner. Click on Data Factory to open the Data Factory home page:
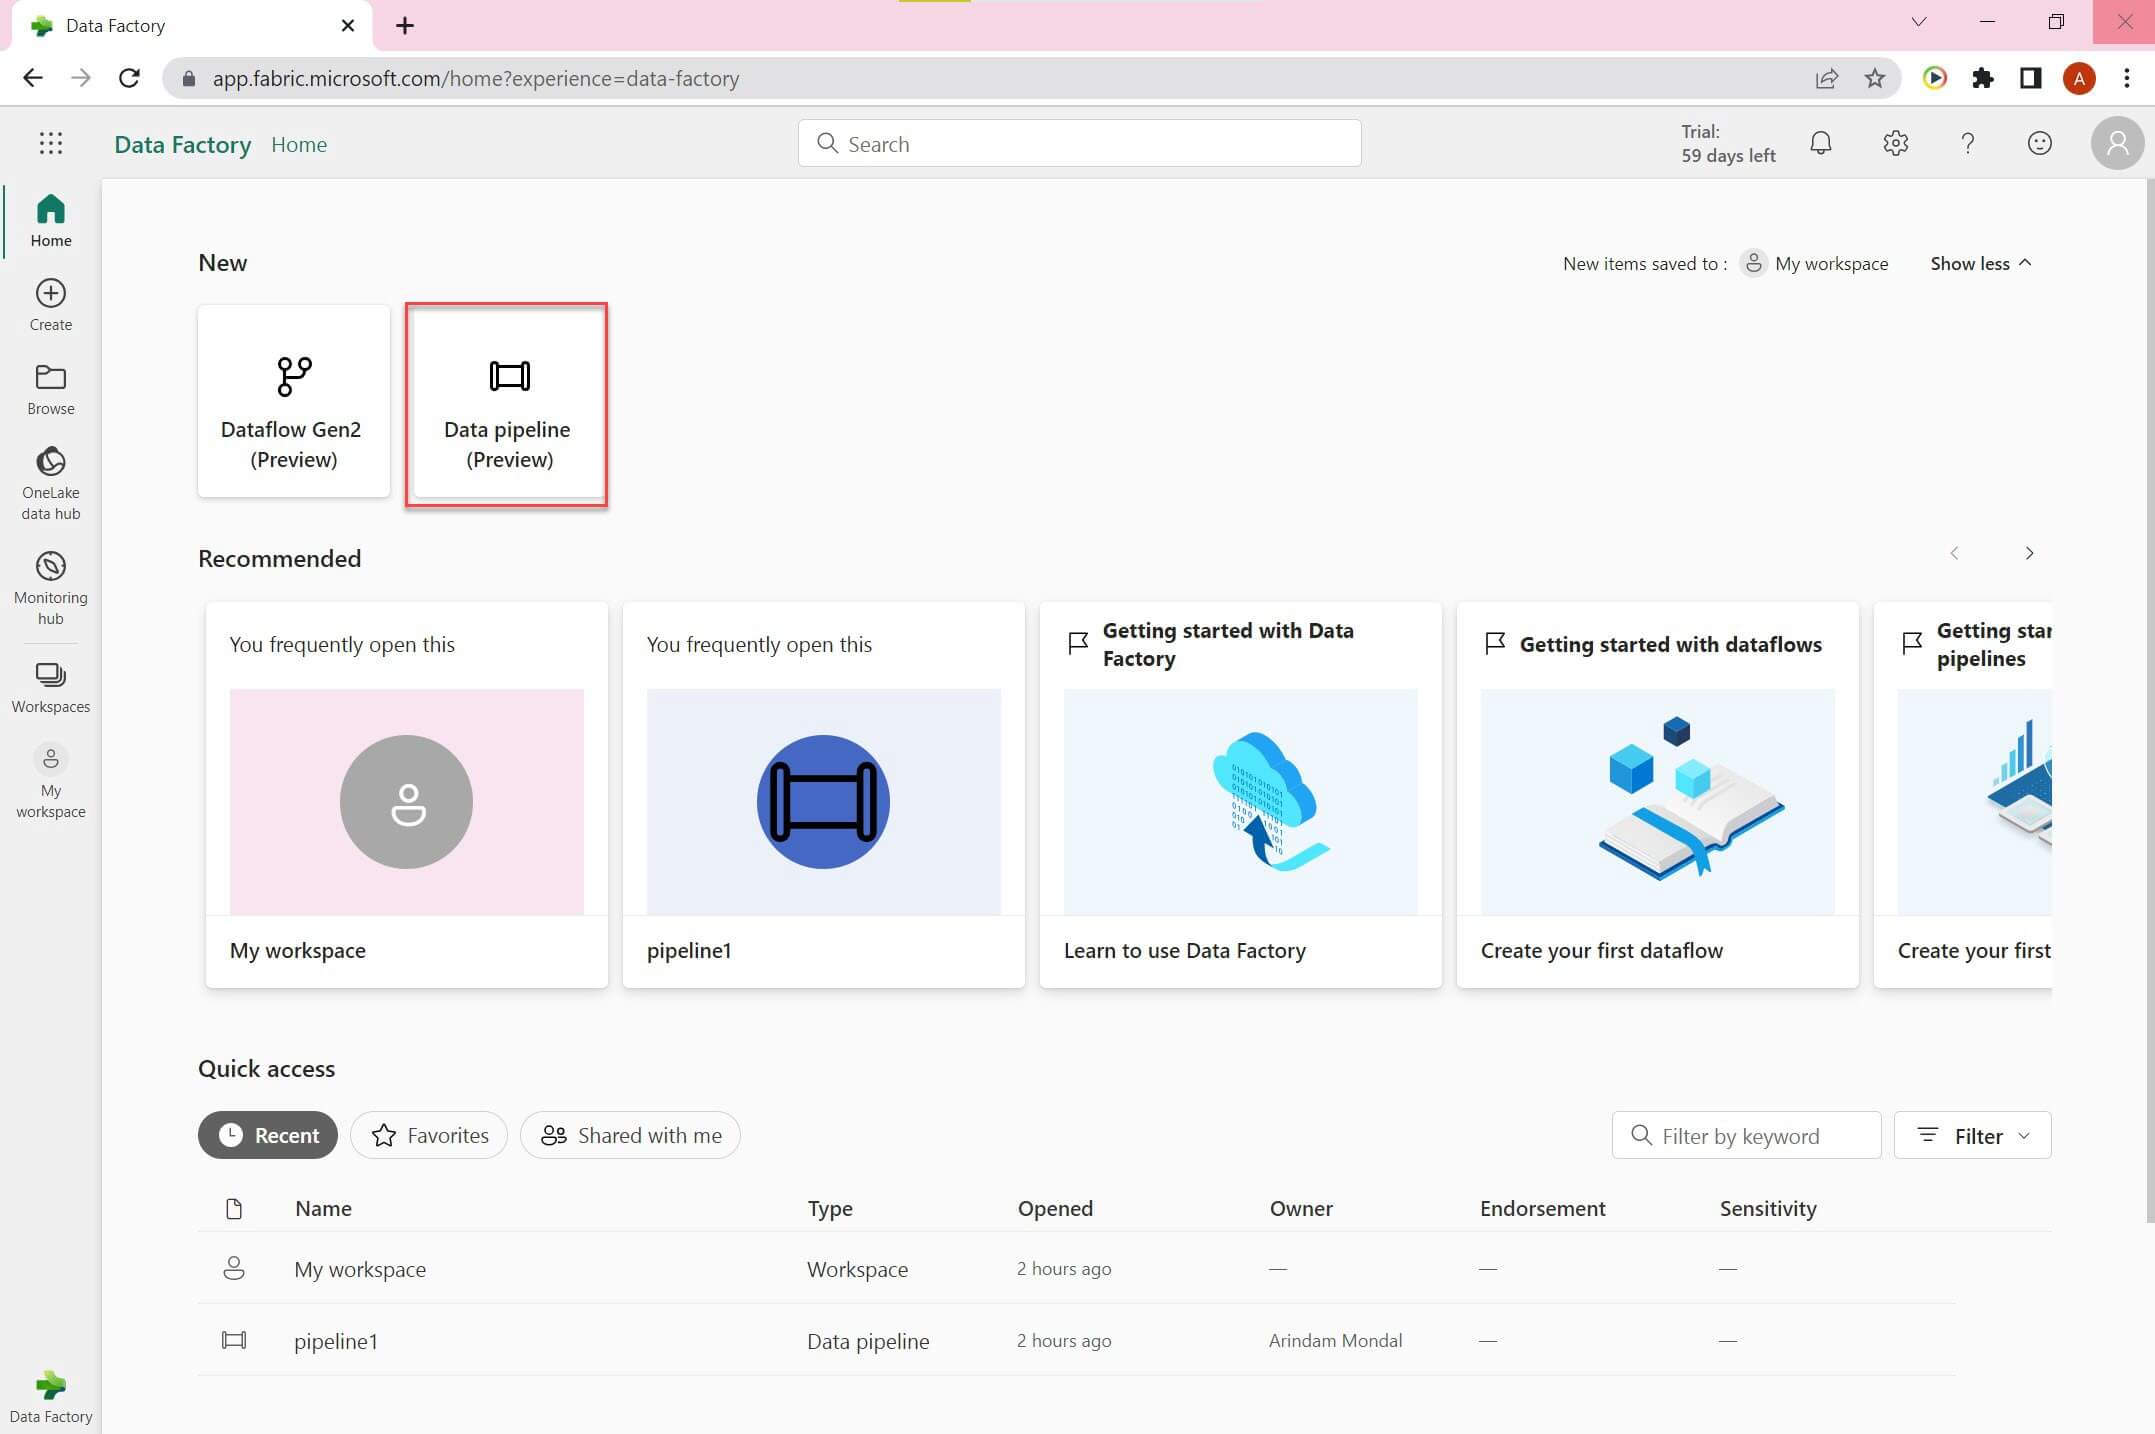
Click on Data pipeline option to create a new pipeline:
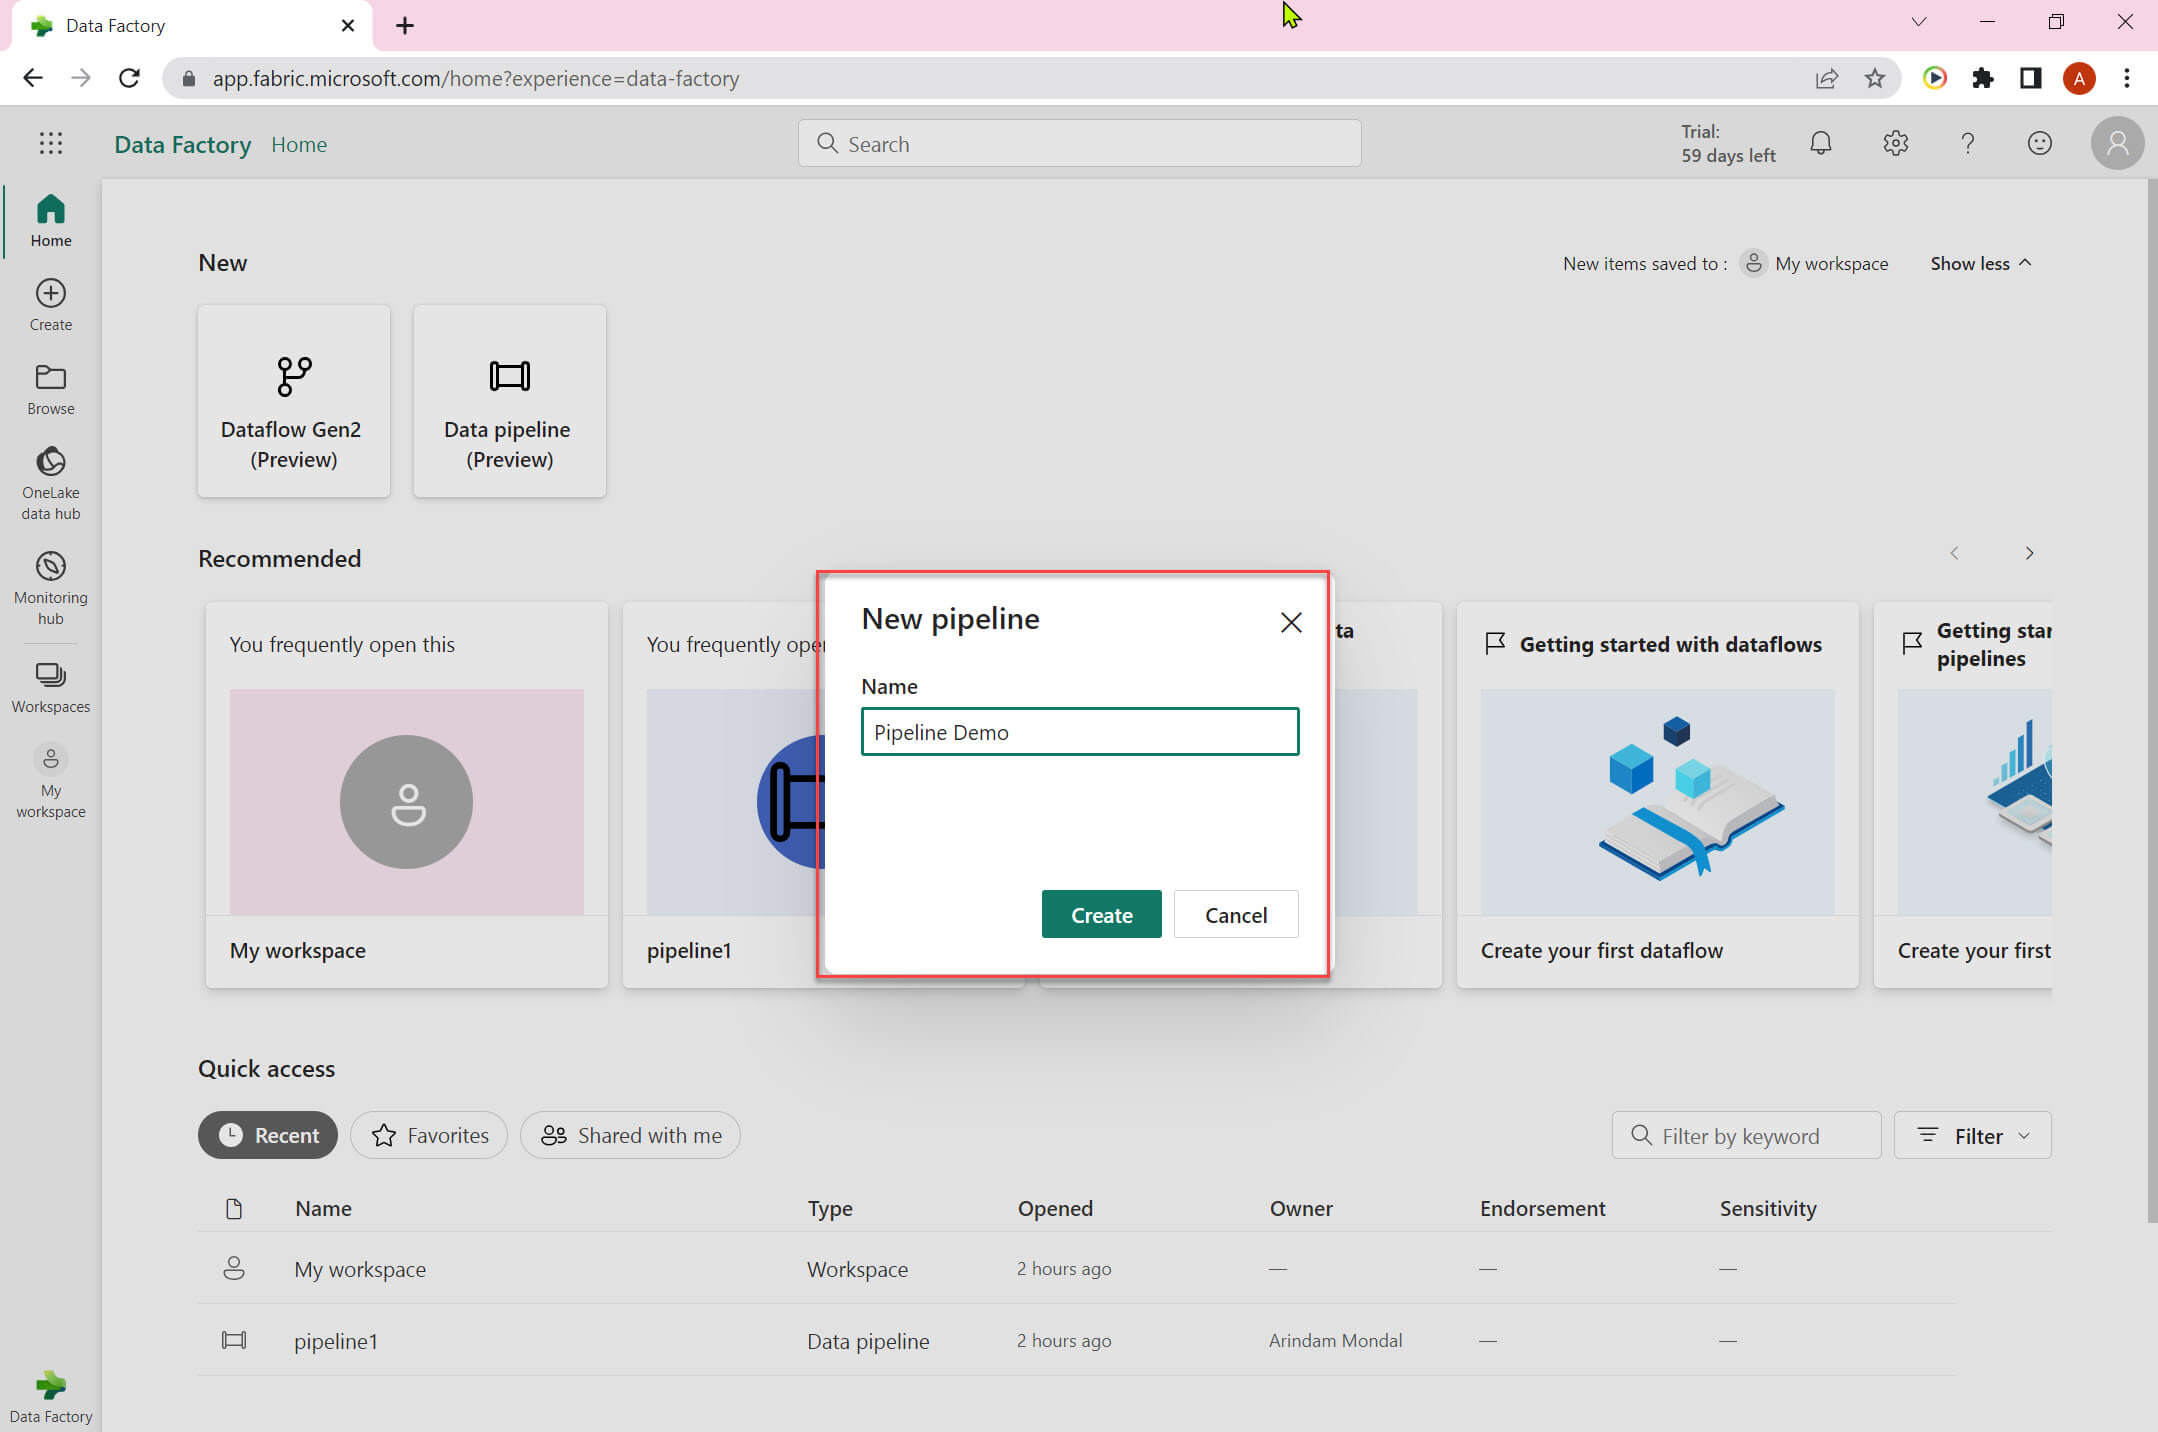
We need to provide a name for the pipeline:
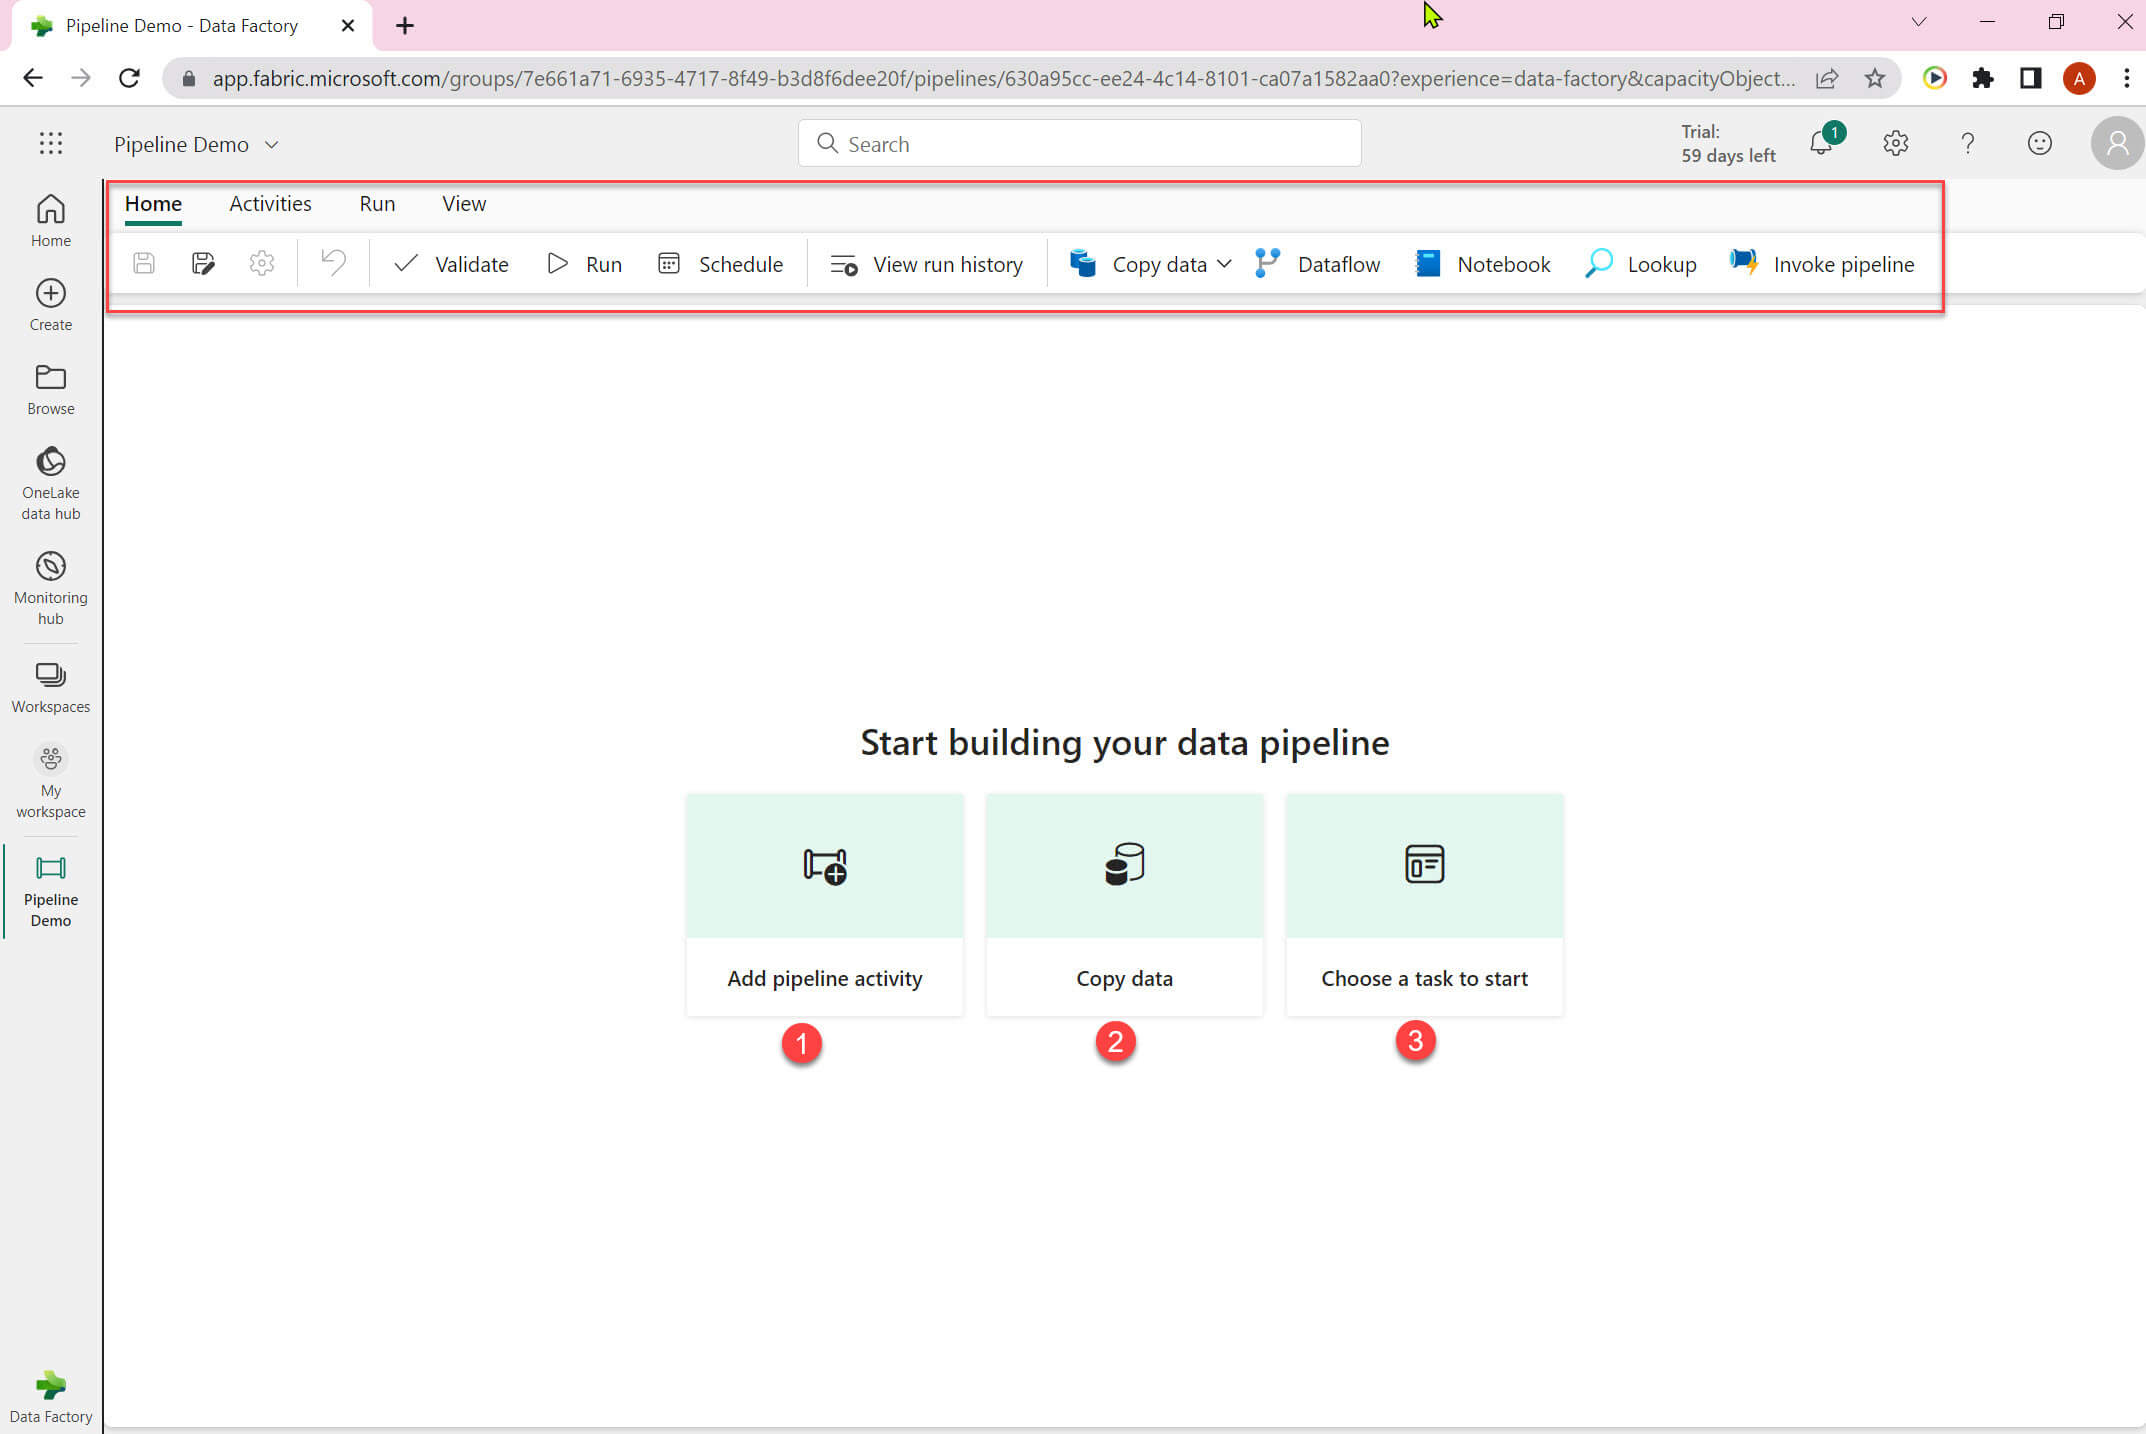
The empty pipeline is created now. The UI is different from the Azure Data Factory. In the upper section it has various options: validate, run, schedule, view run history, copy data ,data flow, notebook, lookup and invoke pipeline. In the middle section ,it shows below option:
- Add pipeline activity - add a new pipeline activity.
- Copy data - use this for copy data tool.
- Choose a task to start - it will open template gallery.
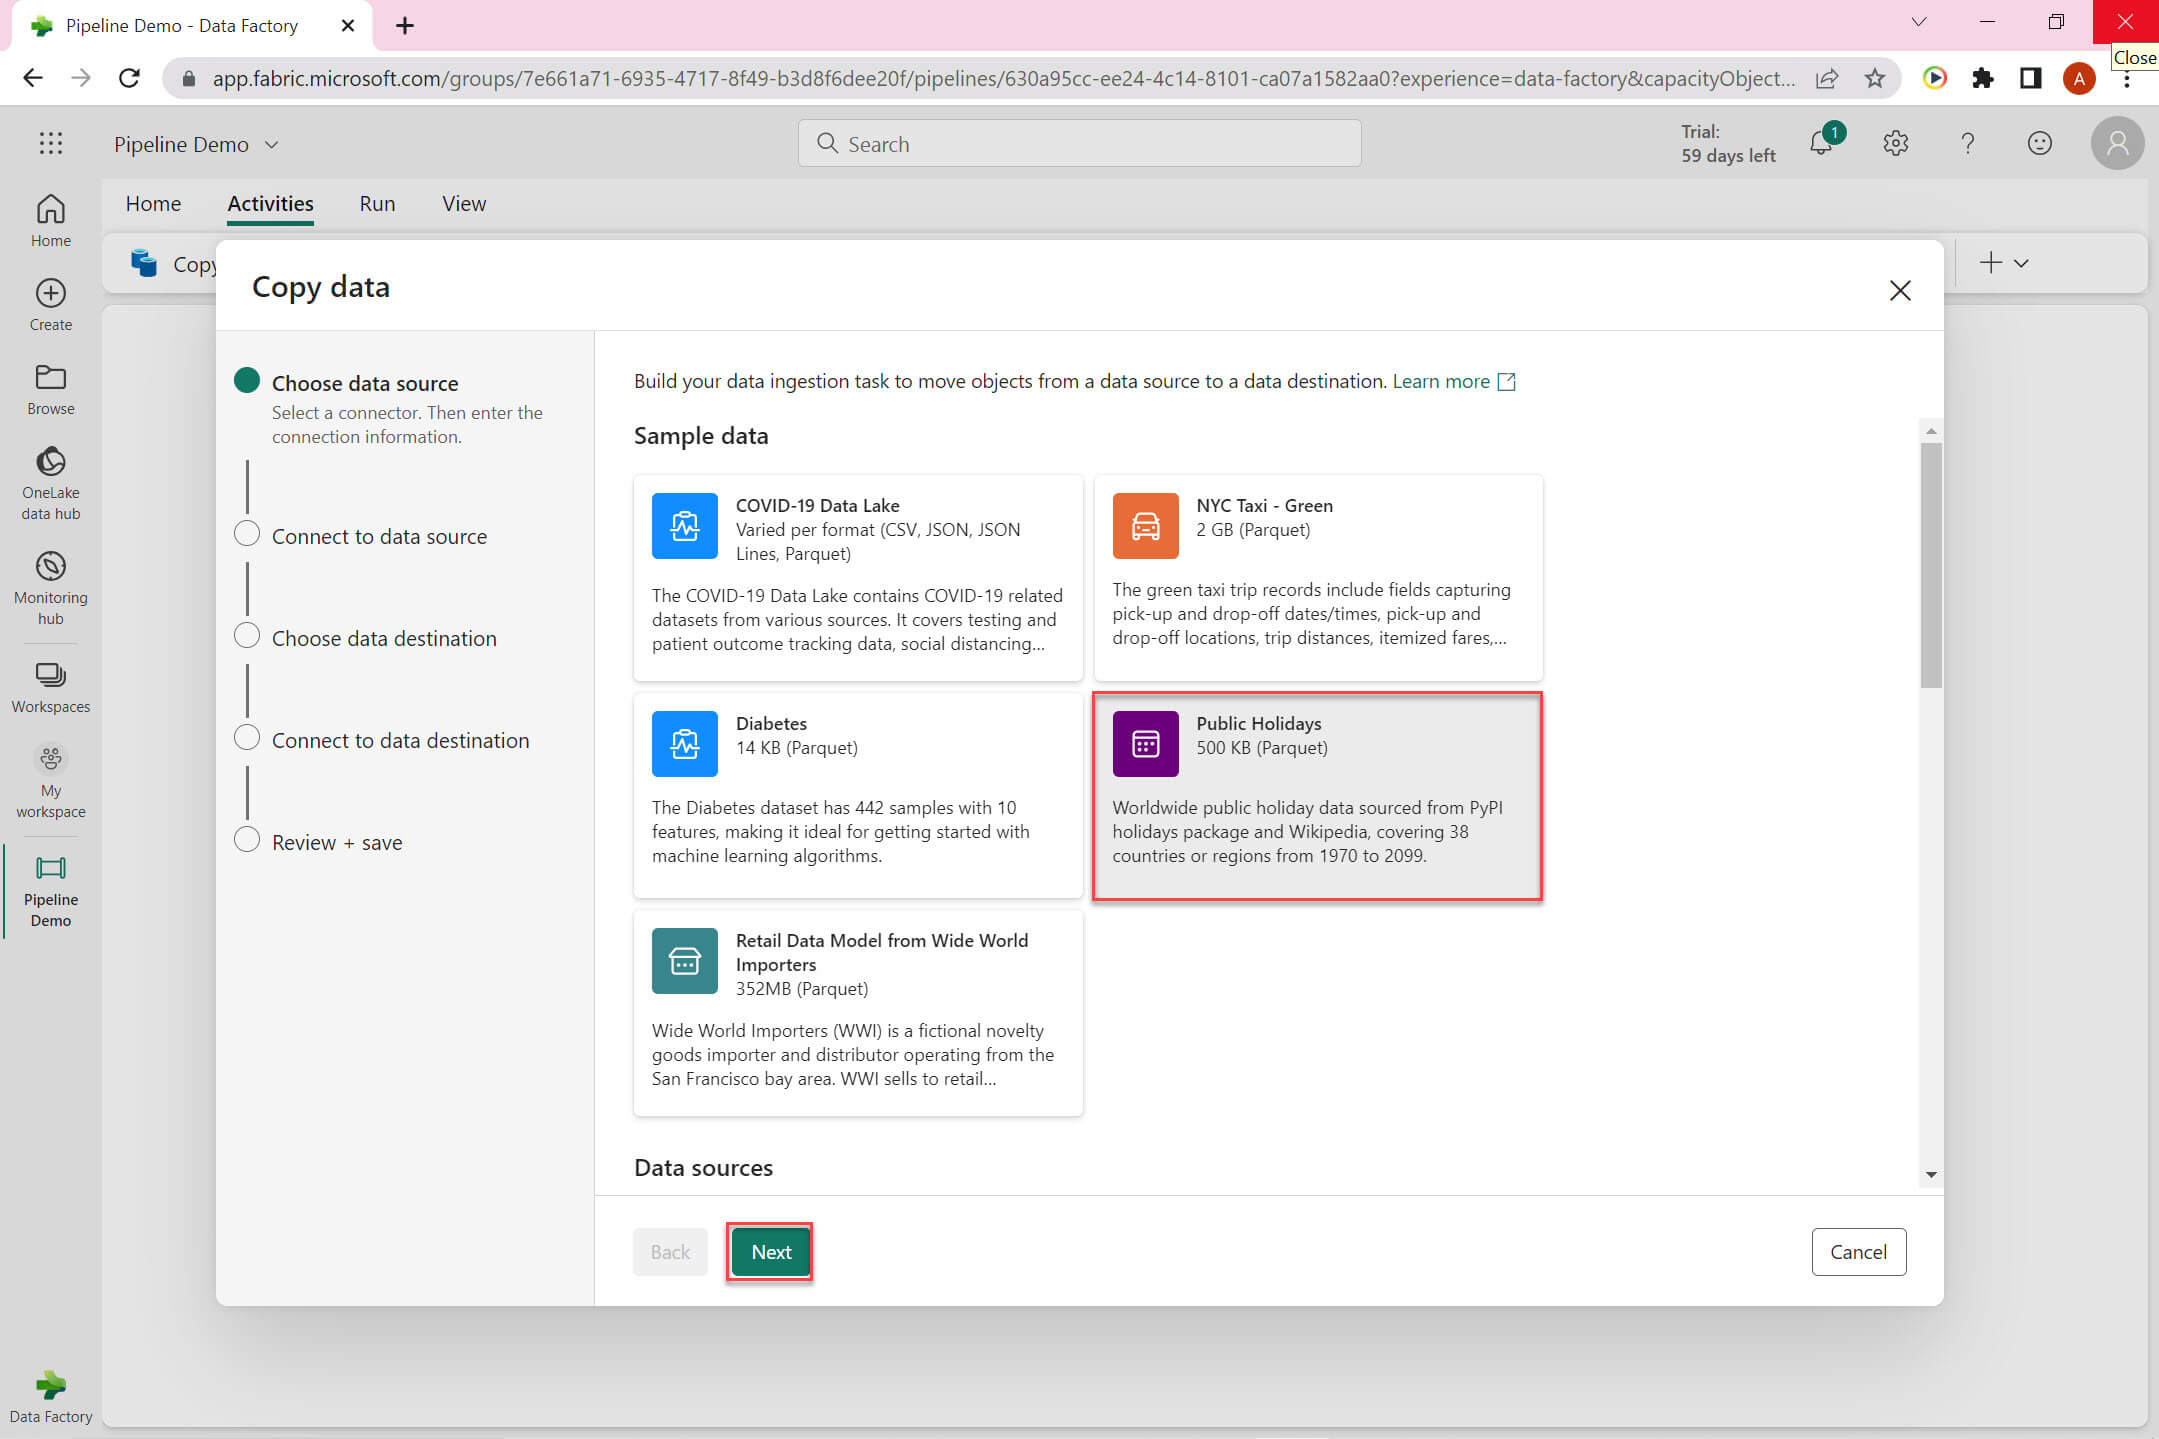
I selected copy data option:
There are few sample data set available. I selected Public Holiday sample dataset:
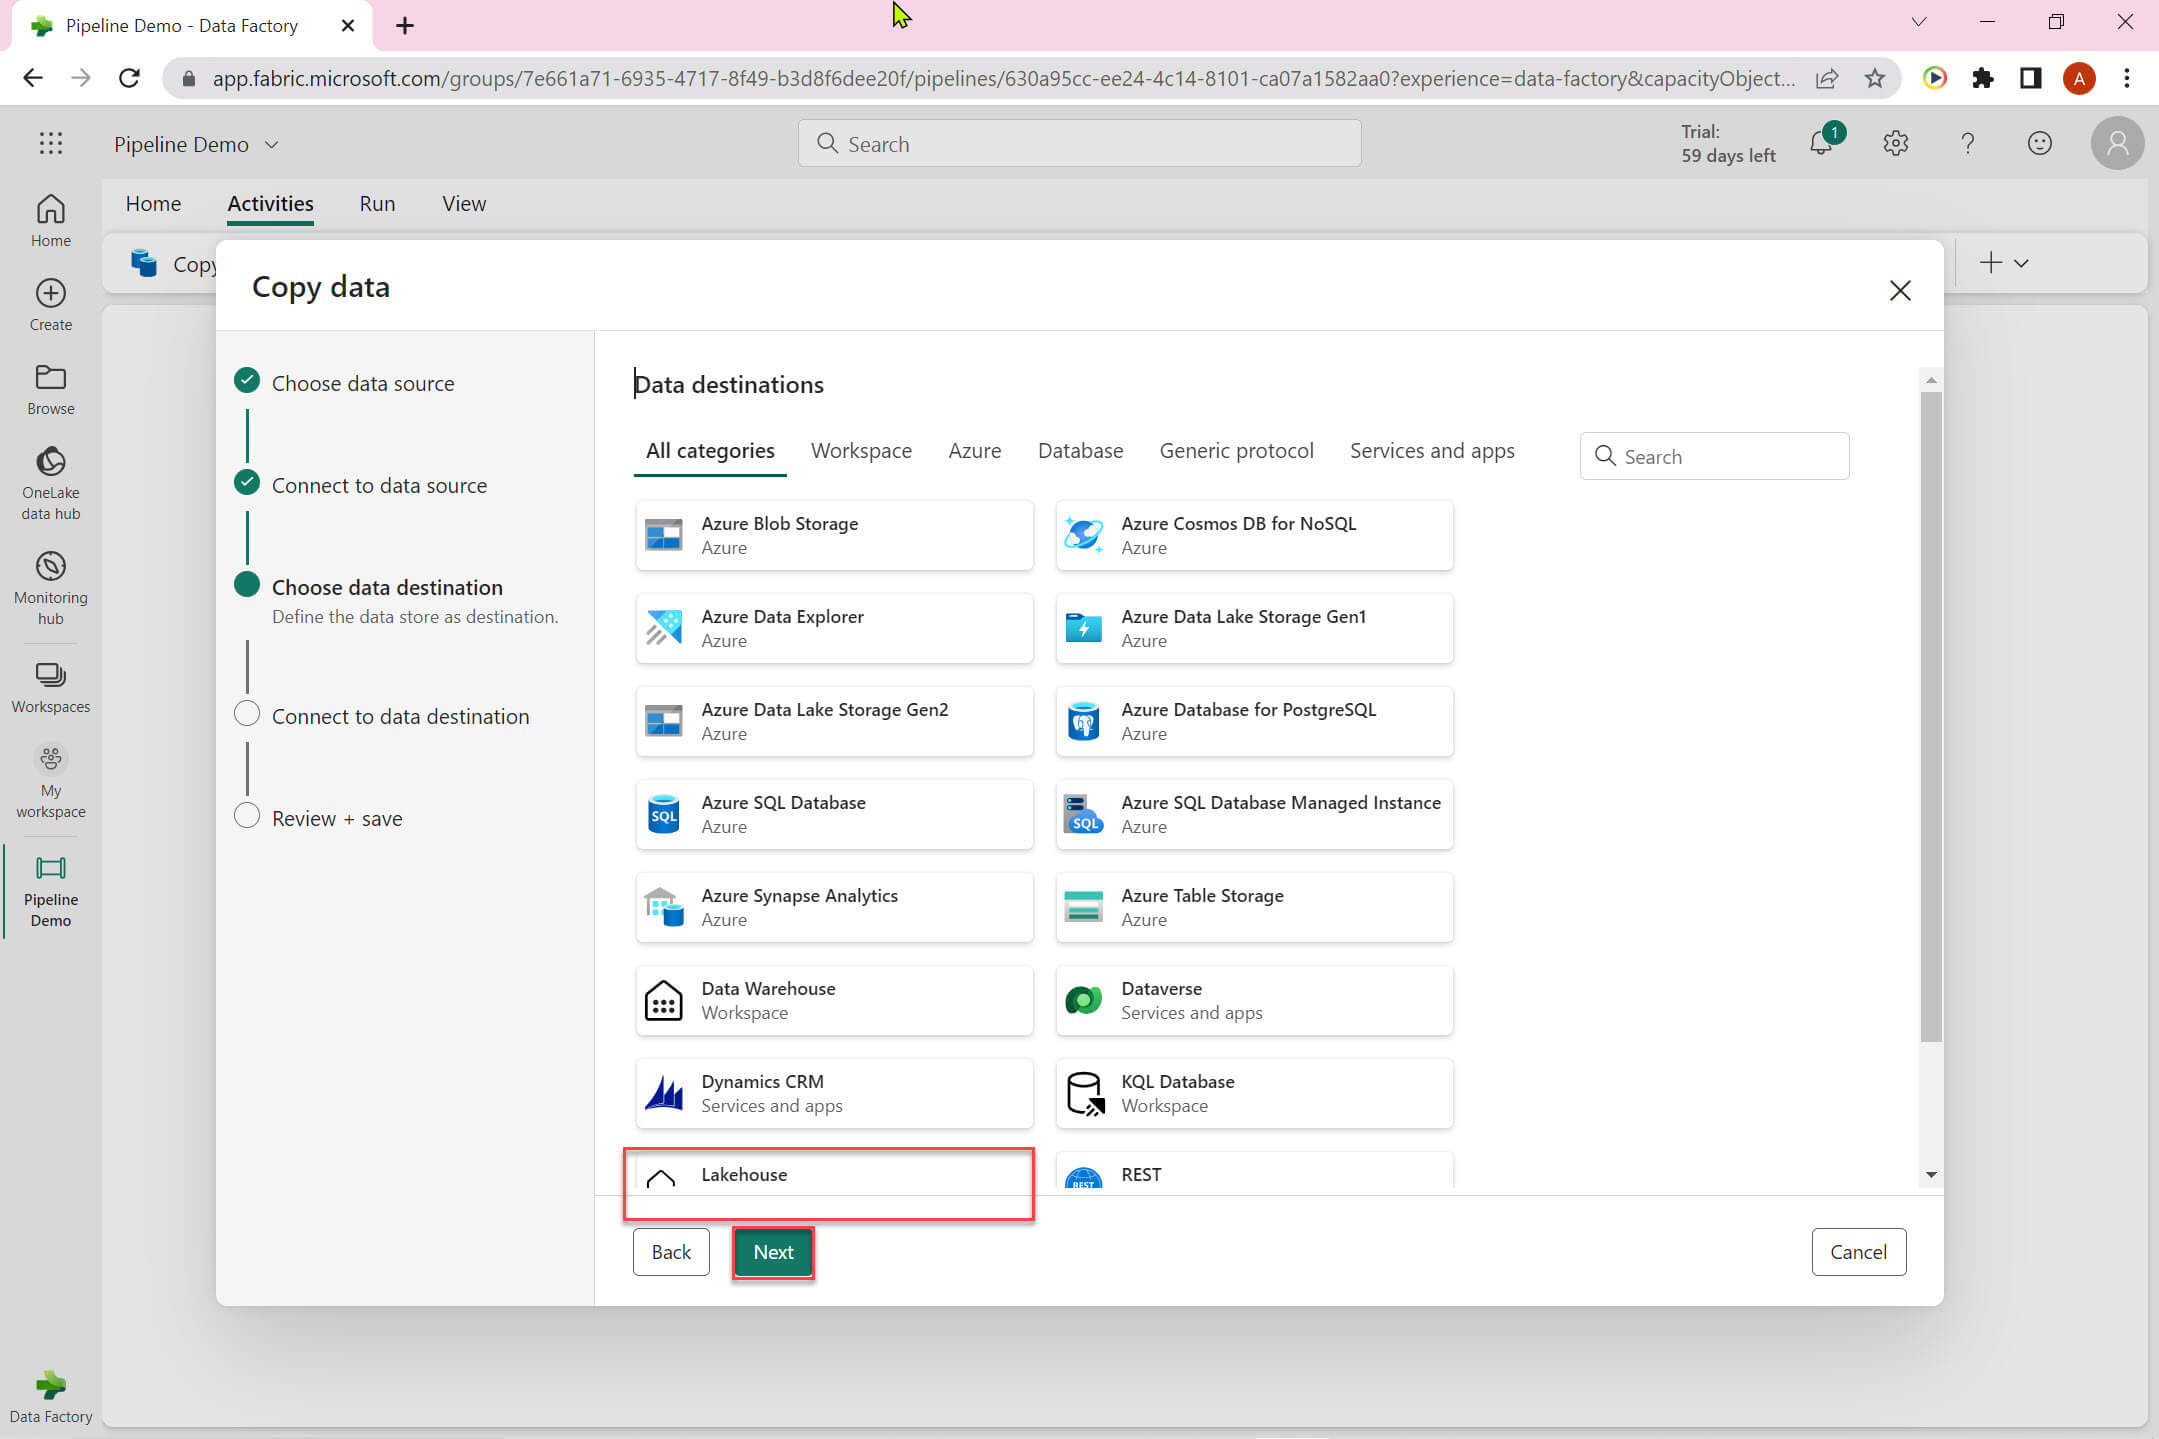
Now we need to choose a data destinations. I selected Lakehouse in this example.
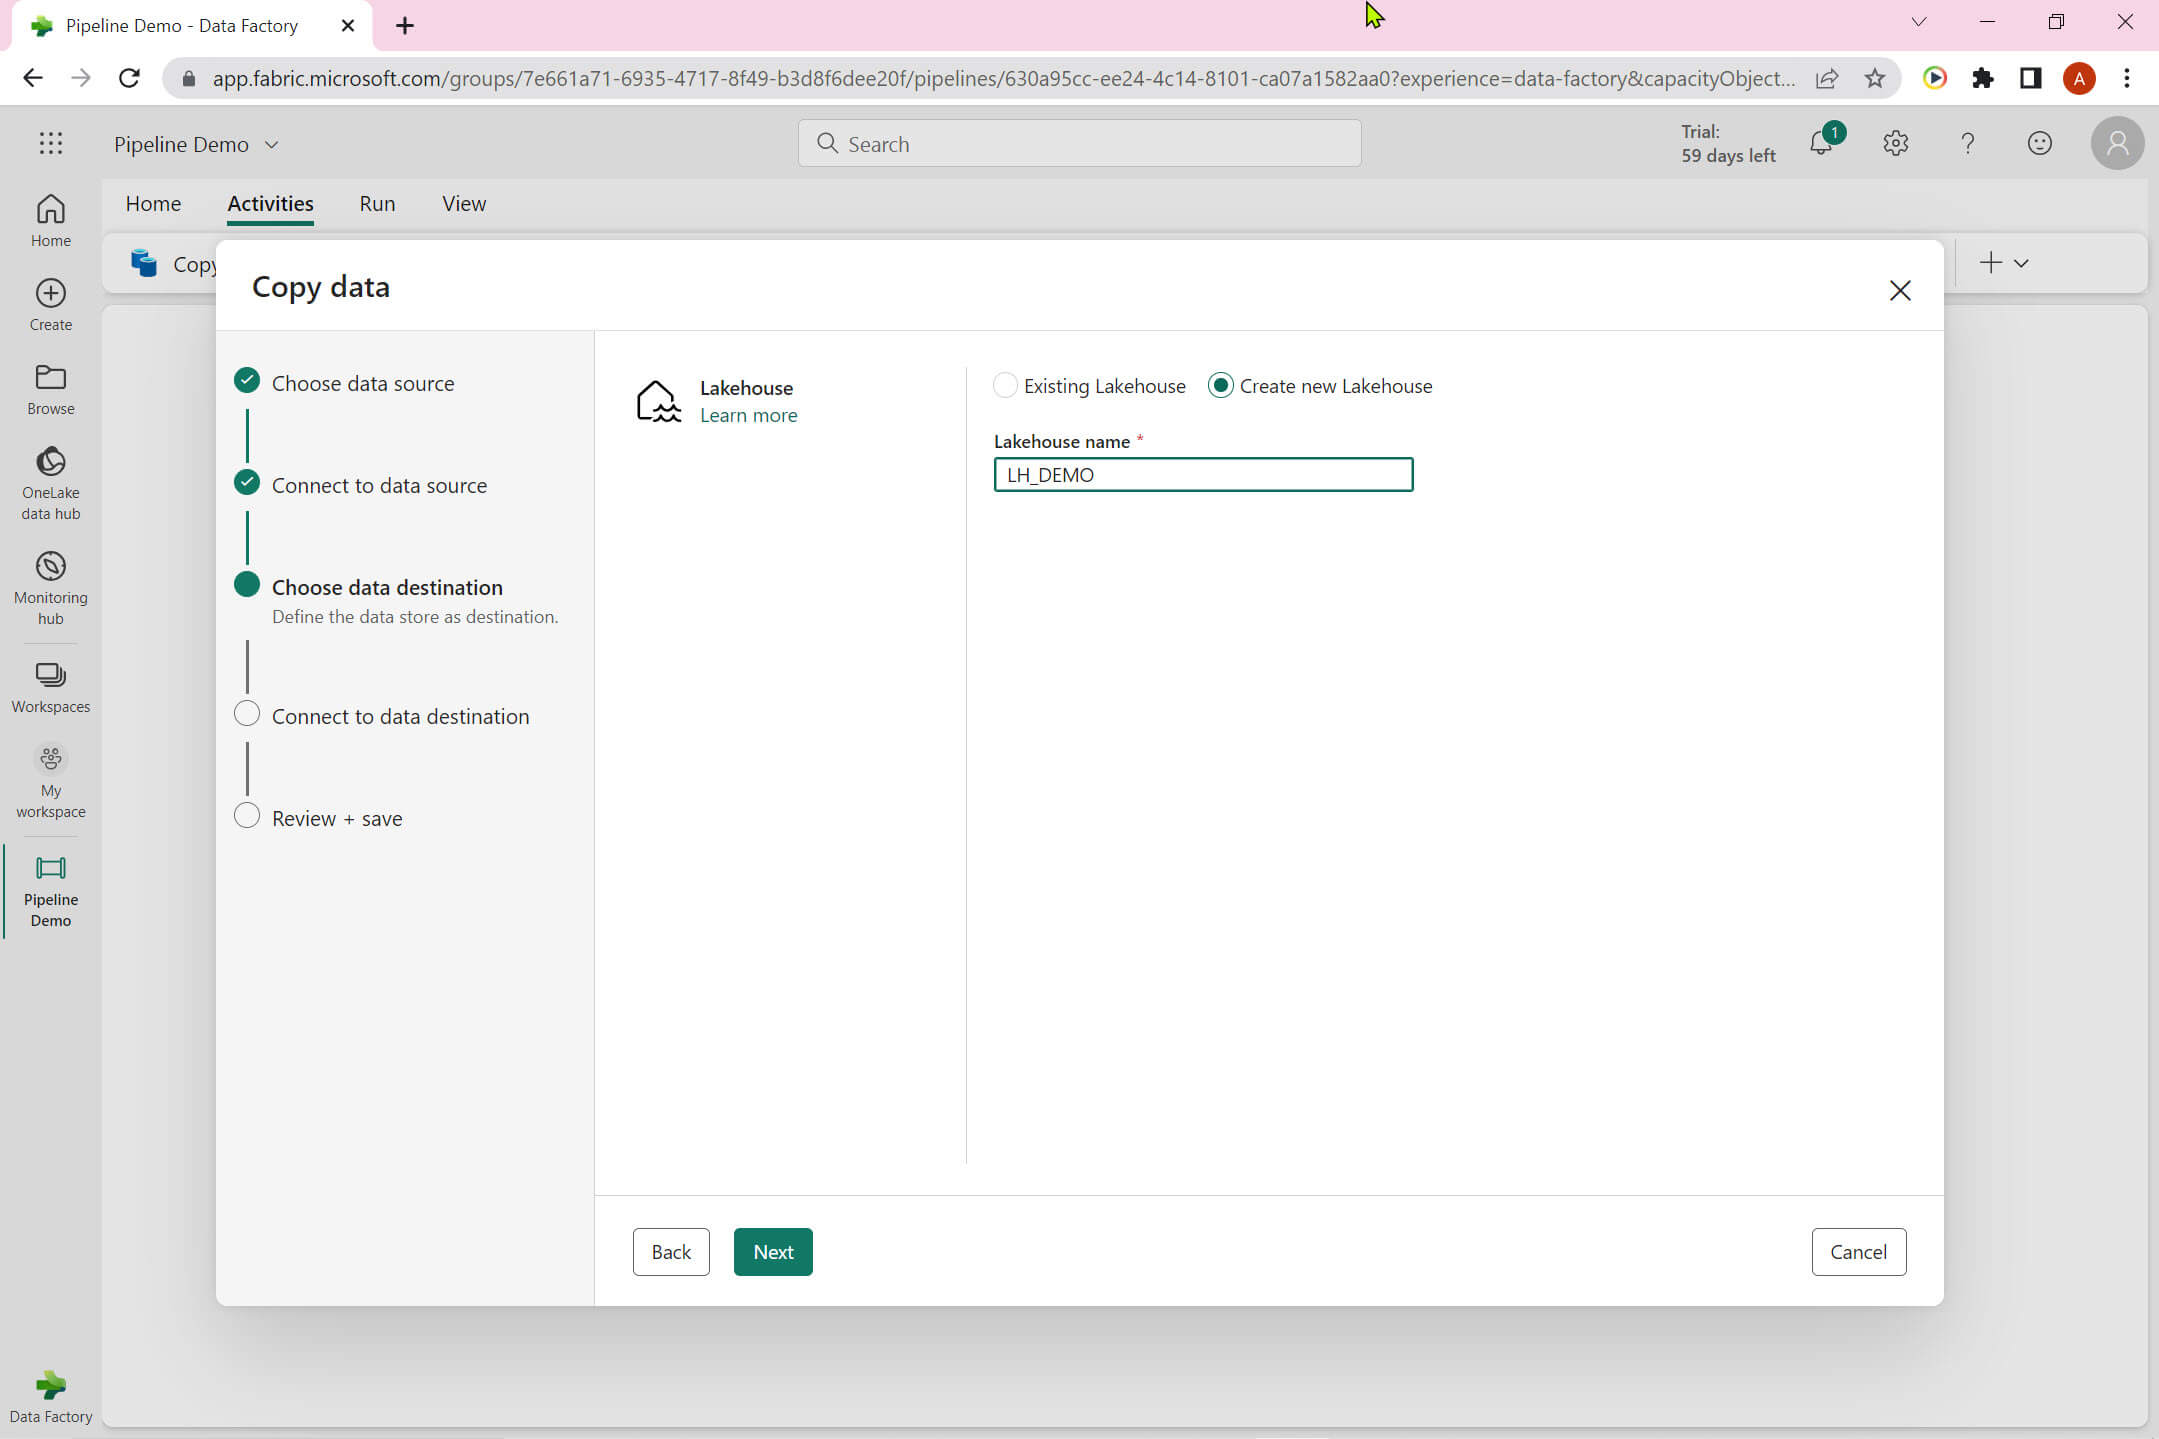
We can choose either an existing Lakehouse or create a new one. I created a new Lakehouse named - LH DEMO:
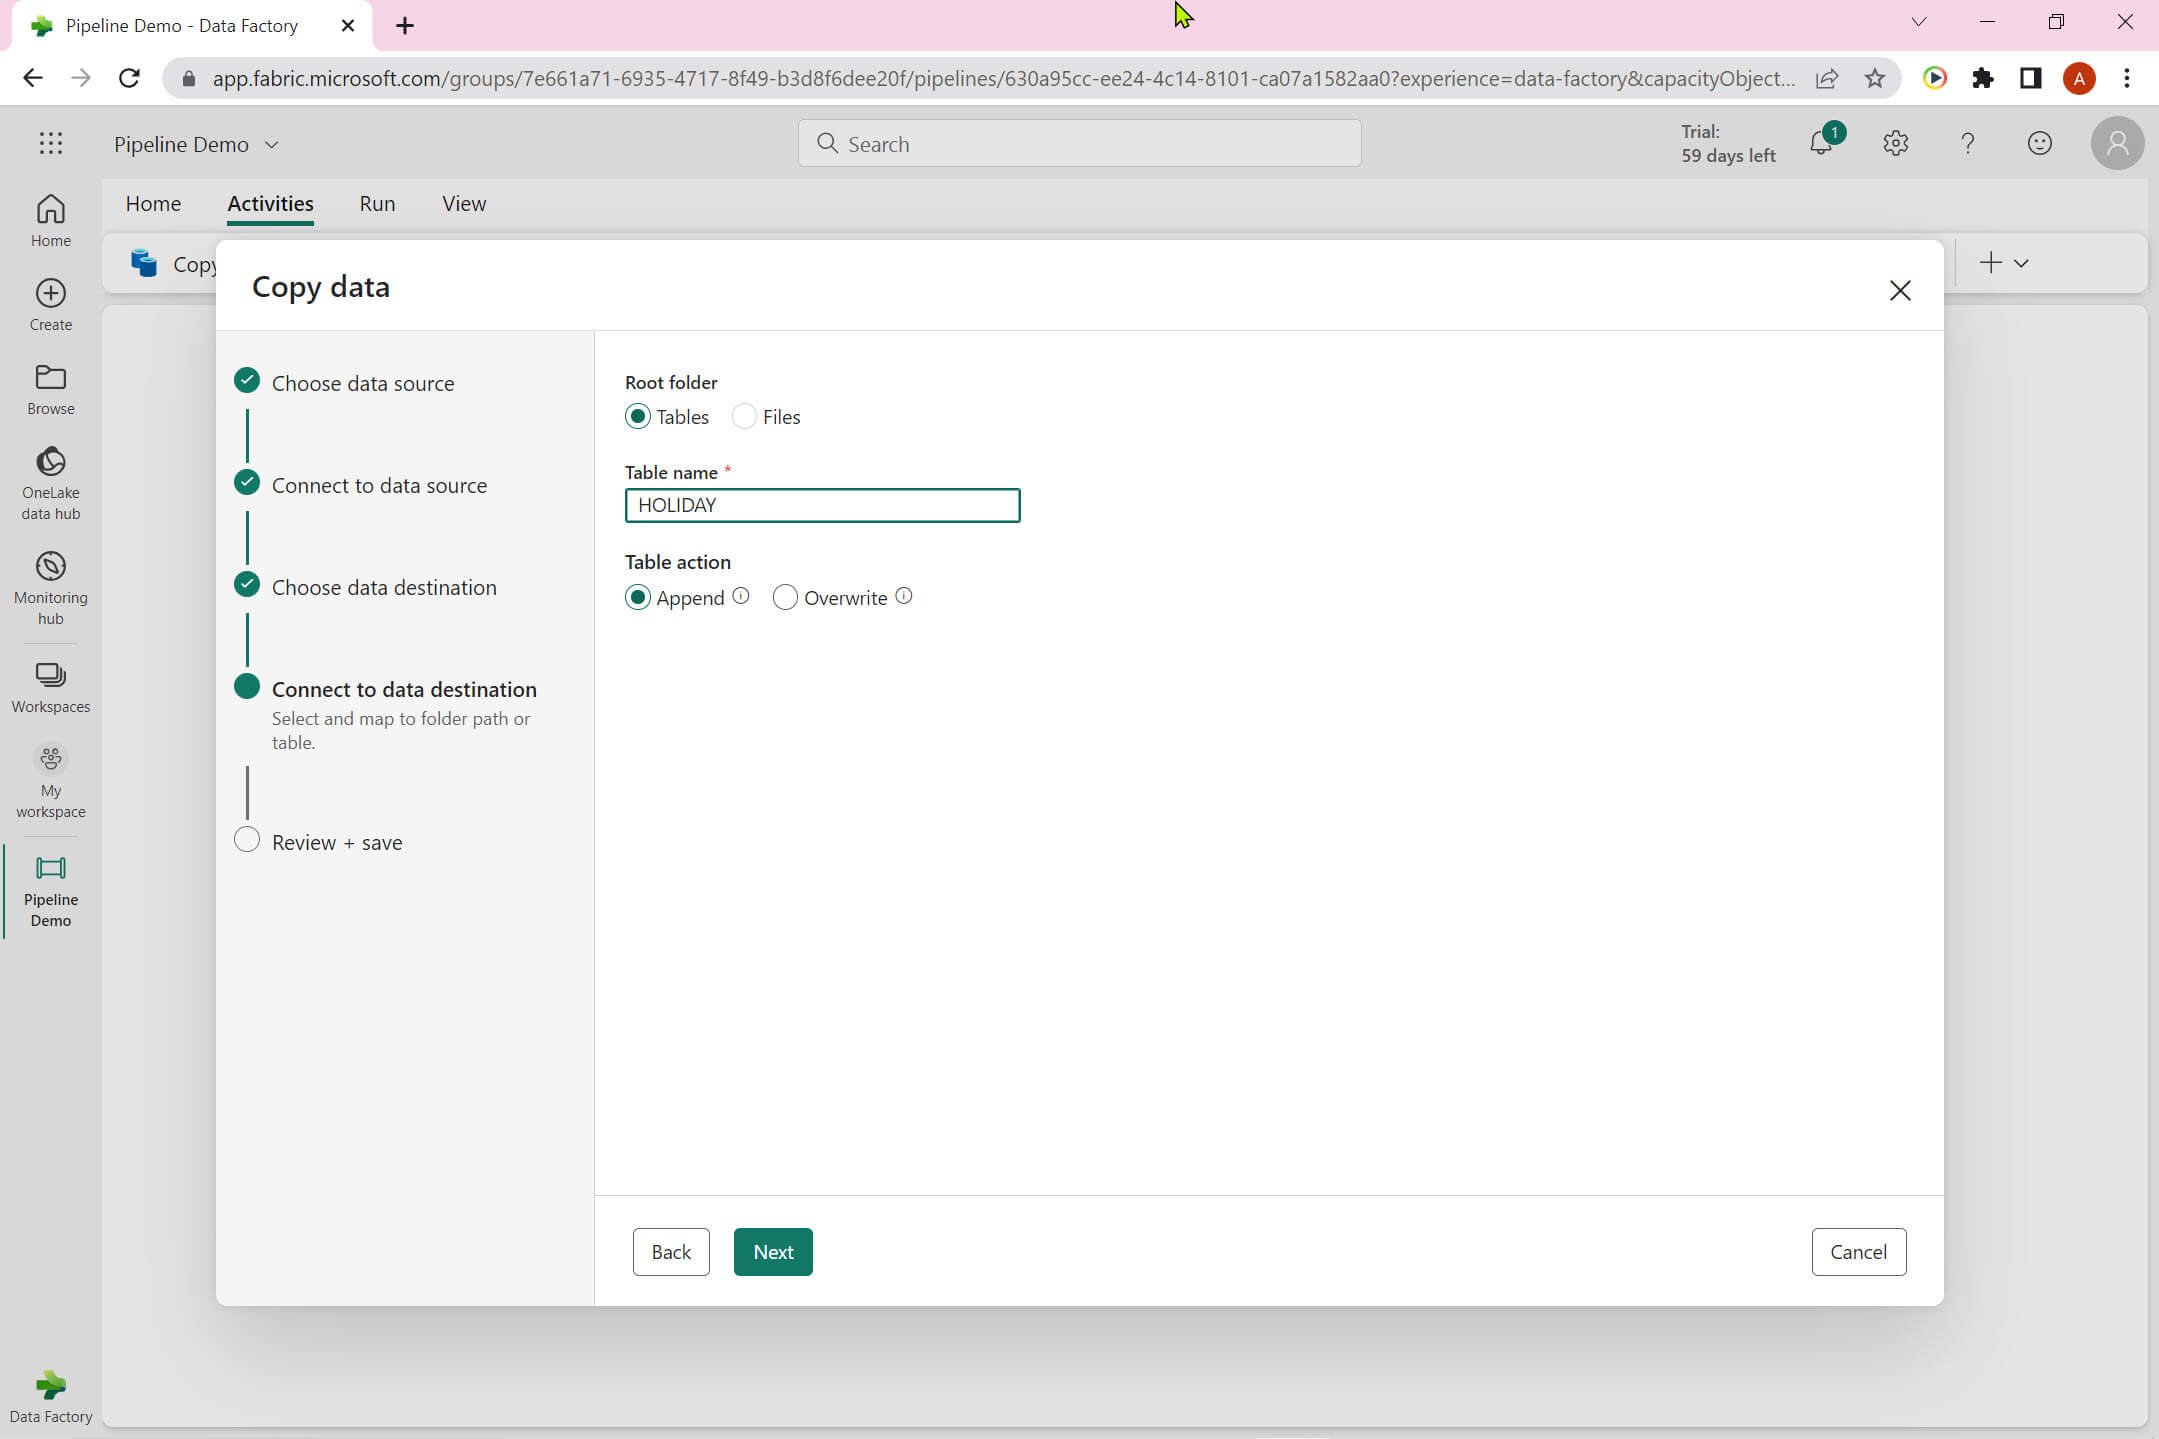
The Lakehouse has below option:
Root folder: Choose between Tables and Files. I selected Tables and added HOLIDAY as Table name.
Table action: Select between Append and Overwrite.
This is the summary view of the Source and Destination :
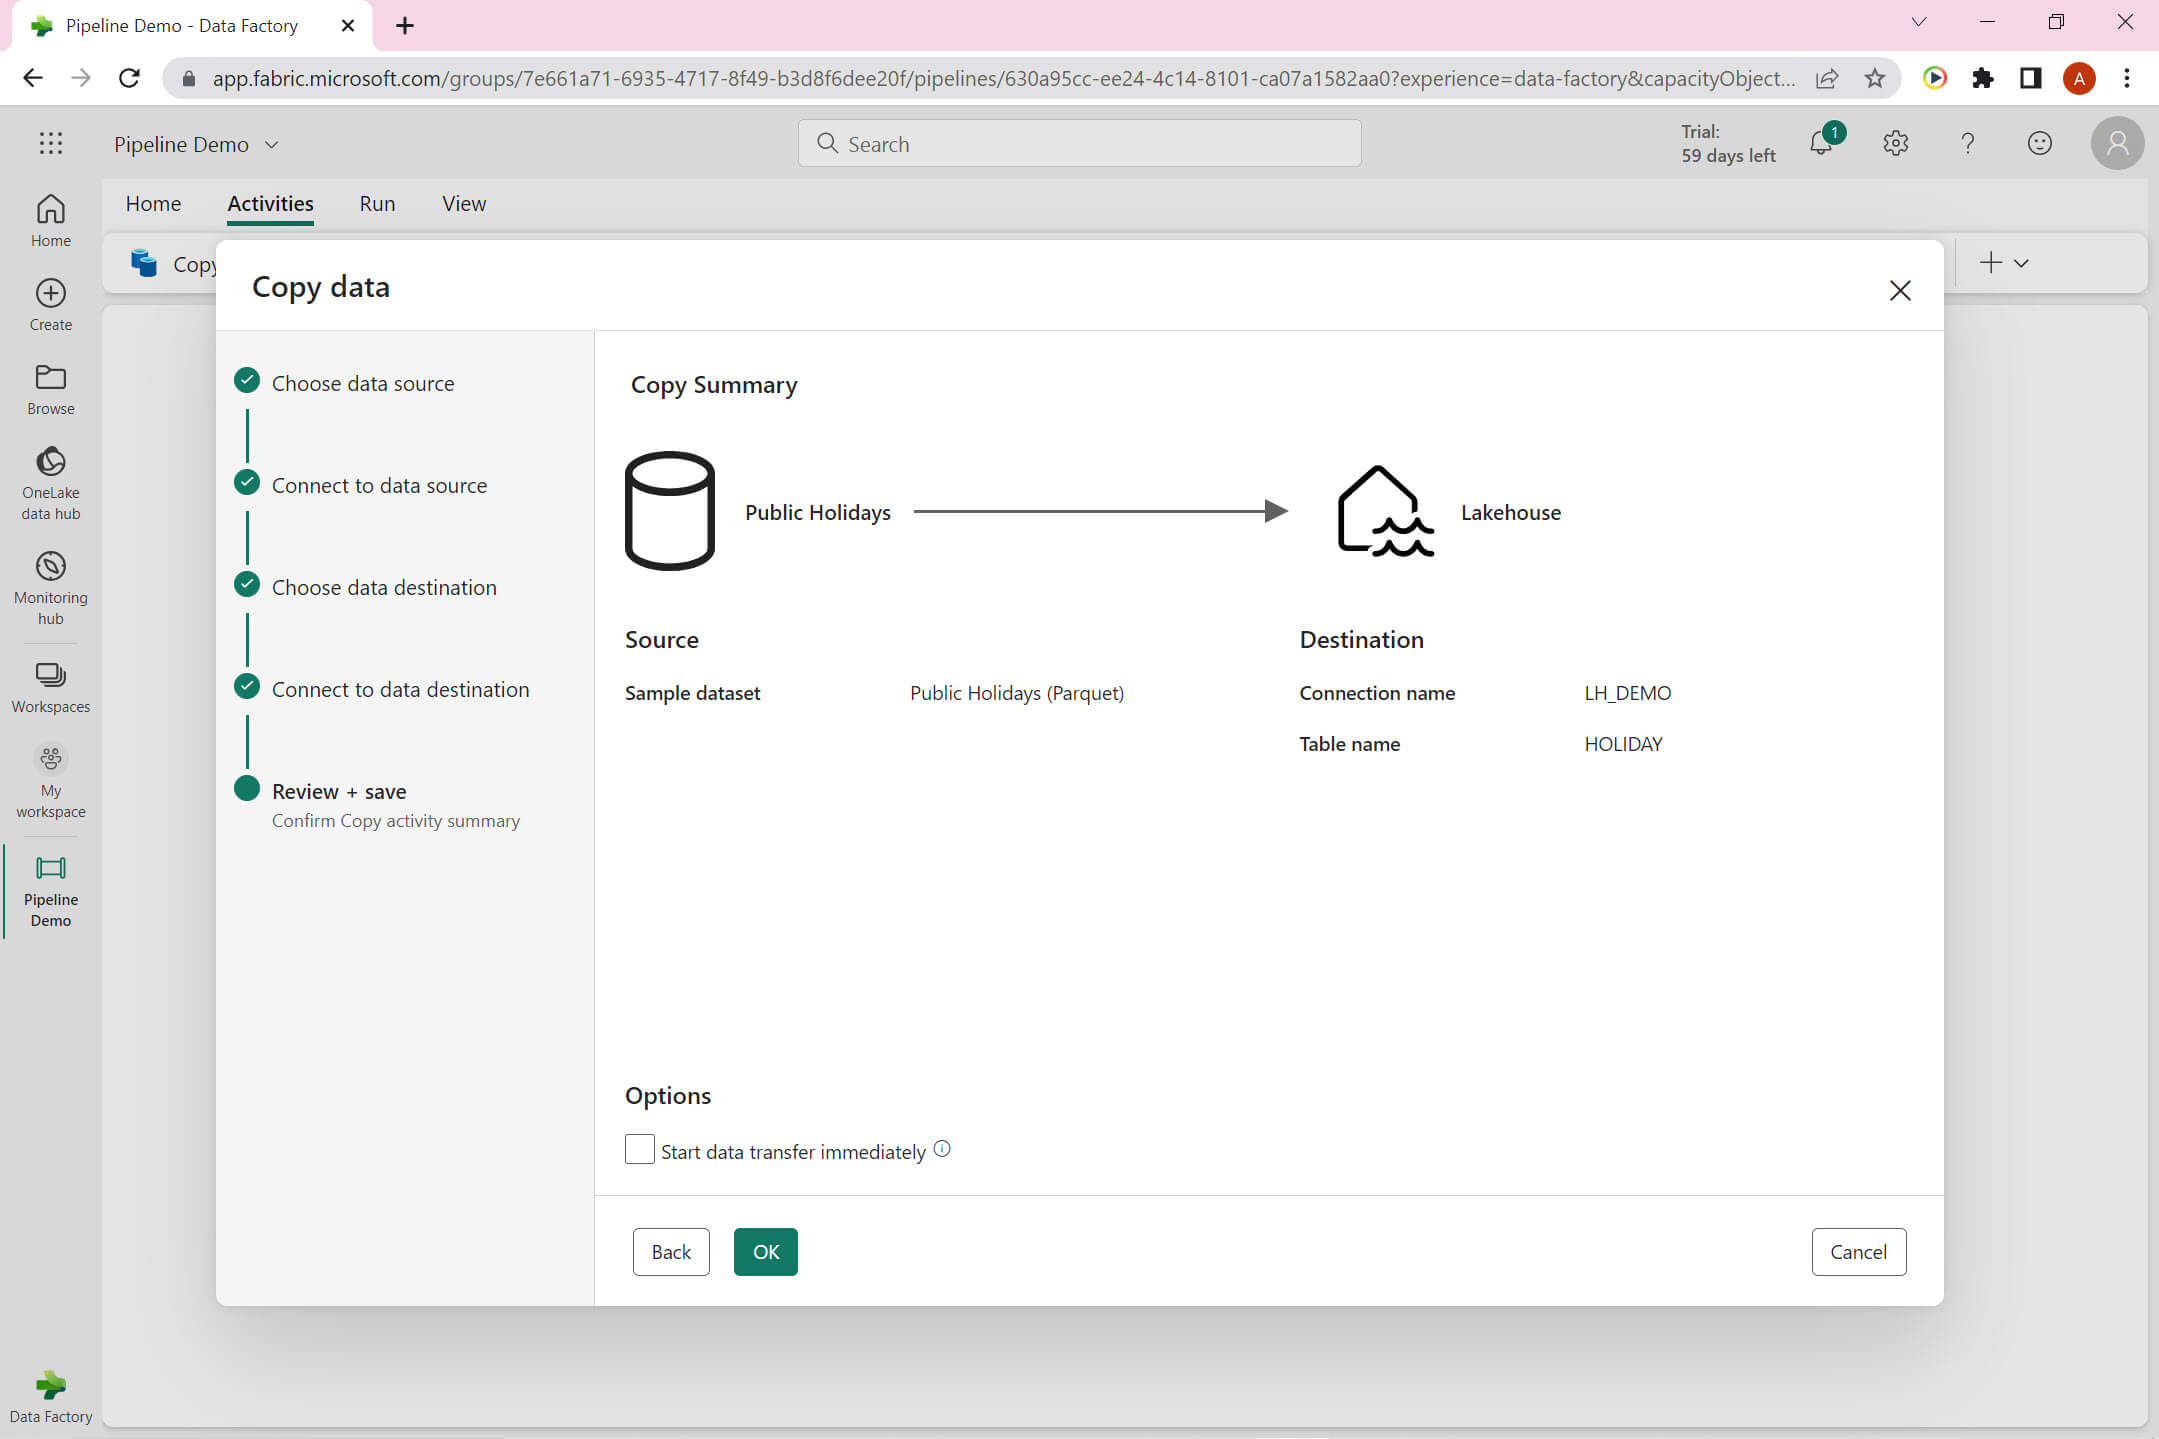
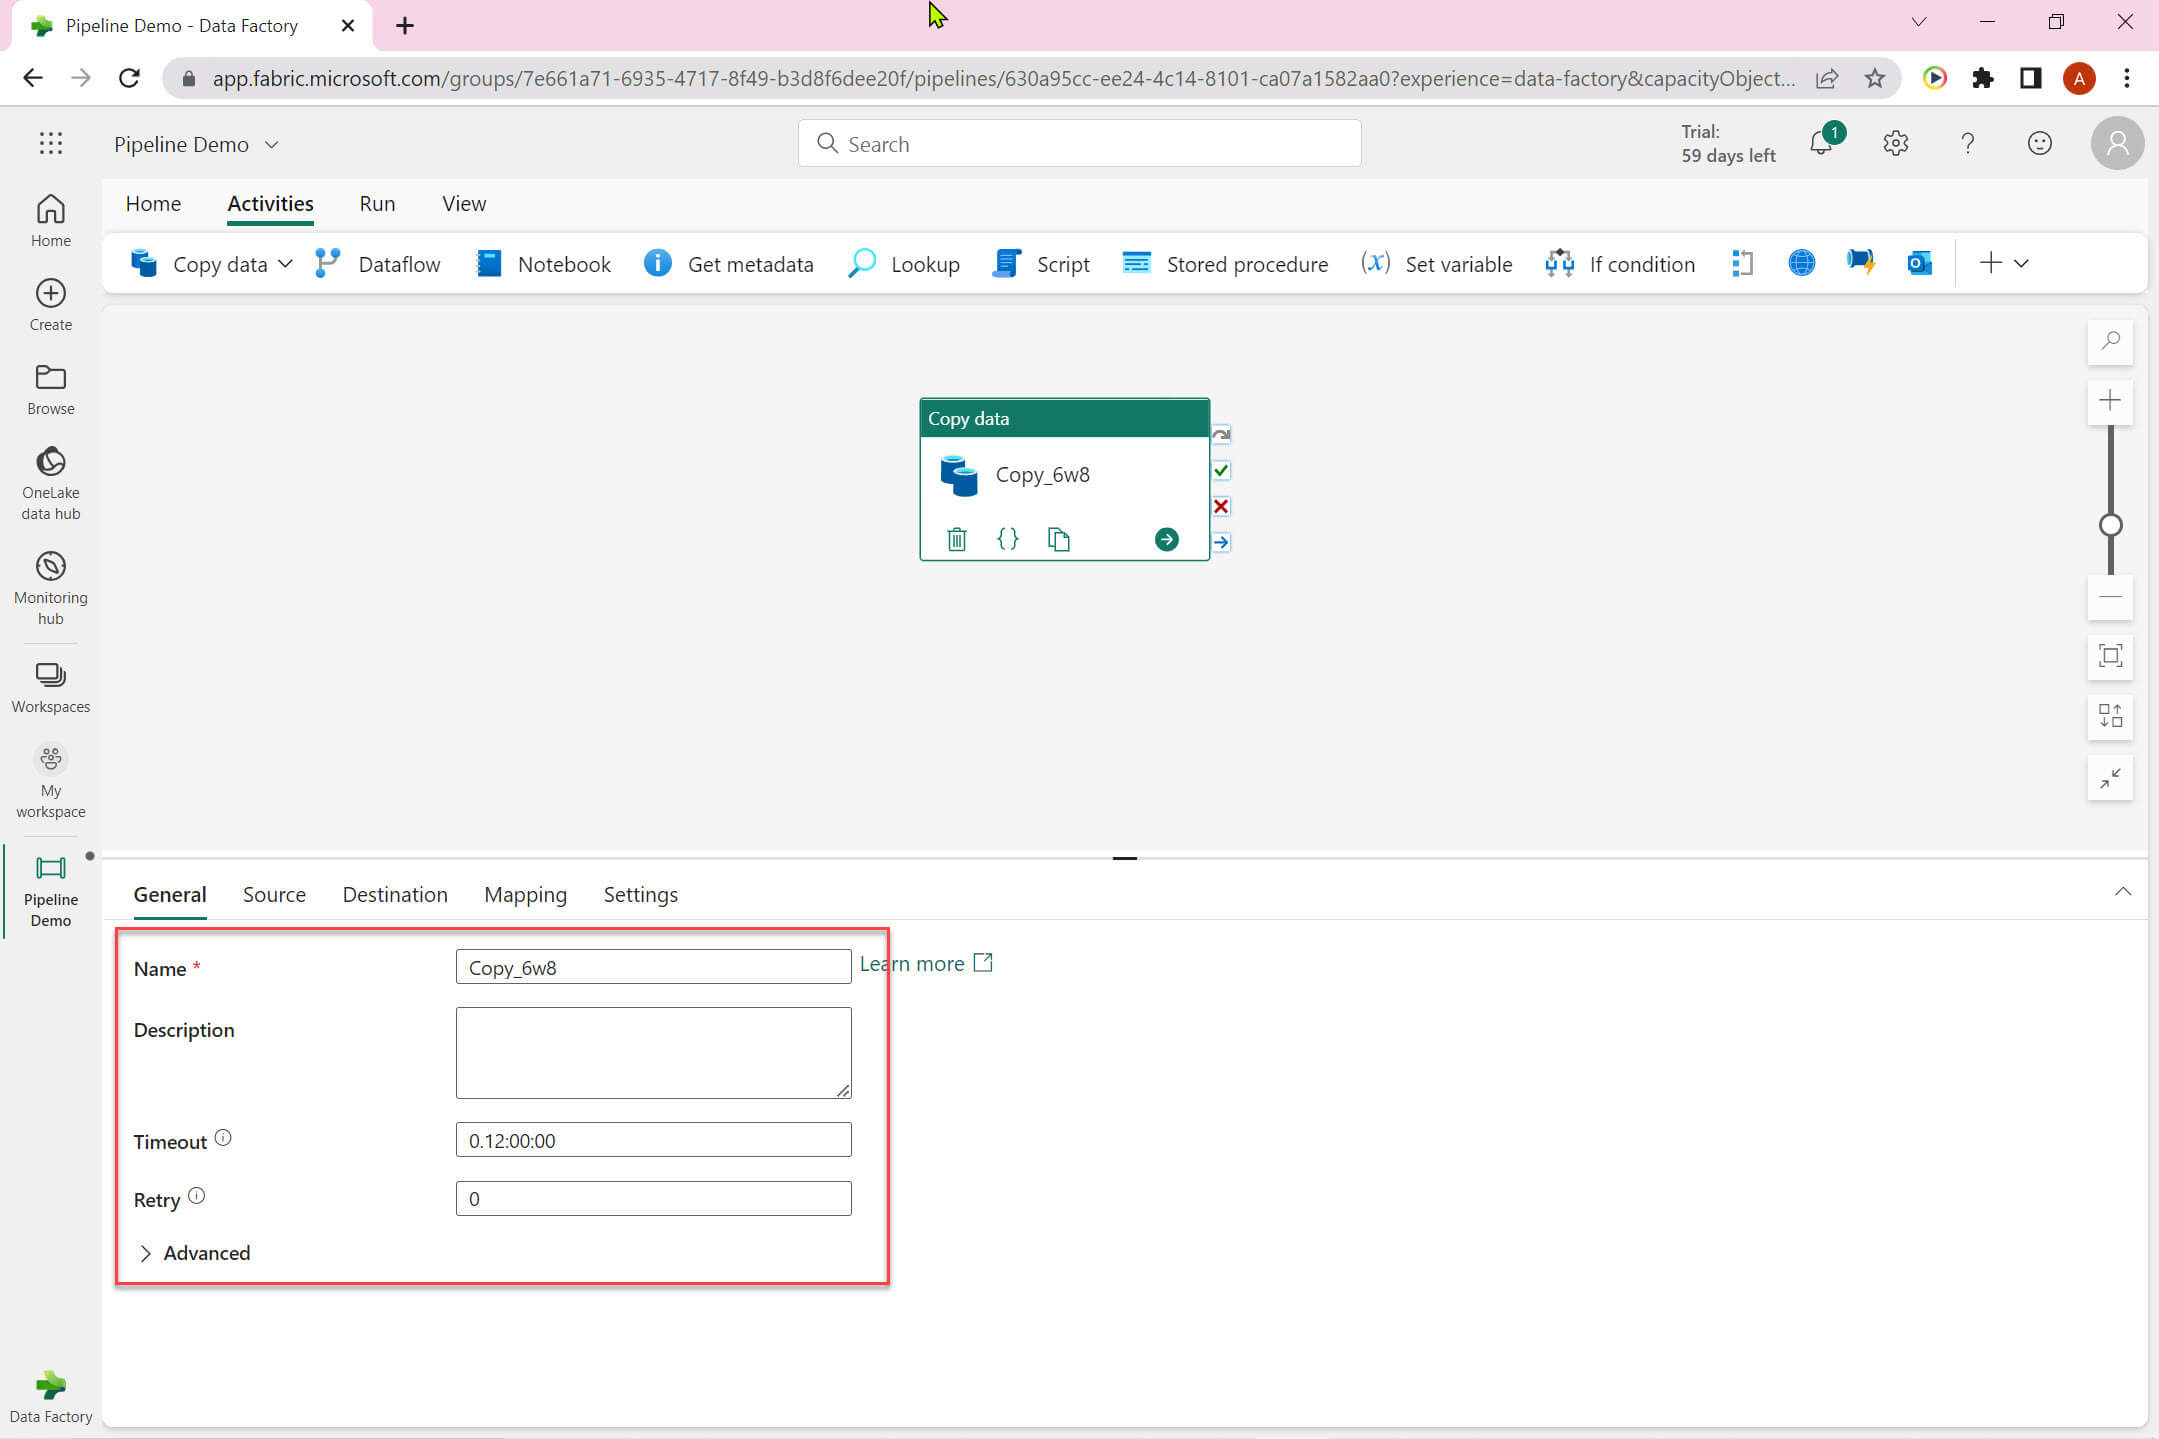
Now we can view the copy data activity configuration done so far:
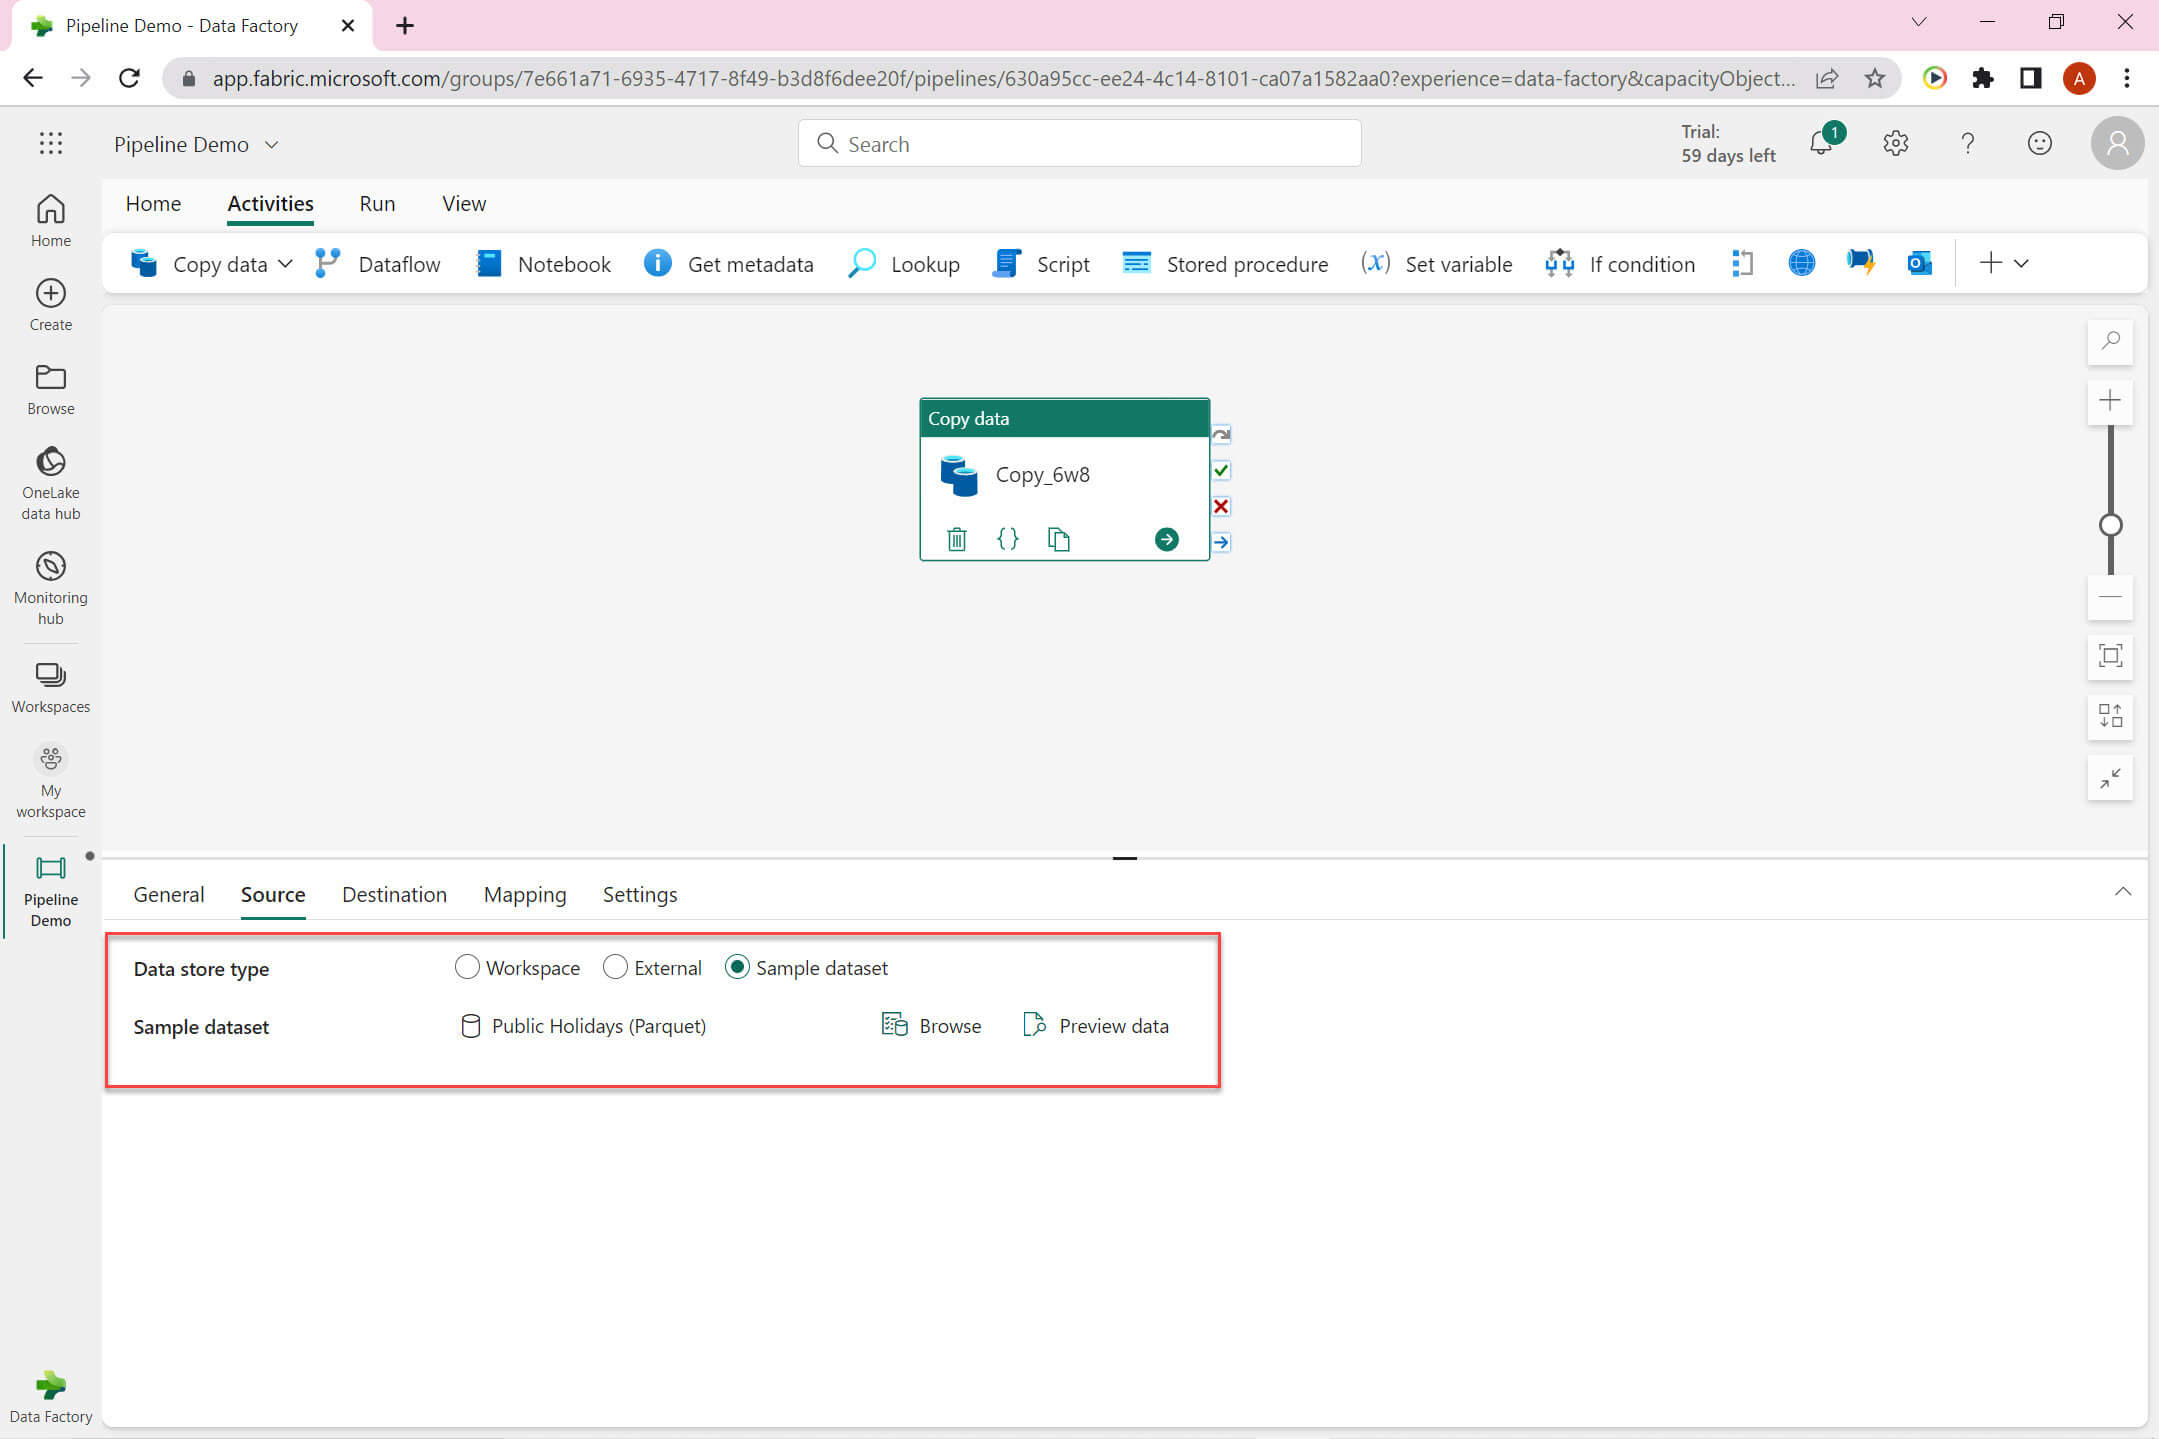
The Source tab: Data store type can be one of these:
- Workspace - Select dataset from the workspace.
- External - You can select external data store.
- Sample dataset - Choose from available sample data set.
I have selected sample dataset - Public Holidays.
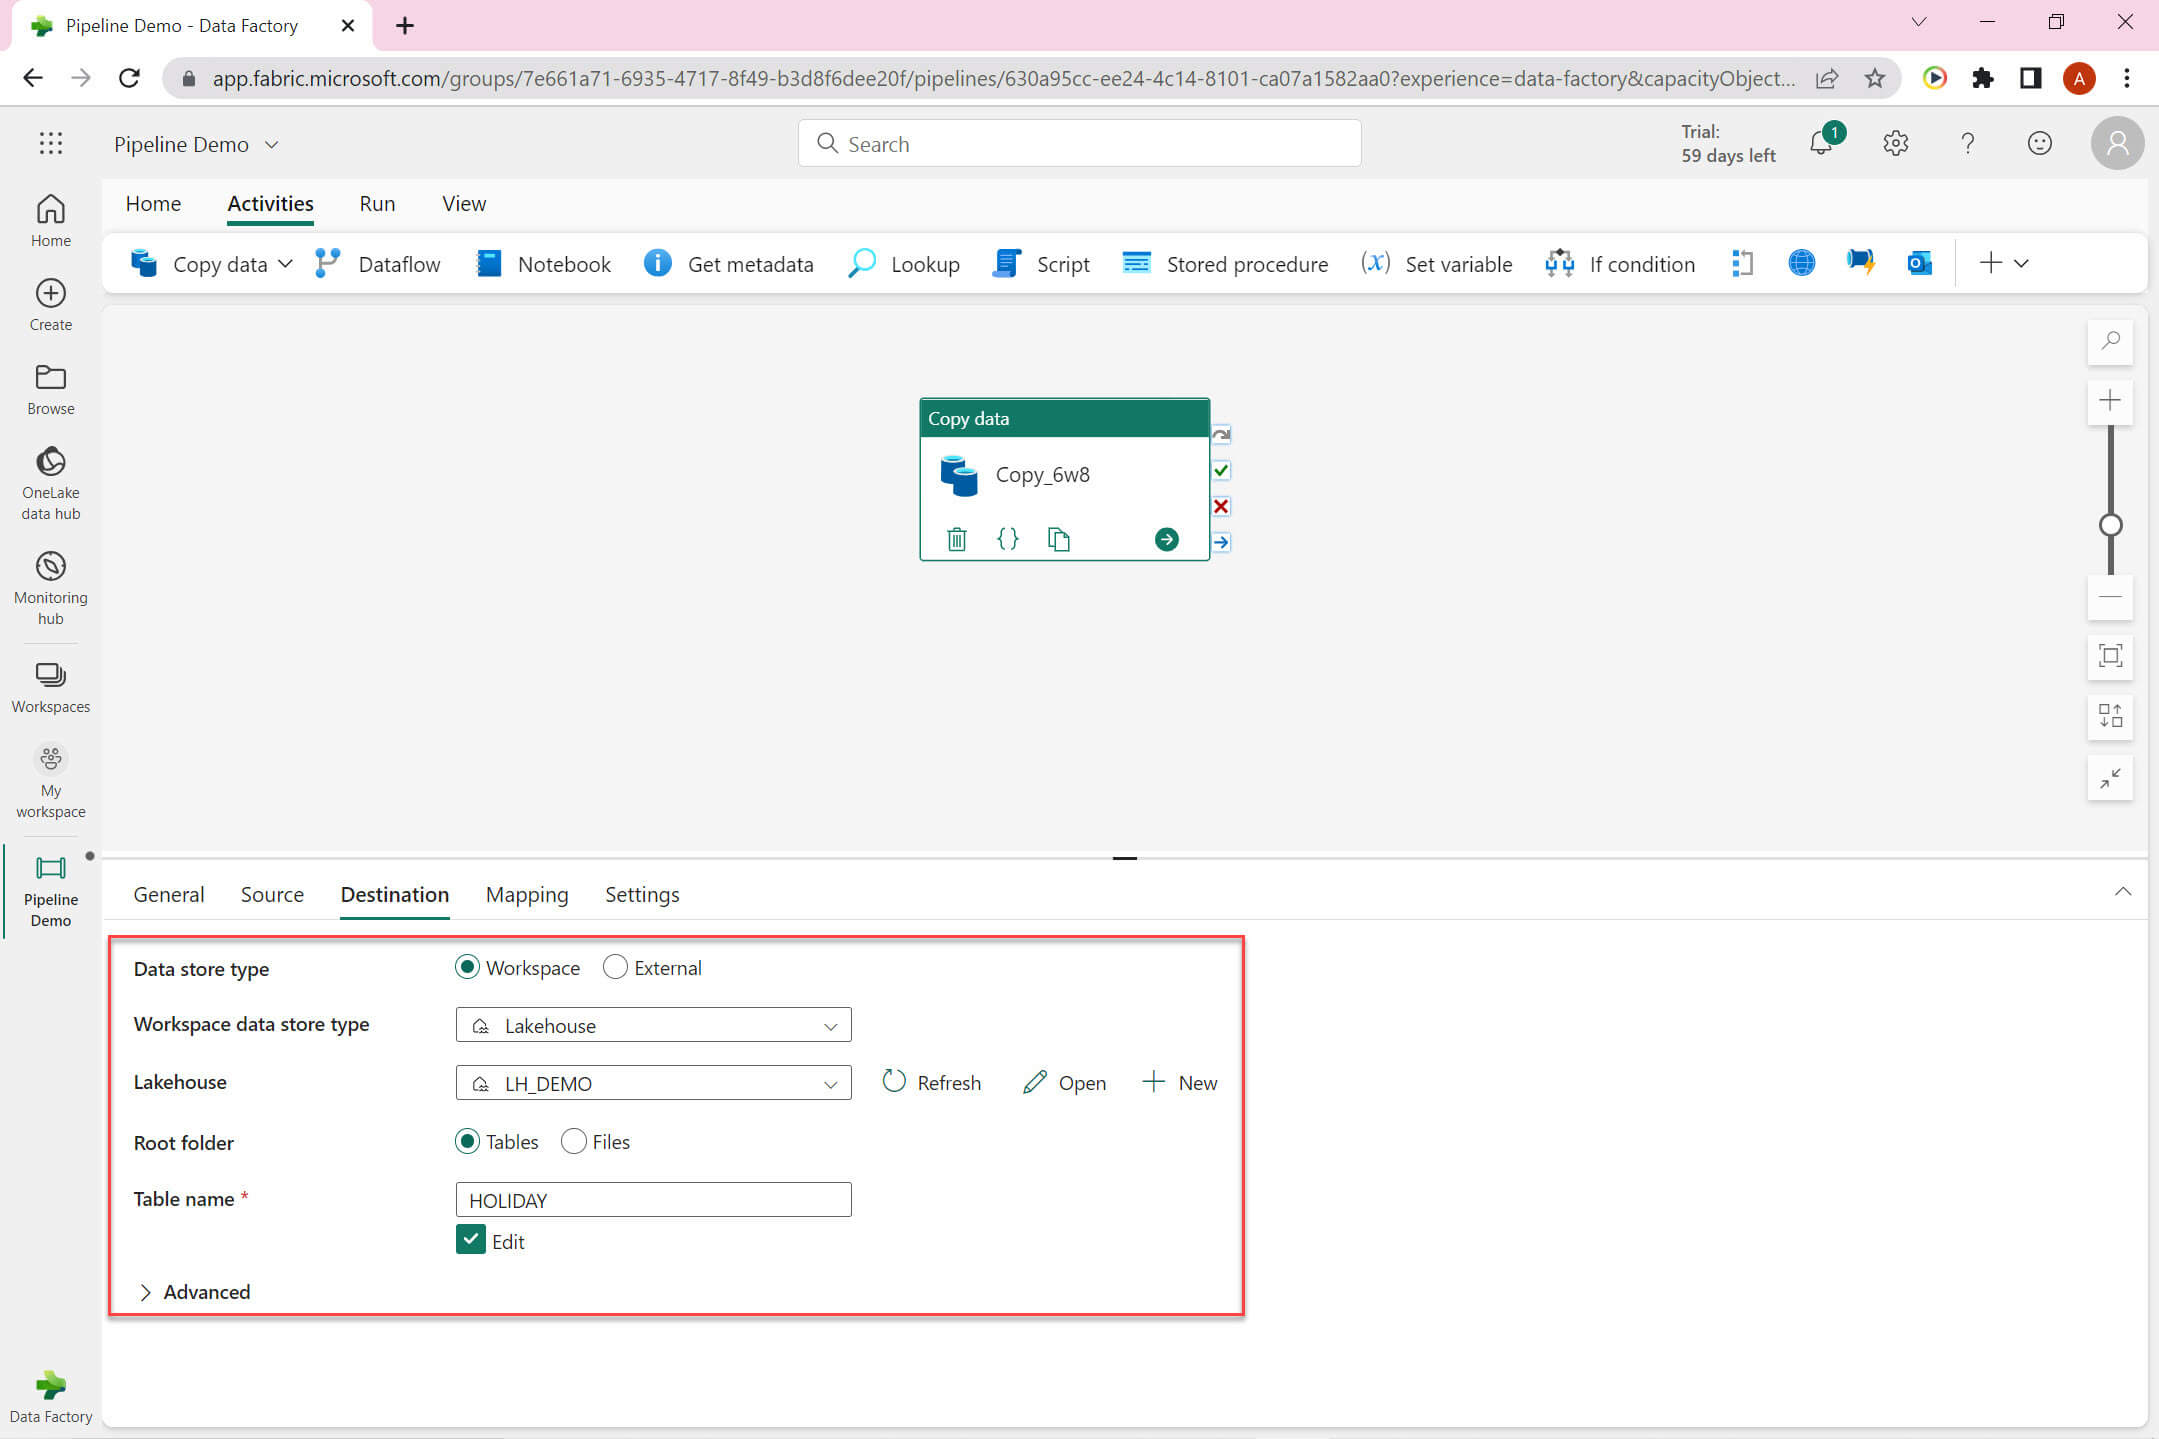
The Destination tab: it has the below options:
- Data store type: It has two option Workspace and External
- Workspace: Select from workspace data store.
- External: Choose any external data store.
- Workspace data store type : Lakehouse.
- Lakehouse : LH_DEMO.
- Root folder : Select between Tables and Files.
- Table name : HOLIDAY.
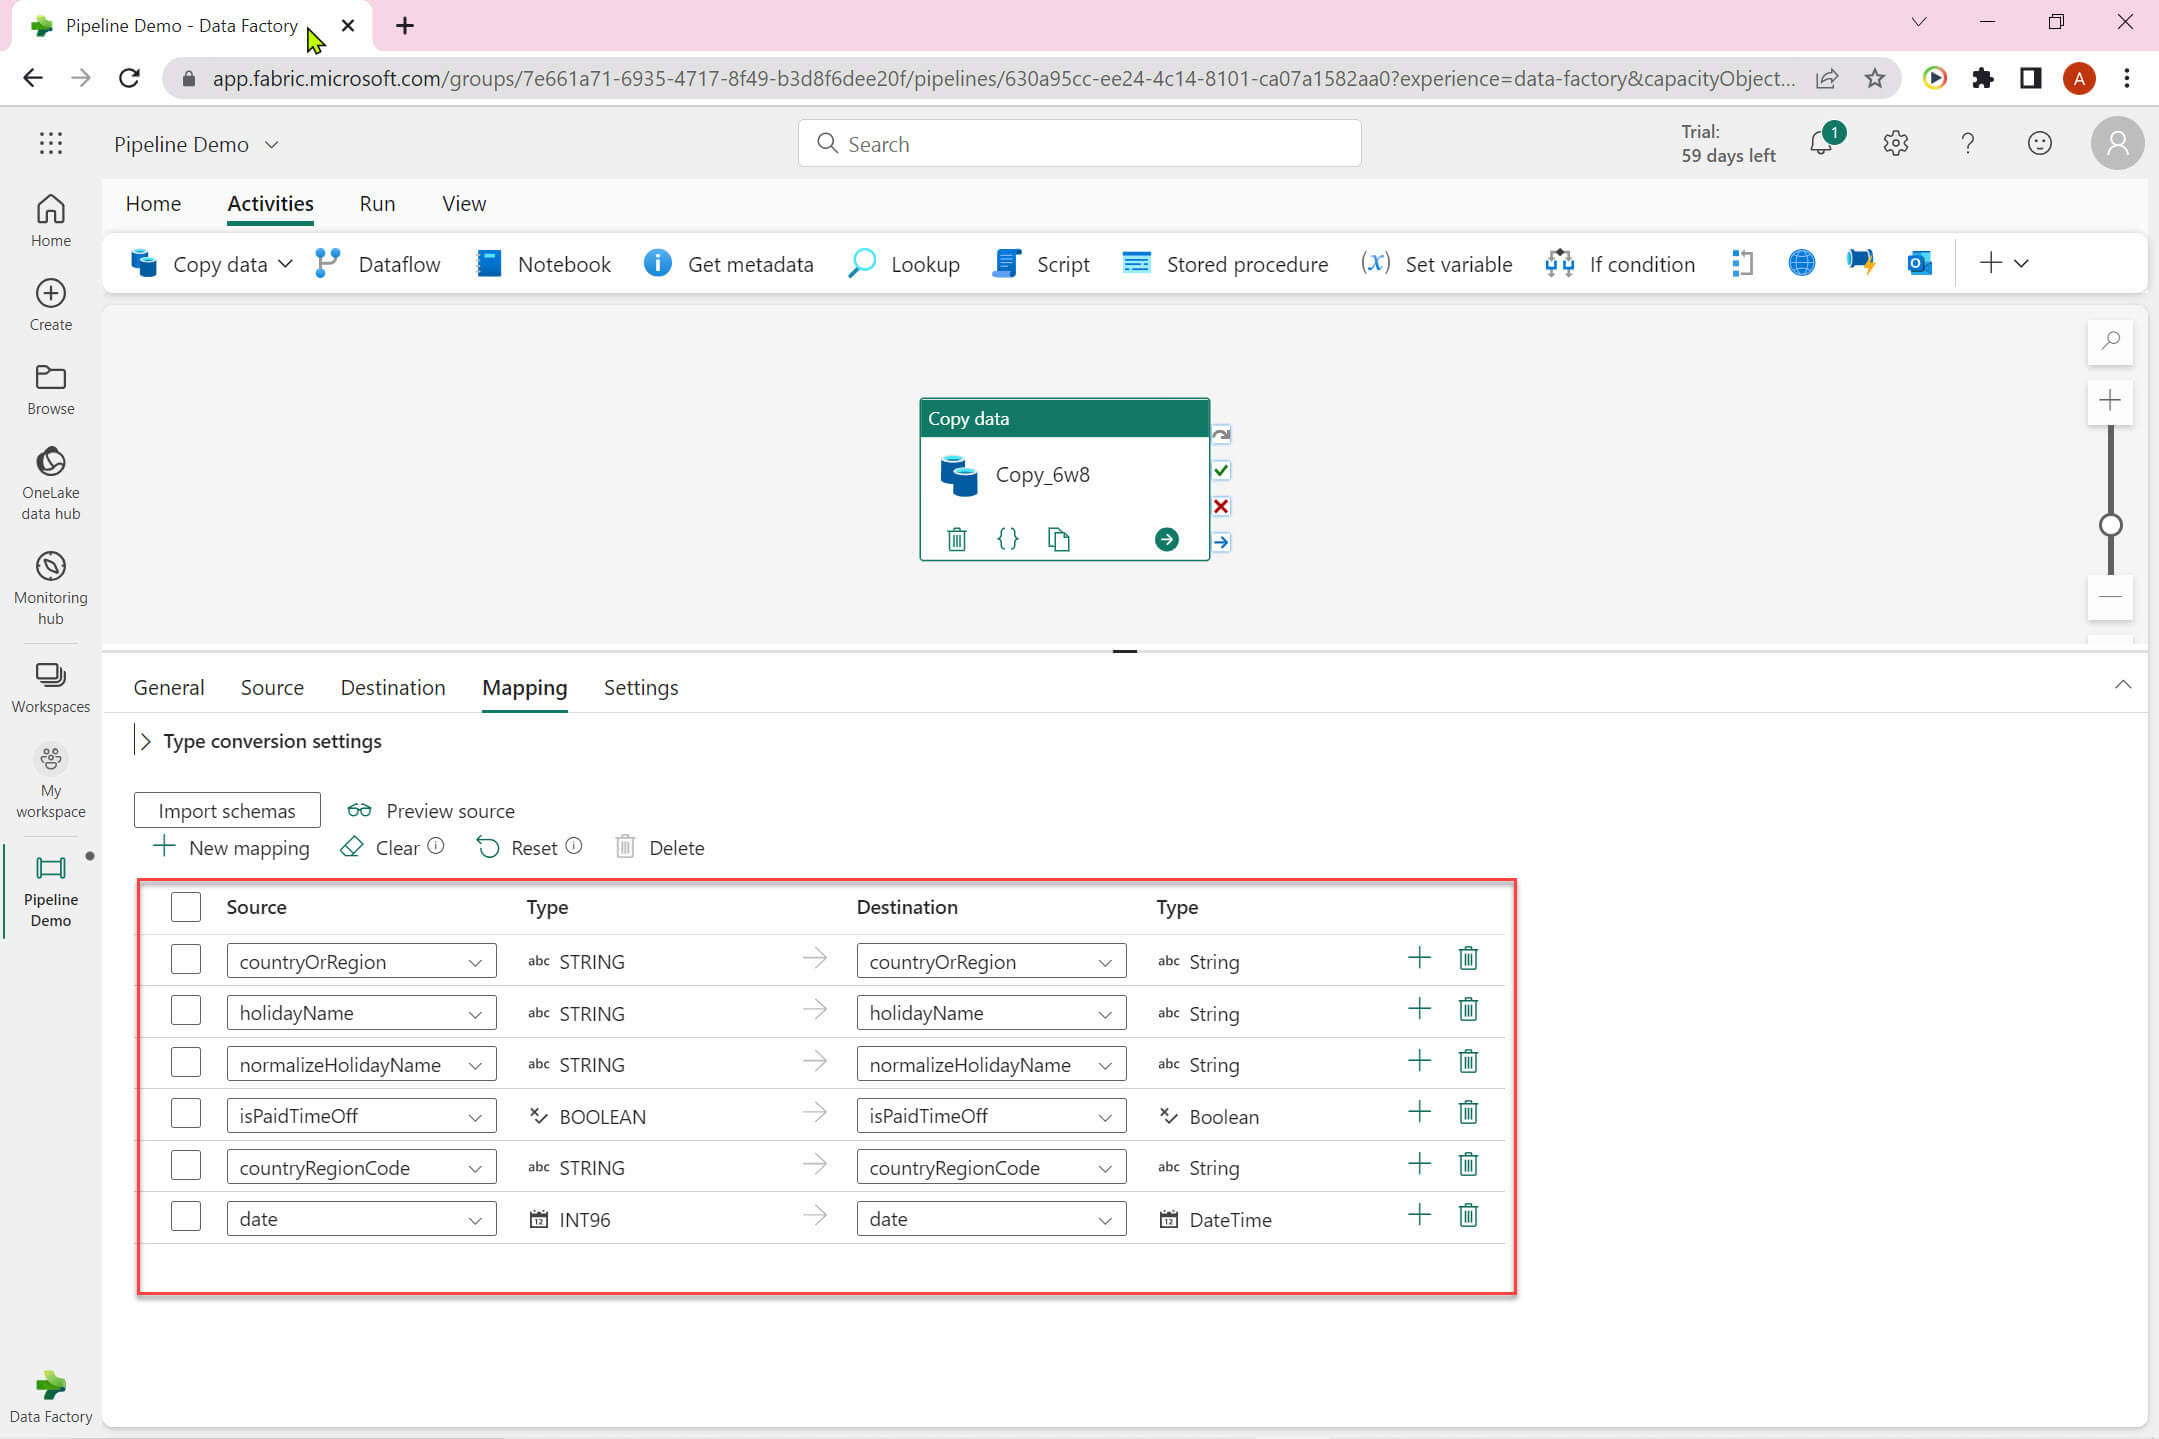
We can view the column mapping between source and destination in the Mapping view:
Let's run the pipeline:
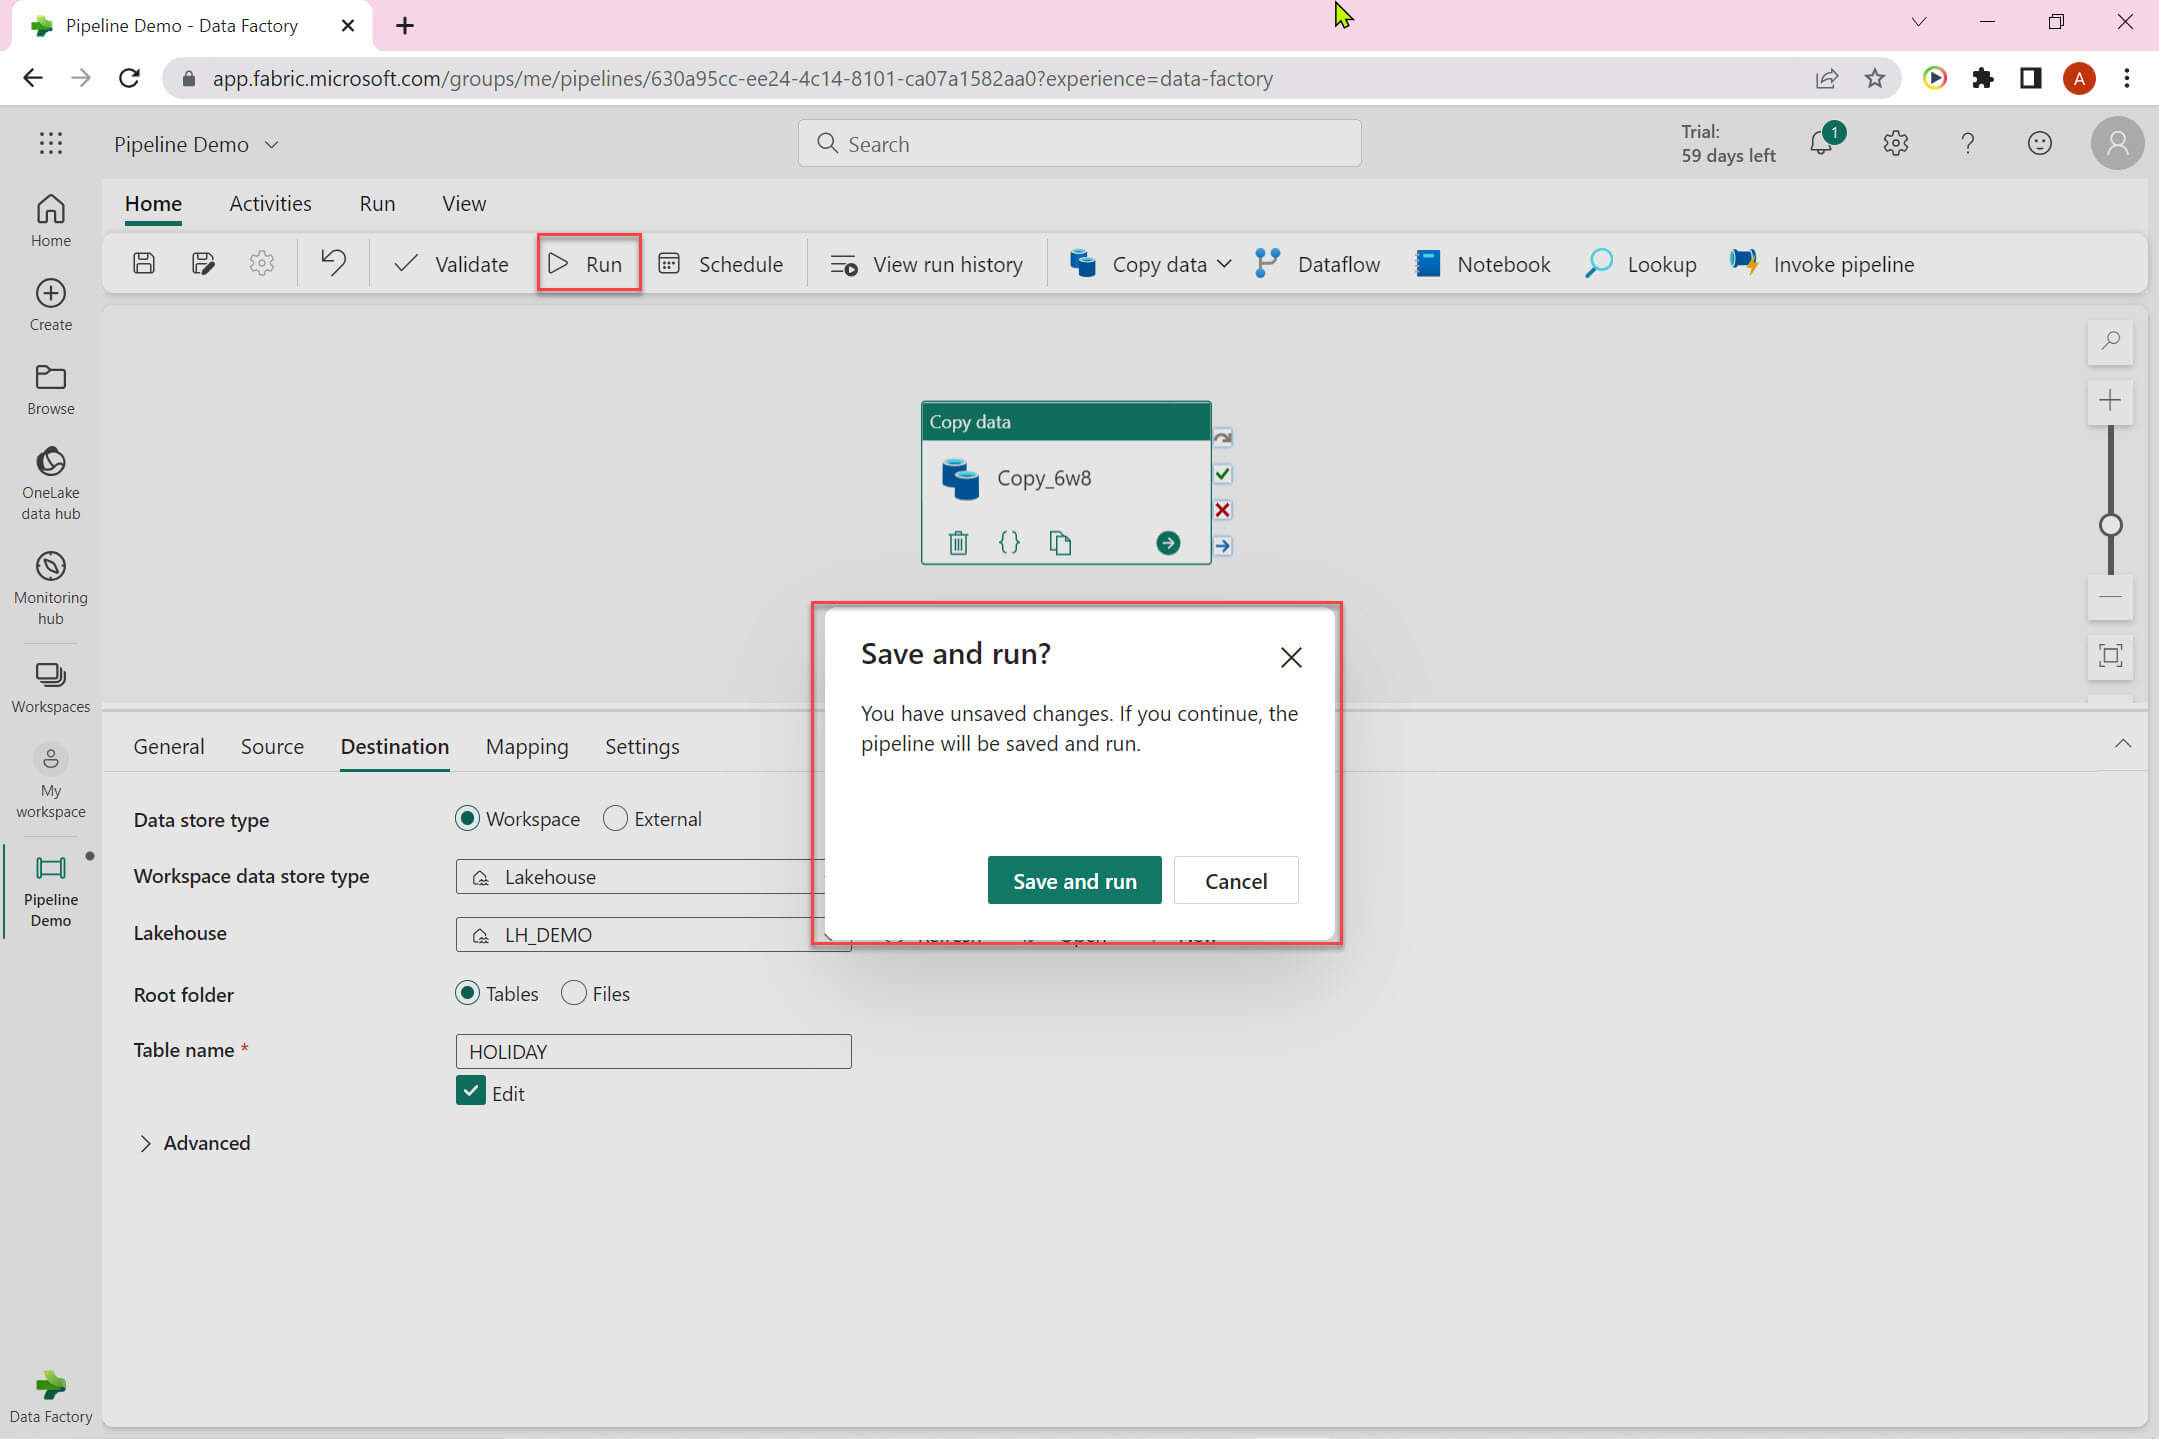
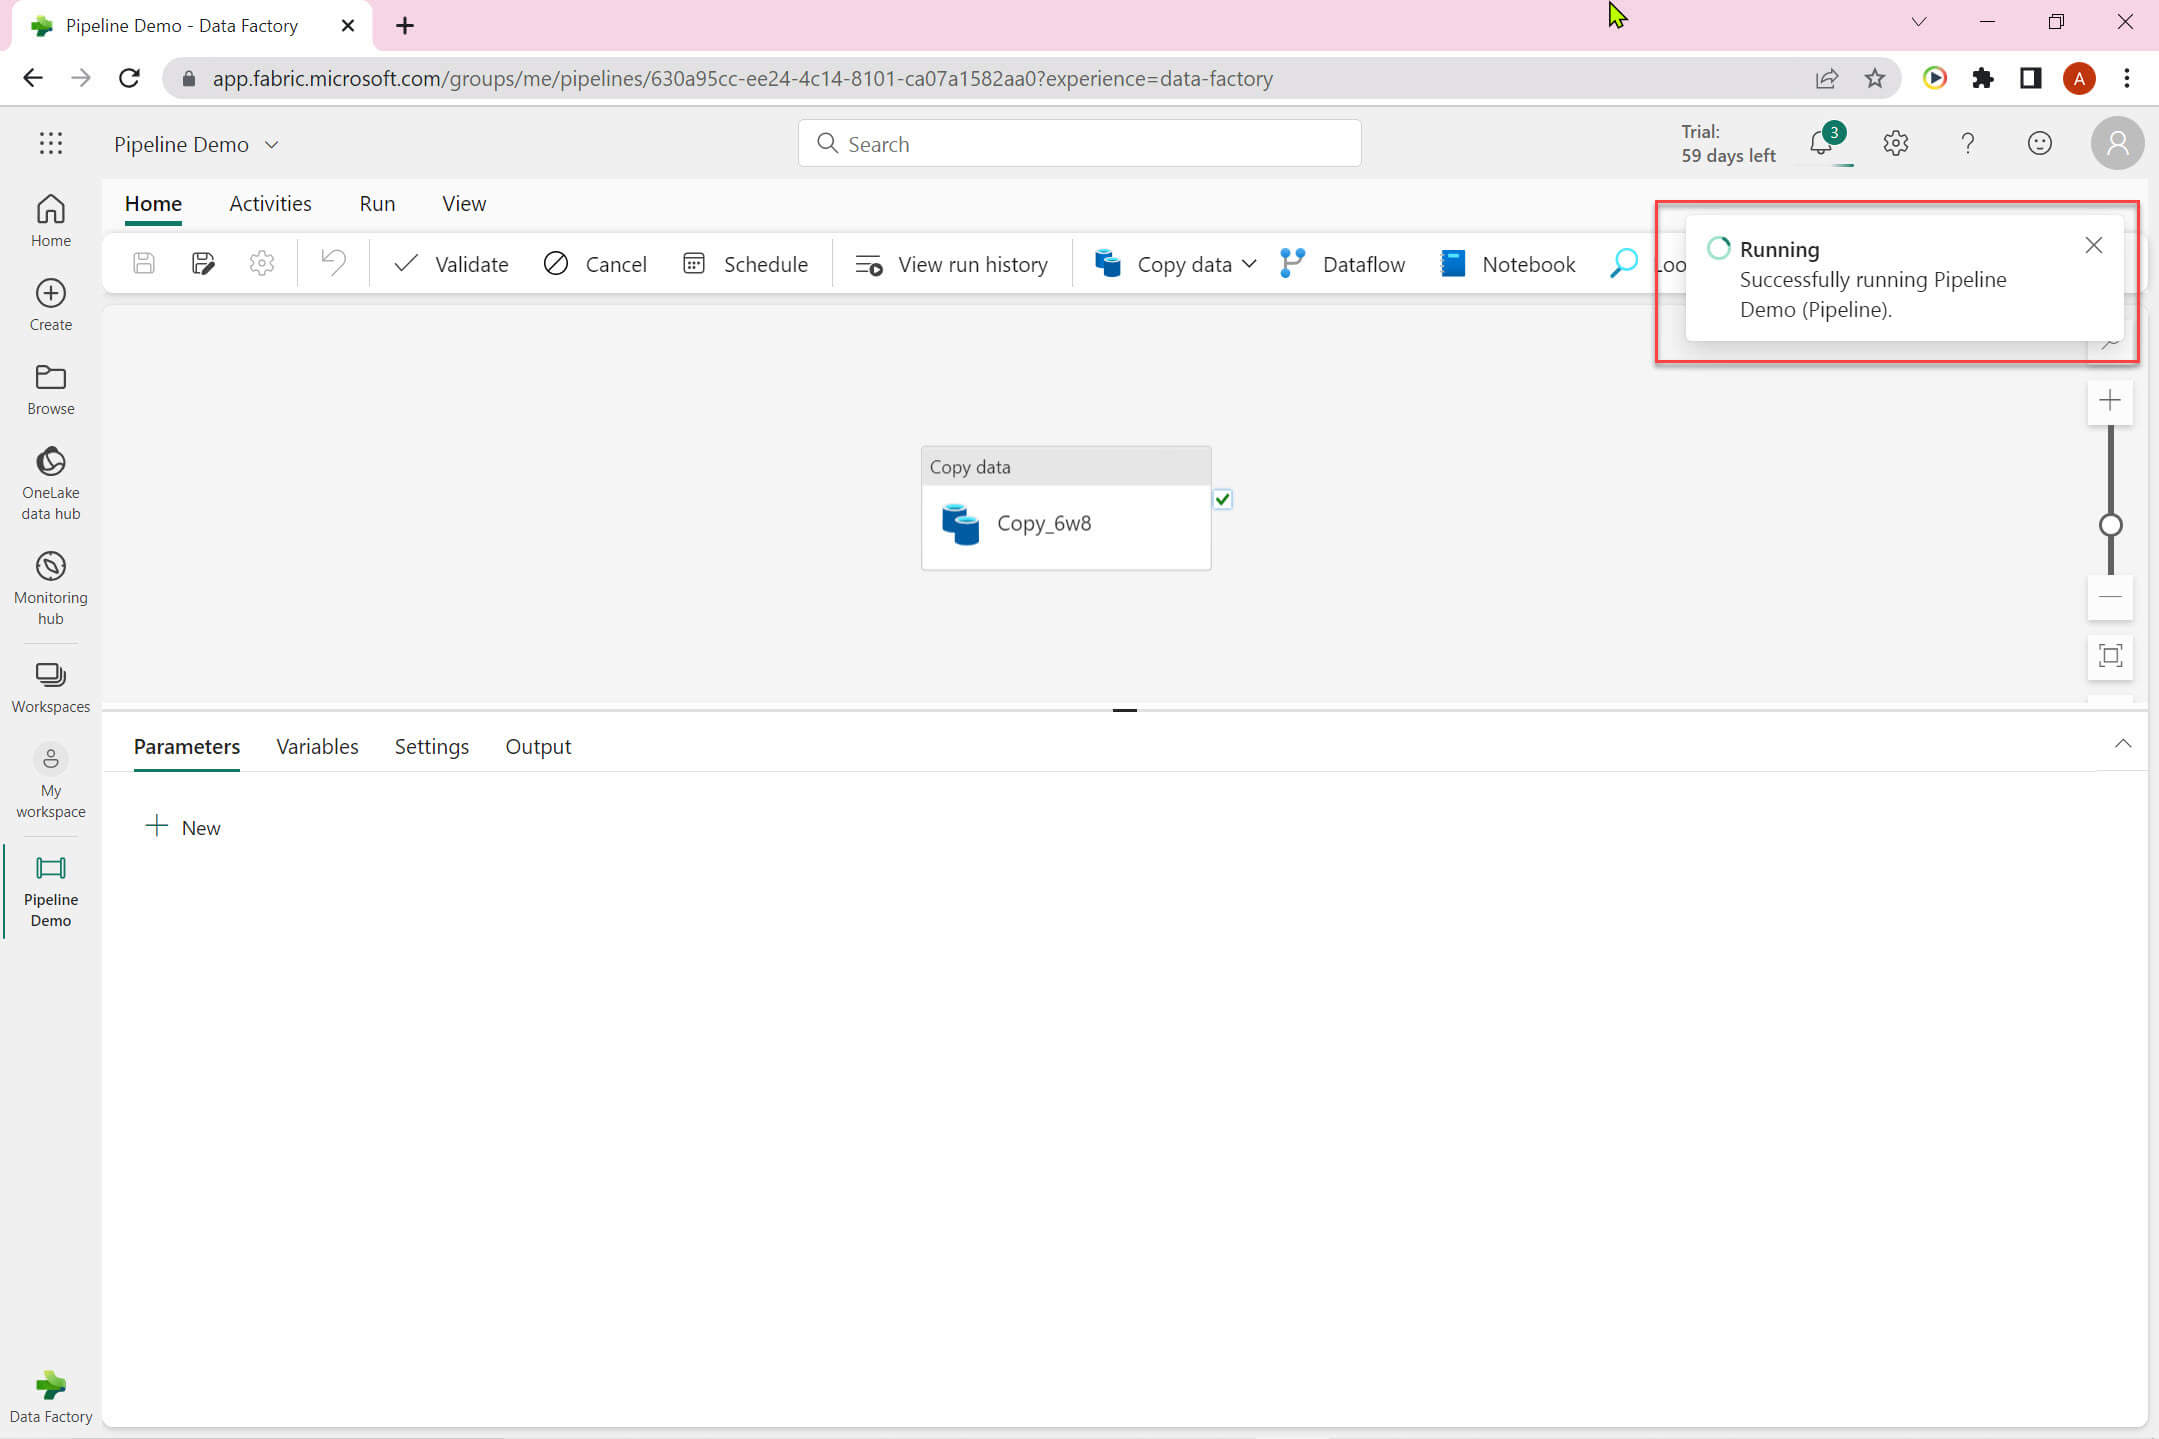
It may take a while depending on the data volume and configurations:
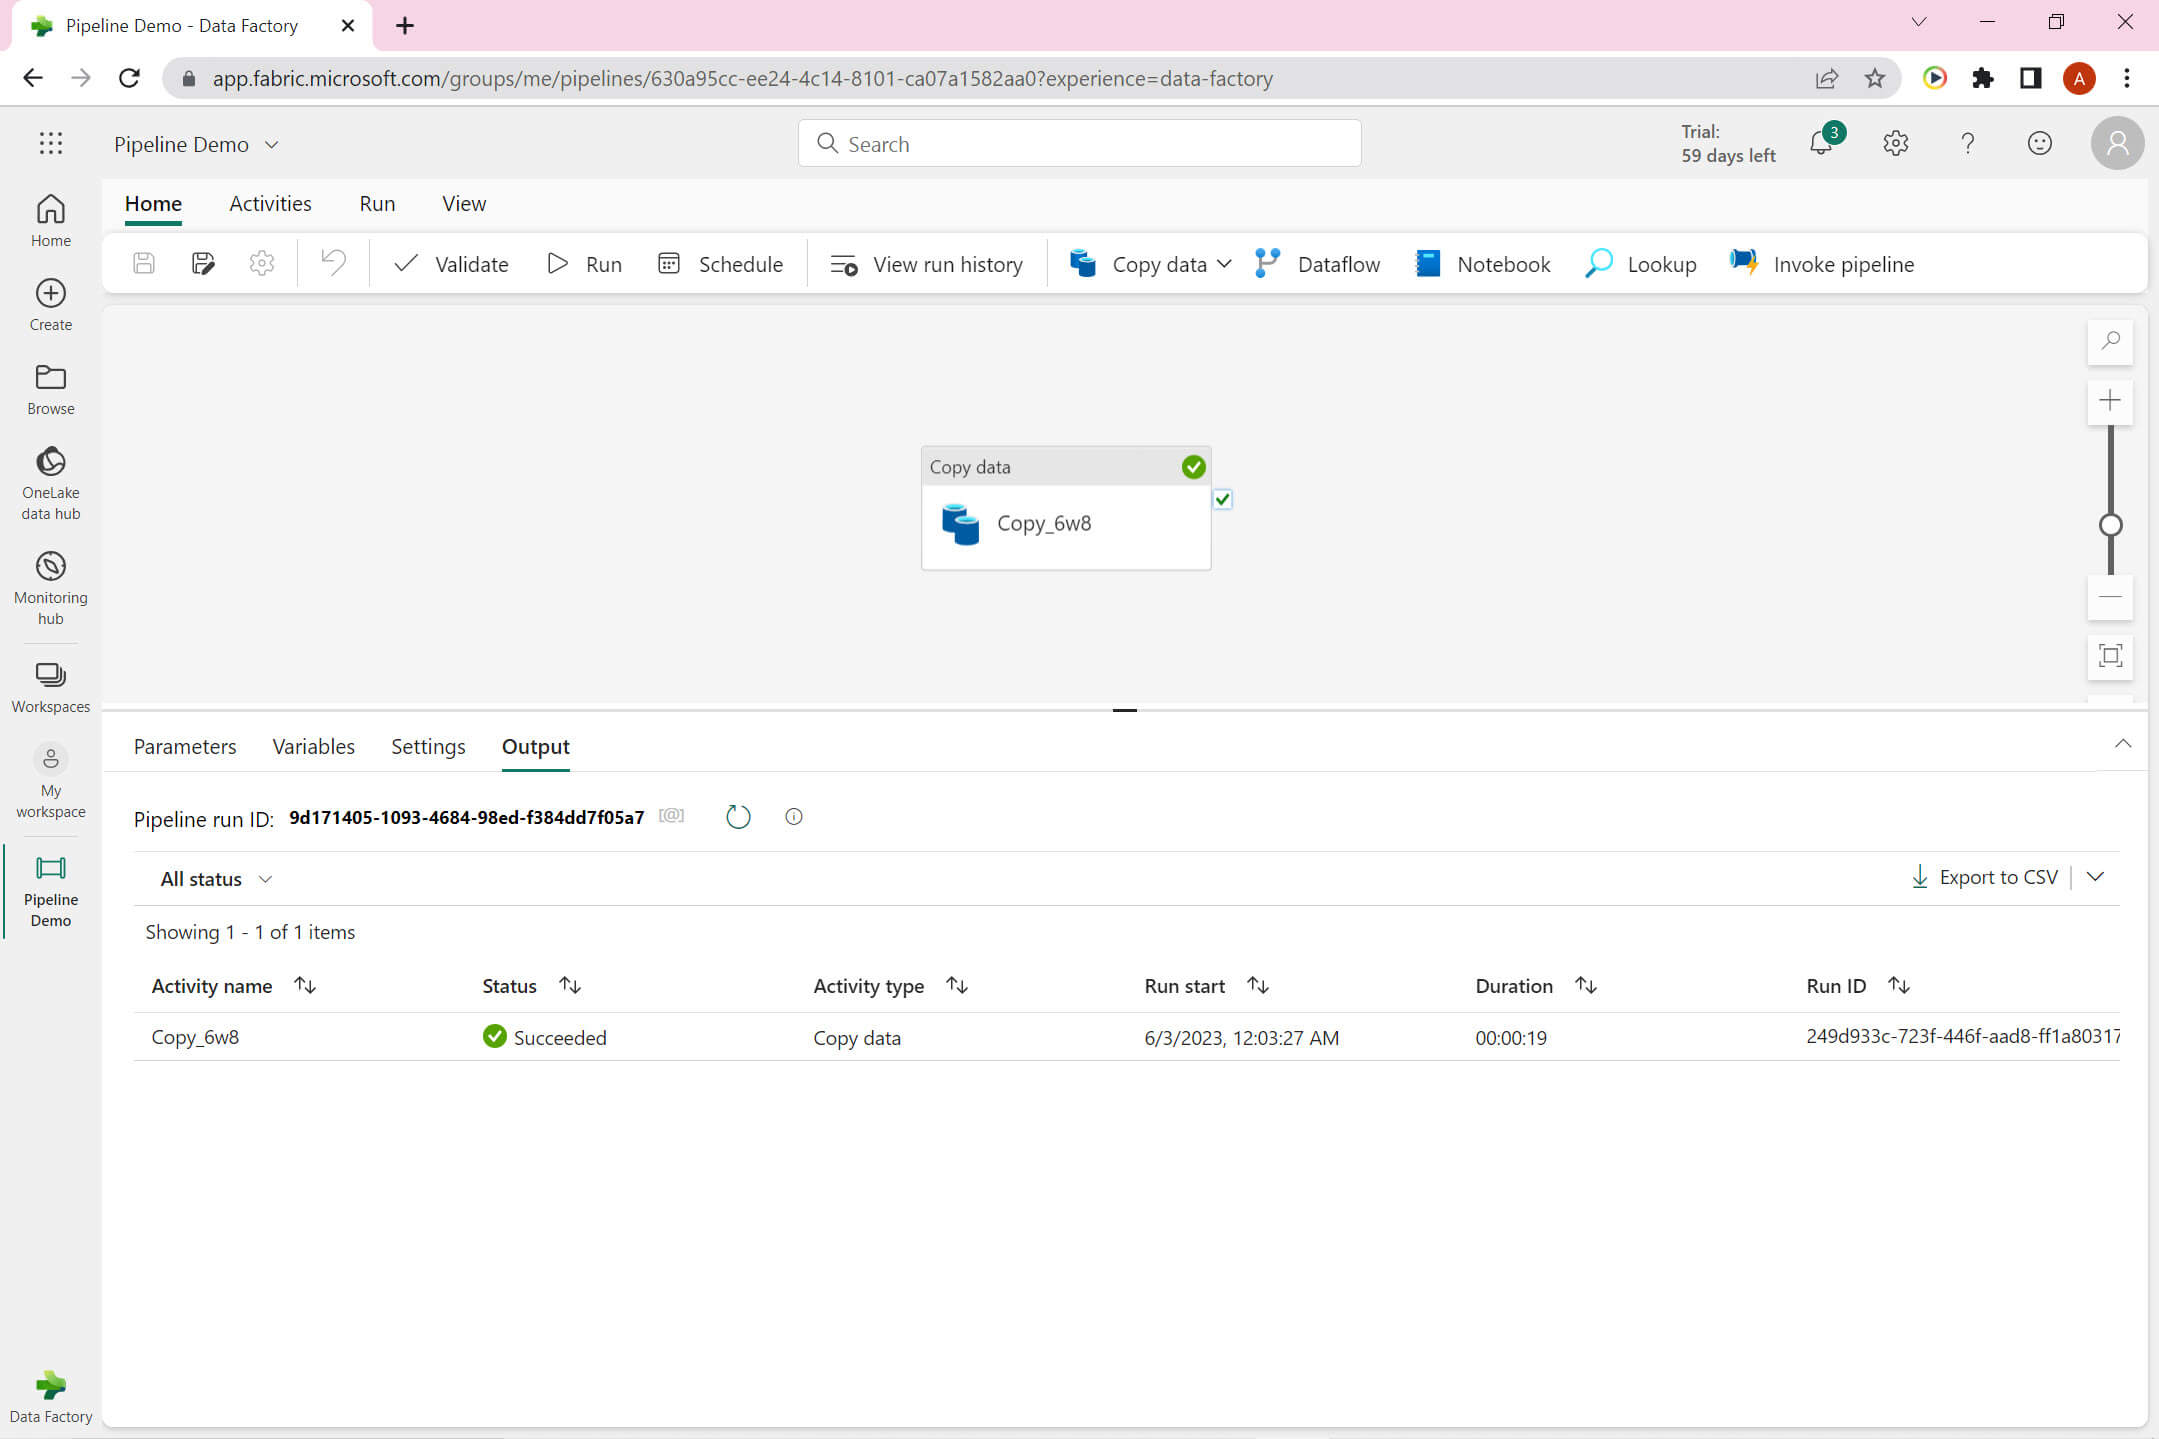
Pipeline run successful:
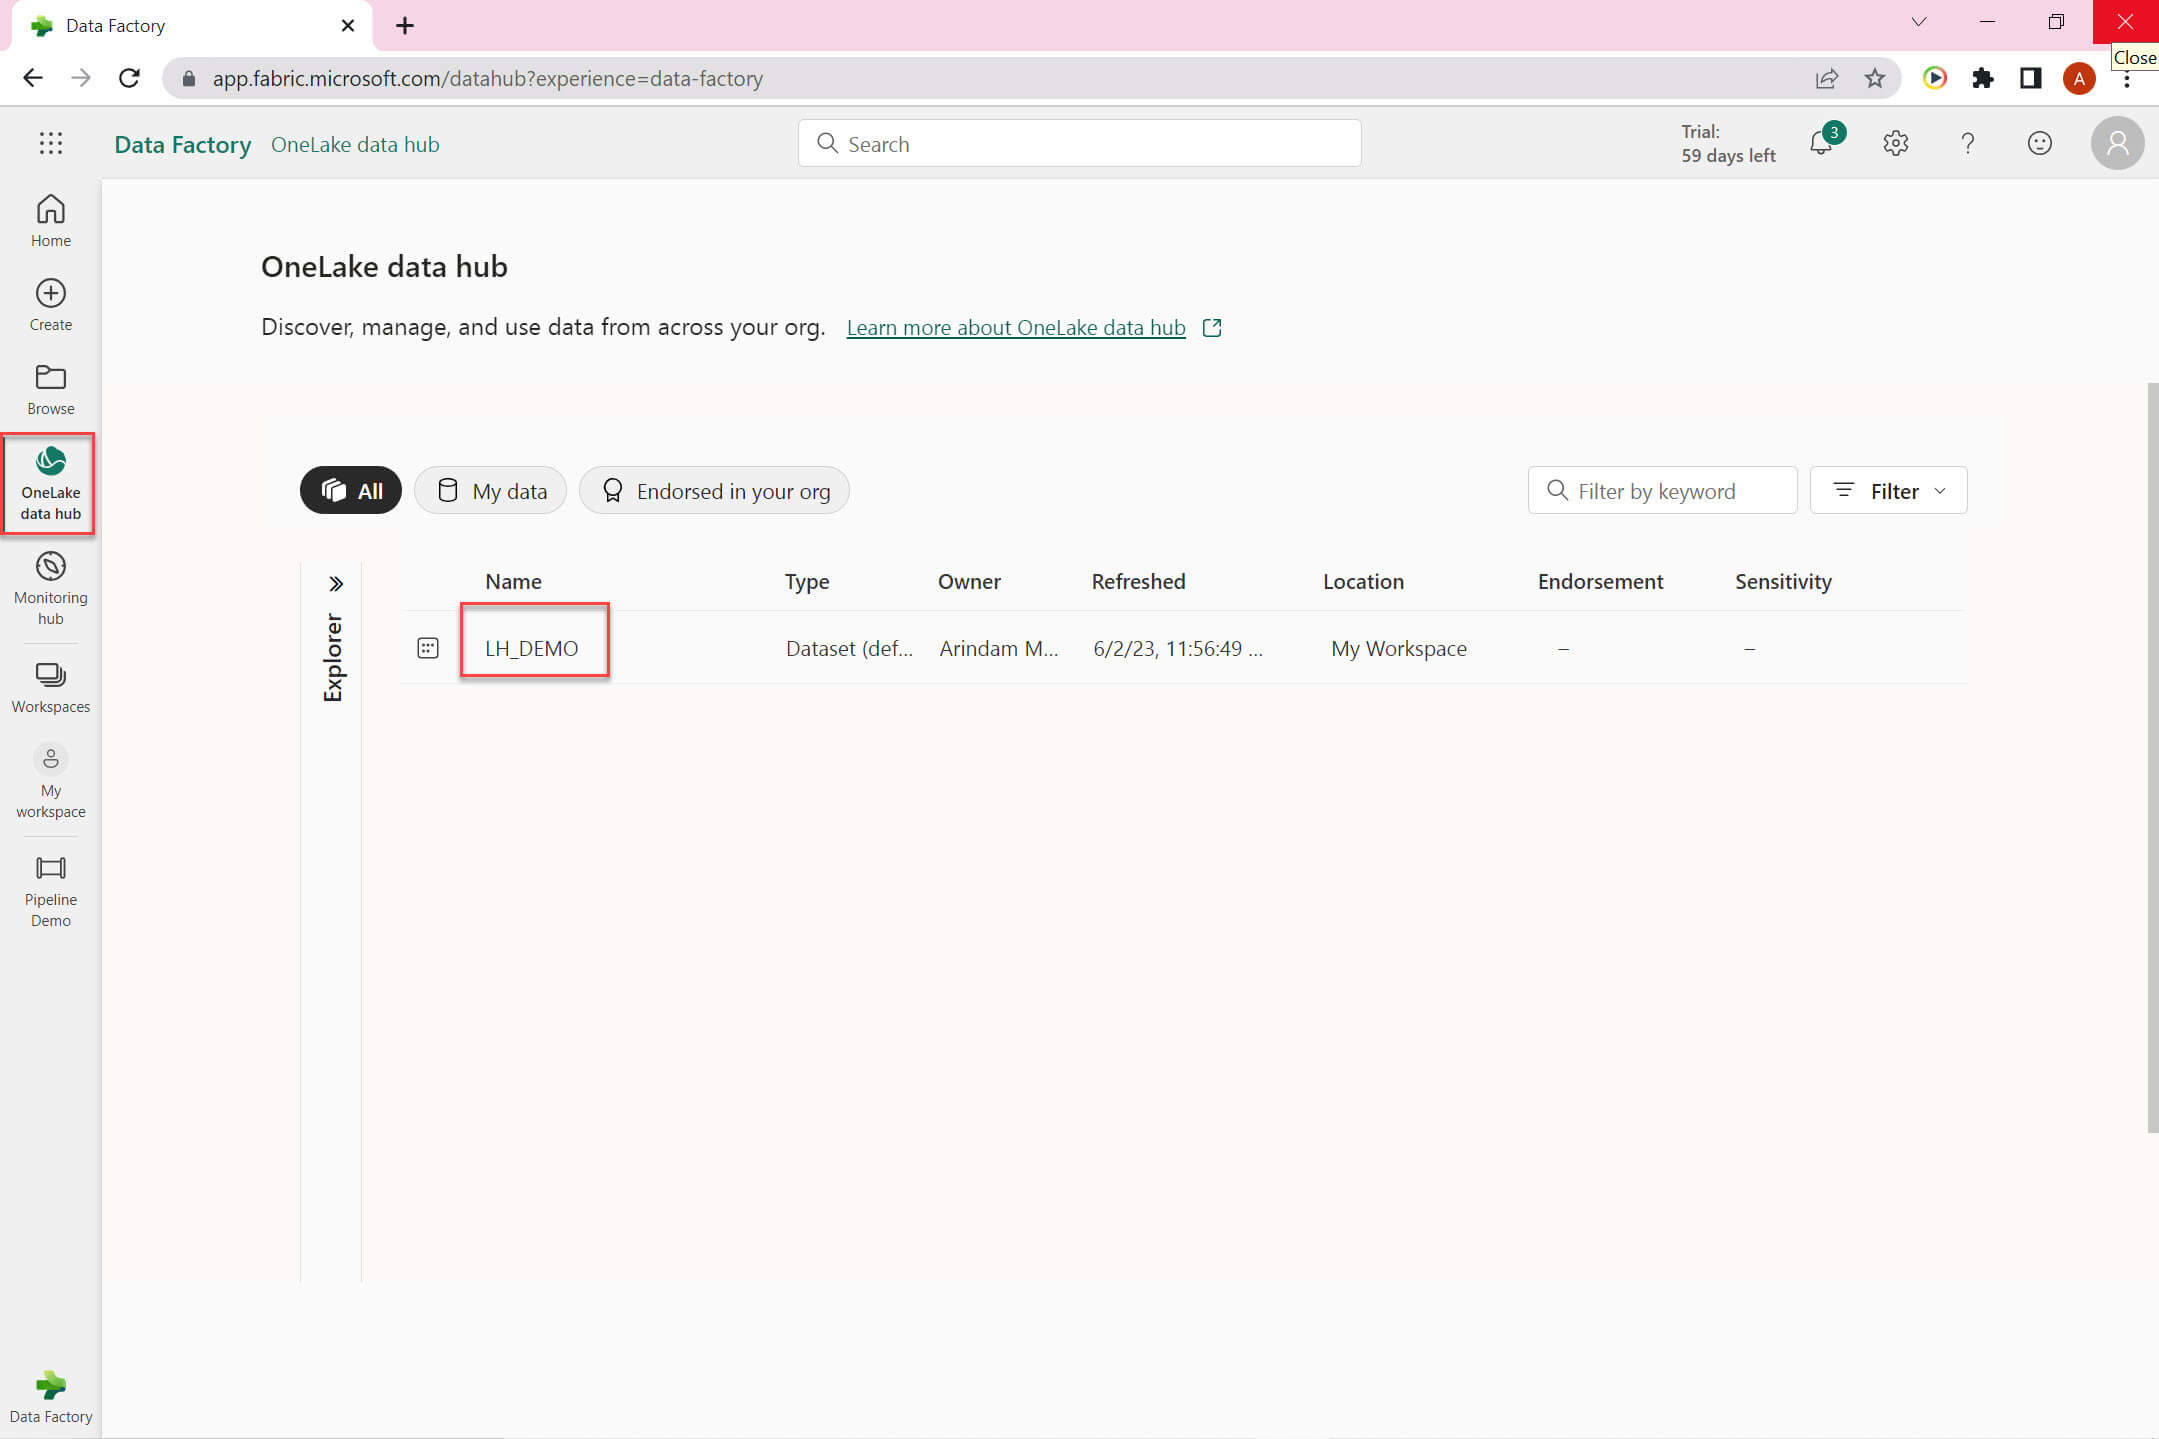
Let's go to the OneLake data hub:
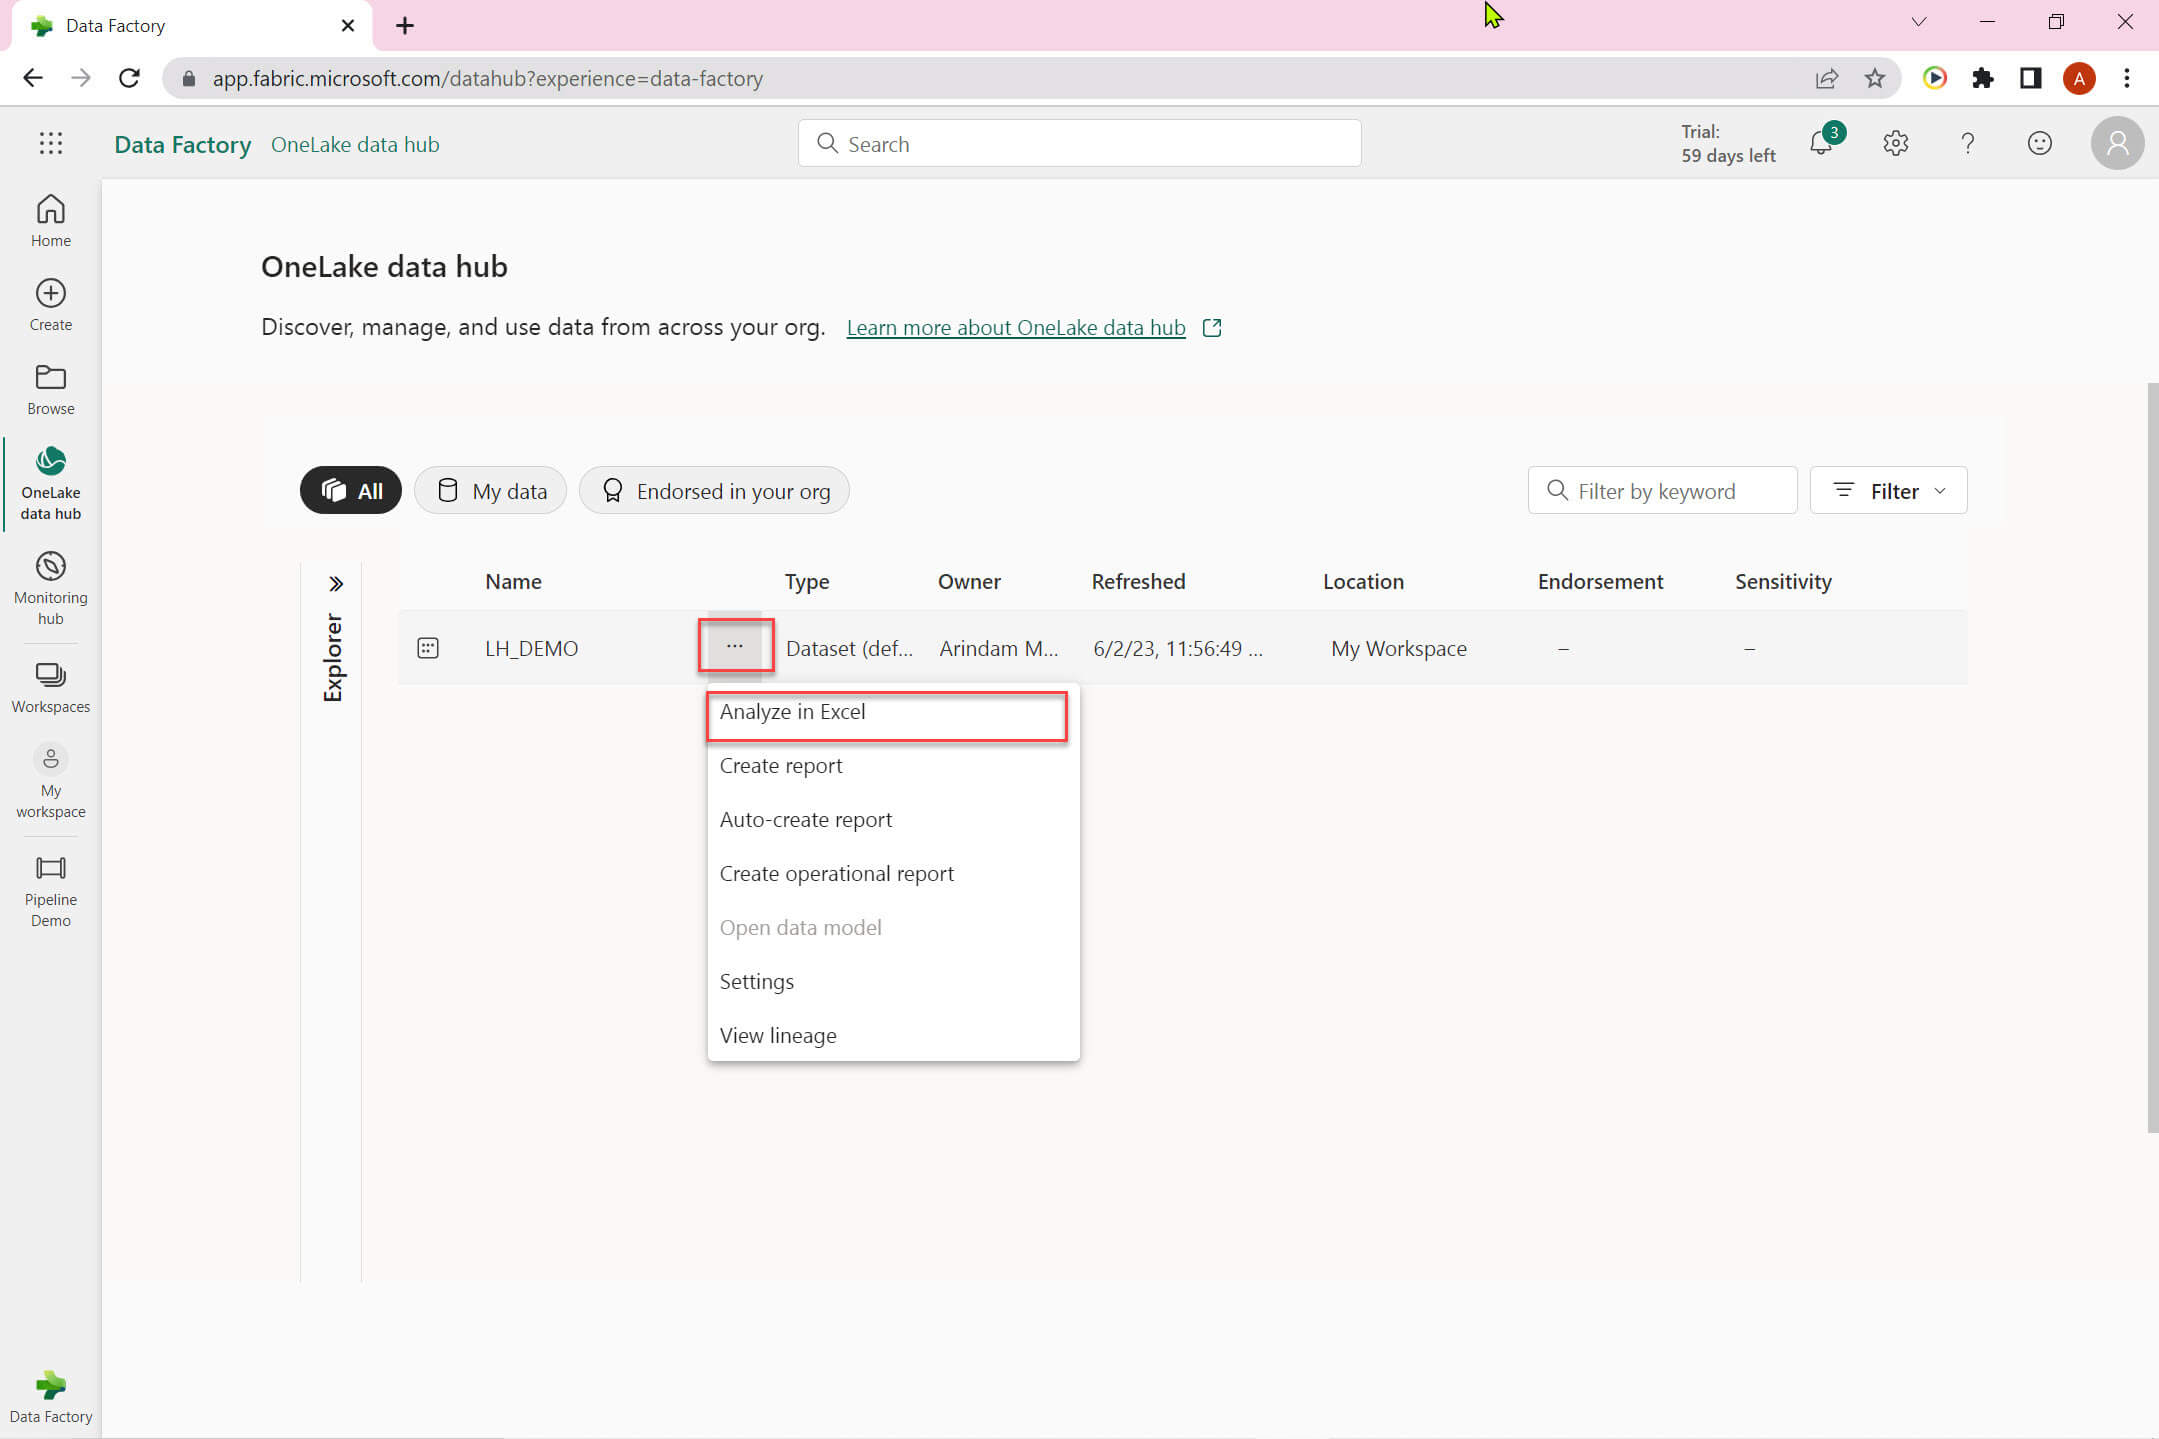
Click on the ellipse icon to analyze data in excel:
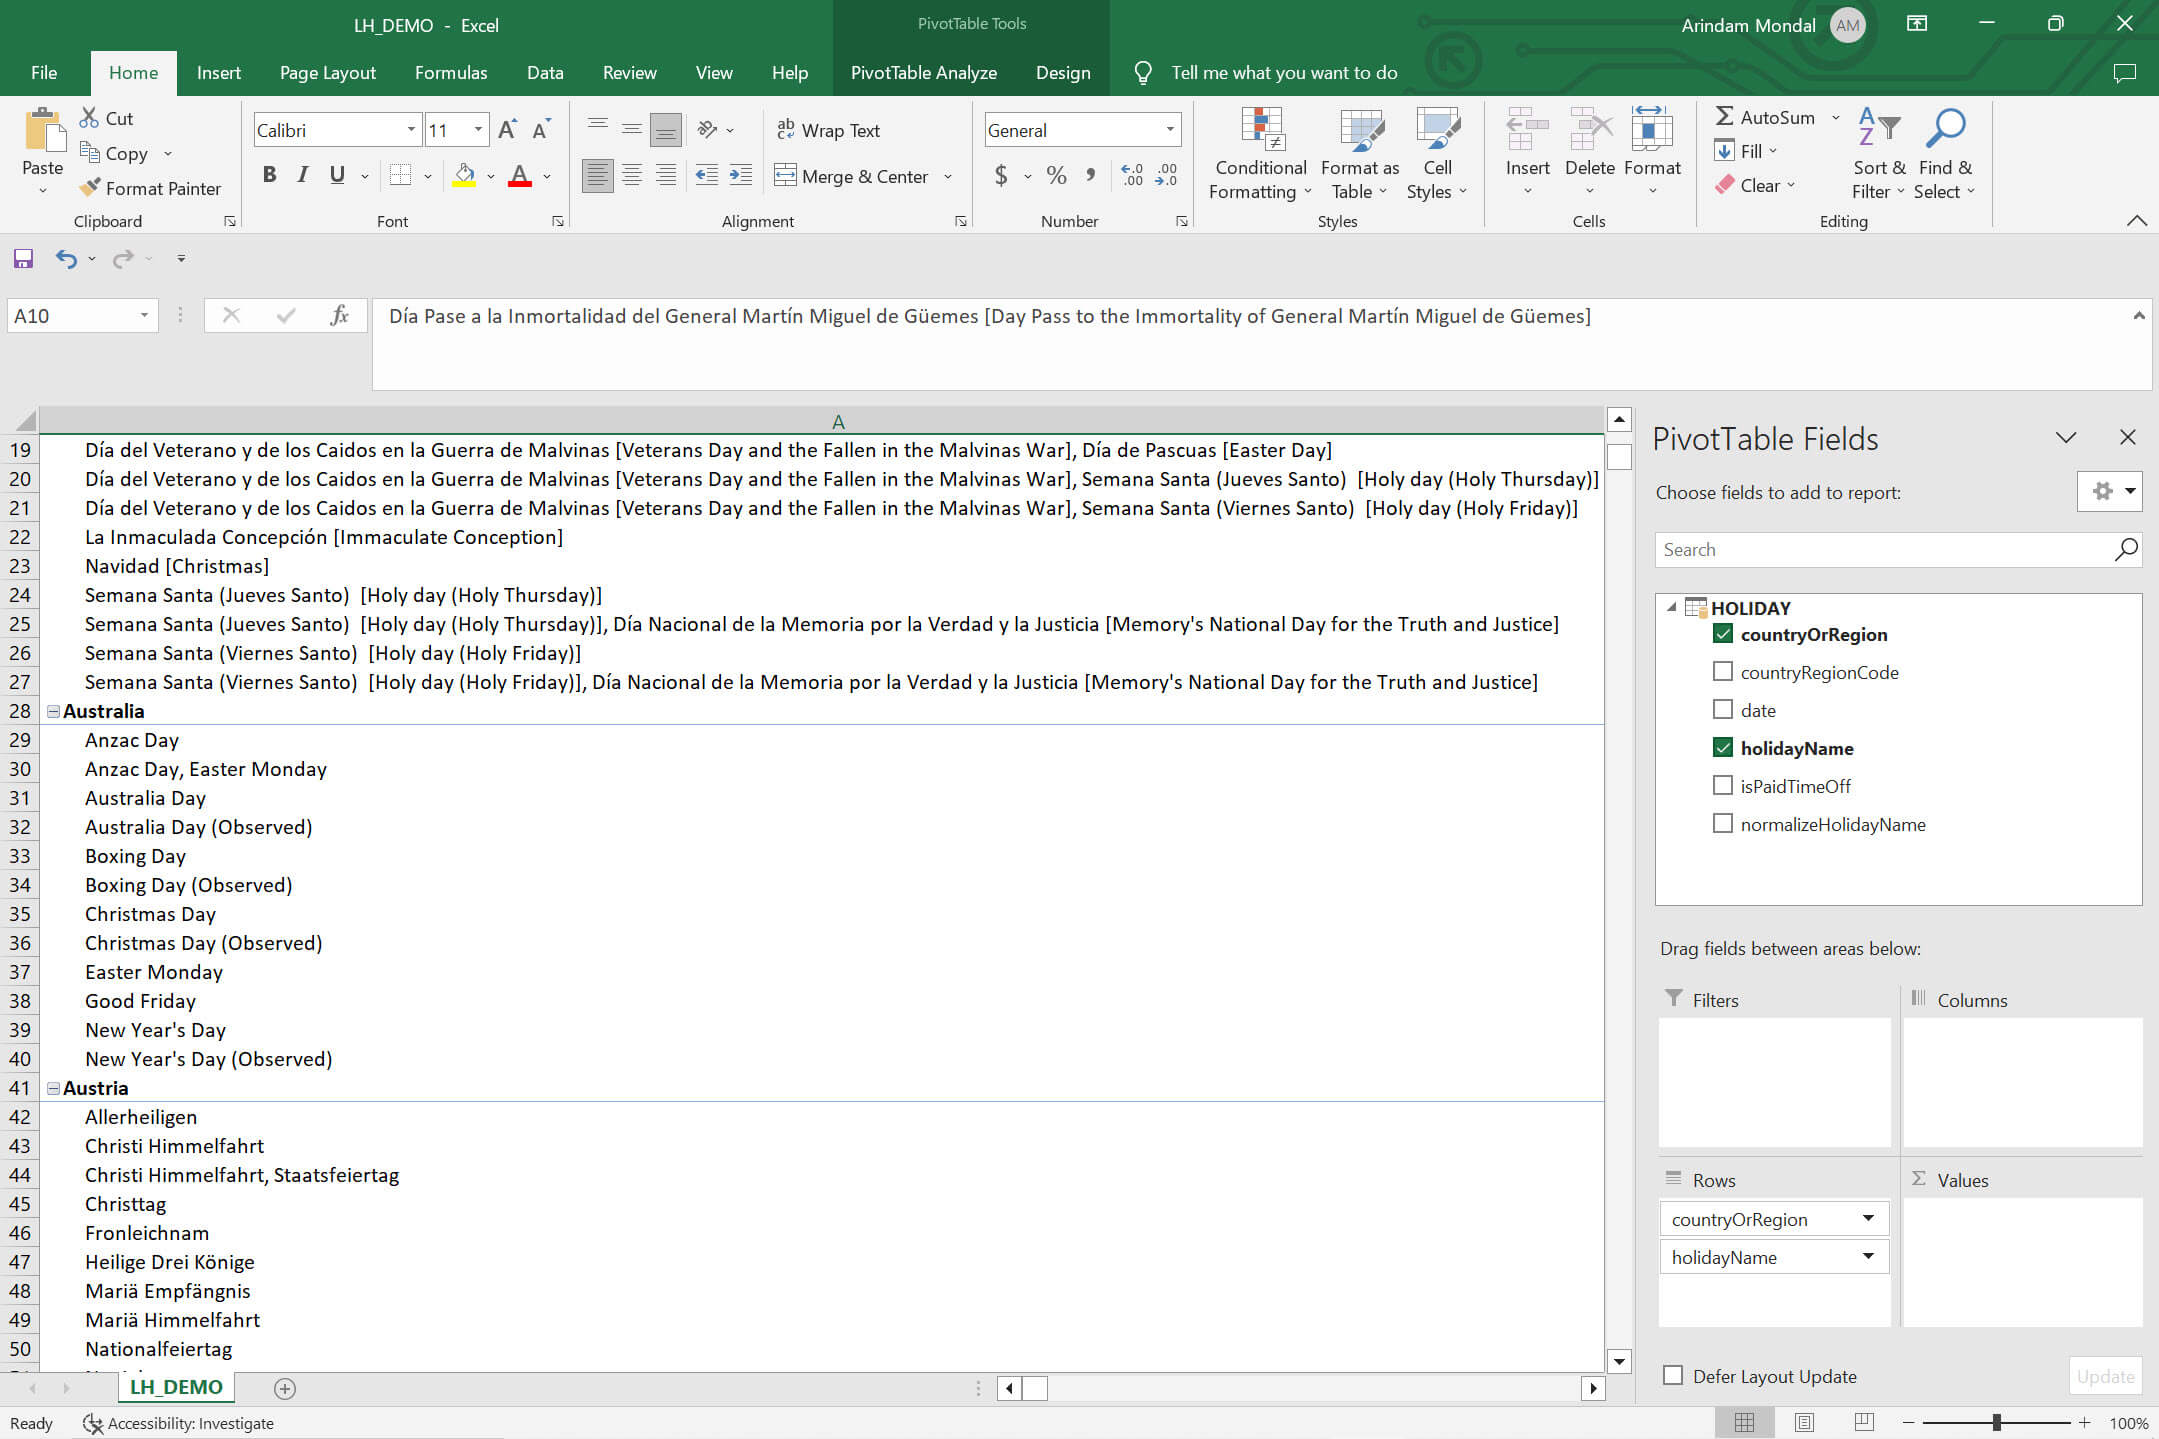
The data will be loaded to the excel:
Conclusion
In this article we learned about creating the first pipeline in Azure fabric. I hope you enjoyed this article . Let me know your feedback in comments.