
There are four components needed for following this stairway series. The development tool is SQL Server Data Tools or SSDT. SSDT is usually installed on a client machine. The SQL Server database engine hosts the relational data. The data from the relational database is imported into the analytical database structure. The analytical database will be hosted on SQL Server Analysis Services or SSAS. The data for this series will come from a free database provided by Microsoft. The database has a Dimensional Model structure with available data plus methods to add more data.
These tools and services can be downloaded for free as a development environment. Please be aware that if the free development setup is used for a production scenario, the user will be in violation of the terms and conditions from Microsoft. This series and suggested setup is only for learning SSAS. These articles will use the 2017 release of the tools and services. If a previous release is used, some functionality might not be available to emulate all examples and some screens may vary. I will make note of some of the differences when there are significant changes from one release to the next.
SQL Server Data Tools
SQL Server Data Tools or SSDT has the Visual Studio templates needed for creating projects in Analysis Services. The installation program for SSDT is separate from the main installation of Visual Studio. The SSDT will install a shell of Visual Studio if Visual Studio has not been previously installed.
SSDT 2017 can deploy to multiple version of SSAS as well as Reporting Services (SSRS) and Integration Services (SSIS). Figure 1 shows the TargetServerVersion for SSIS.
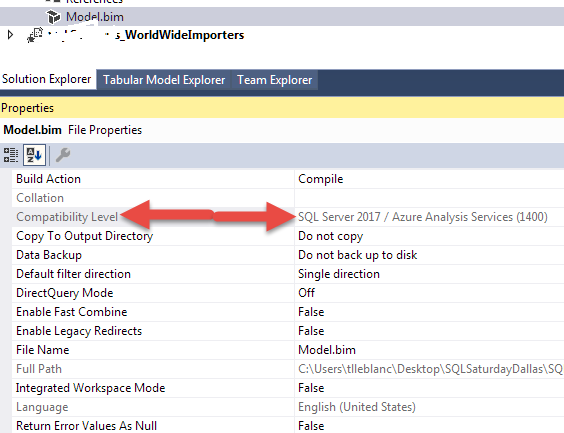
Figure 1 SSAS Compatibility Level
Figure 2 shows the Compatibility Level for SSAS projects.
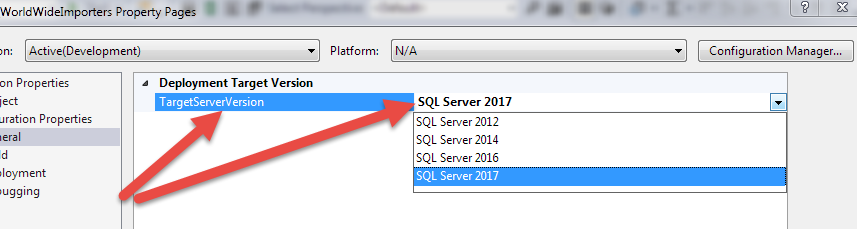
Figure 2 SSIS Deployment Target Version
NOTE: An explanation of installing SQL Server Data Tools appears in this article after the summaries of each component.
SQL Server Database Engine
The database engine usually resides on a server. A local installation is not required. There is a Developer Edition that can be downloaded for free for a local installation. The Express edition is also an option which is free but using the Developer Edition is best for an install on a client machine.
If using the service account for impersonation, the service account running Analysis Services must have permission to access the data on the server. In this case, an Active Directory account is the best option when using different machines for the relational database and SSAS deployments. If both the database engine and Analysis Service services are on the same machine, the accounts generated during installation will work.
SQL Server Analysis Services
The service for SSAS is part of the SQL Server Installation. This service can reside on the same machine as the database engine or on a different server. This series assumes the installation of the developer’s edition is on the client machine. Figure 3 shows the installation screen with the database engine and SSAS selected for the install.
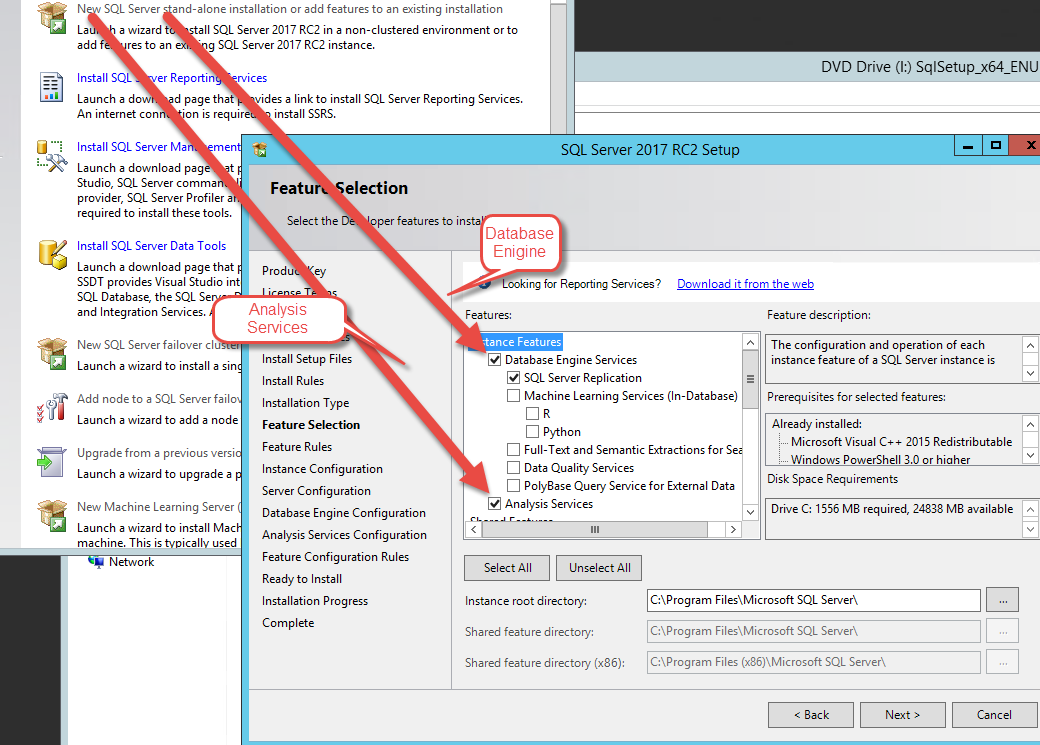
Figure 3 Database Engine and Analysis Services
When the Server Configuration screen appears, like Figure 4, the Service Account needs to be changed to an ActiveDirectory or Windows account as a best practice.
The NT Service\MSOLAP$SSC shown in Figure 4 is generated by the installation program as an administrator of Analysis Services. The SQL Server Database Engine uses account NT Service\MSSQL$SSC. The SSC after the $ sign in these generated account names is the instance name for this installation. If this is a Default instance installation, the database engine account will be NT Service\MSSQLServer and the Analysis Services account will be NT Service\MSSQLServerOLAPService. . Each is added as an admin of the service but does not have permissions to the other service.
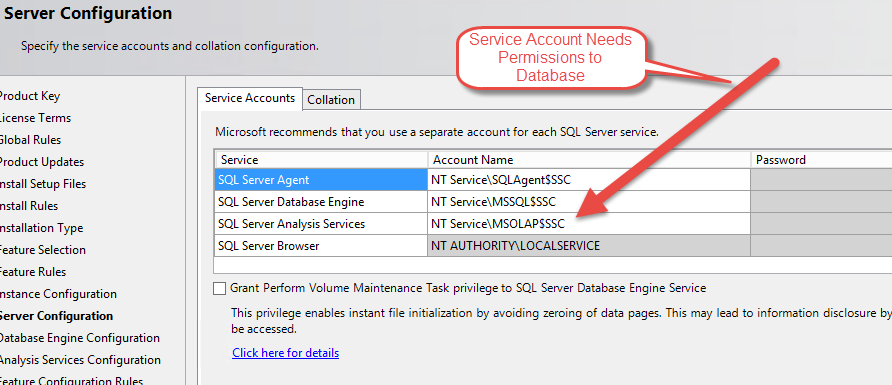
Figure 4 Service Account for Analysis Services
During the installation, be sure to select Tabular Mode when the Analysis Services Configuration screen appears as shown in Figure 5. Add the Current User or someone that can be an administrator of Analysis Services on this screen before clicking next. The user must be an ActiveDirectory or Windows account. Analysis Services does not support SQL logins like the database engine.
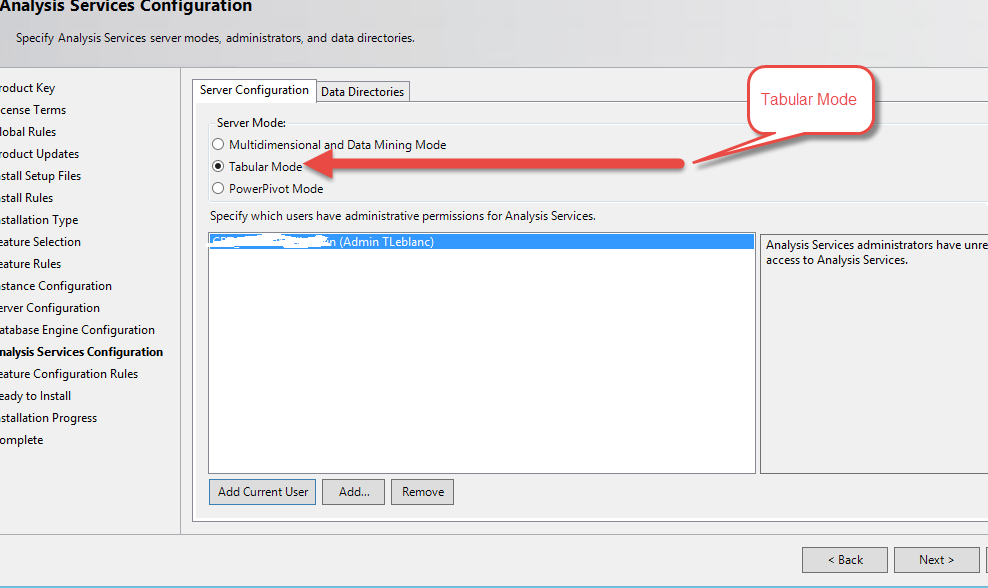
Figure 5 Analysis Services Configuration
Time is being spent describing the service accounts because, to deploy and process data, the deployed project needs access to the source data. This can be the developer’s account, but best practices are to have a separate service account for processing SSAS databases versus the relational database engine service. Usually, IT departments force frequent changing of passwords to create and manage strong security practices. An Analysis Services developer should not try to avoid these standards.
SQL Server Management Studio
Before setting up the source database for this series, SQL Server Management Studio (SSMS) needs to be installed on the client machine. The latest release of SSMS can be found here. Figure 6 shows the download page for SSMS.
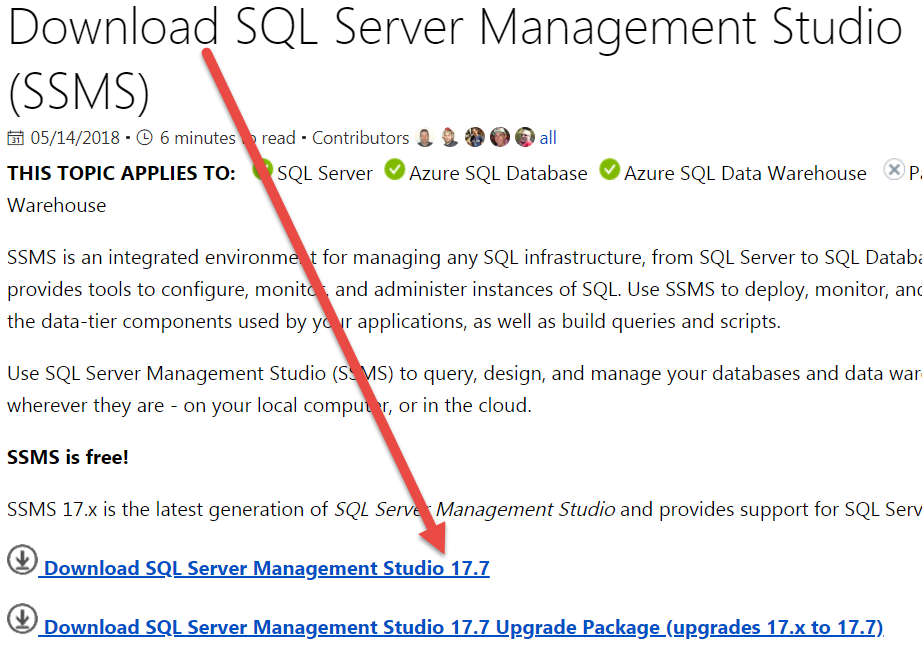
Figure 6 Download SSMS page
This client tool is separate from the main SQL Server installation just like SSDT. SSMS is very good at managing multiple releases of the SQL Server database engine. Once downloaded, right-click on the executable and select Run as Administrator like Figure 7.
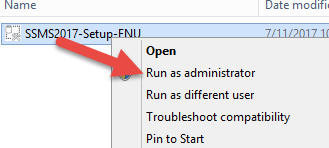
Figure 7 SSMS Installation Run as Administrator
Click the Install button on the Welcome screen and the installation program will do the rest. There will be progress bars to indicate the steps and a Close button when finished.
Source Database
This series will be using the World Wide Importers database. Microsoft has begun to release a new example database that and the ability to add more data through a tool. This is a change from Adventure Works which released new databases with each version with different years of data. You can find more information about World Wide Importers here.
Instructions for installing the World Wide Importers DW database can be found here. This is a simple restore of a database backup. Be sure to download the DW database not the OLTP. The OLTP can be added to the instance but is not used in this series. Figure 8 shows the menu choice in SSMS to restore a database.
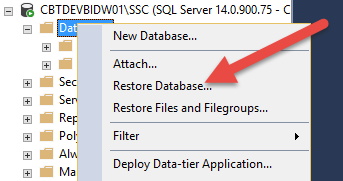
Figure 8 Restore a Database
There is currently no default Analysis Service database to install for World Wide Importers so this series will create an analytical database step by step.
Installing SSDT
The first step to installing SQL Server Data Tools (SSDT) is to download the installation program from the website. Using a search engine, search for “SQL Server Data Tools download” or download from this site.

Figure 9 – Search for SSDT download
Figure 9 above shows the download link. Figure 10 below is a capture of the page for downloading SSDT.
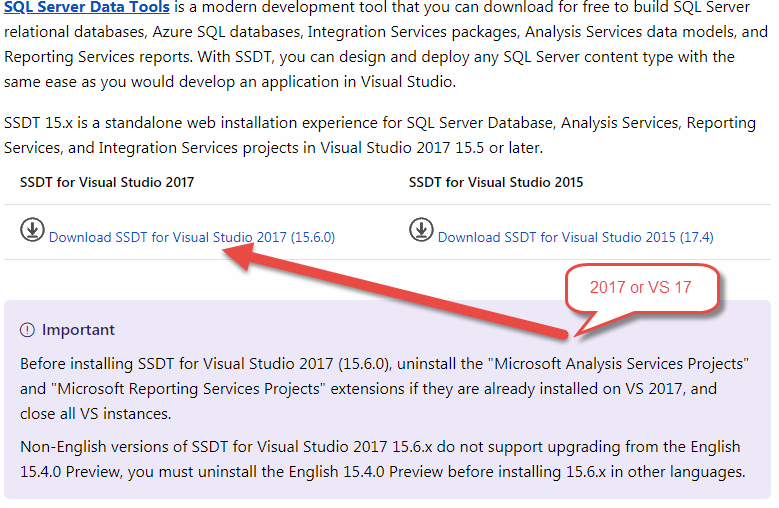
Figure 10 Download latest release of SSDT (15.6.0)
NOTE: This article describes installing the 2017 version because it supports the older version compatibility for SQL Server Analysis Services. If the reader desires to install an older version, that is OK, but some features of Analysis Service tabular are only available in the latest version.
Once the download is complete, right click the icon or exe and select Run as administrator (Figure 11).
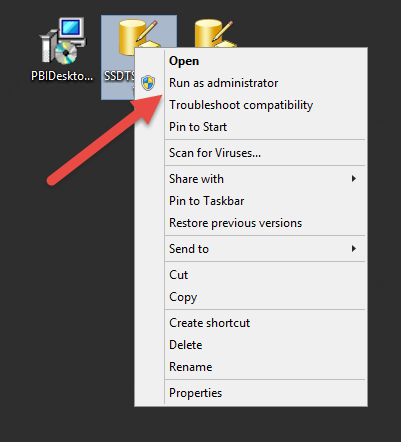
Figure 11 Run as Administrator
If a prompt appears to verify the installation is being run by Administrator, click yes. Figure 12 is the welcome screen. Review License Terms and Privacy Statement, then click next if you agree to the terms.

Figure 12 SSDT Welcome Screen
The install tools screen will verify the Visual Studio 2017 instance to install the templates or a choice might appear to create a new instance for installing SSDT. The instance for Visual Studio 2017 in shows below in Figure 13.
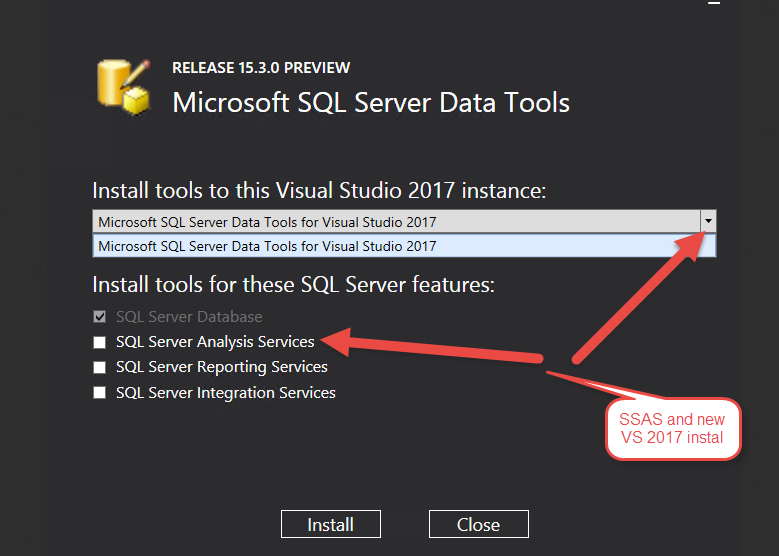
Figure 13 Tool Selection Screen
Be sure to select at least the SQL Server Analysis Services check box before clicking Install. The progress bars (Figure 14) will indicate the percent of Installation Progress. The other options are for Reporting Services (SSRS) and Integration Services (SSIS). All three can be used on the client machine for development.
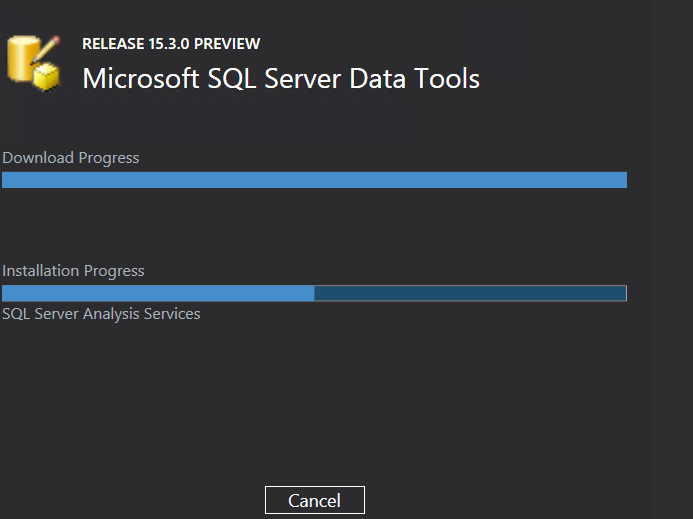
Figure 12 Installation Progress
The Business Intelligence templates are installed in the existing Visual Studio 2017 installations or the install creates a Visual Studio 2017 shell for the templates. There are templates available for projects like Integration Services (SSIS) and Reporting Services (SSRS) as well as Analysis Services (SSAS).
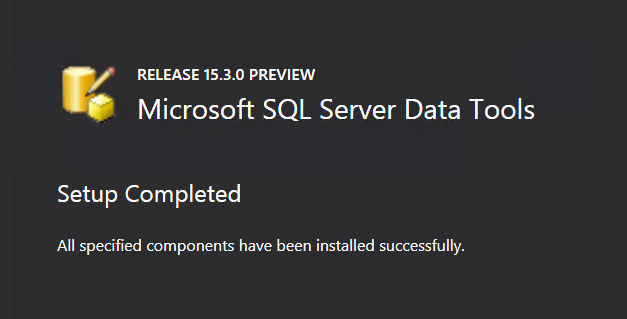
Figure 15 Successful Installation
Verifying SSDT Installation
After the installation is finished, please restart the machine if asked. To verify a successful install of SSDT, open SSDT (Figure 16) from the Windows Start Menu or an icon from the desktop.
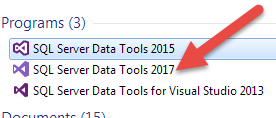
Figure 16 SQL Server Data Tools Menu
Figure 17 is the an open Visual Studio environment. Go to the Files menu choice and select New Project.
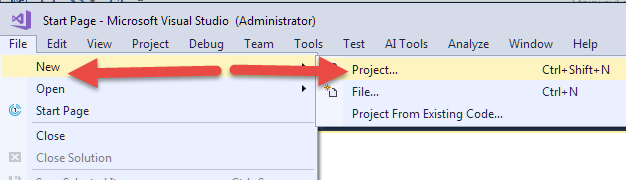
Figure 17 Creating a New Project in SSDT
The New Project screen should have a set of templates for Business Intelligence. Under the Analysis Service selection (Figure 18), the following screen will show five choices – two for Multidimensional and three for Tabular. If these are not present, refer to the website for downloading SSDT to debugging the installation.
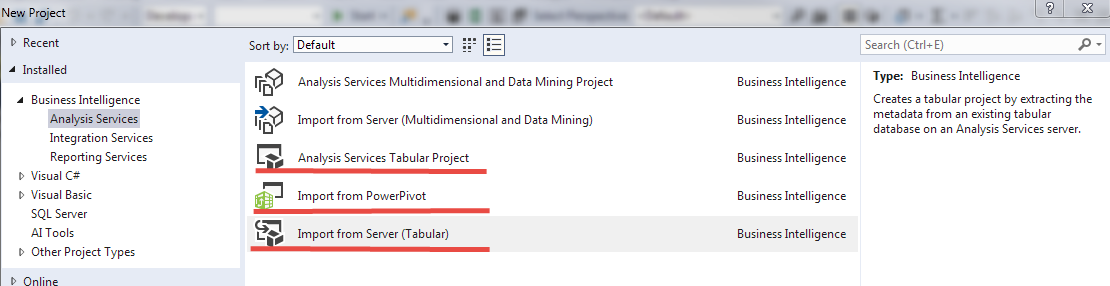
Figure 18 Analysis Services VS Templates
Summary
This article talked about the three product installations needed for following this series. It started with the development tool SSDT. The database engine was mentioned for sourcing the data. Analysis Services is the main service to host an analytical database. The download for the source database was given. The security warnings are for developers to understand about following best practices. Please work with system administrators for the proper guidance used by a company. The next article in this series will use SQL Server Data Tools to create a new project for a Tabular Model as well as import data for the analytical database. Be sure to install the needed components before continuing.