

Introduction
This chapter is the 3rd lesson related to Data Mining and Excel. Please refer to the Part 18 and 19 if you do not know how to install the MS Excel Add-ins for Data Mining.
We will work in this lesson with Estimations, Forecasting models, Association Rules and we will learn how to create data mining models and structures in Excel. Finally, we will explain the Accuracy option in Excel to verify if the Data Mining Model created is a good model or not.
Getting Started
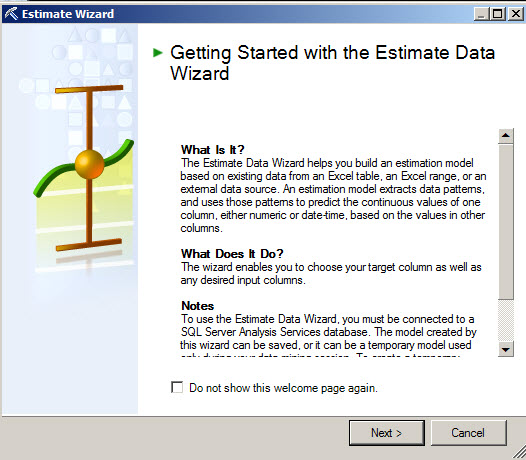
1. The Estimate option find patterns that predicts factors that affect outcomes. It is very similar than the Classify because it groups the information using decision trees, but it classifies using different patterns. In order to start press the Estimate icon.
2. An Estimate Wizard will be displayed. Press next.
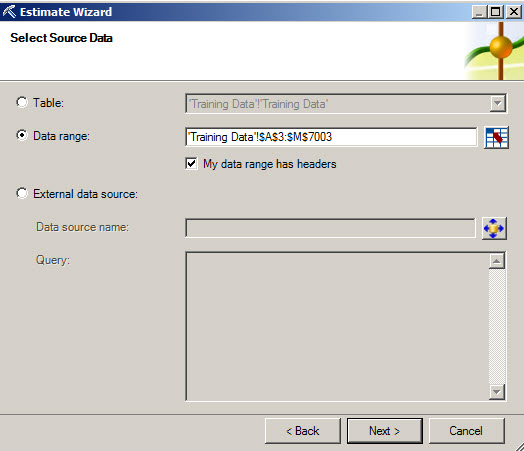
3. If not selected before, select the range of data.
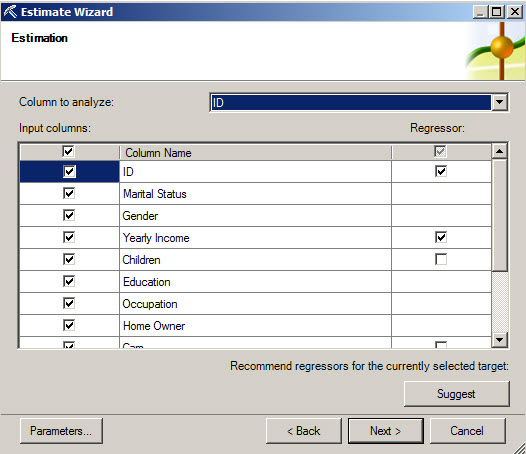
4. In the Column to analyze, select purchase bike. Also, select the rest of the columns as inputs and press next.
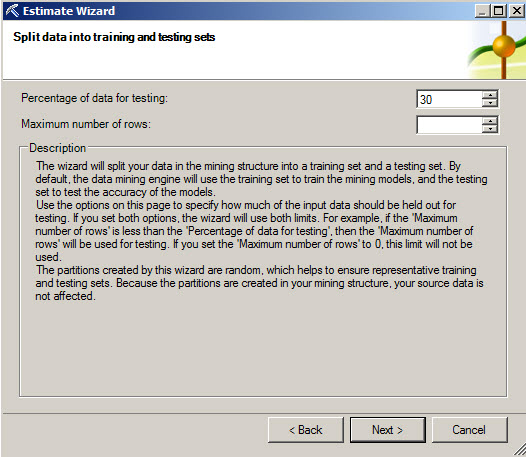
5. In the Split data into training and testing sets leave the default value of 30% and press next.
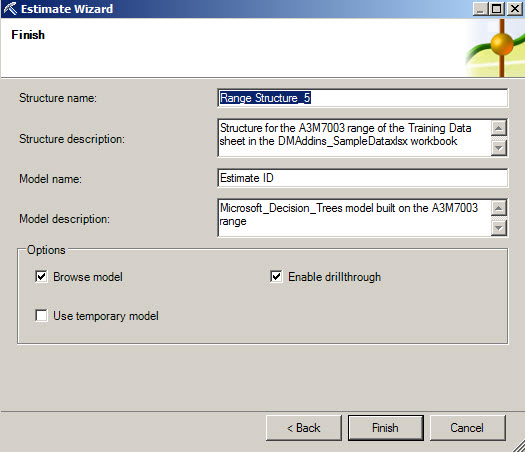
6. Aditionally, you can modify the Structure and Model name and descrition as well as change options for Browse the model, Enable drillthough and Use temporary model options.
7. Now you have decistion trees with the estimations of the model. For more information about decision trees review the chapter 2.

Associaton Rules
Association Rules is a Data Mining algorithm to find relationships between different objects like products. For example, the coke and the ice are related and can be detected by this algorighm. For more information about Association rules, please review the chapter 7.
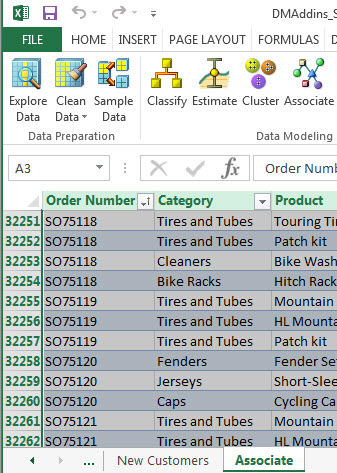
1. In Excel, we are going to use the Association sheet of the Excel sample file and press the Associate icon.
2. The Associate Wizard will be displayed. Press next.

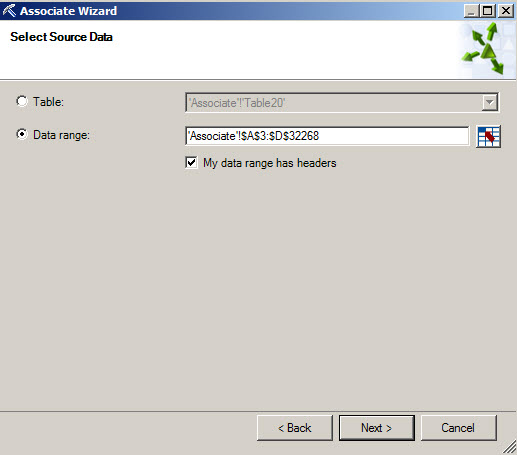
3. If not selected before, select the Data range.
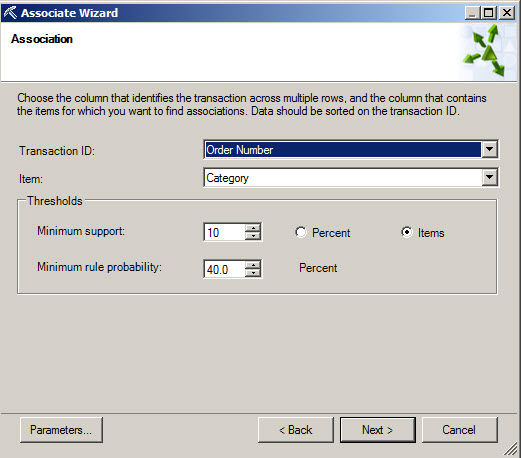
4. You need to select the ID of the orders and the Item. You can also modify the parameters using the parameters button.
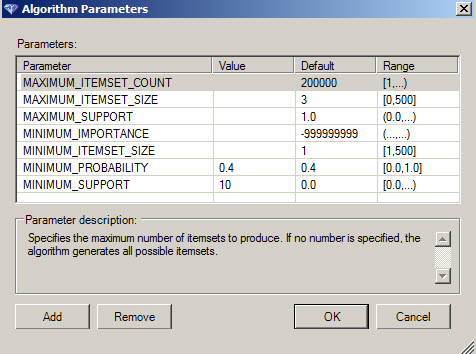
5. For more information about the parameters, refer to this link.
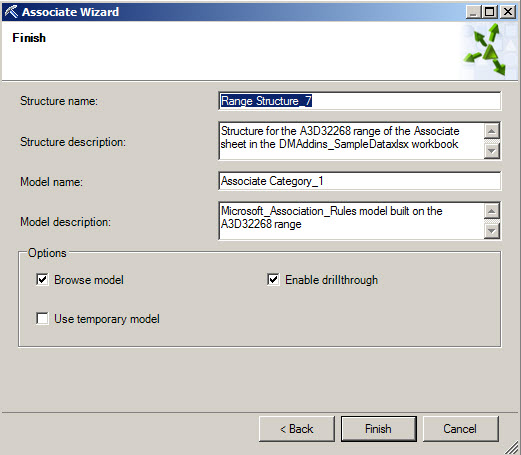
6. Finally, you can edit or modify the Structure and model names and description as well as the options.
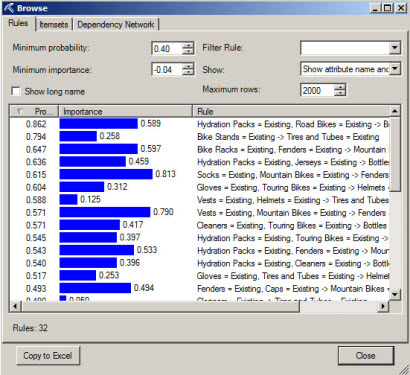
7. If everything is OK, you will be able to see the relationship between different items using this algorithm.
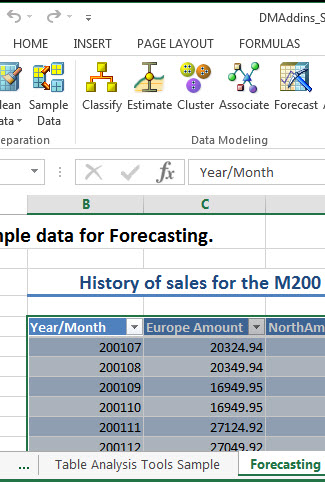
Forecasting
Forecasting is the Time Series Algorithm. It is a great algorithm to predict sales, incomes over the time. For more information about time series, refer to the chapter 6.
1. In the Data Mining file for Excel, go to the Forecasting sheet and press the Forecast icon.
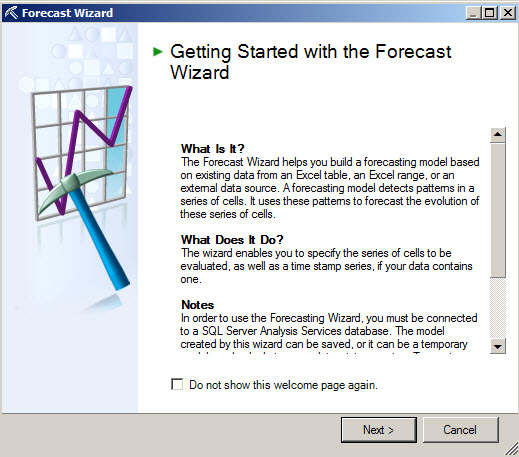
2. In the Forecast Wizard, press next.
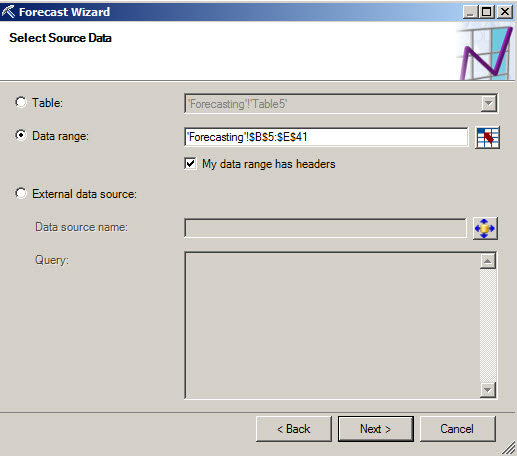
3. If not selected before, select the range of data.
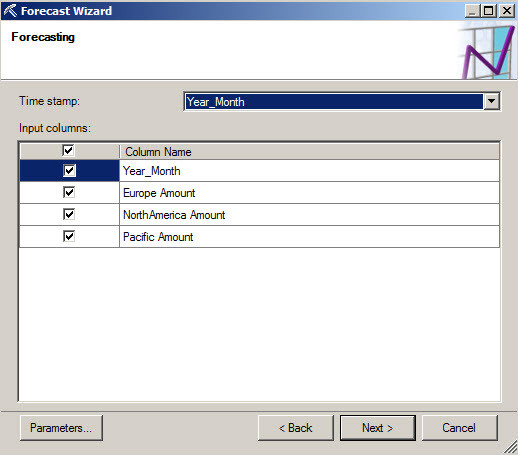
4. In the time stamp, select Year_Month in the Input columns make sure that all the columns are selected and press next.
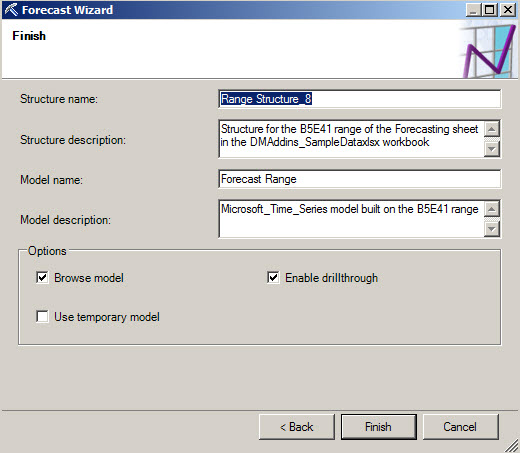
5. You can optionally change the structure and model name and description and press Finish.
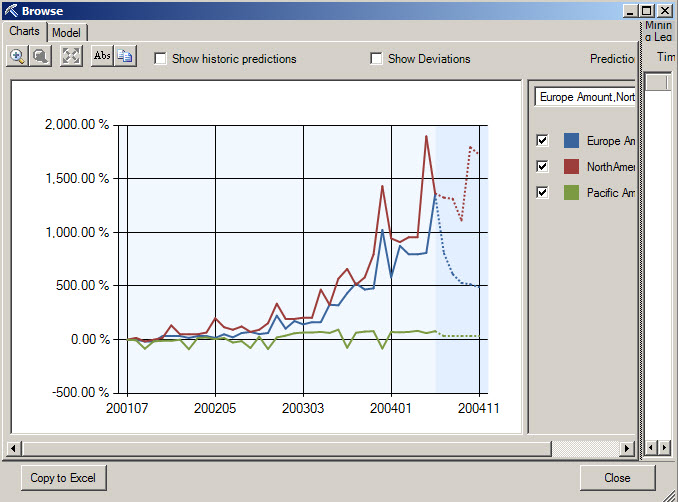
6. As you can see, you now have a chart with the current sales and the predicted sales.
Create a Mining Structure
The next example will show how to create a Mining Structure using MS Excel. The Mining Structure provides the columns and data types. If you are not familiar with Mining Structures, I recommend you to read the chapter 1 of the data mining series.
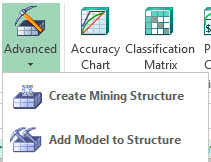
1. In order to start, press the Advanced button and Select the Create Mining Structure option.
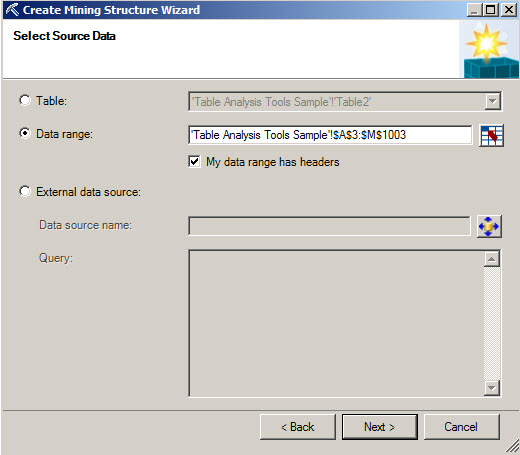
2. If not selected before, select the Data range.
3. Select the Usage of the columns. For more information about Key, Key time, refer to this link.

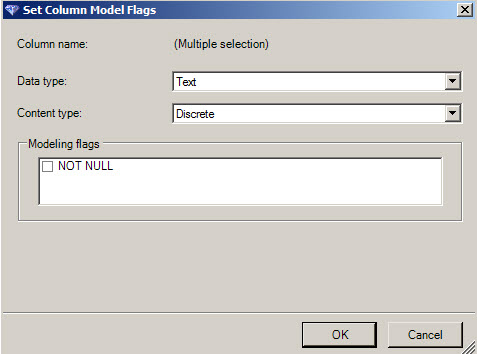
4. When you press the ellipsis button, you have option to change the Data Type and Content Type. For more information about Data Types and Content types, refer this link
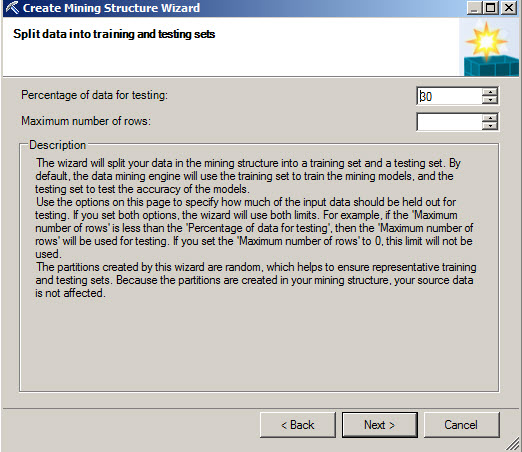
5. You can specify the % of data to test the model or specify the number of rows.
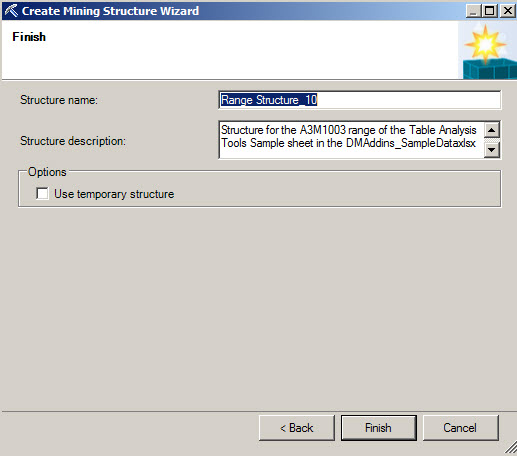
6. Finally, you can specify the name and description.
Create a Model Structure with MS Excel
To add a Model to the Structure in MS Excel we will use the structure created before. You can add different Models like a decision tree model, a cluster model, a Naive Model, etc.
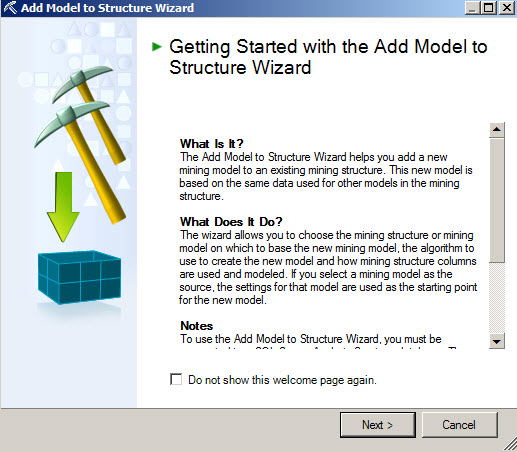
1. In order to start, go to the Advanced Icon and select Add Model to Structure.

2. The Add Model to structure Wizard will be displayed. Press next.
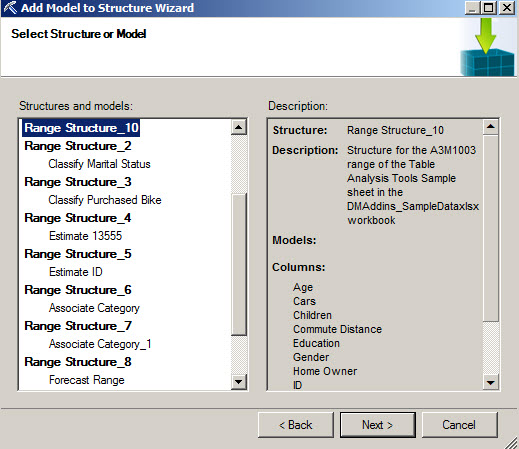
3. Select a Structure. In this case, the structure created in the Structure example.
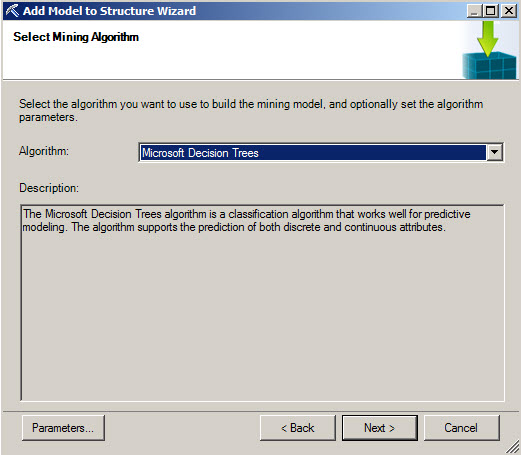
4. Select an algorithm and select the Microsoft Decision Trees.
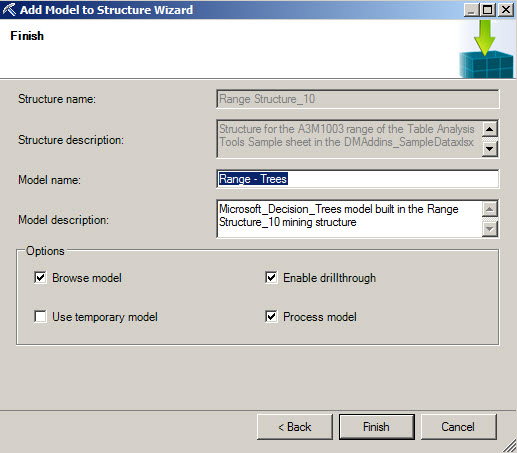
5. In the Finish Window press Finish.
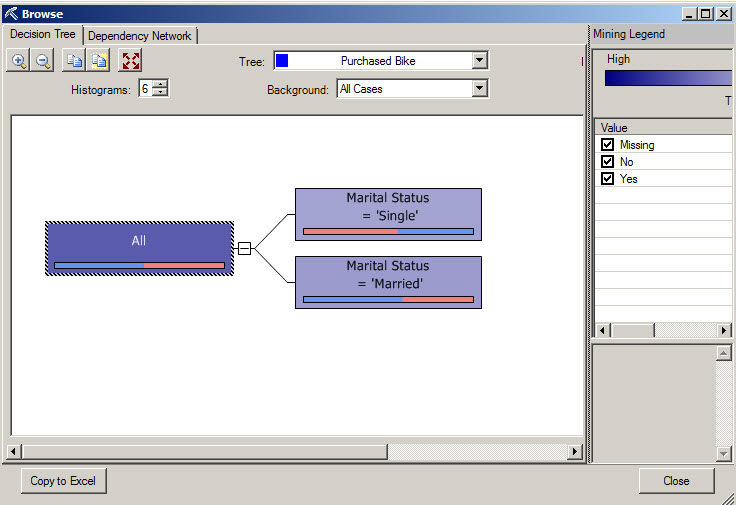
6. You will have the Mining Structure ready.
7. In order to add a cluster model repeat the steps 1 to 6, but in the step 4 select the Microsoft Cluster instead of the Microsoft Decision Tree.
Accuracy
This is one of the most important options. This option lets you verify how accurate is your model compared to the real life. This option uses the testing data to verify and test if the values obtained by the model are correct. It compares the results of the model with real results. If the values match, the value is more accurate.
1. In order to test the accuracy we are going to use the Mining Structure with the 2 models created before.
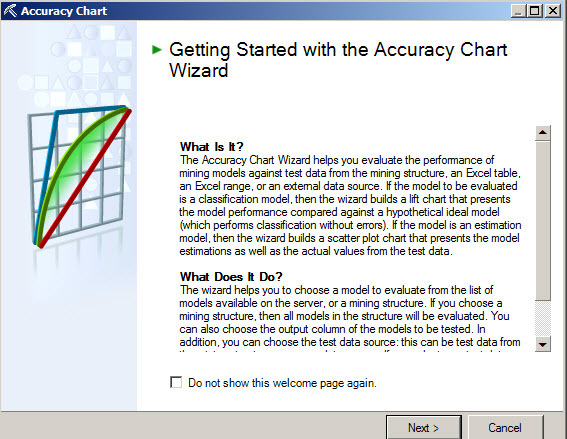
2. In the Accuracy Chart wizard, press next.
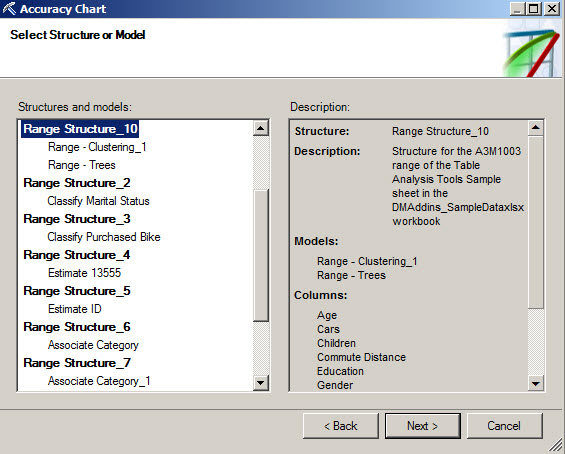
3. Select the Mining Structure and press next.
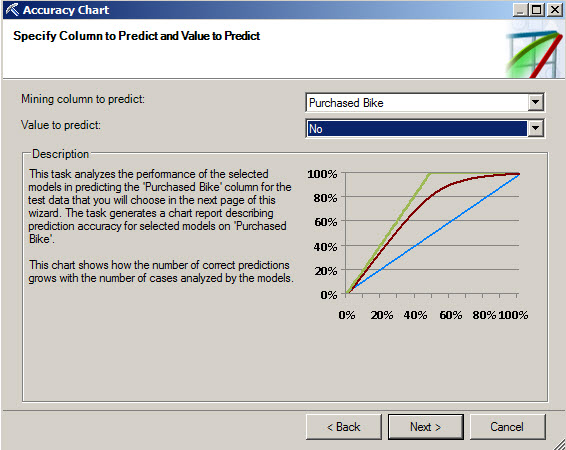
4. Make sure that the column to predict is the purchased bike and the value to predict should be no.
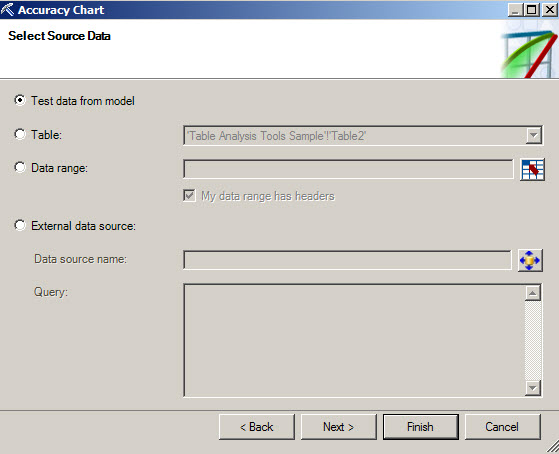
5. Make sure that the Test data from model is selected and press next.
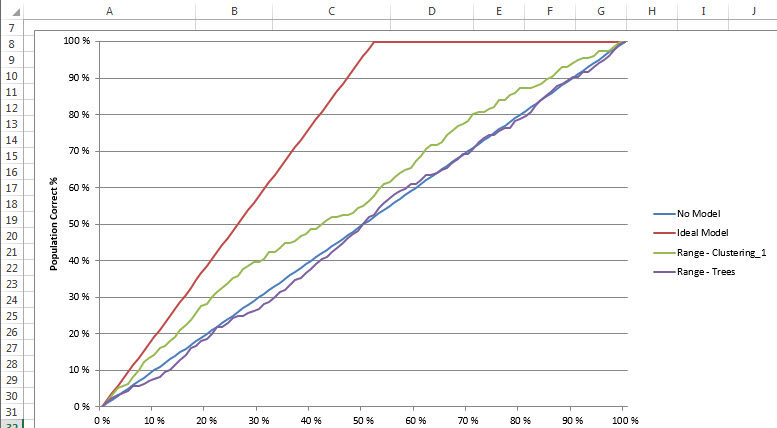
6. Now you have the accuracy chart. The ideal model is the red one. The decision trees is the blue line and the cluster model is green. As you can see, the cluster line is closer to the the ideal model. This means that the cluster model is a better model. You can compare several models with the accuracy chart and see which one is better with this option.
Conclusion
In this lesson, you learned how to work with linear regression, Association rules. We also learned the estimate option and how to create structures and models using MS Excel. Finally, we learned how to verify the accuracy of the model.
References