

Introduction
If you are responsible for granting PowerBI Service workspace access within your organisation, then you’ll likely be aware that you can simply grant this access via app.powerbi.com. However, this can become repetitive if you are asked to maintain this regularly and time-consuming if you need to apply this to multiple users at once. By utilizing PowerShell, you are able to grant Power BI workspace access quickly and efficiently via some simple scripting.
Set up steps
Open PowerShell with administrative rights.
If you have not already done so, you will be required to install the PowerBI cmdlet. This only needs to be done once per machine but it allows PowerShell to interact with PowerBI. In PowerShell, run:
Install-Module -Name MicrosoftPowerBIMgmt
You may be asked if you trust the installation repository (PSGallery). To proceed, choose Yes. The installation should only take a few moments to complete. When complete, we can go ahead and connect to the Power BI Service. To do that, run this command:
Connect-PowerBIServiceAccount
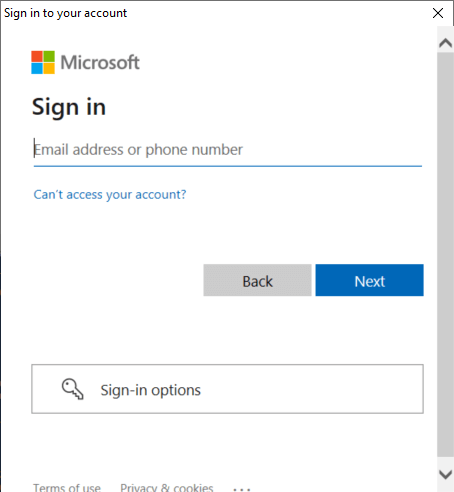
You will be asked to sign in to your account using your Power BI Service credentials.
If your login has been successful, you should get the following results:
![]()
We now need to obtain your Workspace ID. There are various ways to obtain this.
Option 1 to get the Workspace ID
Using your preferred web browser, log in to app.powerbi.com, then simply open your chosen Workspace. The Workspace Id can be obtained from the URL in your browser. It is in the following format: app.powerbi.com/groups/workspaceid/
![]()
Option 2 to get the Workspace ID
Whilst in PowerShell, run:
Get-PowerBIWorkspace
All Workspaces which you have access to will be presented with their details. Simply copy the Id field alongside your chosen Workspace. We will use this Id in the following steps.
Granting access to one individual
You can quickly grant access to a single individual by running the below script:
Add-PowerBIWorkspaceUser
-Scope Individual
-Id enter the Workspace ID you obtained in the previous step
-UserEmailAddress enter email address
-AccessRight Viewer
You can amend the AccessRight parameter according to your needs. Other options available are Member, Admin, Contributor and Viewer. For a full breakdown of what these roles include, see the Microsoft documentation here.
Granting access to multiple users
It is also possible to grant access to a larger group of users in one execution. To do this, you should set up a simple .txt file which contains the required users, the workspace id and user rights. Create a .txt file in an appropriate location and give it a suitable name e.g. PBI_Access_test.txt.
We’ll give the file 3 pieces of information; WorkspaceID, UserEmail and UserRights (these will be used as headers in the file). Separate each by a comma and enter as below:

You can now reference this text file in a PowerShell script by running:
$Data=Import-Csv -Path "C:\Folder\PBI_Access_test.txt " -Delimiter ","
foreach ($dat in $Data)
 {
  Add-PowerBIWorkspaceUser -Scope Individual -Id $dat.WorkspaceID -UserEmailAddress $dat.UserEmail - AccessRight $dat.UserRights
 }
If you are presented with any error messages, I would first check that the user doesn’t already have access. It’s also worth checking that the email addresses have been entered correctly.
When finished, run:
Disconnect-PowerBIServiceAccount
Conclusion
Here we have demonstrated an alternate method to granting access to a PowerBI Service Workspace. By managing your user list in a simple text file, you should now be able to apply various levels of permissions to multiple users in one quick PowerShell script.


