

In my last article, I wrote about the SQL Memorial structure for publishing information on the Internet for others to view. I had chosen Jekyll as a way of taking information in files and publishing it as a good looking website. However, I don't want to manually run Jekyll and copy the results to a location, so I spent a few hours working through how to get the site to automatically deploy itself. I write and talk a lot about DevOps, so I decided to implement that for this project.
The last article explained how I got started. This one will start to move forward and introduce automation from my repository to the final website. This covers some of how I got the website up and running as well.
Setting up a Website
In the last article, I had a local Jekyll website up and running on my machine. I had also purchased sqlmemorial.org. Now that I had a domain, I needed a website. I've built a few websites in the past, but I'm not a website developer. I can get things working, and I understand how HTML works, but my design skills are mostly limited to about what Adam Machanic did with sp_whoisactive.
Actually, I'm a bit better, because I setup and run the current incarnation of tsqltuesday.com. In that case, I used a WordPress template, which I could have done here, but I wanted to allow anyone else to contribute. Hence, I set up a repository where the code is stored.
I'd heard about static websites from a friend, and I experimented with a basic one to store some SQL Saturday data. It's not pretty, at https://dataplatformdaysstorage.z22.web.core.windows.net/, but it works. Again, not a lot of design skills here.
In any case, I decided to use an Azure Storage Static Website. This essentially points a web server at static content in an Azure storage account. It's easy, and it's super efficient and scalable if you don't need dynamic content. In this case, I don't. It's also easy, and I'll show you the short version of making this work.
First, create a storage account in the Azure Portal. This needs to be Gen 2 storage. Actually, first create a Resource Group, then put the storage account in here. As you can see, I created a sqlmemorial resource group. In here I put the StorageV2 resource.

Once this is created, there are a number of options, but the one we want is the Static Website item. You can see this below. If I enable this, I get an endpoint for serving web pages. I can set the default and 404 pages. I set those to the ones that will output from Jekyll.
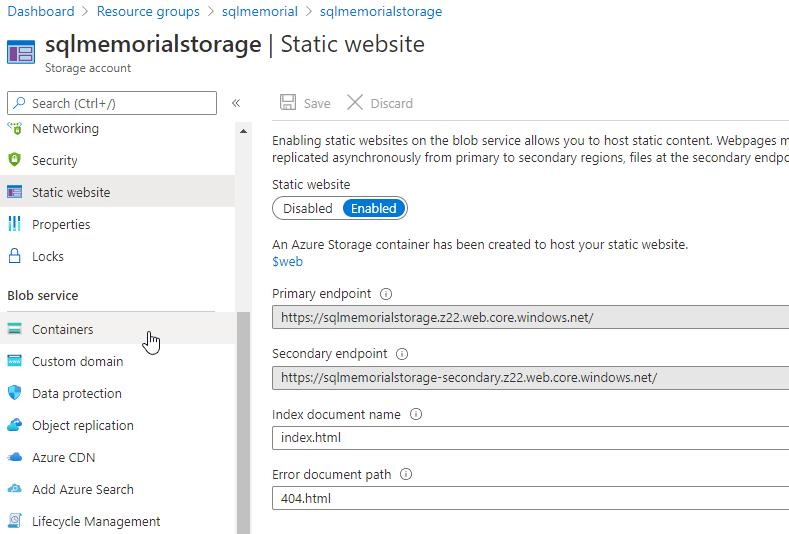
The endpoint shown above is the one that will work, as this is where the site exists. I'll use DNS to route sqlmemorial.org over here, but this works.
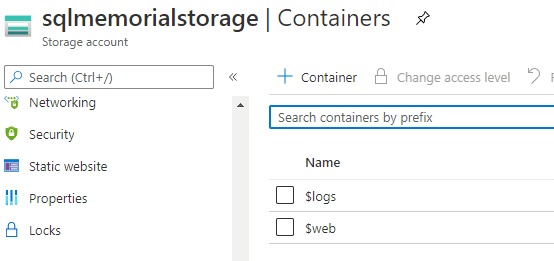
Once I do this, there is a $web container added to my storage account. This is the root of my website, and this is where I need to upload content.
I uploaded a generic index.html page with Hello, World html in it to test things. With this working, I now need to get my Jekyll content deployed.
Automating a Build
The general flow for taking code and putting it into production is this:
- developer writes code and commits to VCS
- an automated process builds the code and ensure it works
- an automated process takes the working code and deploys to production
This is what I want working. The last article looked at the first part. Here, I want to build my site with Jekyll in an automated fashion. I'm going to use Azure DevOps because it's familiar to me, it's in the cloud, and I can drive this from my repository. This also means someone else can easily take this on if something happens to me.
I'll use a pipeline in Azure DevOps, but I'll drive the pipeline file from GitHub. I'll walk through a little of what I did, but the short answer is that I wanted to duplicate the process I used on my local machine, but in the cloud.
Building a Pipeline
I looked at numerous ways that others had built their Jekyll sites with Azure DevOps, most of which involved the complex installation process. The hosted agents in Azure DevOps don't have everything for Jekyll, so some customization is needed.
They also expect some things, like the gemlock file, to be in the repo. I was using a container, so I didn't have this in my repo.
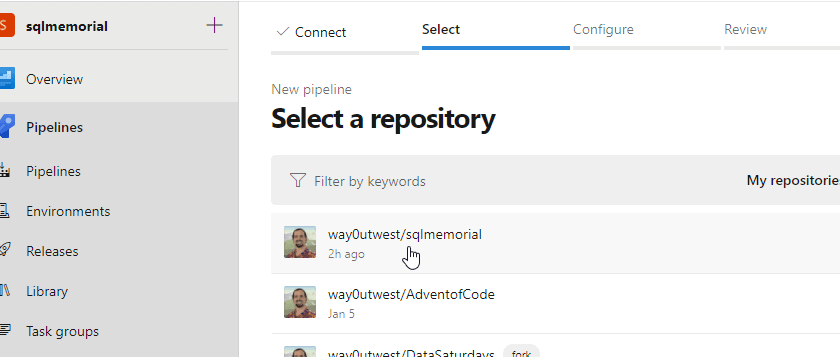
Not a big problem, but I decided that I'd rather repeat this process. Therefore, my pipeline was simpler. First, I created a new pipeline (the button on the right).
Next I configure my repo location.
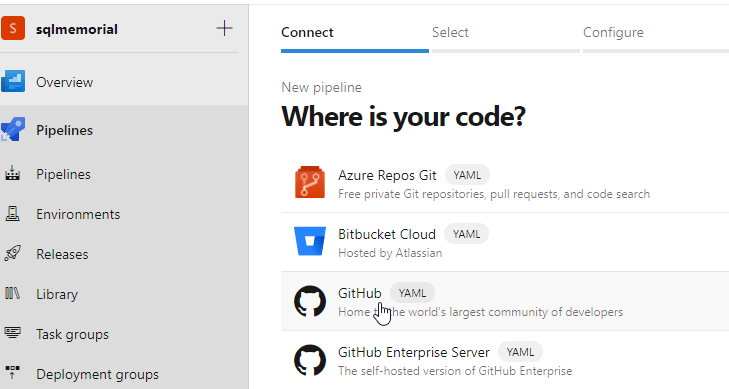
I had to authenticate to GitHub, but once I'd done that, I see my repos. I selected the one I wanted.
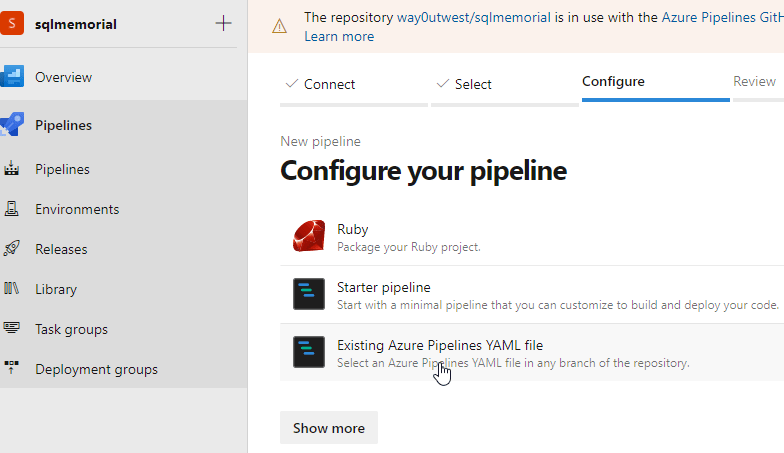
Now I need to configure the pipeline. I tend to use the GUI editor in Azure DevOps, but the help I got from a few searches showed me how to write a YAML file, so I selected the YAML option.
This brings me up a place to pick the file. I wanted this to build from the main branch, and I entered a filename. I can always name my file to match this value.
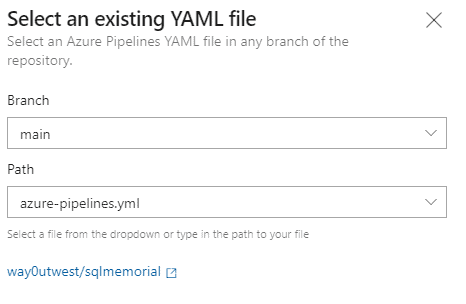
Now I have a pipeline. The next step is setting up the actual config in the YAML file.
The YAML File
There is a reference schema for how the YAML file needs to configure a pipeline, but this is useful if you have a working pipeline and want to modify it. Building from scratch is hard. Do what I did: borrow from someone.
I saw some blogs (like this one), that explained how to configure a process with Jekyll, but those didn't work well, and they were complex. I didn't want a process so complex that if I came back to it, I'd have a two hour re-learning process. Then I ran into someone with a pattern using docker. I liked this because it duplicates what I am doing locally.
My YAML file is in the repo, and if I look at the pipeline, I can essentially edit it online there. However, I had to dig into what's there, so let me deconstruct this slightly.
First, I need to set up the continuous integration trigger and pick an agent. Since it's a container, I don't need to worry about platform, and I find the Linux images seem to start faster. This part of the YAML sets this up.
trigger:
- main

pool:
  vmImage: 'ubuntu-16.04'
Next I need to put the steps that I will use for the build. The steps are like SQL Agent, and are followed in order. I'm going to just have one step, but I'll have two tasks, which are these:
- run Docker
- publish the outputs
To run a Docker container, I have some config. I pick that task (Docker@0), give it a name, action, image, and then map some folders. I map these since I need the storage to exist in the agent after the container stops. The command I pass into the container is the "jekyll build --future". The future allows me to publish future posts. Not applicable here, or I hope not.
steps:
- task: Docker@0
  displayName: 'Run jekyll'
  inputs:
    containerRegistryType: 'Container Registry'
    action: 'Run an image'
    imageName: 'jekyll/builder:3.8'
    volumes: |
      $(build.SourcesDirectory)/sqlmemorial:/srv/jekyll
      $(build.binariesDirectory):/srv/jekyll/_site
    containerCommand: 'jekyll build --future'
    detached: false
This is essentially what I do locally, with different folder mappings. When this completes, I'll have the _site folder in the $(build.binariesDirectory). This is a variable the agent has available. I don't really care if this is /usr/xx or /var/opt/agent/x, I just have a variable to use.
I'll now add one more task that uses this variable. This task publishes my artifact, essentially copying it off the agent into Azure DevOps so the release can use it. I choose the task, give it the path and then a location to publish back.
 task: PublishBuildArtifacts@1
  inputs:
    artifactName: 'drop'
    pathtoPublish: '$(build.binariesDirectory)'
    publishLocation: 'Container'
Note: the YAML above is indented in the steps: section of the whole file.
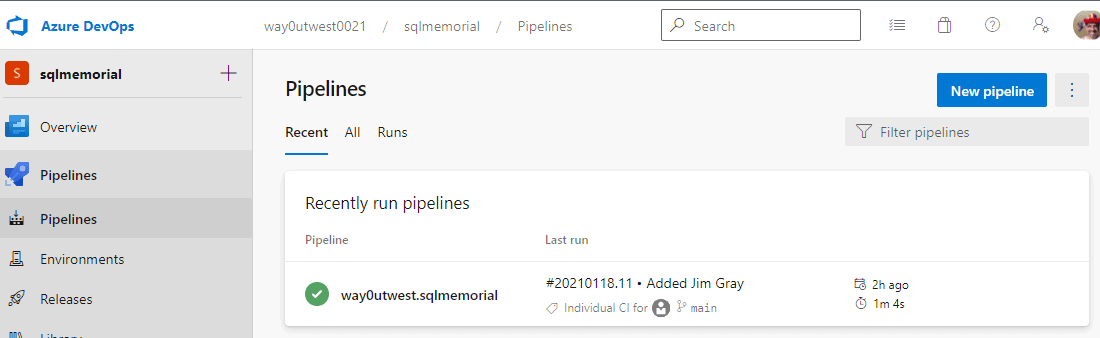
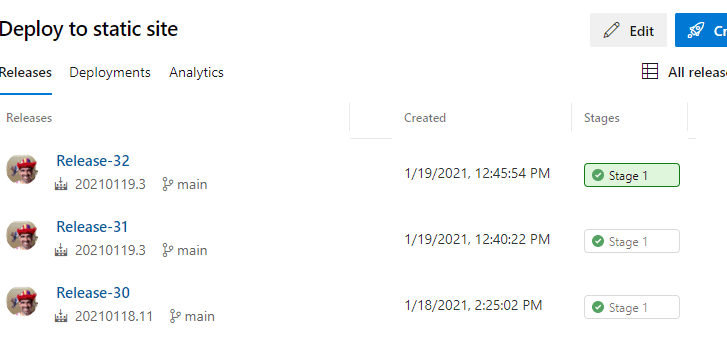
That's it. If I now upload my Jekyll structure to the repo and make a commit in "main", this will run. As you can see, I've been doing quite a few commits.
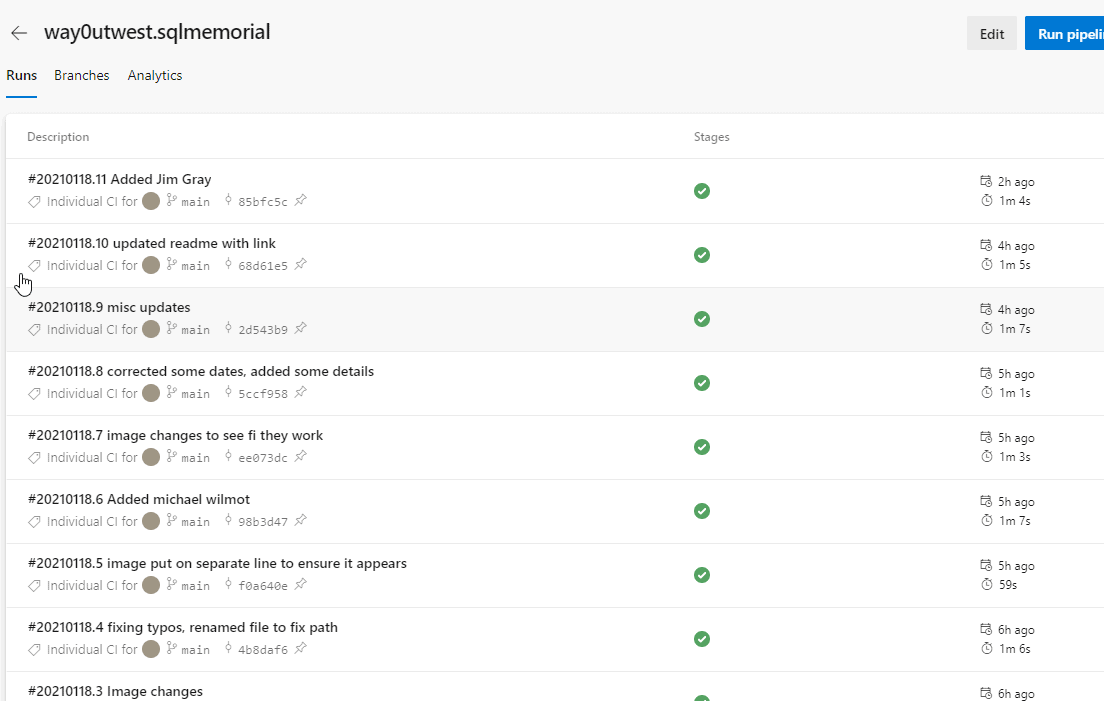
This allows me to upload changes and get them built into a site. Now I need a release process to get them to the website in Azure Storage.
Releasing the Code
In Azure DevOps, releases are handled with "Releases". This is an area under pipelines, which take the artifact from a build pipeline and use it to update other systems.
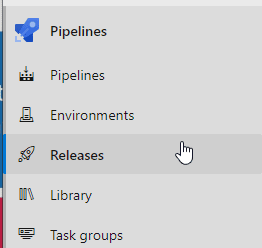
There is a "New" button here, and when I click it I see a number of pre-built releases. Most of these are common, and they include the steps you need to get this item deployed.
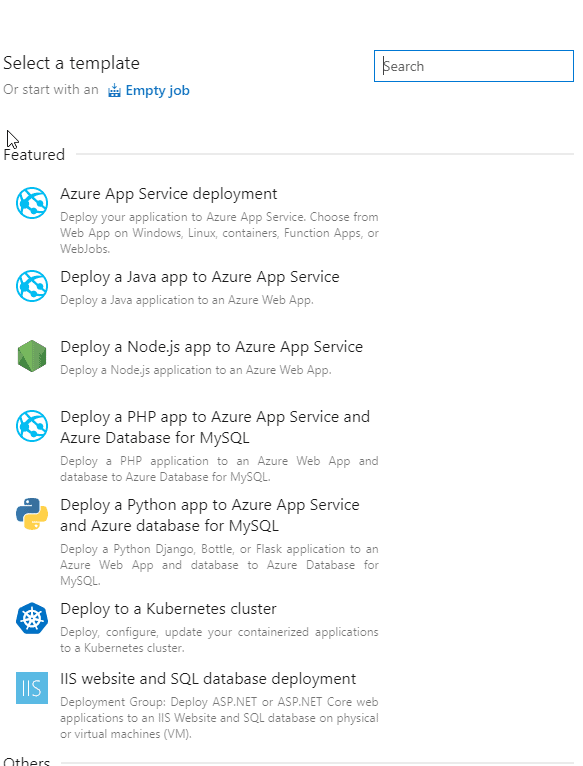
I don't need these, and in fact, they don't have what I want.
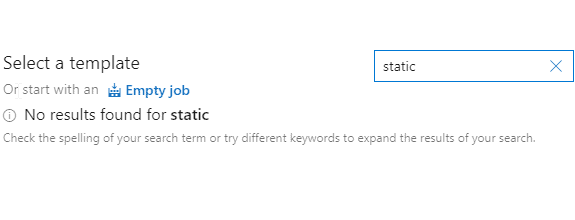
That's fine, I'll create an empty job. This gives me an empty pipeline with a stage to add.

The stage is essentially my release. I'm going to name it "Release to Static Site". This will update the stage. I'll also rename the "New release pipeline" at the top to make more sense.
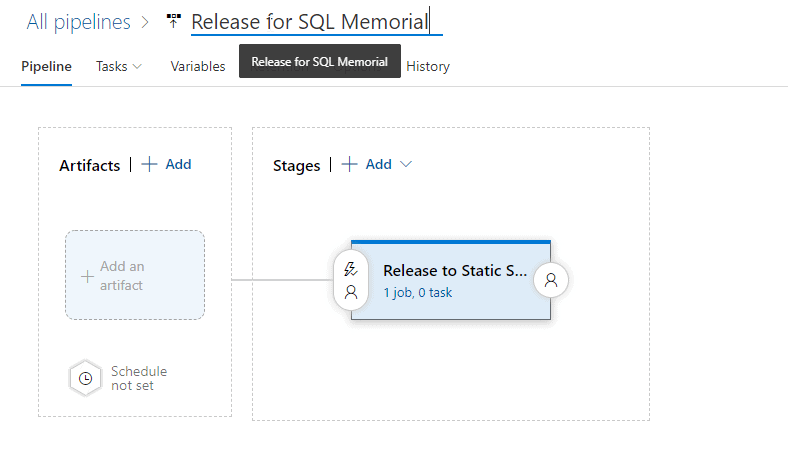
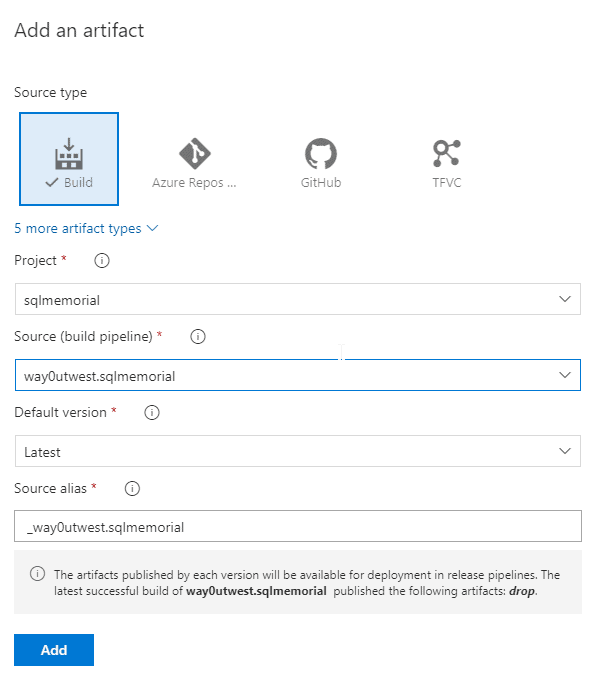
I need to link the build to this release, and I do that with an artifact. The publication of the code from the build makes this available. I'll click the "Add" link (above left) to add an artifact. When I do that. I get a blade that opens on the right. In here, I have choices of artifacts. For me, I'm choosing a build artifact, and then picking one from my build pipeline.
I had previously named my build pipeline, "way0utwest.sqlmemorial" and I pick that under the proper project. I typically default to the latest build here, which can be overridden in a particular release. Once I do this, I see the source alias automatically picked up.
Now that I have an artifact, I can add to my release process. My pipeline is outlined, but there are no tasks actually doing work.
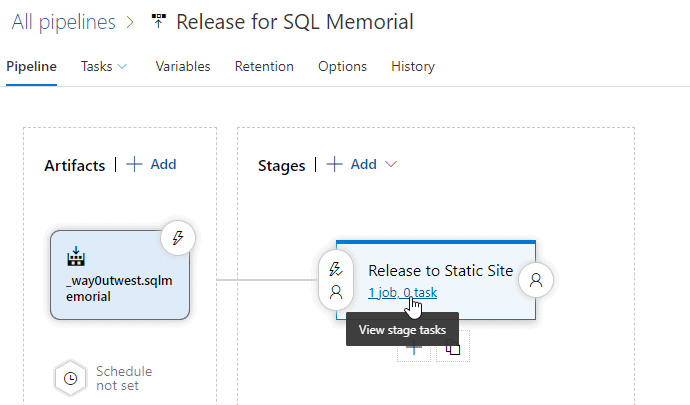
After clicking the stage task link, I get the details for this stage of the release. I have no tasks by default since I chose an empty pipeline. I can click the "add" link to change that.
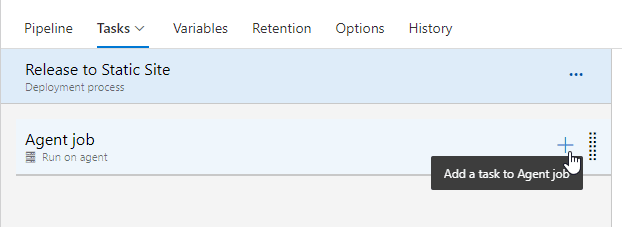
This opens a blade on the right with lists of tasks. I can search for what I want. In this case, I don't need any special deployment, as the website is static. Therefore, I just need a file copy task. I see the Azure File Copy task, and can add this to the task.
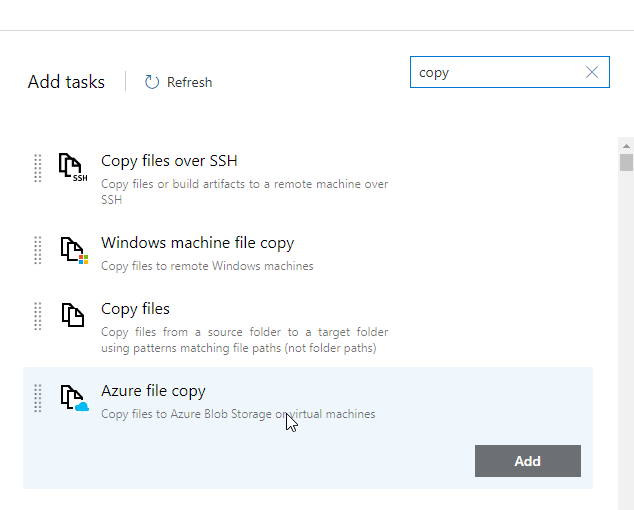
This puts a task in the list, but I get a warning as it isn't configured. If I click on the task, I see the configuration on the right. I need to fill out all the items with red before this task can be run.

The first thing is the source file/folder. I don't know what this is, but I can click the ellipsis button to browse my artifact.

I can see the artifact and expand it to find the item I need. In this case, I need everything under "drop".
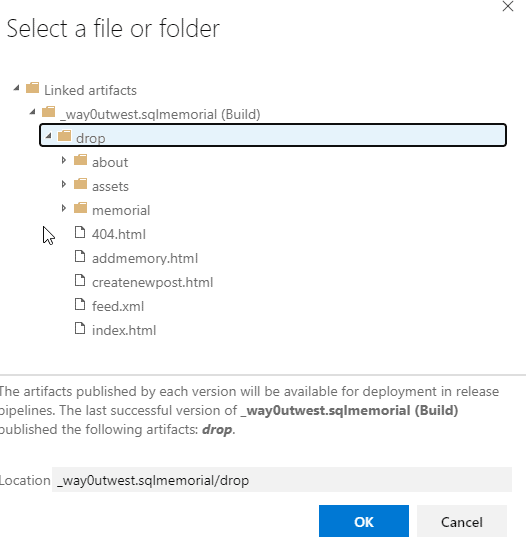
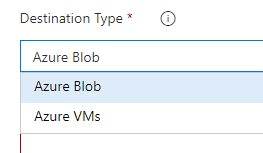
Once I pick this, the path is filled in. I now need to fill out my subscription and storage, and then the destination. I have two options, but for the Jekyll site, I want Azure Blob as the type.
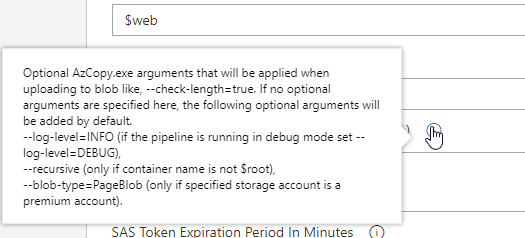
Once this is done, I see the entire task configured. I added the "--recursive=true" option for the Azcopy command. The AzCopy command is used behind this task. As with many DevOps automation items, this is really just wrapping a command line call that I could make manually.

The documentation shows that I could copy everything in a folder with this option, but it didn't work for me. The tooltip help, however, shows that this doesn't work if the name is $root, but it also doesn't seem to work with the name as $web. If I run this, I get just the files in the root copied.
That's not enough. I tried a number of different things, but getting all files in the root and all subfolders copied didn't work with one task. I took the expedient route of getting this working by just copying all the folders as separate tasks. As you can see, since I have three subfolders (Assets, About, Memorial), I added three tasks.
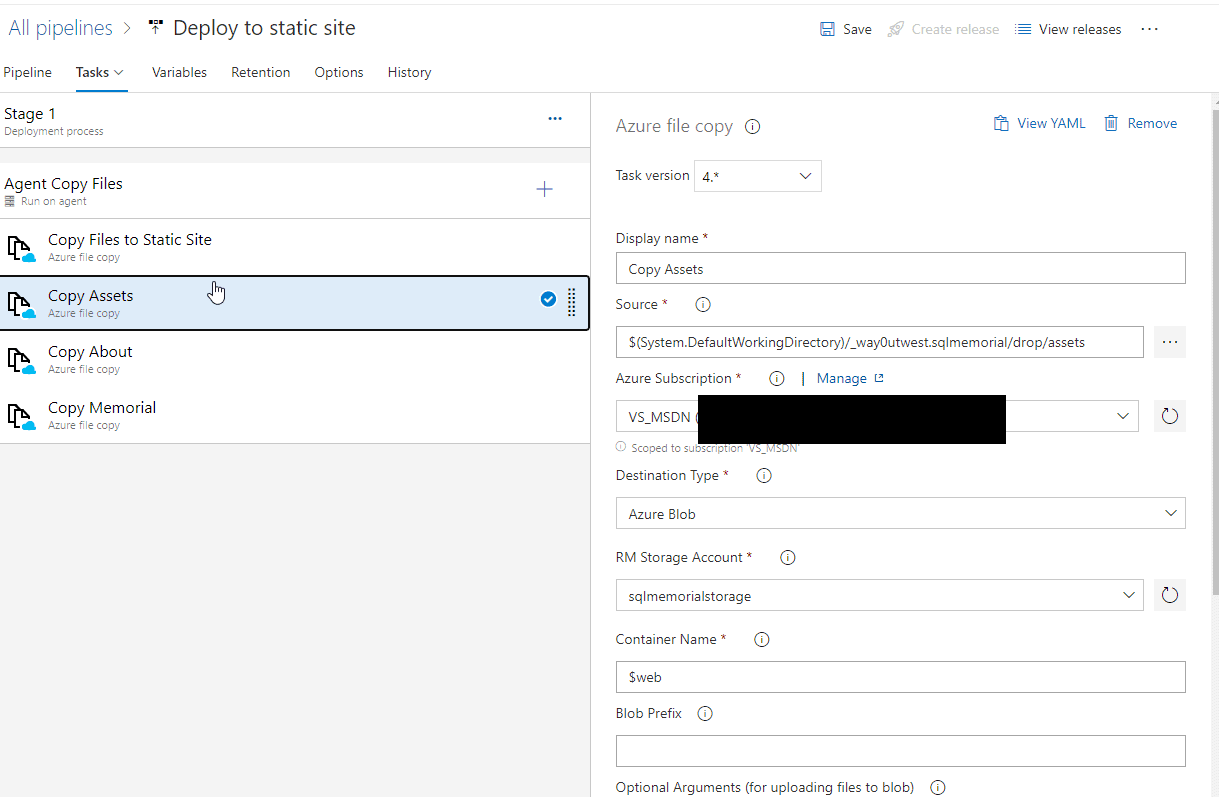
Each is named to specify what is copied, and then each has the appropriate folder chosen in the Source. Otherwise, everything is the same. None of these have the recursive option set, but the entire folder gets copied with subfolders.
This isn't elegant, and if I add new pages that need folders, I'll need to alter the release. However, this works, and it does allow the release to complete and update the site.
Now, each time I commit to the main branch, the build and release run, and the site is updated (assuming no errors). I also get emails about the process, so I am aware of the status of commits.
Taking Community Input
After completing this setup, I notified a few friends, getting opinions and asking them to test the process. TJay Belt, a friend and someone whose opinion I value, opted to give the PR process a try. He made some change and then submitted a pull request to the repository adding a memory to Tom Roush's page. I received an email like this one:
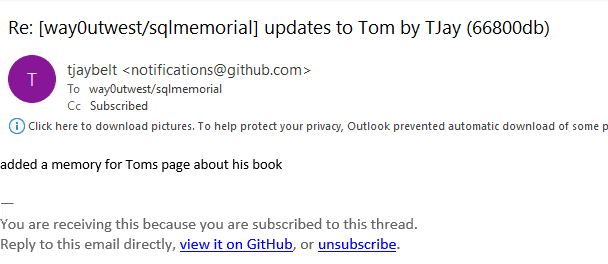
I clicked on the link and saw the PR. I noted TJay's changes to add a comment and link to the page. I approved them, and then merged the changes into the main branch. The entire process ran automatically and 4-5 minutes later the site was updated, with TJay's comment.
I am hoping that others will submit PRs with their memories of individuals, including photos, thoughts, and links to add details and depths to the lives we remember. I also hope that others submit others I have missed, though I do sincerely hope this need is rare.
Summary
This article shows how to link a GitHub repository containing Jekyll code to a build and release process that updates a static website in Azure. This isn't directly database related, but it is a way that you can publish information easily, inexpensively, and perhaps even that read only data that you rarely change.
In a future article, I will show how you can take information from other sources and use it to drive a site such as this one.
