

Introduction
In a previous article, we learned how to work with PowerShell in Azure using the Cloud Shell. In this new article we will learn to work with Bash in the Cloud Shell.
What is Bash?
It is a UNIX shell created by Brian Fox for the GNU project to replace Bourne shell. It was created 1989. It was distributed in many Linux distributors and Mac. If you worked with UNIX/Linux or Mac, you may be familiar with Bash. If you are not, this article is for you. We will give a brief introduction for newbies.
We will show how to create a hello world, use variables, system variables, loops and then we will create an ASDW database.
Requirements
An Azure Account
Getting started
At the top right of the Azure Portal click the >_ icon this icon will open the Cloud Shell:

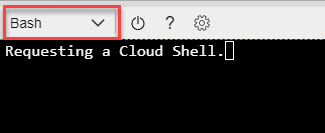
Select bash as your shell:
Hello world example
Let's start with a simple Hello world. You can use the echo command and the message to send a Hello world:
echo 'Hello world'
System variables
In bash, you have some system variables that you can use. For example, the $USER will display the name of the bash user:
echo $USER
The next command will show a random number:
echo $RANDOM
$HOSTNAME shows the name of the host where bash is executed:
echo $HOSTNAME
Working with variables
The following example shows how to store a string in a variable and display the value:
myname='daniel'

echo $myname
How to concatenate strings
myname='daniel'

greetings ='hello'

echo $greetings $myname
How to get the current date
The following example shows the current date:
mydate=`date`

echo $mydate
This shows how to add two numbers. The following example adds 6+7:
TOTAL=`expr 6 + 7`
echo $TOTAL
How to catch user input
The read command is used to read user input. The pound (#) sign indicates a comment.
read yourname

#write your name

echo $yourname
Creating an Azure SQL Data Warehouse in Bash
Now that we played with Bash, we are ready to work in ASDW. We first need to create a Resource Group in Azure. The following example will create a resource group, named bashsqlcentralgroup, in the Central United States:
az group create -l centralus -n bashsqlcentralgroup
Working with for loops
The following example will create 5 Azure Resource Groups named bashsqlcentralgroup1, bashsqlcentralgroup2, etc:
for i in {1..5}
do
az group create -l centralus -n bashsqlcentralgroup$i
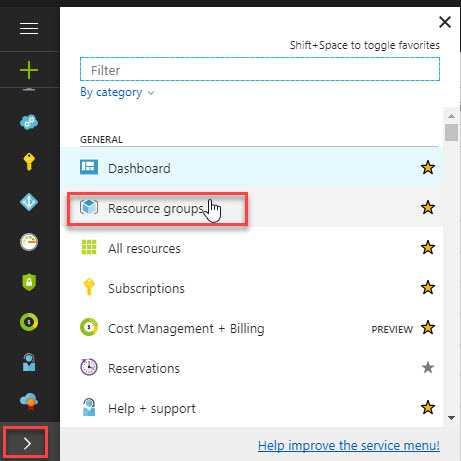
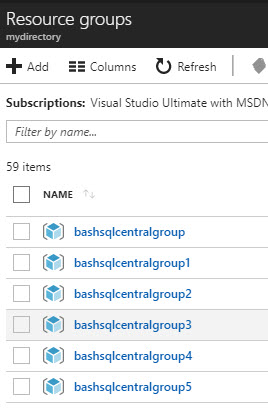
doneYou can verify the Resouce Groups in the Azure Portal using the Resource Group selection:
You can see all our resource groups were created:
How to create an Azure SQL Server
Once that you have the resource group, you can create your Azure SQL Server we will first store the password in a variable named pwd:
read pwd

#Enter your password
We will now create an Azure SQL Server in Central United States named sqlcentralbashsrv in the resource group already created using the administrative user daniel with the password stored in the pwd variable:
az sql server create --location centralus --name sqlcentralbashsrv --resource-group bashsqlcentralgroup --admin-password $pwd --admin-user daniel
How to create an Azure SQL Data Warehouse Database
To create an Azure SQL Data Warehouse database, you need an Azure SQL Server and an Azure Resource Group created (explained before). The following command will create an ASDW database named sqlcentraldb in the resource group bashsqlcentralgroup in the server sqlcentralbashsrv with the Performance Tier DW100:
az sql dw create --name sqlcentraldb --resource-group bashsqlcentralgroup --server sqlcentralbashsrv --service-objective DW100
Conclusion
In this chapter, we show how to work with bash. We learned how to create our hello world with Bash, work with variables, loops and then we learned how to create a resource group, an Azure SQL Server and an Azure Resource Group.
References
For more information, refer to these links: