

SQL Server Integration Services (SSIS) provide a broad set of tools for working with data, mostly for ETL scenarios, but you can use it for other tasks, as data movement or monitoring solutions.
Packages are stored as .dtsx files, and you use SQL Server Data Tools (SSDT) to develop those packages in a Visual Studio- like IDE. You can download the latest SSDT version from here. If you work with Azure, maybe you must need to implement packages that can access Azure services in some way. Microsoft provides an optional package called Azure Feature Pack for Integration Services, that provides components to work with Azure services.
On this article, we will show you how to download, install and configure this package, and a simple example to access your Azure Blob storage from a .dtsx package, we will create a JSON structured data from SQL Server and upload it as a .json file to Azure Blob storage.
Configuring Azure Feature Pack for Integration Services (SSIS)
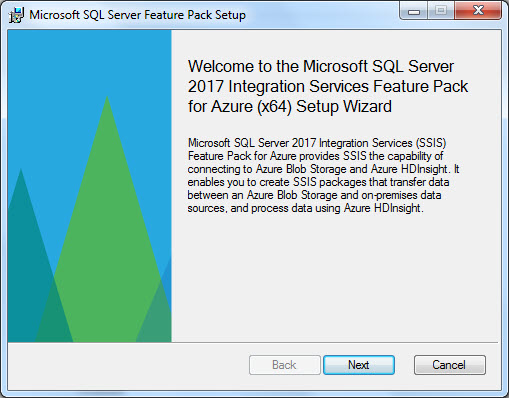
If you don't have SSDT already installed, download the latest version from here. Once installed, you need to download Azure Feature Pack for Integration Services (SSIS), available here. With Visual Studio and SSDT closed, proceed to install the package:
Once you click next and validations are done, the installation will continue:
Once Installation is finished, open SSDT and you can see that Azure components are now available:
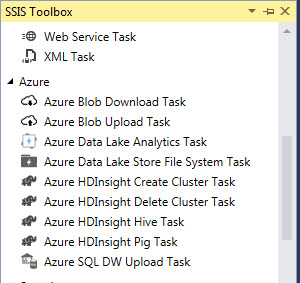
If you can see the components, it means the installation and configuration were successful, now we can start working with it.
NOTE: To deploying your .dtsx packages, you also need to install feature pack on the machine where the packages will run.
Now we will see a simple example to access Blob Azure storage and upload information from any source (for this example an On-Premises SQL Server).
Azure tasks - Configuring Storage account
There are various ways to create and configure Azure storage accounts, but for simplicity of this example, we will use the portal. You will need an Azure account and a valid subscription, if you don't have one, you can create a free account here. Once you have a valid Azure account, access the portal via portal.azure.com.
If you don't have a storage account already, create a new one by accessing Home>Storage Accounts:
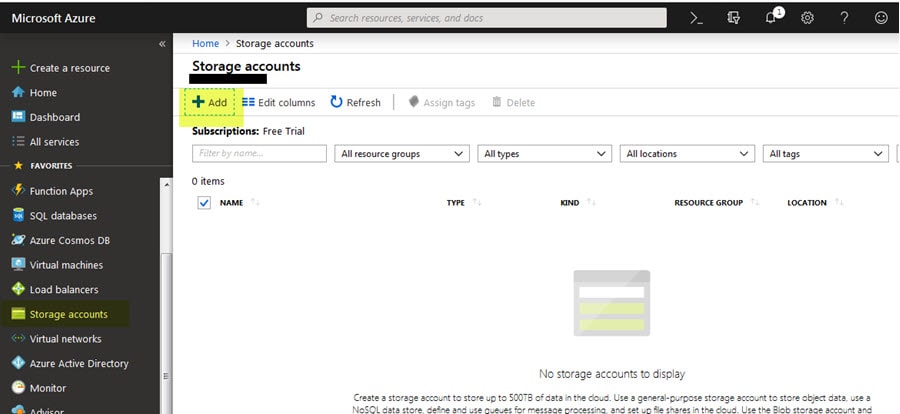
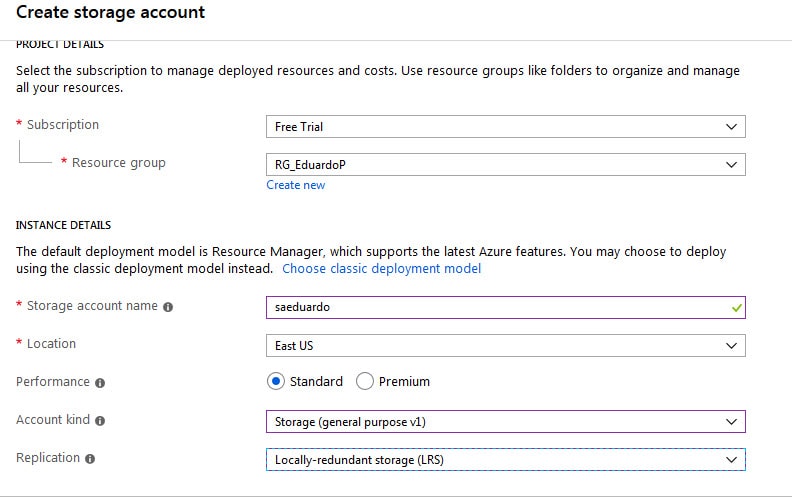
Create a new Storage Account by clicking the Add option and configure the details as you need (for this example I am using the general purpose storage account V1):
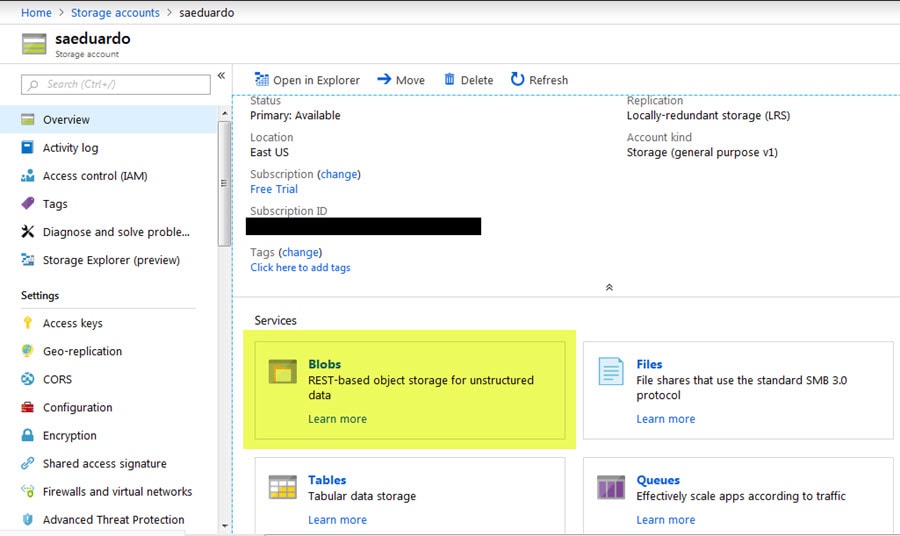
Once you have your storage account ready, you need blob storage to upload the files, if you don't have one already, go to the storage account overview, and in Services, click on Blobs:
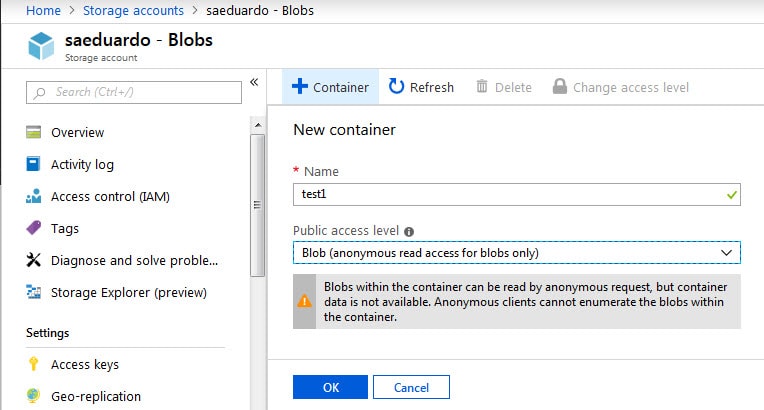
In the next window, proceed to create a new container (this will be the place where the files will be uploaded), you can put any name you want to it and select the access level you want:
And that is everything you need at this point, we are ready to create our SSIS package and start uploading info.
Just note that you need access keys to use your storage account from an external source (SQL Server Data Tools on this case). You can find this info accessing your storage account and under Settings>Access keys:
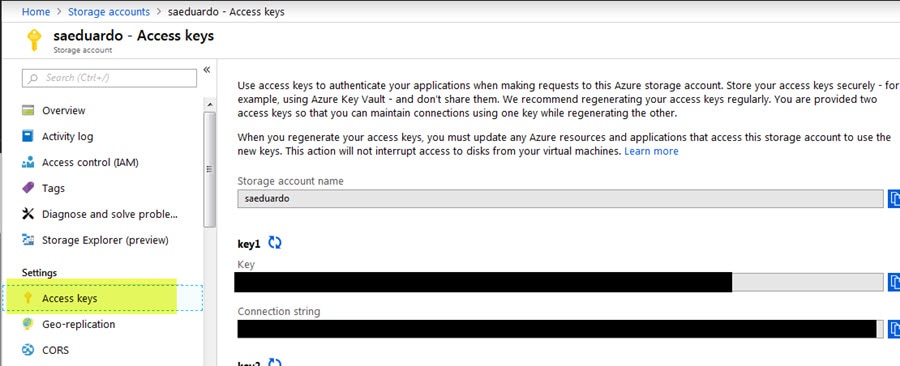
The info you will need later is Storage account name and key (can be key 1 or 2).
Creating SSIS package
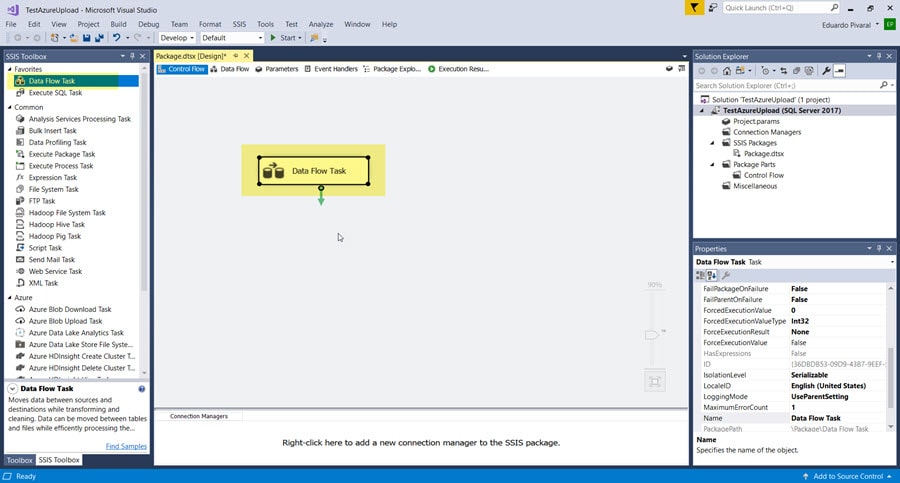
Open SQL Server Data Tools and create a new Integration Services Project:

Add a new data flow task from the left side menu:
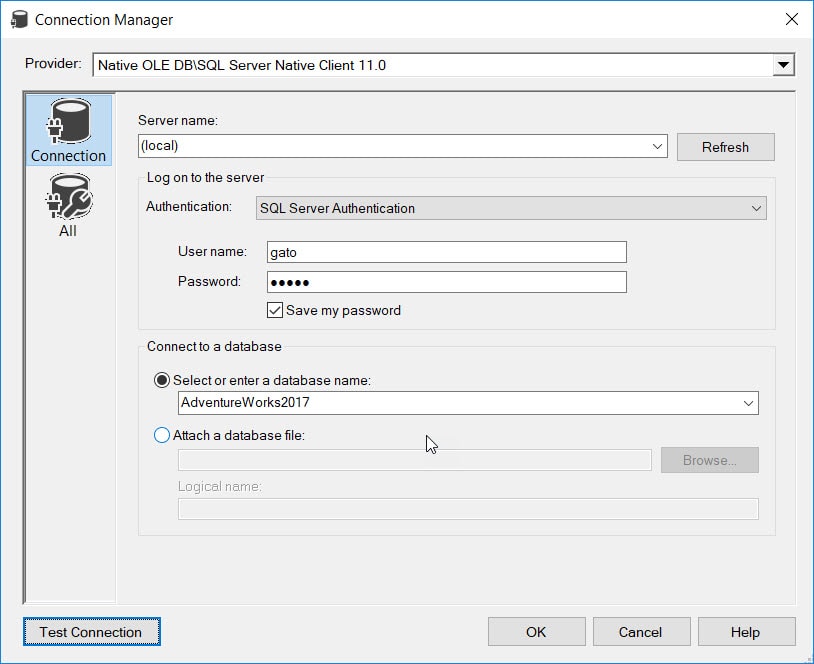
In the data flow task, create a new source to a SQL Server database, for this example, I am using a local SQL Server 2017 instance and I am connecting to AdventureWorks2017 sample database:
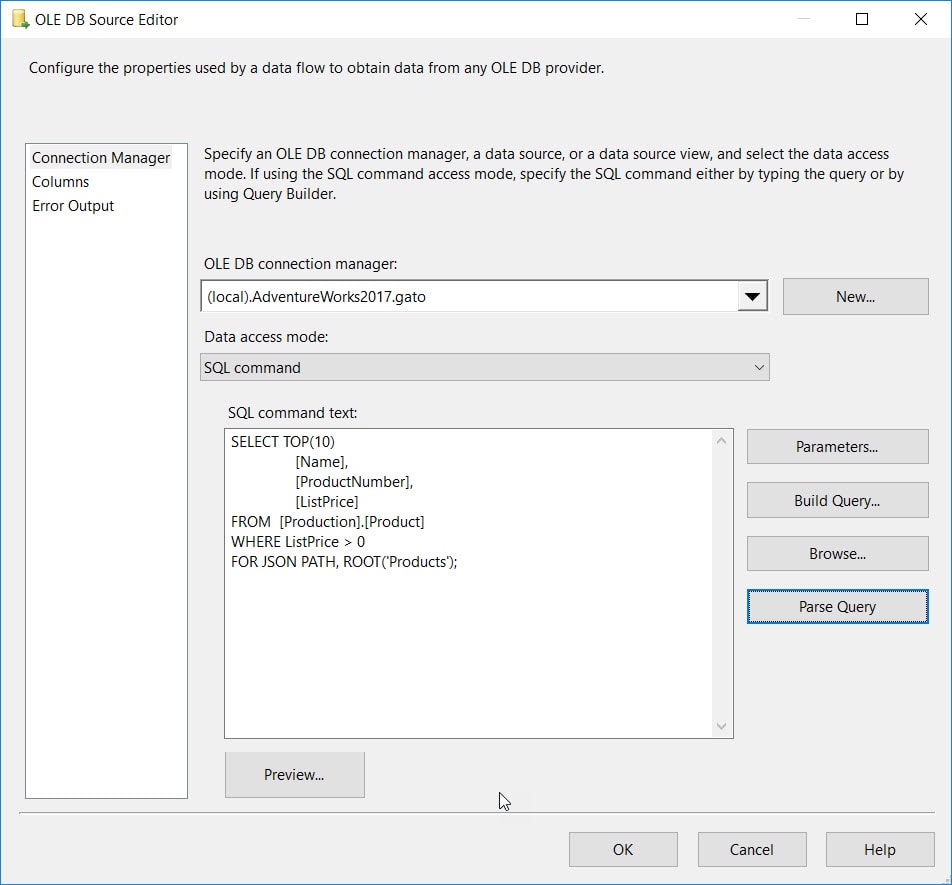
We will use the following SQL Command, we will obtain 10 products and format it as a JSON (you can read my post about how to format queries as JSON here), and then we will add it to our OLE DB Connection:
SELECT TOP(10)
[Name],
[ProductNumber],
[ListPrice]
FROM [Production].[Product]
WHERE ListPrice > 0
FOR JSON PATH, ROOT('Products');
This is the command in the source:
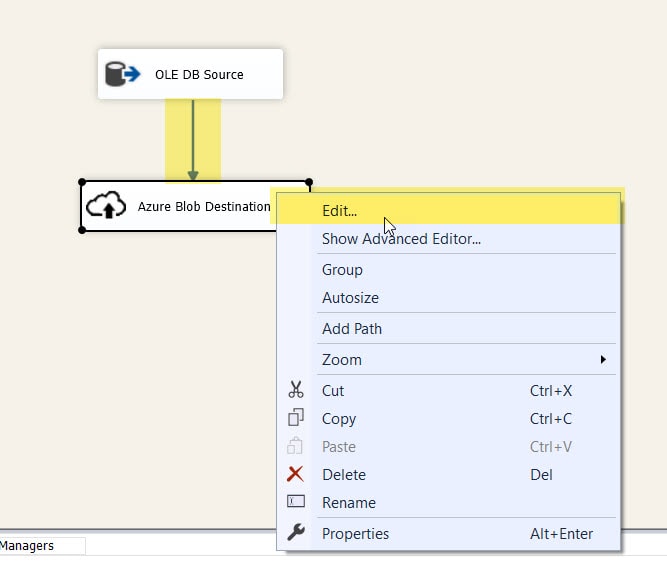
Once you have configured the source, add a new Azure Blob Destination task from the left toolbox, you can read more about this component here.
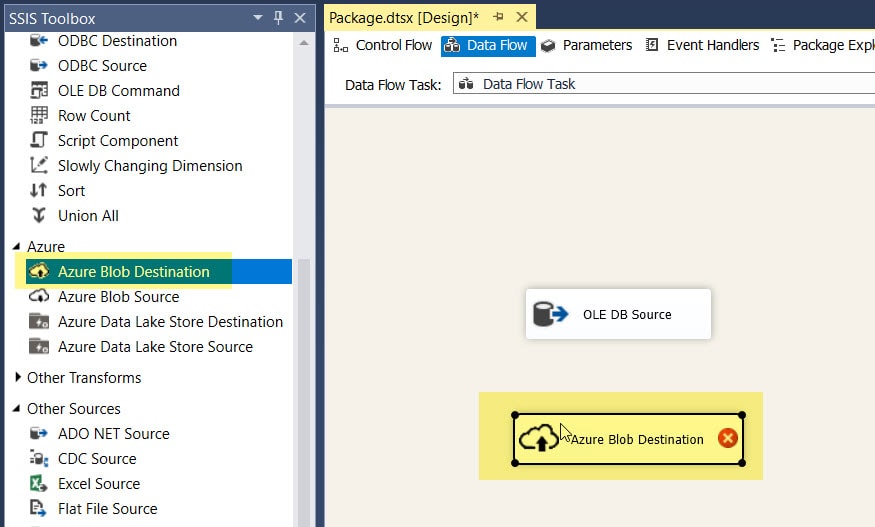
Connect the output from the SQL Server source to the Azure Blob destination, and then right click on the control and select Edit...
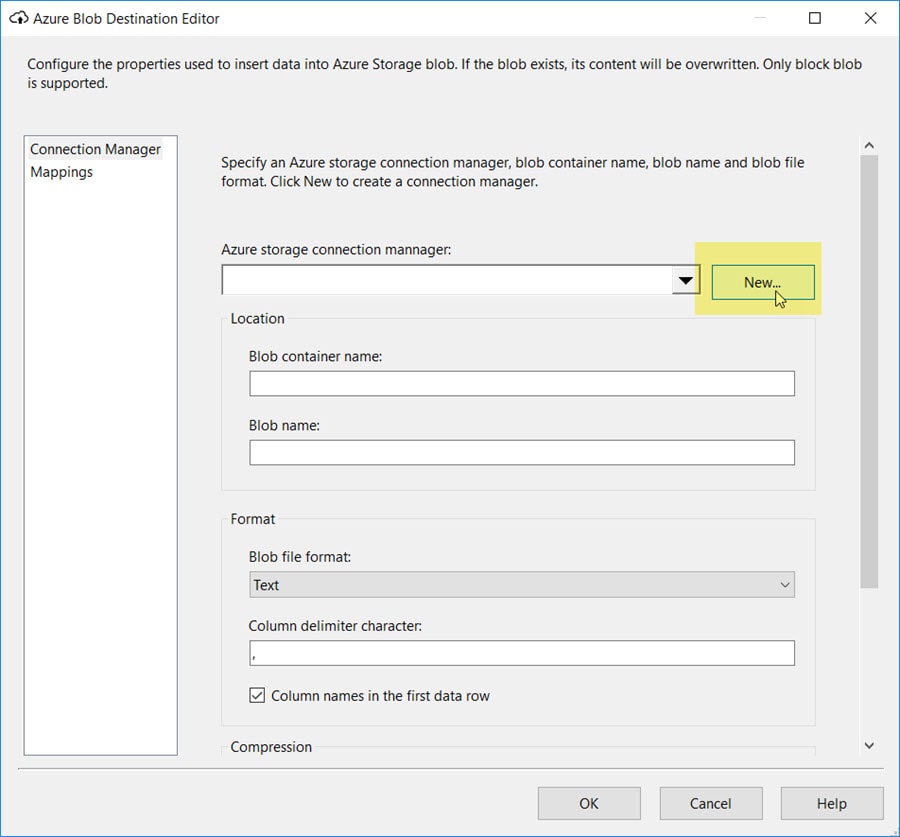
In the new window, we will configure our Azure connection, in the Azure storage connection manager, click on the New button:
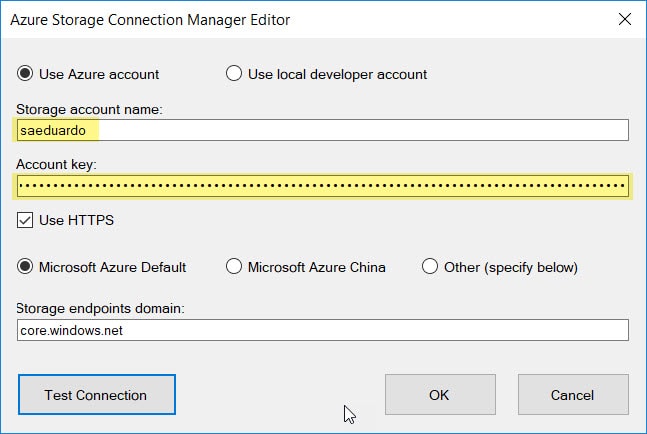
Provide your Storage Account name and Account key as we explained earlier, then test the connection, once everything is working fine, click on OK
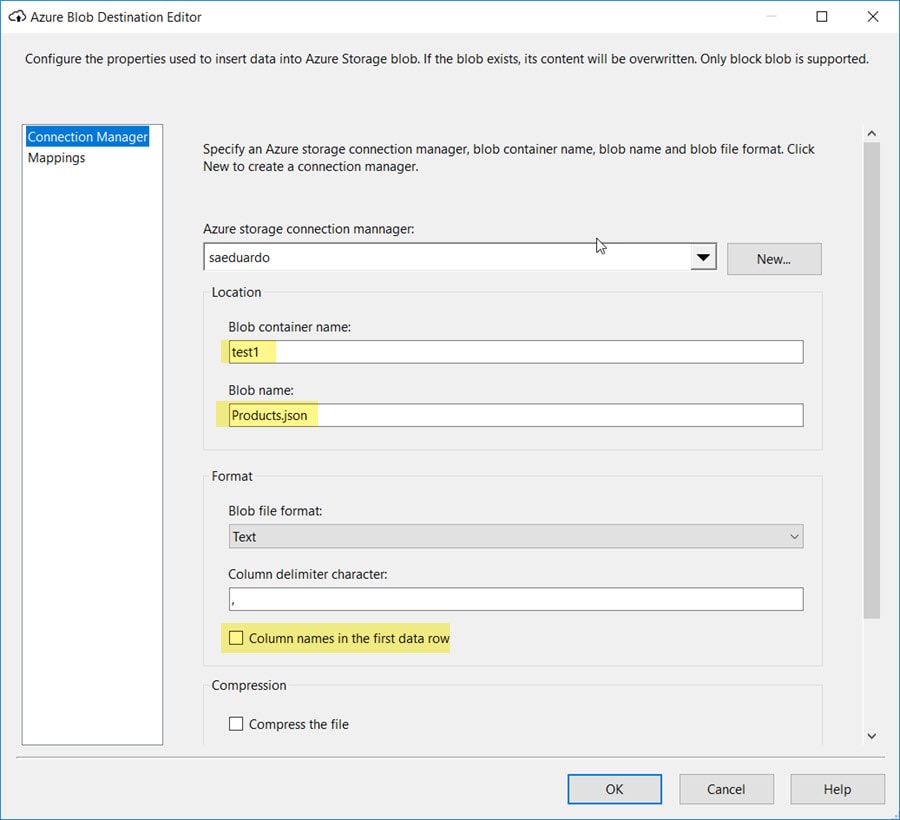
Once you have configured your Azure connection, provide the container name (the one we created earlier) and in Blob Name, put the name you want for your file, for our example, we will save the file as products.json.
Since we are using the query output as a whole file, we don't care about the column name, so we uncheck this option, the other options we leave the defaults:
Once you have verified the mappings to match what you want (for our example only one column), click OK.
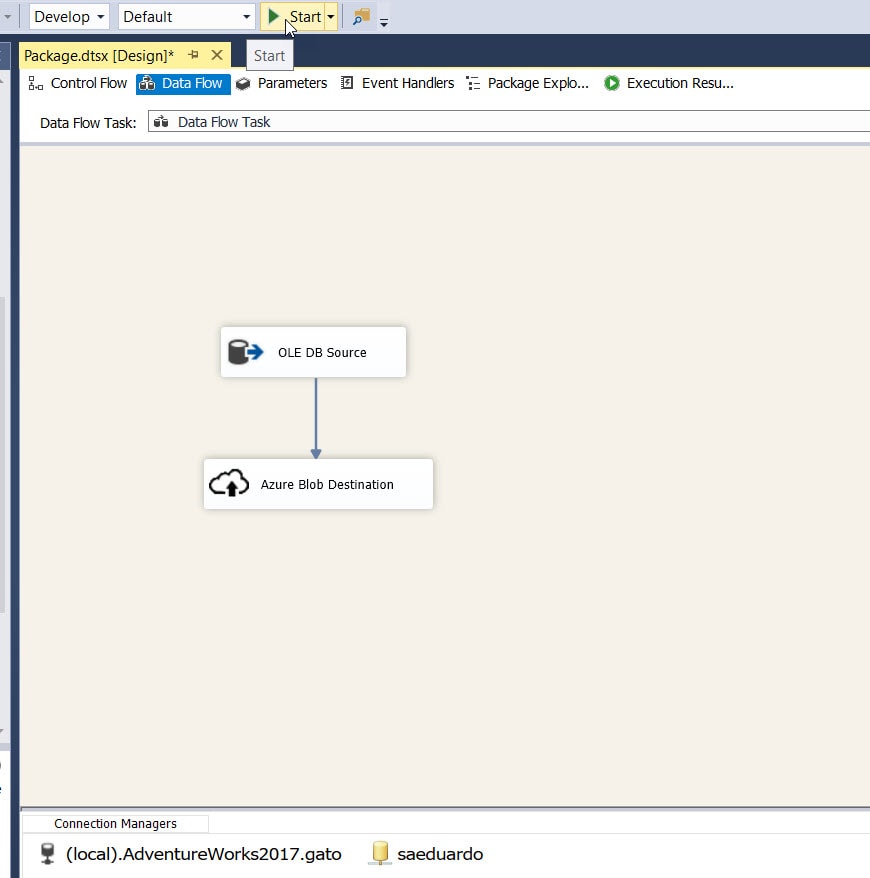
At this point the .dtsx package is ready. Now we are ready to test our package, so we proceed to execute it using the Start option:
We check the package execution details, we can see that info was written to our Azure storage:
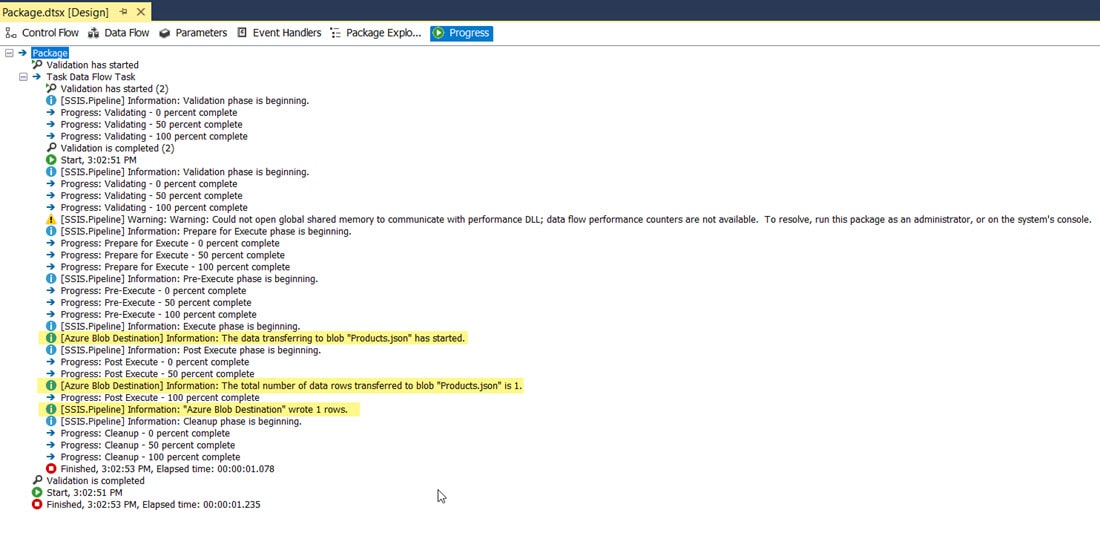
The package execution was successful, we must just validate the output.
Validating the file created
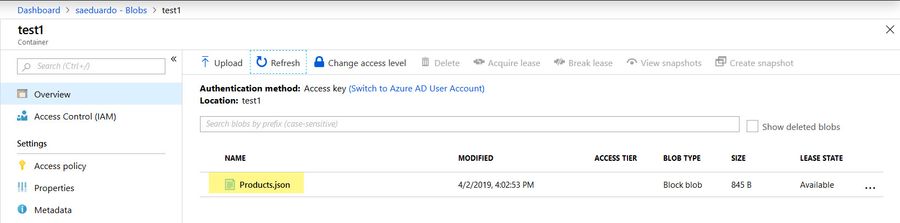
We navigate to our Azure storage account using the portal, and then access the container we are using for this example (test1), we can see the file (Products.json) has been created:
The next thing to do is to check the contents of the file, we can do it using different methods, for this example, I will download the file and open it using VSCode. From the Azure portal, just click the file and select the Download option (notice that you can check the file contents right into the portal using the Edit Blob option):
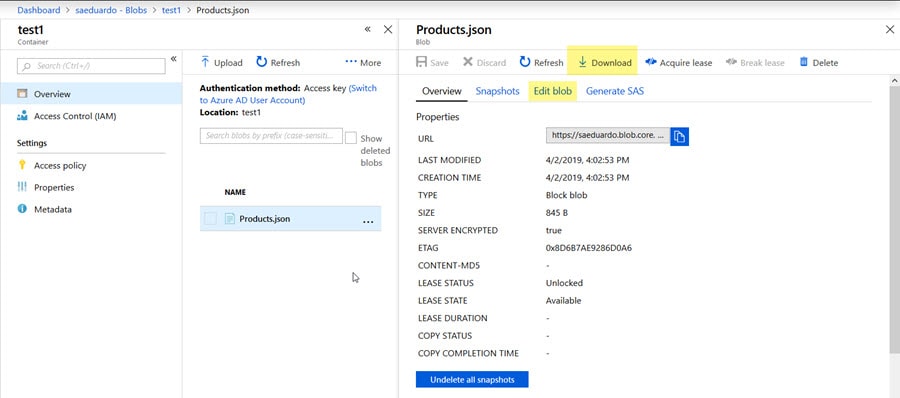
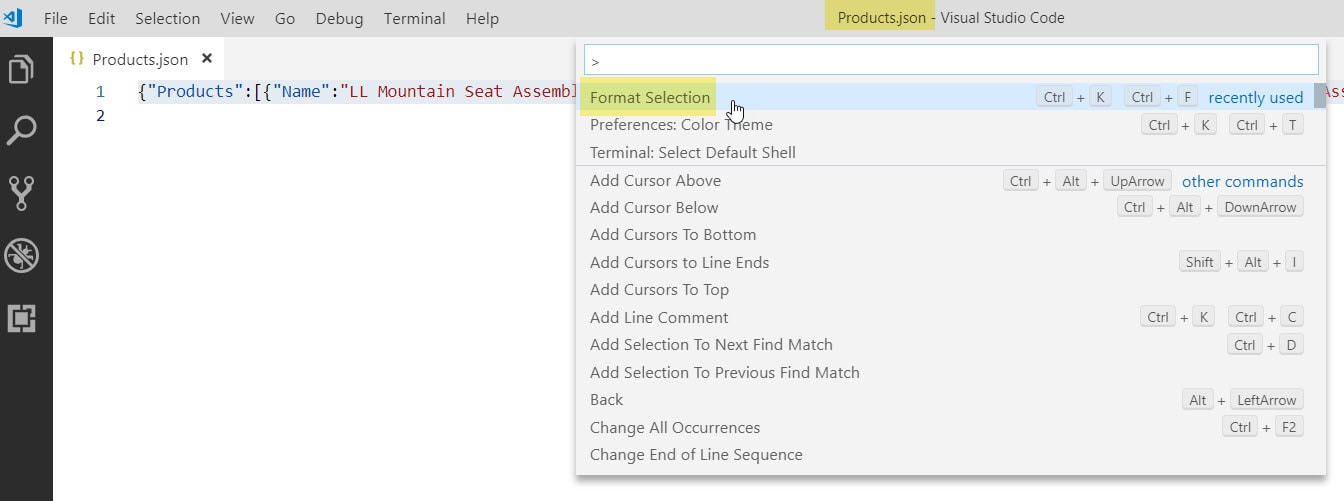
Note that if you use the Edit blob option, and also the first time you open the file, all the contents are stored as just one line, because the file generated is not formatted for easy reading.
To format it you can use the Format Selection option in VSCode (or Azure Data Studio):
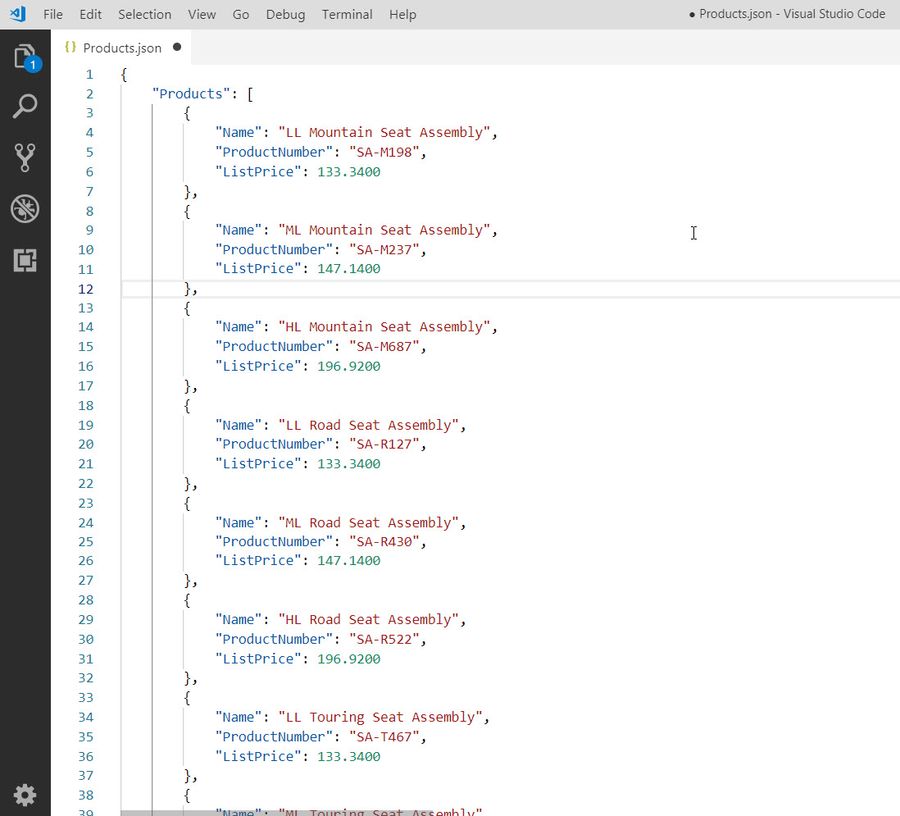
After formatting the file contents, we can see the JSON file was created successfully:
Now you can create .json files from your on-premises servers and use them into any other Azure service via Blob storage.

