I’ve been meaning to start a series on the basics of SQL Server Reporting Services (SSRS). The last time I did this was on a book on SQL Server 2012 Reporting Services published by Packt. SSRS has since evolved into a better reporting platform with the addition of KPI’s, mobile reports, etc.
In this SSRS series, I’d like to go back to the basics. If you’ve never developed and deployed SSRS Reports to a server before, this is for you. Just like my book, this series goes through the step-by-step of the basics of SSRS. My goal is for anybody with Zero experience to be able to create and deploy reports in no time.
I am aware that there are other resources out there that are probably more extensive than what I can offer here. But, hey, the more resources, the better it would be for the learners.
In this post, let’s do the most basic step – installation.
Installing SQL Server 2017 Reporting Services
First thing first: My assumption is that you are installing SSRS in your local machine. And, also, that you already have an instance of SQL Server 2017 running on it. If you don’t have it, please install it and come back here. I’ll be waiting for you.
Download SSRS 2017 from here.
One of the good things that Microsoft started doing was simplify their software installation. SSRS installation is a breeze with the lightweight installer. If you haven’t installed any enterprise software before, you have nothing to worry about. The wizard should be as good as it gets.
When you fire up the executable, you are presented with two edition options: Free or Not Free. Under free edition, select Developer. In the Microsoft parlance, a Developer edition is equivalent to the Enterprise edition except that you cannot use it for production.
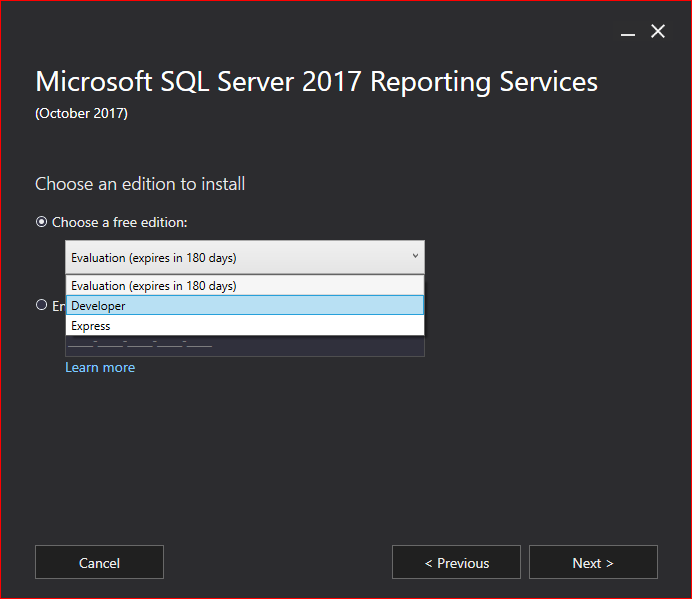
Follow the steps and you should be fine just by clicking Next until you reach the final step.
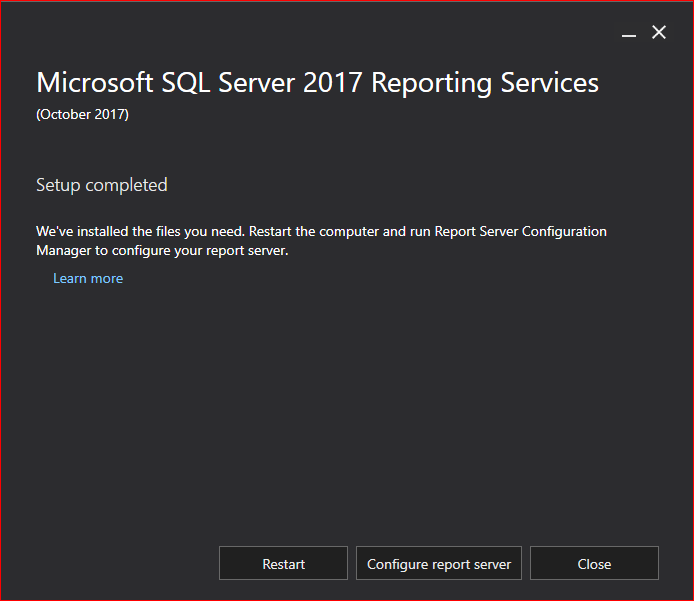
You may or may not restart your machine at this point. But just to make sure, reboot. After rebooting, fire up Report Server Configuration Manager. You should find it in your Start Menu.
I’d like to start setting up the database first before anything else. On the panel on the left, select Database.
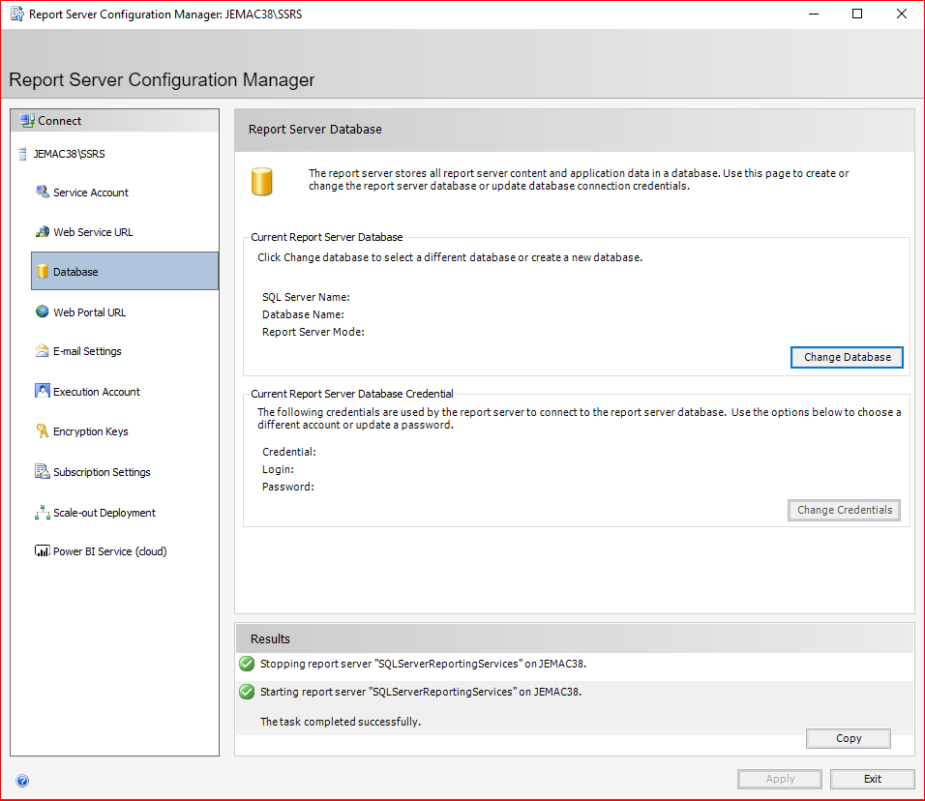
Click Change Database. The next step presents two options – create a new or select an existing report server database. My assumption is that this is the first time you’re installing SSRS; so, select a new database.
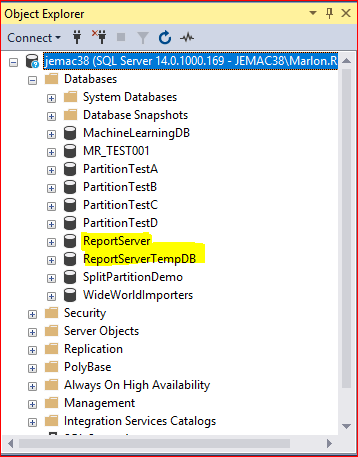
The Server, Database, and Credentials defaults should be fine. Click Apply at the bottom when done. You should now see two new databases in your Object Explorer – ReportServer and ReportServerTempDB (assuming that you named your database as ReportServer)
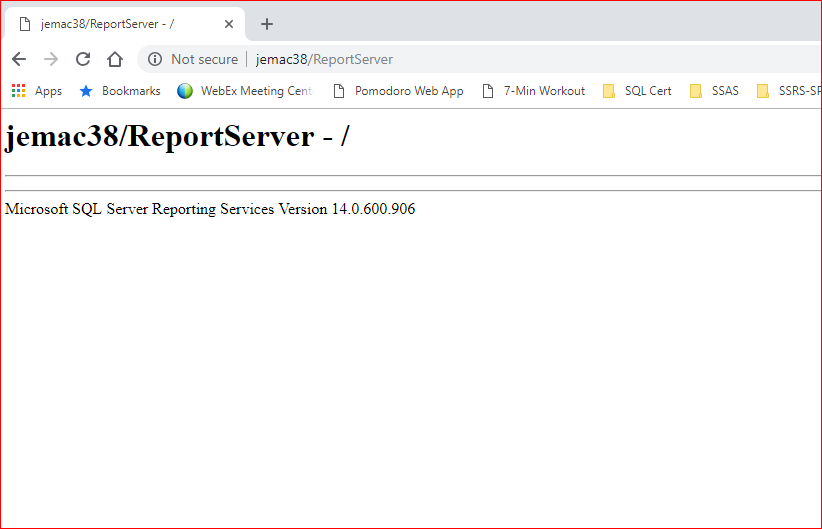
Select Web Service URL from the panel. Review the default. You may or may not want to change the default. I’d keep it as is. Click Apply at the bottom. Open your internet browser and test the service. The URL is provided under Report Server Web Service URLs. You should get something like the screenshot below.
Now, select Web Portal URL. This is where you upload your reports, data sources, datasets, etc. Review the defaults. Then click Apply at the bottom. Take note of the portal URL. Then test.
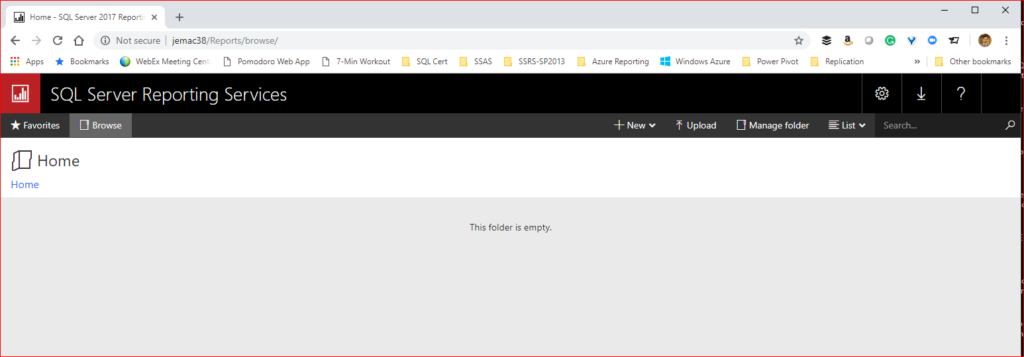
And that should be it. Your Report Server can be installed that quick. Of course your mileage varies depending on your server setup.
Up Next: Your First Report in Part 2! Tune in for more!
The post SQL Server 2017 Reporting Services: The Basics Part 1 appeared first on SQL, Code, Coffee, Etc..


