Quickly setting up a domain controller is a vital step in creating a good demo environment. This post will walk you through a quick and easy set of scripts to get started.
Step 1: Download and Install Windows Server 2012
If you don’t already have a blank image with Windows Server 2012 you can download the trial version directly from Microsoft here http://technet.microsoft.com/en-us/evalcenter/hh670538.aspx
The trial will allow you to try out all the features of Windows Server 2012 free for 180 days. At the time of writing there is an ISO as well as a virtual image available for download.
Step 2: Rename the Computer
The first step in the process of creating any demo environment is to give your computer a meaningful name. No one wants to type in WIN-PC586743BAS every time you want to visit a SharePoint site or access the database engine. For this task we will fire up PowerShell and get things rolling.
- Launch Windows PowerShell as Administrator
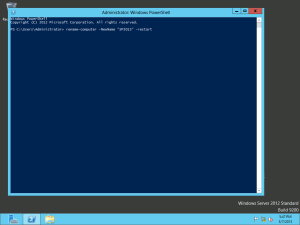
- At the prompt type rename-computer -NewName “SP2013″ -restart
- Feel free to replace SP2013 with a different computer name
- The computer must be restarted for the change to take affect, adding the -restart option will force the restart
Note: This can also be done theough the GUI by accessing the Computer Settings > Select Change Settings in the Computer name, domain, and workgroup settings section.
Step 3: Add Active Directory Features
Since we are going to use this same virtual machine for everything (DC, database, SharePoint, etc.) we need to setup a domain controller before going any further. This could be done through the GUI, but again, PowerShell provides the ability to add the features and configure the domain forest in just a couple of lines of code.
- Launch Windows PowerShell as Administrator
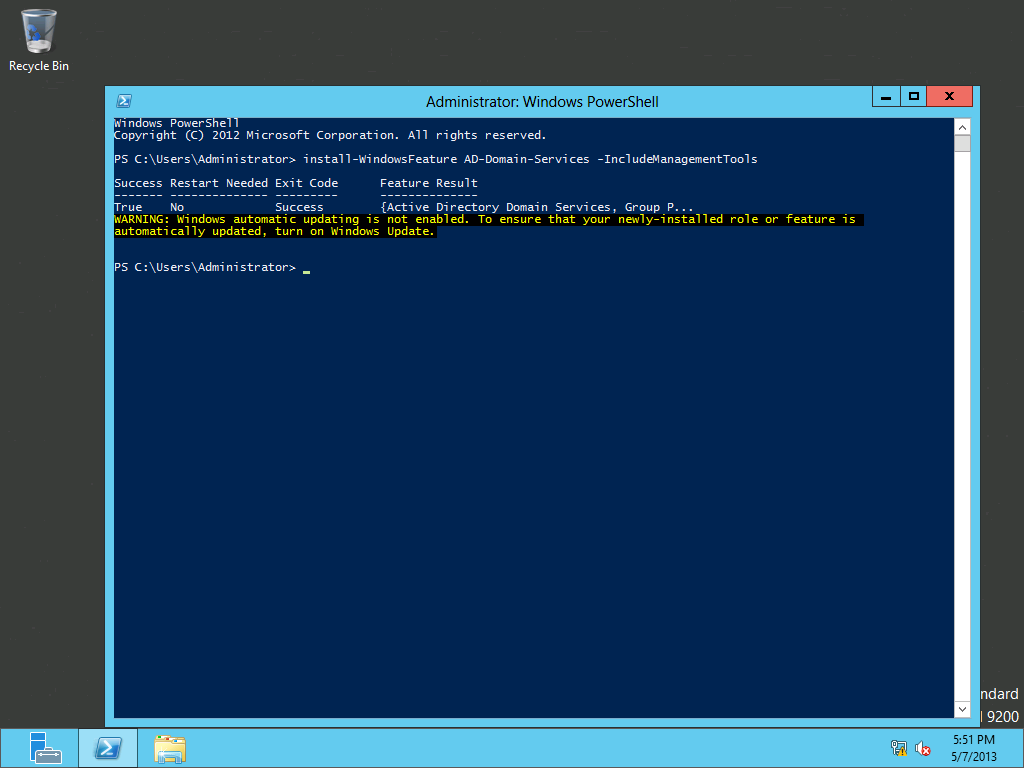
- At the prompt type install-WindowsFeature AD-Domain-Services -IncludeManagementTools
- This will add the required features to promote this computer to a domain controller
- Adding -IncludeManagementTools will provide a GUI to manage computers and users so you don’t have to use the command line to do everything
Once the features have been added to the computer your screen should look like the following screenshot indicating a successful addition and no restart is required. You will also notice a note telling you that Windows Updates should be enabled if they aren’t already. I tend to ignore that suggestion on my demo environments partially because my demo computers usually don’t have internet access.
Step 3: Configure the Domain Forest
Once the appropriate features have been added to your virtual machine it is time to set up the domain controller. Normally this would be done by running dcpromo.exe but as we have done thus far, I am going to turn to PowerShell. If you have ever performed these tasks using the GUI you will realize how much faster the PowerShell option is.
- Launch Windows PowerShell as Administrator
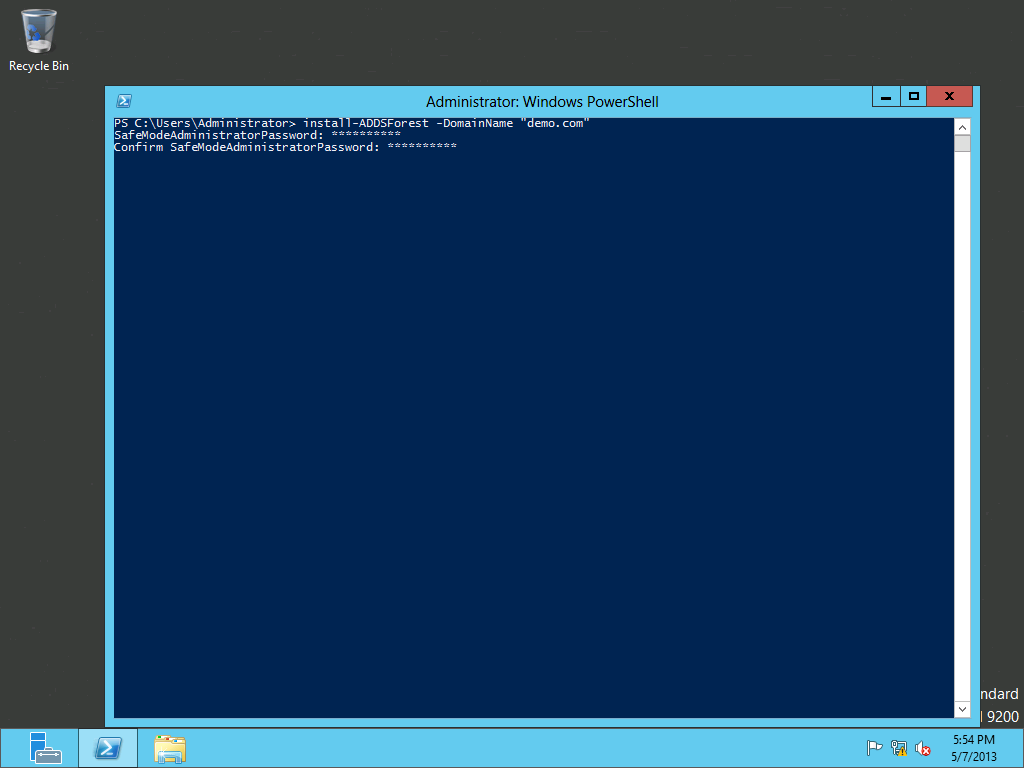
- At the prompt type install-ADDSForest -DomainName “demo.com”
- Feel free to replace demo.com with a different domain name of your choice
- As with all the PowerShell in this and future posts, there are other options that could be included. If your interested in what else these commands can do just hit up the world wide web for information from some people who are much better at PowerShell than I am.
- When prompted enter your password
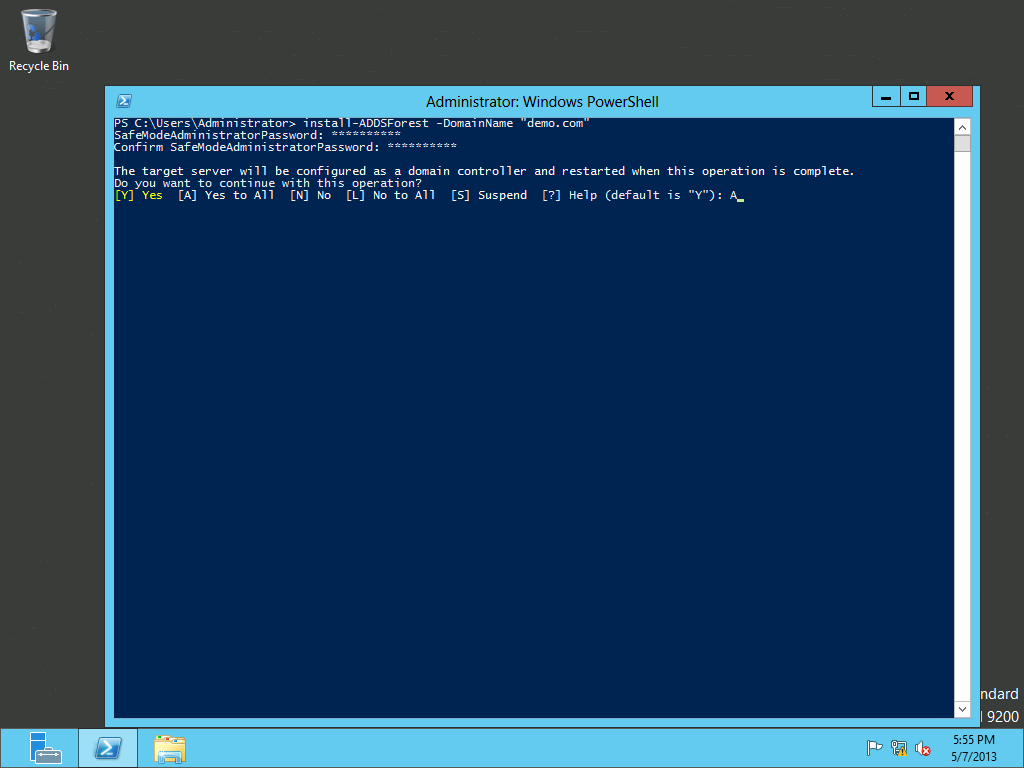
- Confirm that the server should be promoted to a domain controller. It will also need to be restarted after this operation.
- Upon completion the server should restart, if it doesn’t force a restart.
- A few messages will appear depending on your configuration, for instance, in my case I don’t have a static IP address on my network adapter and a warning is shown.
- Many of these warnings are seen when using the dcpromo.exe GUI and are acceptable in a single server environment such as this.
Step 4: Log In With Domain Credentials
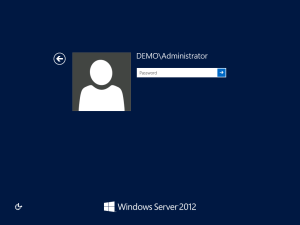
After the server reboots you will notice that the prompt is now asking you to log in with domain credentials. Log in and enjoy your new domain controller!
Some other cleanup steps you may want to do which I perform on all my demo computers.
- Enable remote desktop access so you can use full screen mode
- Change the password for the administrator account to never expire
- Create other accounts if you would like


