

PowerBI.com is a cloud-based online service from Microsoft that lets you
- Share your Power BI Desktop BI files in the cloud. This will allow your co-workers to view and interact in real time with Power BI Desktop reports in a browser window.
- Use the new Power BI app for mobile devices to view and interact with Power BI Desktop reports on tablet devices and mobile phones.
- Configure any Power BI Desktop files that you have loaded into PowerBI.Com so that they connect to on-premises data and so they refresh the data that they contain from on-site data sources at regular intervals. This way you can be sure that your colleagues are always using the most recent available data.
- Create new reports in the cloud using the data from Power BI Desktop files that you have already loaded into PowerBI.com.
However the truly amazing thing about PowerBI.com is that it is absolutely free (for up to 1 GB of data at the moment). If this threshold is too low (and to access many other possibilities, especially where group collaboration are concerned) you can upgrade to the PowerBI.Com Enterprise service and raise the limit to 10GB of data (as well as obtaining other advantages) for $9.99 per month. At least these were the prices when this article was written.
In this article I would like to introduce you to PowerBI.Com. As SQLServerCentral is, at its heart, a site that focuses on SQL Server (the clue is in the site name, after all) I want to use a PowerBI Desktop file that is based on data in a SQL Server database that you will learn to load into PowerBI.Com, and then you will see how to establish a gateway between PowerBI.Com and the SQL Server data source so that you can refresh the data in the cloud and thus ensure that the latest data is always available for sharing.
If you wish to use the sample data that accompanies this article you will need to have a version of SQL Server 2014 – such as the Developer Edition – to restore the sample database. This backup file is CarSalesData.Bak. This will then be used by the Power BI Desktop file FirstDashboard.Pbix. As a final tweak you will have to modify the first step in the Power BI Desktop Query Editor for each table so that it points to your version of the restored database.
Publishing Reports to PowerBI.com
The best way to appreciate PowerBI.com is to see it in action. So straight away, here is how to create a PowerBI.com account and upload a report created with PowerBI Desktop. This report will be contained in the file DataModelWithMetricsForVisualizations.Pbix.
Creating a Power BI Account
Before you can use PowerBI.Com, you need to create a Power BI Account. Here is how
1 - In your browser navigate to the following URL: www.microsoft.com/PowerBI. You should see a web page like the one in the following figure.

2 - Click Get Started Free. You will see the How to get started page, as shown in the following figure.

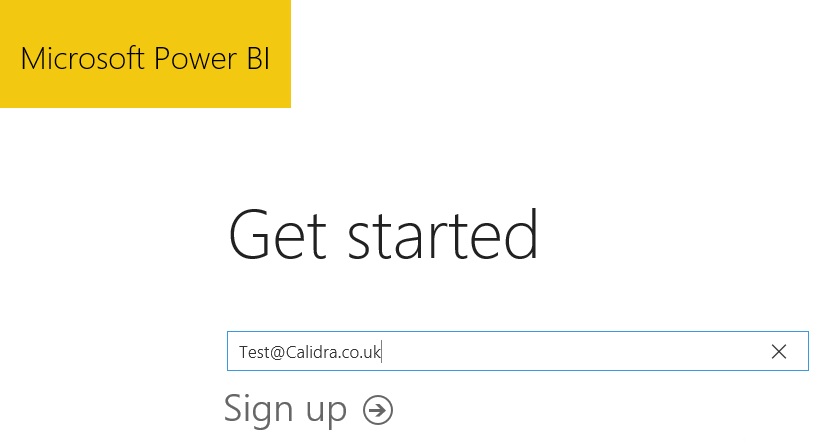
3 - Click Sign Up. You will see the Sign Up page.
4 - Enter your work email. The page will look like the one displayed in the following figure.
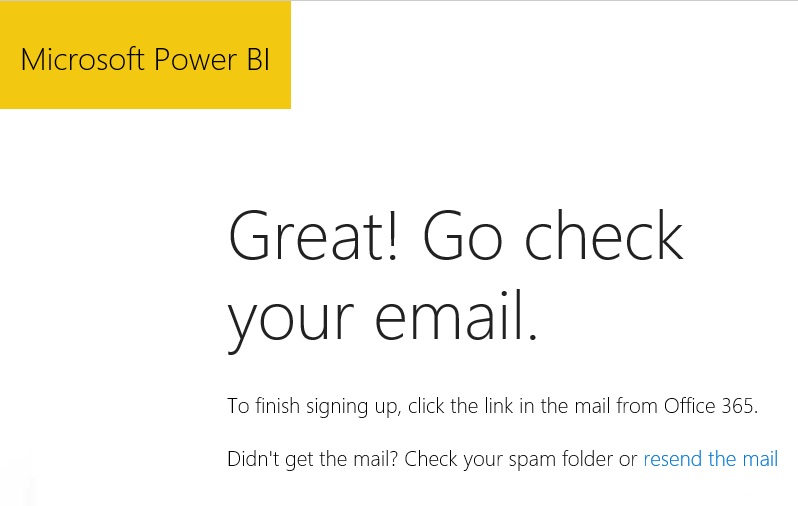
5 - Click the arrow. PowerBI.com will send you an email confirming the creation of your account, and confirm this with the screen that you can see in the following figure.
6 - Go to your email and open the mail from Power BI. It should look like the following figure.
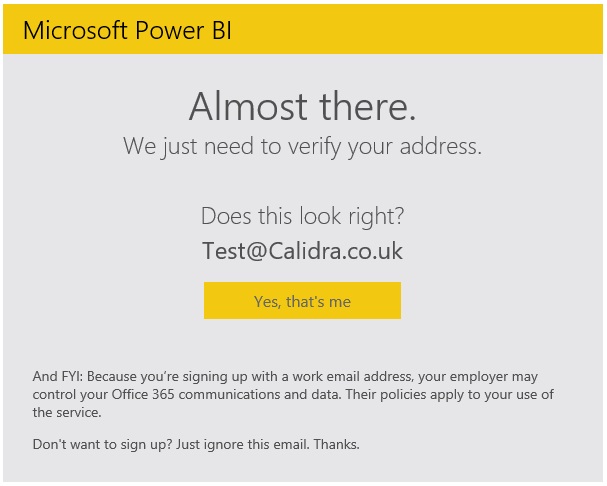
7 - Click Yes that's me. You will be connected to the PowerBI.com service, and will see a web page like the one in the following figure.
That is all that you have to do. You now have a PowerBI.com account, and can start sharing your insights with colleagues and friends.
Using Power BI Desktop Files in PowerBI.Com
It is all very well and good if you actually have a PowerBI.Com, but what is it and what can you use it for? A PowerBI.Com is essentially a collaboration environment optimized for self-service business intelligence. Given the whole self-service ethos that underlies Power BI, I think that the easiest way to understand self-service BI is to see the steps in the lifecycle of a Power BI Desktop file. This will show the process, from initial load, through interaction, to deletion. Hopefully this will give you an idea of why Power BI is so different, so visual, and so tremendously useful in practice.
Logging on to PowerBI.Com
1 - Enter the PowerBI.com URL in your browser to connect to the PowerBI.com start page that you saw in the following figure 16-1.
2 - Click Sign In. The Microsoft Sign In page will appear looking like the one in the following figure.
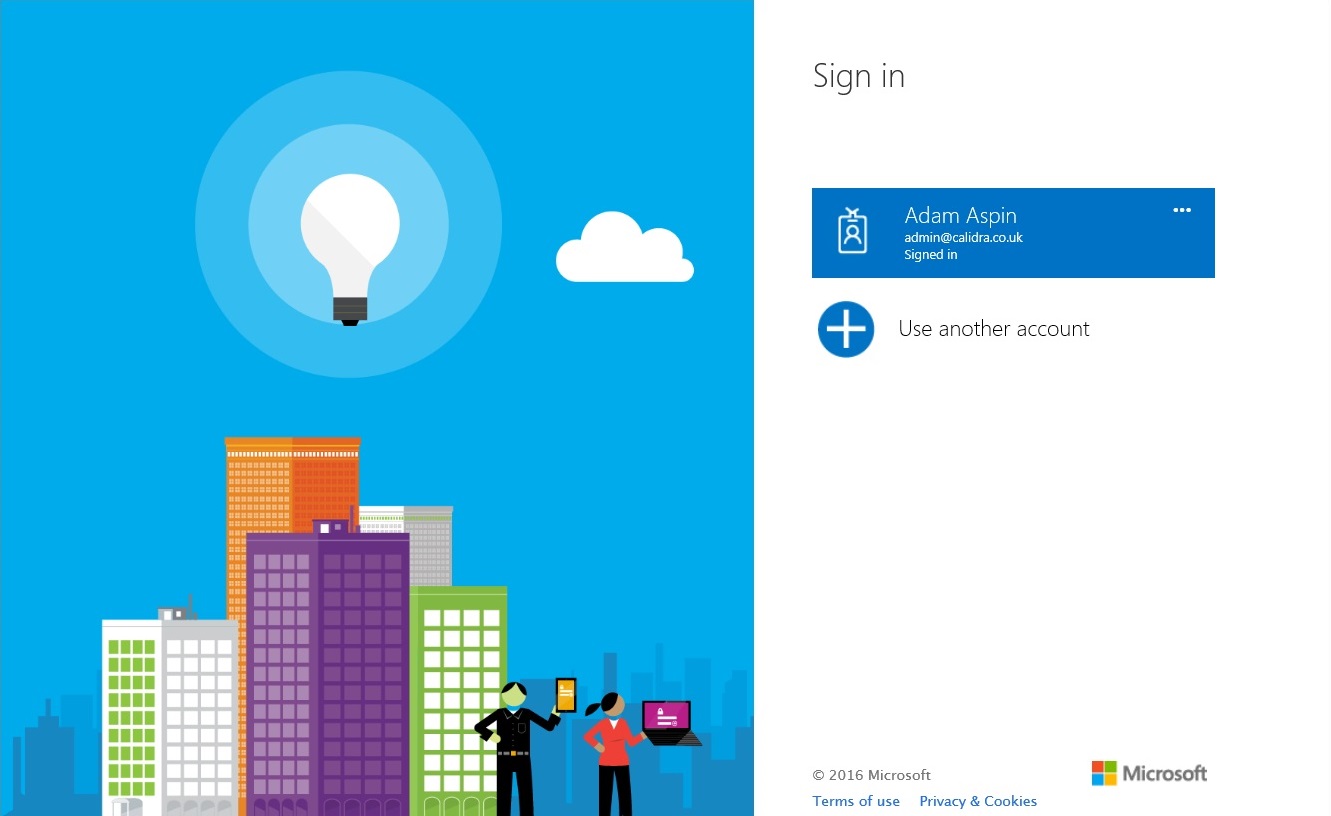
3 - Click on the account that you created previously. You will see the PowerBI.Com welcome page, as shown in the following figure.
You are now logged into PowerBI.Com, and are ready to upload files created with PowerBI Desktop.
Adding a PowerBI Desktop File
As an (admittedly very simple) example, let’s add a sample PowerBI Desktop file directly to the PowerBI.Com.
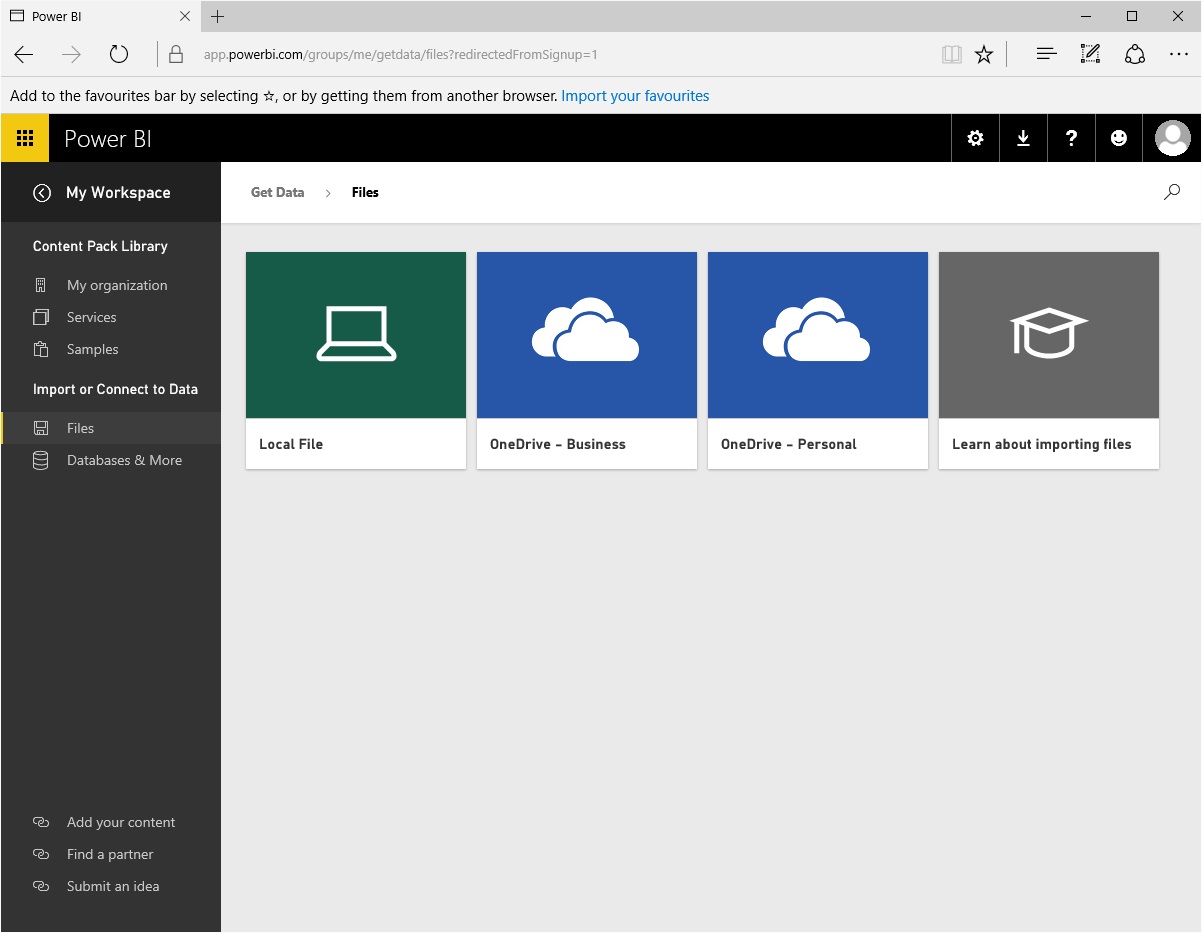
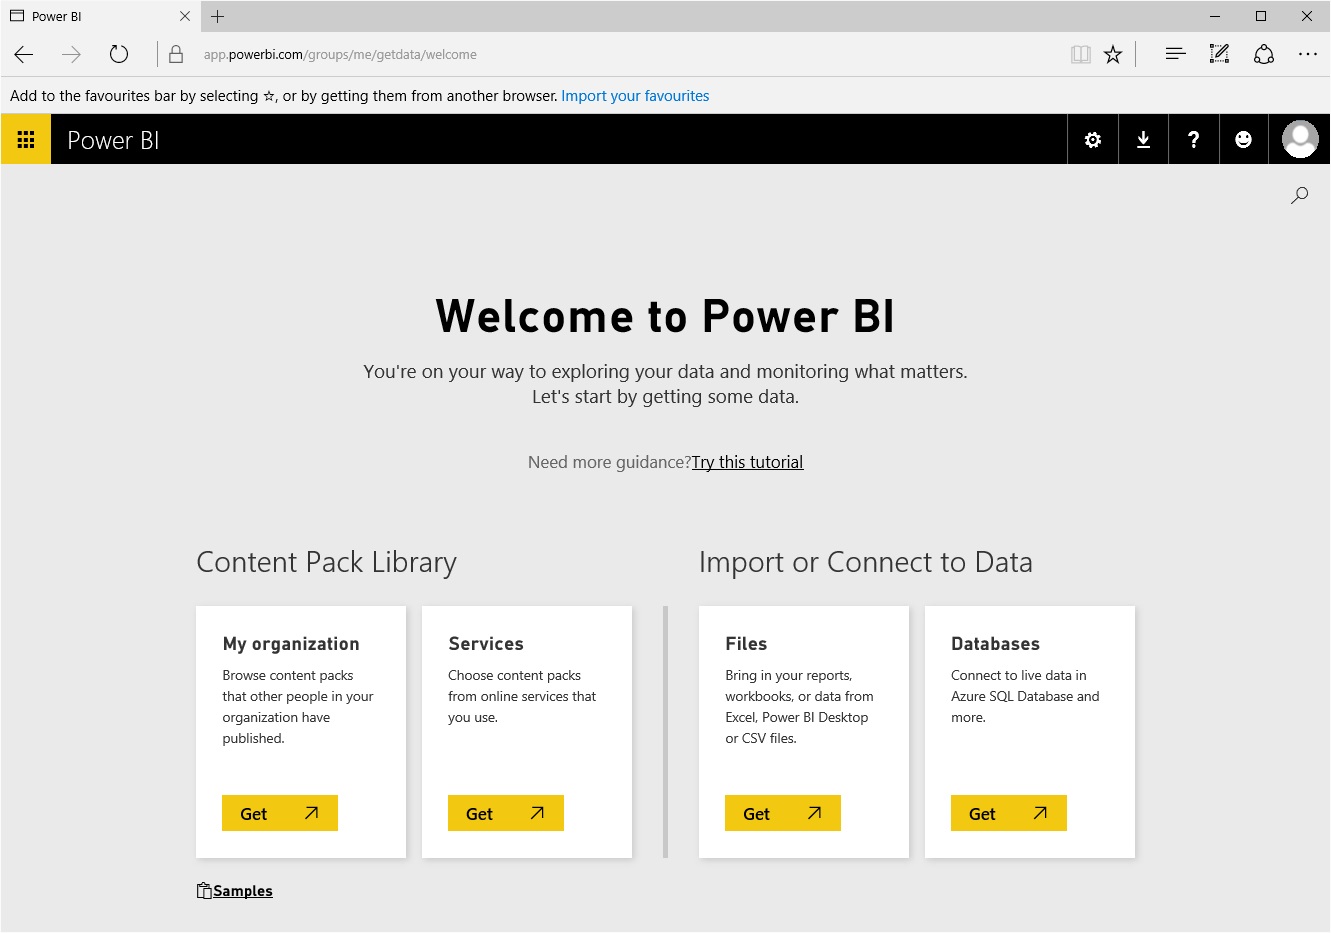
1 - In the Files section, click Get. You will switch to the Files page that you saw previously in the following figure.
2 - Click Local File. The Open dialog will be displayed.
3 - Navigate to the Power BI Desktop file that you want to add to PowerBI.Com. I will use the file FirstDashboard.pibx from the sample data in this example.
4 - Click OK. The file will be added to PowerBI.Com and will appear in the Dashboards, Reports and Datasets sections of PowerBI.Com.
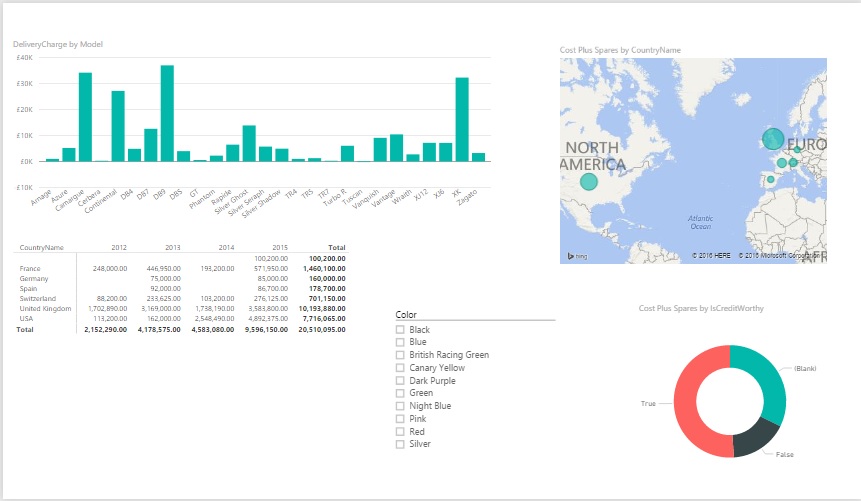
5 - Click on the report FirstDashboard. You will see the report contents exactly as they were created in PowerBI Desktop. You can see this in the following figure.
It really is this simple. However, for the moment the only way to update this file is to delete and reload it. Clearly this is more than a little clunky. So the next step is to install a Gateway that will allow you to refresh the data (even if it is stored in a SQL Server database) in the report that is now in the PowerBI.Com site.
PowerBI.Com Gateways
Sharing your analyses on a platform as powerful as PowerBI.Com needs only one more thing to make it an essential business tool. All that is missing is the ability to ensure that thae data that you are sharing is up-to-date. Fortunately, the PowerBI team have thought of this, too. Their solution is to let you create gateways from your on-premises data to the PowerBI.Com site. These gateways allow you to refresh the data in your PowerBI Desktop files from the data sources on which they are built. Not only that, but you can refresh the data manually or automatically on a schedule that you define.
Currently there are two kinds of Power BI gateway:
- Personal
- Enterprise
The essential differences are that the Enterprise gateway is designed for multiple users, and consequently has fine-grained access control, monitoring and auditing. As an added bonus it allows for DirectQuery connections (that connect directly to the data without creating a local copy in the Power BI Desktop file) to SQL Server.
PowerBI.Com gateways are a large subject in themselves. Consequently I will only be giving you a brief introduction to the personal gateway here. However, once you have understood how PowerBI.Com gateways work you should have no difficulties in extending their use to suit your specific requirements.
Downloading a Gateway
A PowerBI.Com gateway has to be installed on a local computer first. This is as easy as downloading the gateway application and then carrying out basic configuration.
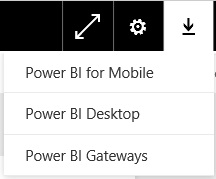
1 - In PowerBI.Com click the downloads icon at the top right of the page (the one that you can see in the following figure).
2 - Click Gateways. A new browser tab will open displaying the Gateways splash screen.
3 - Click Download for the gateway that you wish to install (the personal gateway in this example).
4 - Click Run to install the gateway.
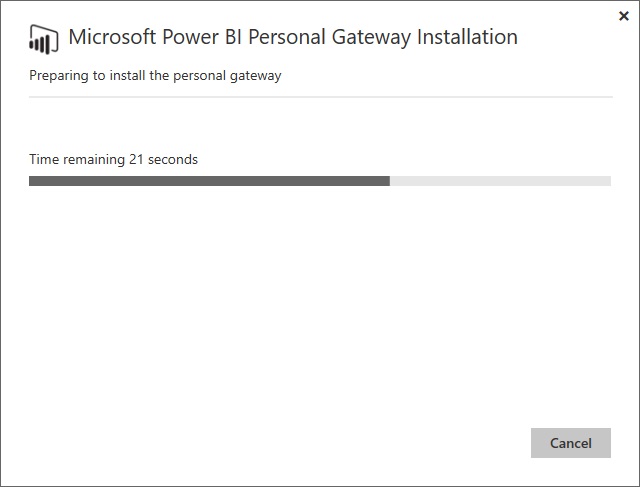
5 - Confirm the User Account Control request to allow the package to run. The Gateway preparation dialog will be displayed as shown in the following figure.
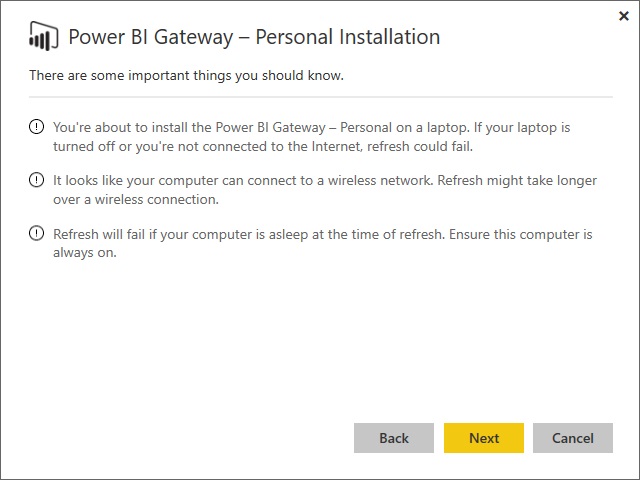
6 - Click Next. The warnings and alerts dialog will be displayed as shown in the following figure.
7 - Click Next.
8 - Accept the licence terms and click Next.
9 - Accept the destination folder (or change it if you wish) and click Next.
10 - After a short wait the final Gateway installation dialog will appear, as shown in the following figure.
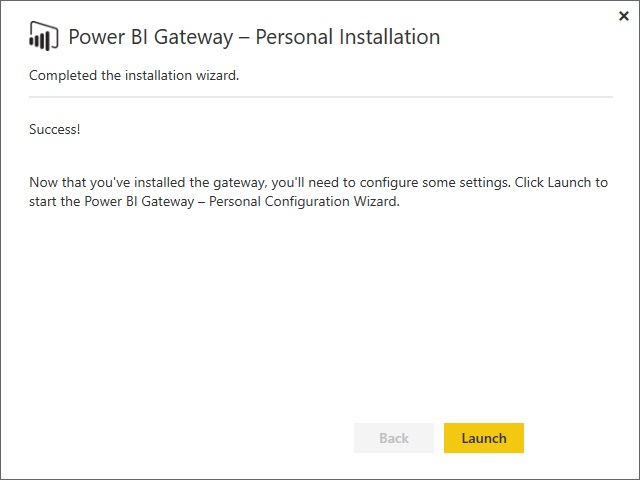
11 - Click Launch. You will have to sign in to PowerBI.Com unless you are already signed in.
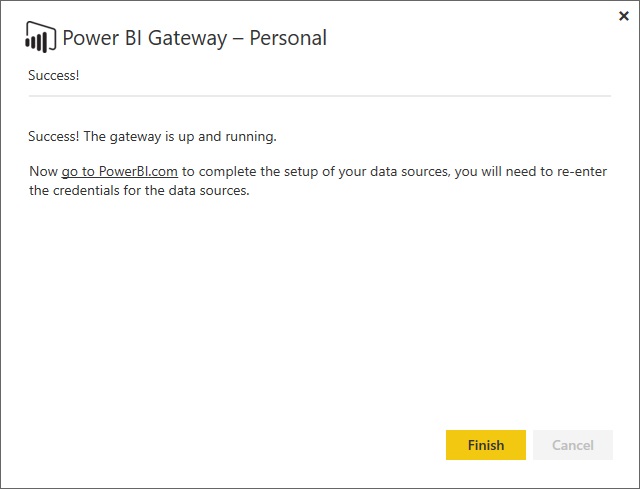
12 - After a short period of configuration the final Gateway dialog will appear, as shown in the following figure.
Note A PowerBI.Com Gateway is an app on your PC. So you can always find it (depending on your version of Windows) amongst the installed applications on your computer.
Configuring a Gateway
Configuring a Gateway is nothing more than specifying which data source(s) you want to refresh-either manually or according to a schedule.
Ad-hoc Data Refresh
As an example of how to use a gateway that you have installed on your PC, let's apply a manual refresh to the file that you loaded at the start of this chapter.
1 - In PowerBI.Com, click on the options menu (the ellipses) for the data set that you want to refresh (FirstDashboard in this example). The options menu will be displayed, as shown in the following figure.
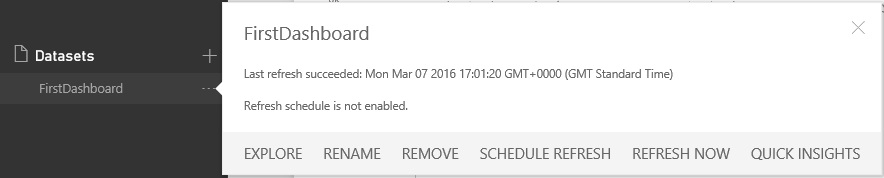
2 - Click Refresh Now.
The dataset will be refreshed with the latest data from the source. This may take a minute or two. Of course, all your visuals will be updated to reflect any changes in the source data.
Scheduled Data Refresh
If you really want to ensure that your data is always up-to-date you can use a personal gateway to carry out a daily data refresh. Here is how
1 - In PowerBI.Com, click on the options menu (the ellipses) for the data set that you want to refresh (FirstDashboard in this example). The options menu will be displayed.
2 - Select Schedule Refresh. The Datasets Settings page will be displayed.
3 - Expand Schedule Refresh.
4 - Set the Keep your data up to date switch to Yes.
5 - Choose a refresh frequency (daily or weekly). The page will look like the following figure.
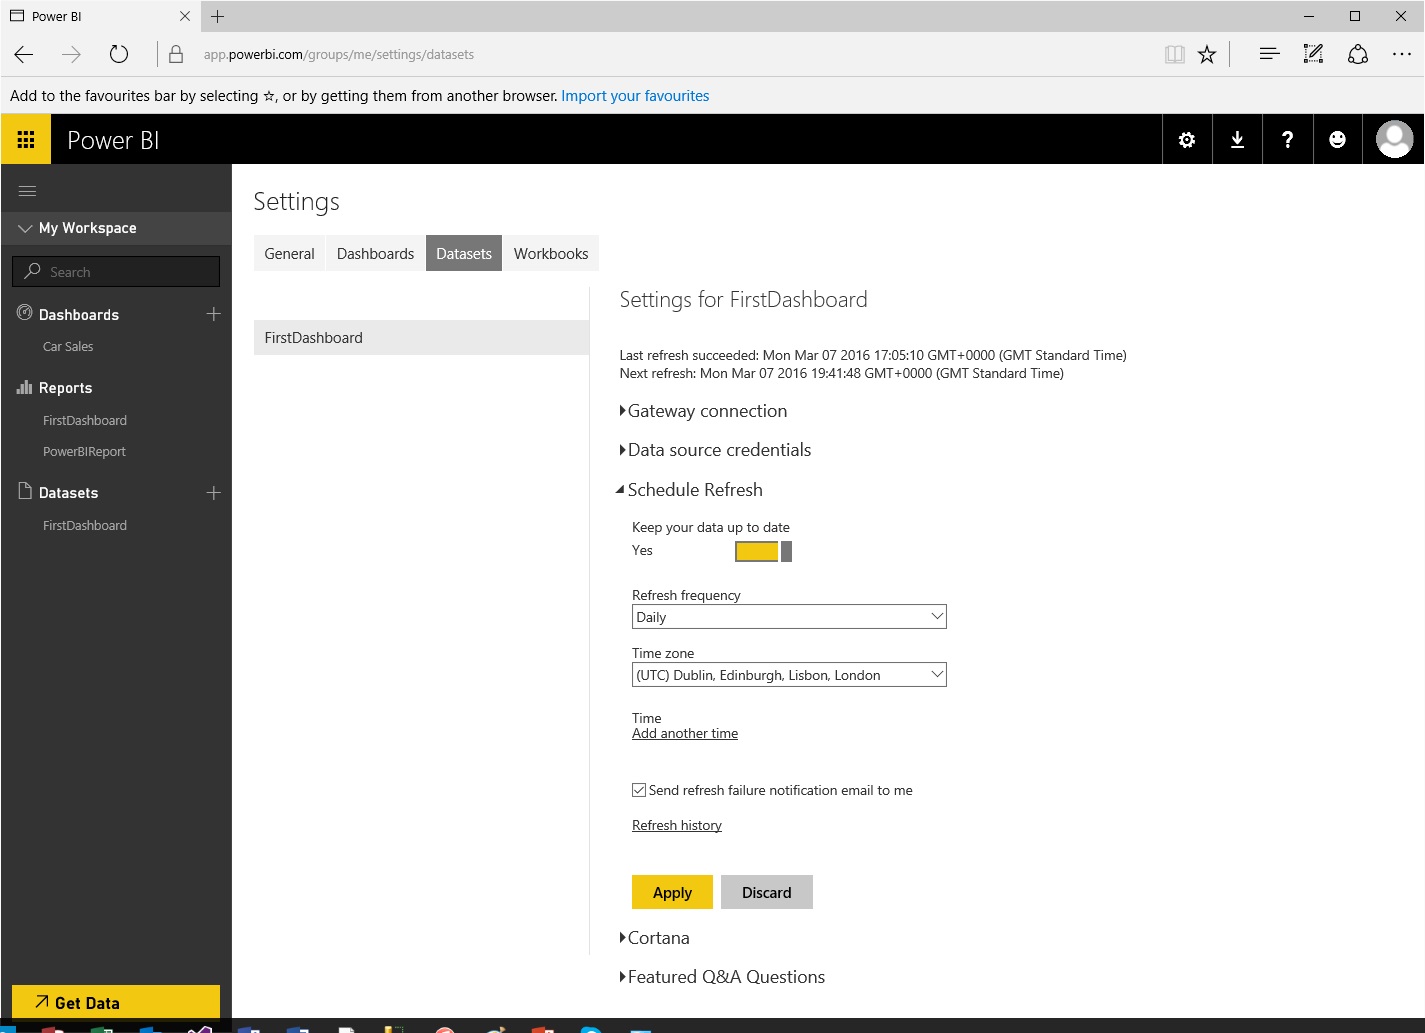
6 - Click Apply.
The selected dataset will now be refreshed according to the schedule that you have chosen. If you have downloaded and installed the Enterprise gateway then you can refresh your data hourly instead of daily, and you can also refresh larger amounts of data.
Pro Power BI Desktop
If you like what you read in this article and want to learn more about using Power BI Desktop, then please take a look at my book, Pro Power BI Desktop (Apress, May 2016).
