SSIS can't auto detect the data types and field lengths of a Flat File Source. This is absolutely fair enough given the nature of these file types. Often we do have this information to hand; either in the shape of a destination table or details found on the source system.
This article shows how we can avoid the job of manually defining corresponding data types and field lengths in SSIS.
The Scenario
I was tasked with creating an SSIS package to import a *.csv file with over 300 columns. The data was sourced from a SQL table and the CREATE TABLE script was provided for the destination. I ran the script and voila, the destination table was in my database.
The assumption was; it would then be easy to define the *.csv as a Flat File Source, connect it to the destination table, and with a few clicks my package would be complete. At that point, I hit upon the issue in hand: the Flat File Connection Manager would default all “Output Column Widths” to 50 and set the “data type” as string[DT_STR]. In fairness, SSIS is not a mind reader and would somehow have to be told this information.

With 300 columns to define, I consulted my old friend, the Internet, for help. This didn't provide a clear solution but did reveal other users had encountered a similar ‘problem’. Hence this article to describe a workaround to avoid the dreaded chore of manually entering Flat File Source datatypes and lengths for a Flat File Source.
Before We Begin
In real life I had 300 columns; this example has 7, but the idea should translate. Although I would suggest if you had 7 it could be easier to enter the values manually, but this way is more fun 😉
To follow please create table & Source_Data.csv
Sample Destination Table:
    CREATE TABLE dbo.SSIS_Destination_Table(
           [Col1] [int] NULL,
           [Col2] [varchar](20) NULL,
           [Col3] [smalldatetime] NULL,
           [Col4] [numeric](18, 3) NULL,
           [Col5] [varchar](50) NULL,
           [Col6] [varchar](50) NULL,
           [Col7] [varchar](50) NULL
    ) ON [PRIMARY]
Source_Data.csv:
    Col1,Col2,Col3,Col4,Col5,Col6,Col7
    123,abc,26/04/2018,5.6,notes are here,and here,and here
The Workaround
Data is exported from the blank Destination table to a temp.csv file. This ‘auto generates’ the data types and lengths (using the source table metadata). We then flip the Destination to become a Source and ALL the metadata can be carried across.
For some of you this summary may be all you need to work out what’s going on. In that case great!
Part 1
In this step we create our destination table and build a dataflow task using the destination table metadata to create a Flat File Connection Manager with equivalent metadata.
- Create the Destination Table in your Database [SSIS_Destination_Table]
- Create a New SSIS Package and drag a new Data Flow Task to your package
- Go to the Data Flow Tab
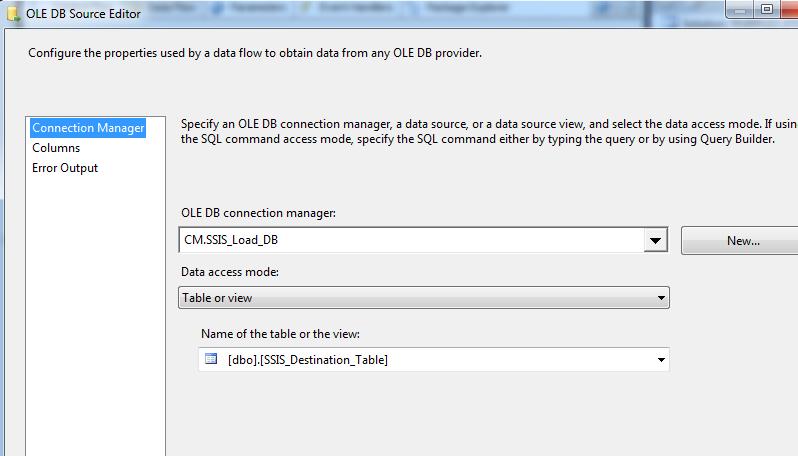
- Add an OLE DB Source and configure the connection to your database and table as shown below
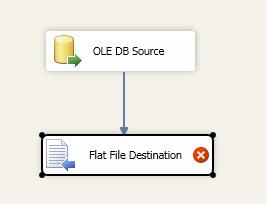
- Add a Flat File Destination
- Connect the blue arrow from source to destination and double click the destination icon.
- Click New and the following pop-up will appear:
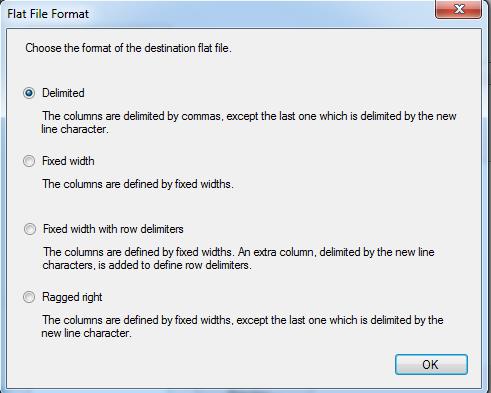
- Select ‘delimited’ and click OK
- Click Browse
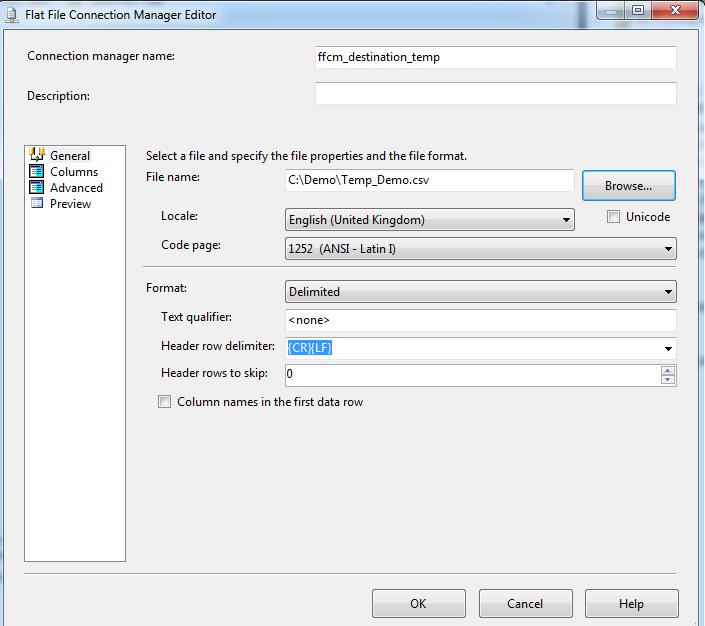
- Navigate to any folder location and type a new filename; e.g. C:\Demo\Temp_Demo.csv. Note: At this point Temp_Demo.csv does NOT exist
- Now, click on Advanced. This is where a clever bit has happened.The Destination file has been created based on the metadata of the Source Table. Click on each column and see the data types change to match your Source Table.

- Click Ok and you should see;
- Double click on the Flat File Destination and you shoud see;
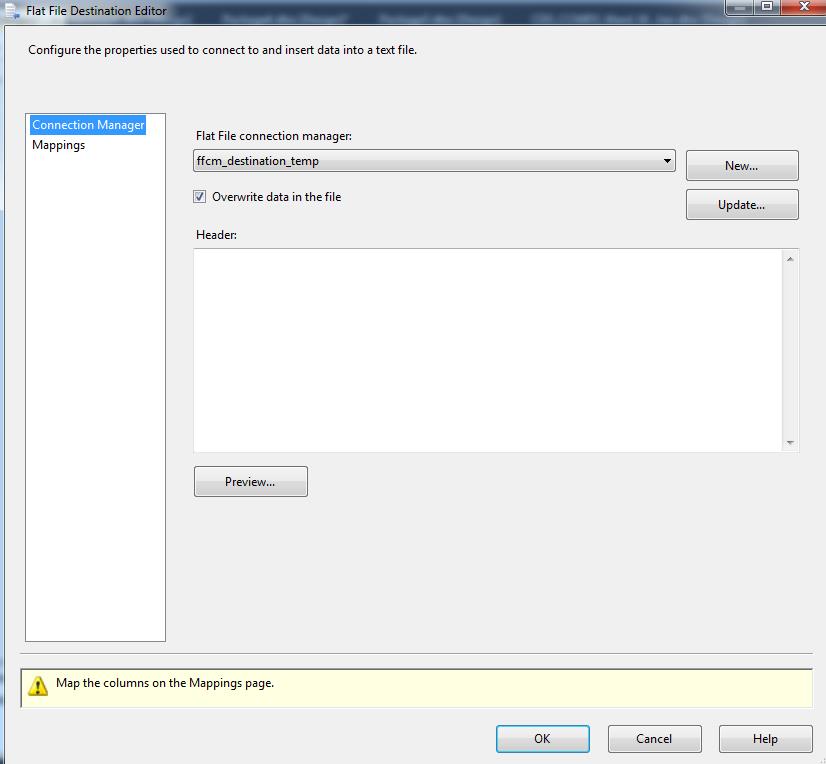
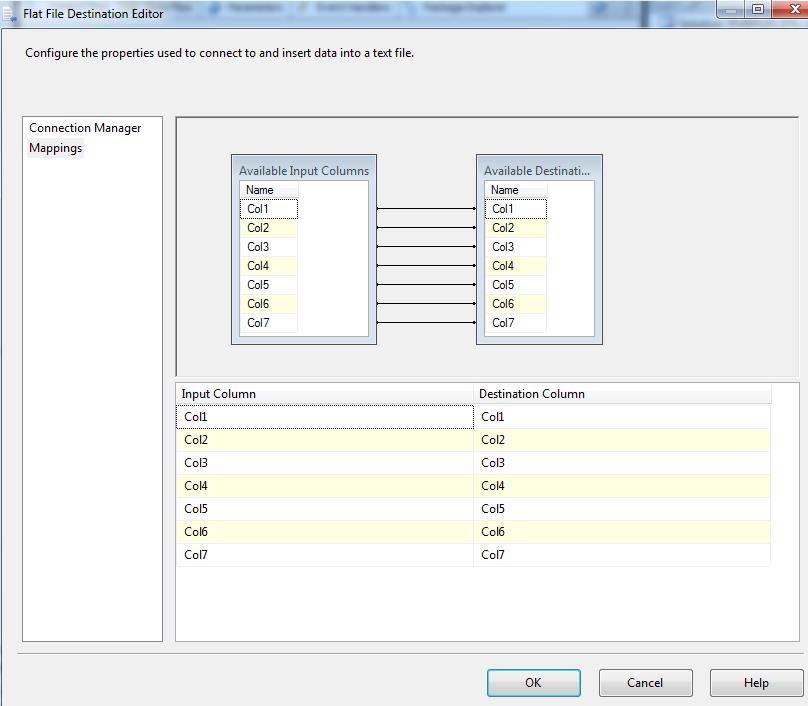
- Click on Mappings to auto map the columns - you should see this:
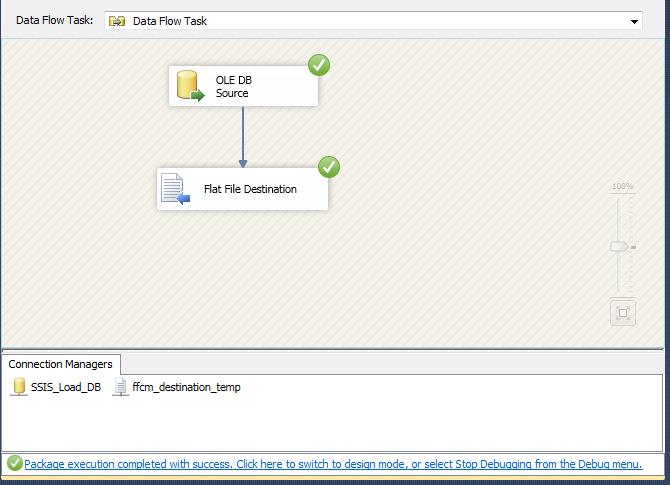
- Click Ok, Save & Run the SSIS Data Flow Task – hopefully you see something like this:
Step 2
In this step we flip the Source and Destination around. Metadata from the Destination is retained in the Source and you end up with a Data Flow Task containing corresponding data types and lengths without having to enter the information.
- Delete the OLE DB Source and Flat File Destination (Not the Connection Managers!)
- Drag a new Flat File Source to the package and double click. Select the Flat File Connection Manger (created in step 1). Then hit OK
- Drag an OLE DB Destination task and connect the Blue arrow from the Source
- Double click the OLE DB Destination
- Select [SSIS_Destination_Table] as the table.
- Click the Mappings tab and the columns should Auto Map hit OK (& Save)
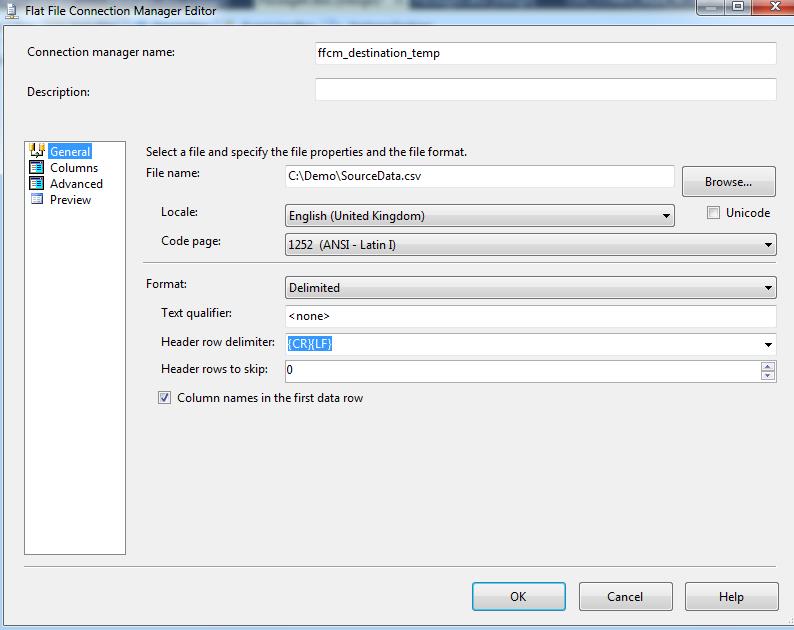
- Double click on the ffcm_destination_temp connection and browse to the actual file (in this e.g. C:\Demo\SourceData.csv)
Summary
In summary, we gave SSIS the metadata for a CSV file by creating the destination database object and using that information to create a Flat File Connection Manager with the necessary metadata. The Destination was then switched to a Source and the metadata retained. This method can be useful when loading delimited files with many columns of varying data type and length.
I hope this proves helpful 😉
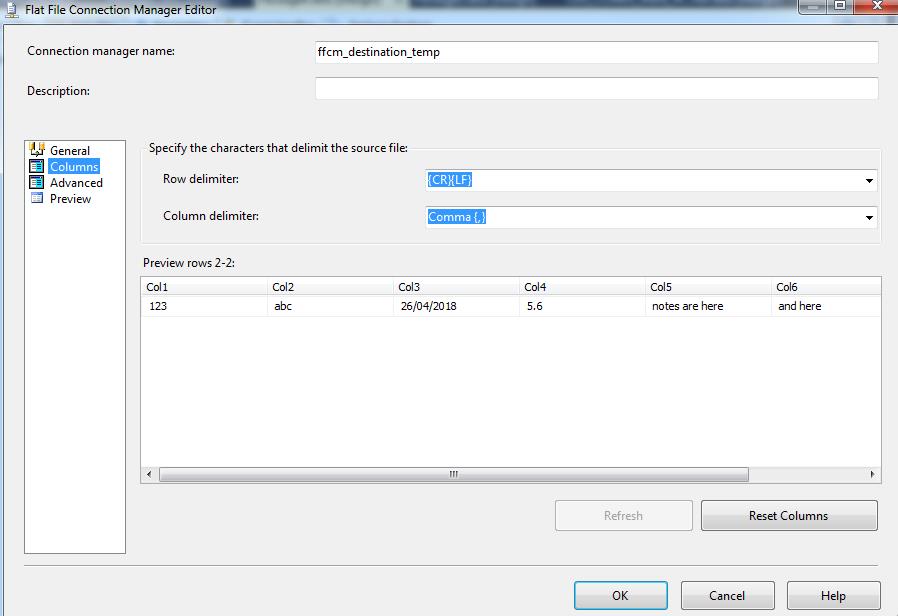
- Click check box “Column Names in the first data row”
- Click Columns and verify data is lind up as expected
- Click Advanced, and you should see all the metadata has carried over!
- 11. Save and Run Package. (And if it works celebrate in a style of your choice)