

This article will explain and help to create and deploy ARM templates using the Azure portal.
When Azure was first created, Azure resources were managed using the Azure service management (ASM), which is also known as “Classic”. Now this has been replaced and is called the Azure resource manager (ARM) API. ARM is the deployment and management service to deploy, manage and monitor several resources as a group rather handling them individually. It also allows managing your infrastructure using declarative templates rather than using commands or scripts. ARM templates are JSON files that define the resources you need to deploy for your solution. You can create an ARM template for an entire resource group or for one or more resources.
In this article, we will focus on how to create an Azure storage account and export our configuration into a resource manager template that we can deploy using the Azure portal. The template can also be saved and reused in the future.
Create Azure storage account
You need to sign in to your Azure Portal, and select create a resource. Then click on storage and storage account as shown in IMG 1.
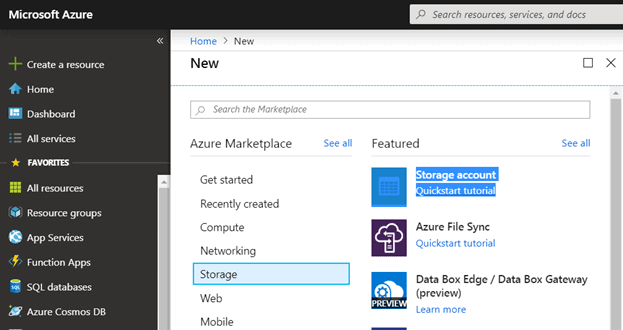
IMG 1
The create storage account page will ask you for the following details:
- Select the subscription to manage deployed resources and costs. Use resource groups like folders to organize and manage all your resources. Create new or specify a resource group name, have used a resource group created earlier.
- Provide a unique name to the storage account, you can change or use default values for the rest of the properties as shown in IMG 2.

IMG 2
Select the Review+Create. You will get two options: Create and Download a template for automation. This is shown in IMG 3.
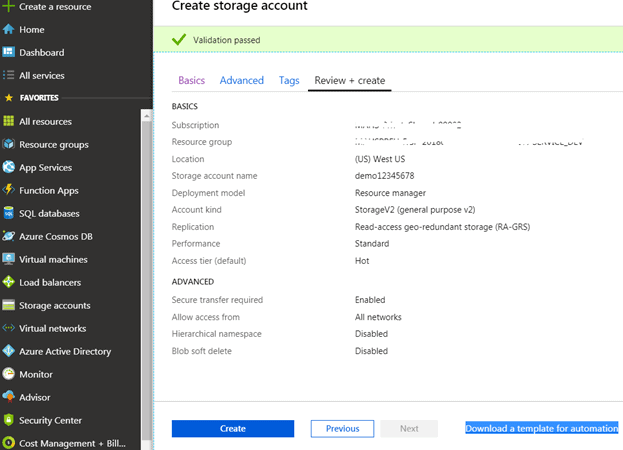
IMG 3
Click on the Download a template for automation option, which will provide the template as shown in IMG 4.
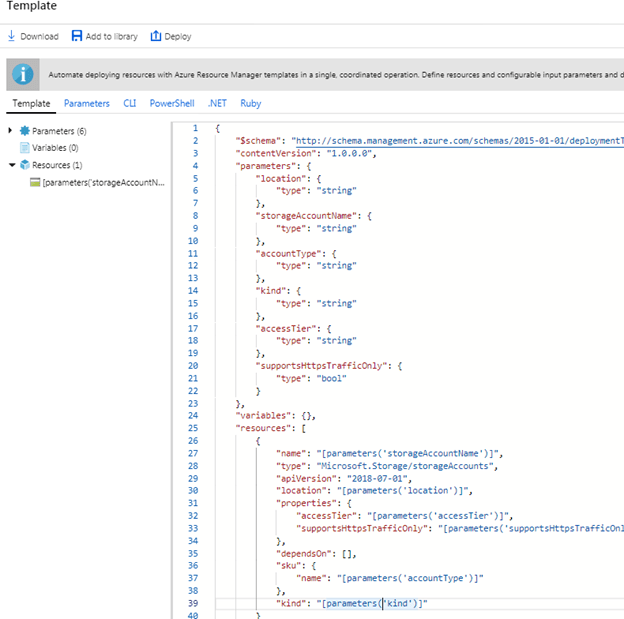
IMG 4
In the above image, you can see the JSON template with six parameters (schema, contentVersion, parameters, variables, resources, and output) defined for one azure resource, “Microsoft.Storage/storageAccounts”, You also see the definition structure.
Select the Download from the top of the screen and save the template.json file.
Deploying the Template
Now we will see how to deploy the template created in the above section of this article. To deploy the template, select Create a resource in the Azure portal and search for the template deployment type. Then select create, as shown in IMG 5.
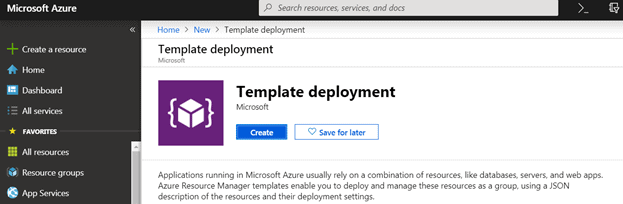
IMG 5
Select Build your own template in the editor as shown in IMG 6.
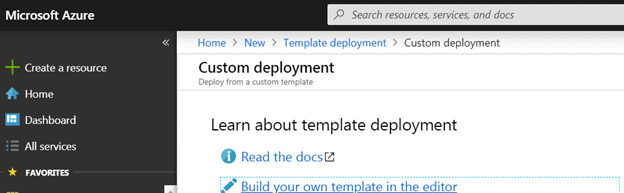
IMG 6
Select Load file and then follow the instructions to load template.json, which you have downloaded in the last section. Once this is down, click save as shown in IMG 7.
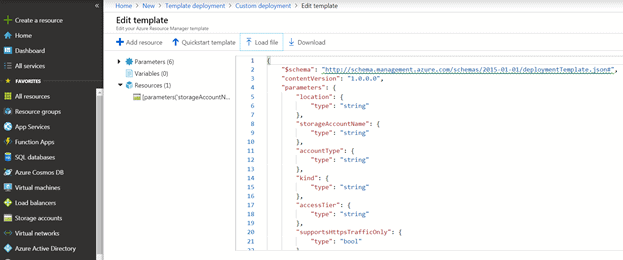
IMG 7
Enter the resource group, Location, Account type, Kind, Access tier, Https Traffic Only Enabled and check the "I agree to the terms and conditions stated above" option, as shown in IMG 8.
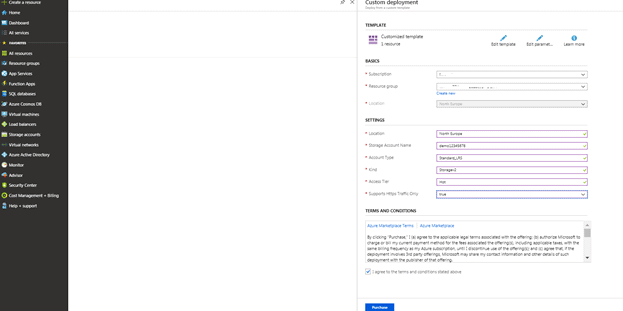
IMG 8
Select purchase and you will see the Deployment in progress. After few seconds, you get the notification stating the deployment succeeded. These are shown in IMG 9 and IMG 10.
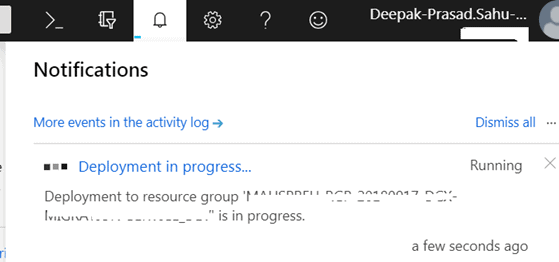
IMG 9
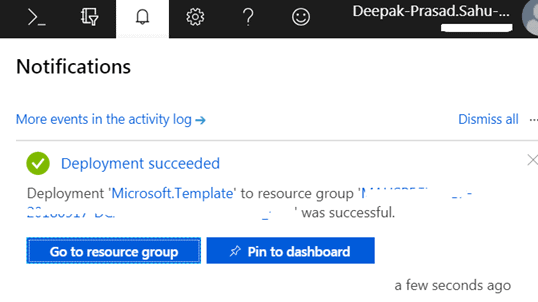
IMG 10
Summary
ARM templates are simple JSON files to deploy resources to Azure with a single command. In this article, you learnt how to generate a template from the Azure portal, and how to deploy the template using the portal.