

Introduction
JSON (Java Script Object Notation) is becoming more popular. SQL Server, Tabular Databases, Web Services, DocumentDB also use JSON for different purposes. That is why we will talk about JSON and how to import JSON data to a CSV file using SQL Server Integration Services (SSIS).
If you have no experience in JSON, this article was created for you. We created a nice step-by-step tutorial.
Requirements
Please be sure the following are completed before trying the code in this article.
- SQL Server Installed with SSIS
- SQL Server Data Tools installed
Getting Started
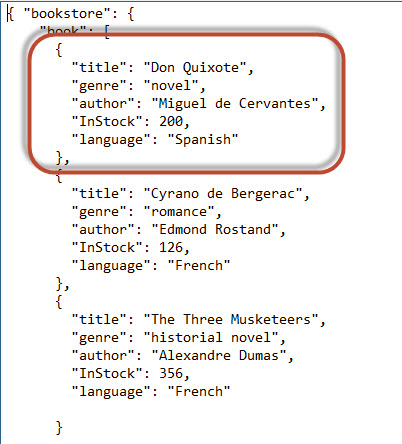
In this example, we will import the data from a JSON file to a CSV file. The JSON file named bookshop.json can be downloaded from the Resources section files at the end of this article. Here is what is contained in the file:
{ "bookstore": {
    "book": [
      {
        "title": "Don Quixote",
        "genre": "novel",
        "author": "Miguel de Cervantes",
        "InStock": 200,
        "language": "Spanish"
      },
      {
        "title": "Cyrano de Bergerac",
        "genre": "romance",
        "author": "Edmond Rostand",
        "InStock": 126,
       "language": "French"
      },
      {
        "title": "The Three Musketeers",
        "genre": "historial novel",
        "author": "Alexandre Dumas",
        "InStock": 356,
        "language": "French"
      }
    ]
  }
}
The JSON file contains book information, including titles, genre, language and authors of the books. We will export the data to a CSV file. We will use a free component from Codeplex. It is the SSIS JSON Source Component. This is an external component used to extract information from JSON. You can download it here. This is a free component of 550 KB approximately.
Once downloaded, execute it. The installer will install the components in SSIS:

Go to SSDT and then go to File>New Project
Go to Integration Services>Integration Services Project:

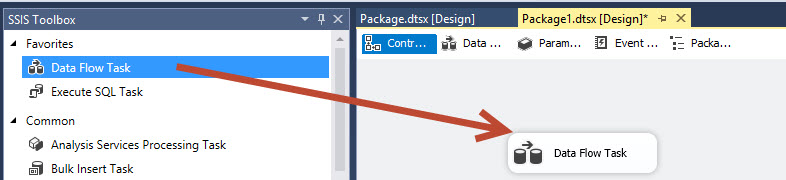
Drag and drop Data Flow Task to the design pane:
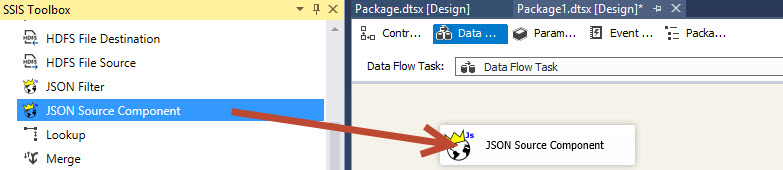
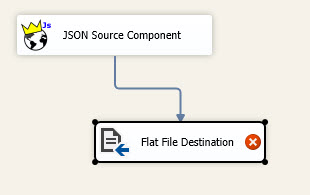
Double click Data Flow to enter to the Data Flow section and drag and drop JSON Source Component (this is the new component installed to handle JSON files):
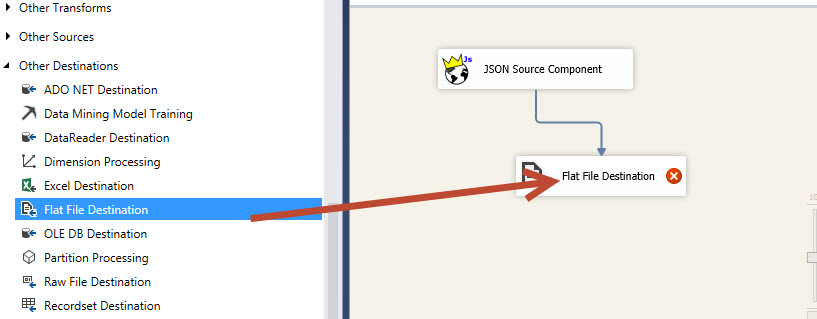
Drag and drop the Flat File Destination component. This Task will be used to create the destination CSV file:
Return to the Source JSON component. In Settings, select direct Input and press browse to select the bookshop.json file. You can specify a local file or a URL. Abouth the methods, use get. Get is used to read data. Here you have a table with the functionallity of each method:
| Method | Operation |
| GET | Read data |
| POST | Create |
| PUT | Update/Replace |
| DELETE | Delete |
Once selected the get option and the file, press Test:

Test will display errors if there are problems. If everythig is green it means that everything is OK:
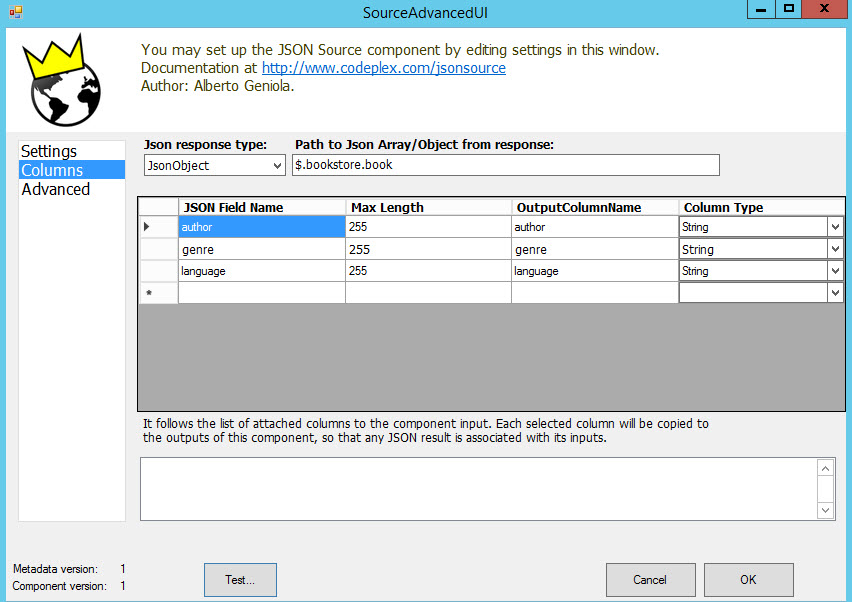
Go to Columns. In columns we have the following parameters:
Json response type
Go to JSON response type, and select JsonObject. Response type is used to specify the format of the data received. If the data received is an array, you can specify the Array type. In most of the cases, it is an object. If there are brackets at the beginning and at the end of the end of the file, it is an array.
Path to Json Array/Object from response
Path is used to specify the position of the objects in a JSON file. In this example, we will select author, gender and language fields from the bookshop.json file. In our JSON file, these fields are inside the book object and book is inside bookstore:
bookstore>book>author
In JSON paths, the root (in this case bookstore), requires a $ to indicate that it is the root. The Path to Json would be:
$.bookstore.book
JSON Field Name
Here you specify the name of the fields in JSON. In our JSON file we want the following fields:
- author
- genre
- language
Max Length
Max lenght depends on Column type. In this example, the max size for string is 255 characters.
OutputColumnName
This field is the name of the columns exported. You can use the same name of the JSON Field Name or use another name.
Column type
It is used to specify if the value is a sring, a number, etc.
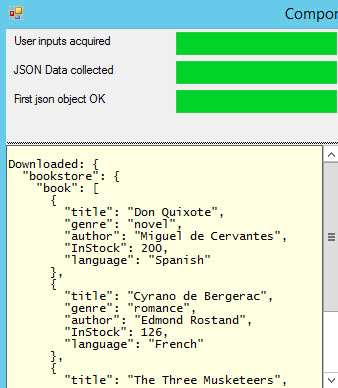
Once selected the values, specify the values and press test:
If everything is OK, you will be able to watch the book information of the first object like the title, genre of the first book in the JSON file:
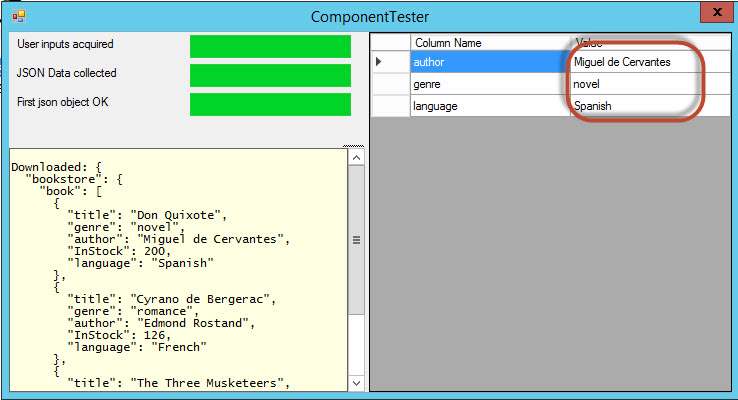
The first object is Don Quixote in the bookshop.json file:
Go to Flat File Destination:
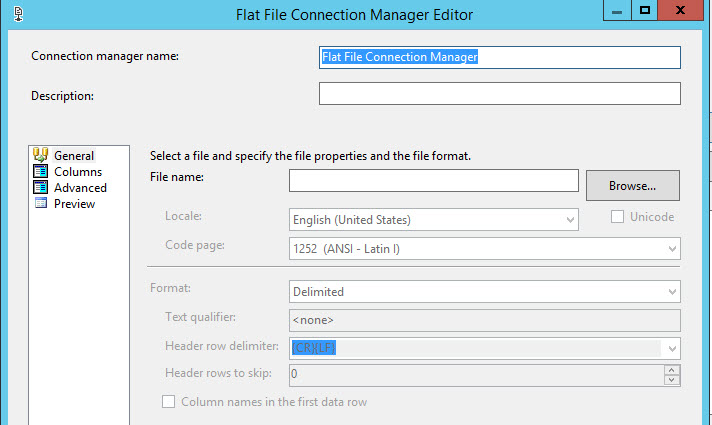
In Flat File Destination, press New:

Select delimited to generate a file with columns separated by columns:

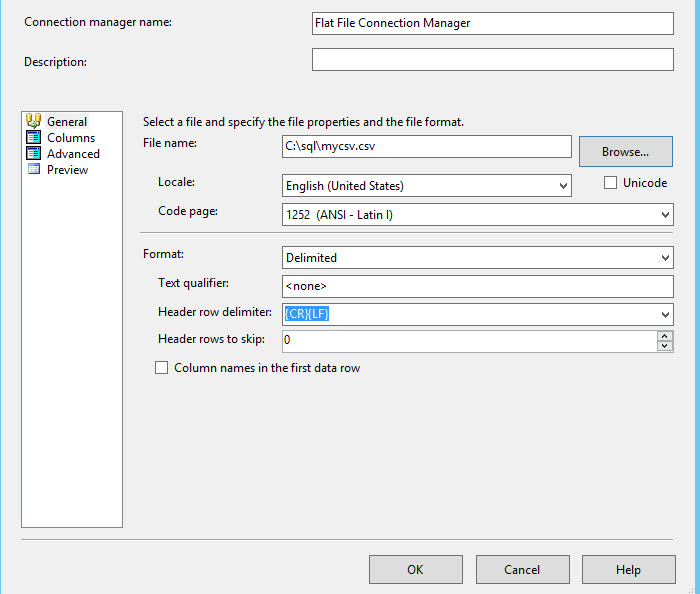
Press browse to select the path of the flat file to create:
Specify a name for the CSV file. In this example, the file name will be mycsv and the type CSV:

Press OK to accept the configuration:
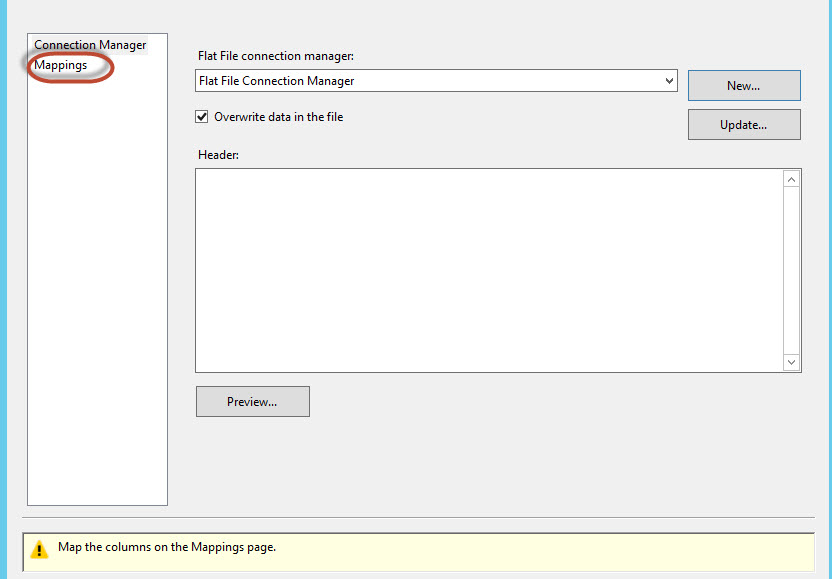
Press Mappings to Map the JSON column to the new CSV file:
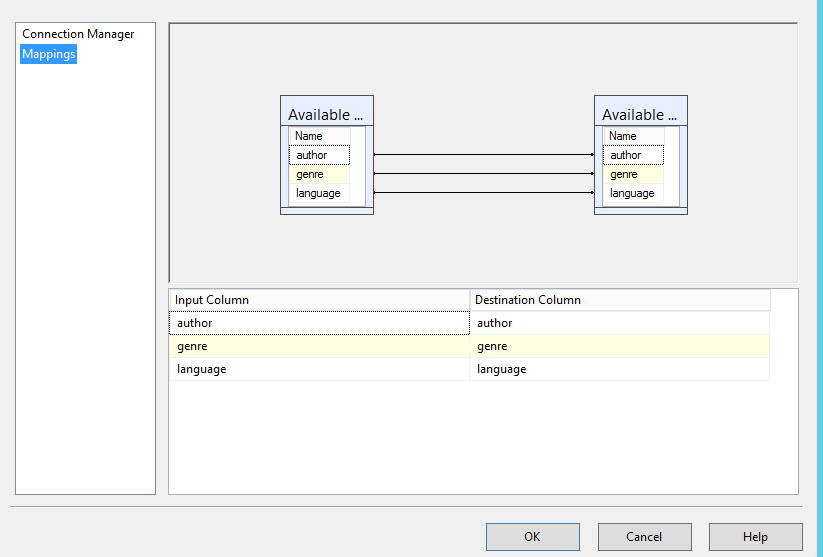
Mappings will map all the columns from source to target:
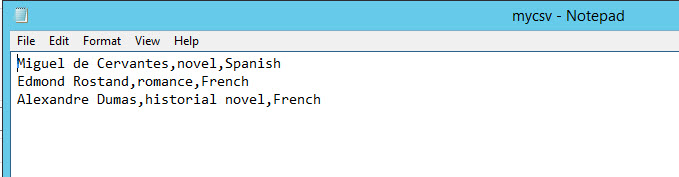
Press Start to run the package:

If everything is OK, you will be able to see mycsv.csv with the data created:
Conclusion
In this article, we exported data from JSON to a CSV file. It is very easy with SSIS to export to SQL Server, Oracle or any other database of your preference.
