

Introduction
In our article about common questions about Azure SQL Data Warehouse, we introduced you to the Azure Data Warehouse world. In this new article, we will show you how to create a new Azure Data Warehouse database using PowerShell.
Requirements
- A local machine with PowerShell for Azure.
- An Azure subscription
Get Started
We will do the following in this article:
- Create a Resource Group
- Create a SQL Server in Azure
- Create the Azure Data Warehouse
- Start and Pause the Data Warehouse
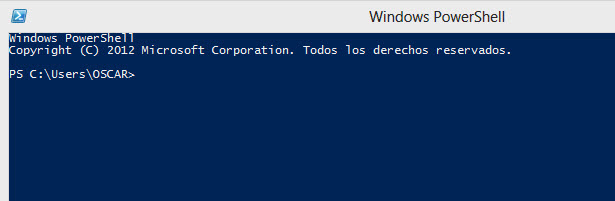
Open PowerShell in your machine:
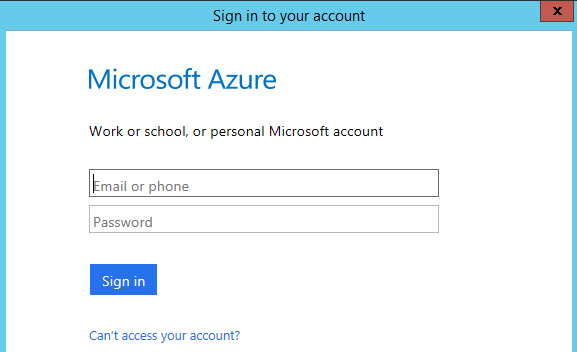
Login to Azure with this command:
Login-AzureRmAccount
This will open a popup where you specify your credentials:
1. Create a Resource Group
You can group your Azure resources together for easy management. In PowerShell, we will use the New-AzureRmResourceGroup cmlet to create a resource group named virtualGroup in South Central USA:
New-AzureRmResourceGroup -Name virtualGroup -Location "South Central US"
You can verify that the Resource Group was created using the Azure Portal and going to Resource groups:
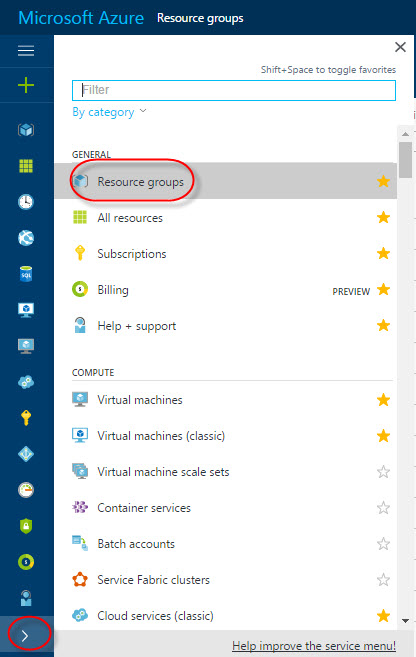
The virtualGroup is in the list of Resource groups:

You can also run the following cmdlet in PowerShell to verify that the resource group was created:
Get-AzureRmResourceGroup -Name "virtualGroup"
The result displayed will be similar to this one:

2. Create a SQL Server in Azure
In order to create a SQL Server in Azure, run the following cmdlets in PowerShell:
New-AzureSqlDatabaseServer -Location "South Central US" -AdministratorLogin "daniel" -AdministratorLoginPassword "Ssqlcentral7988!" -ResourceGroupName "virtualGroup"
We are creating a SQL Server in PowerShell in the resource group virtualGroup in the Azure labs in South Central USA. This has a login named daniel and a password specified. We are also using the virtualGroup resource group created. To verify that the server was created, run the following cmdlet:
Get-AzureSqlDatabaseServer -ServerName "v8a0ujjshk"
This is the information displayed by the cmdlets. V8a0ujjshk is the server name:

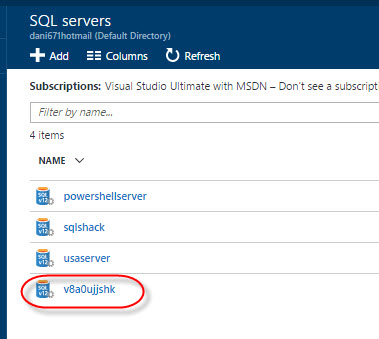
In addition, it is possible to see the SQL Servers using the portal. Go to SQL servers:
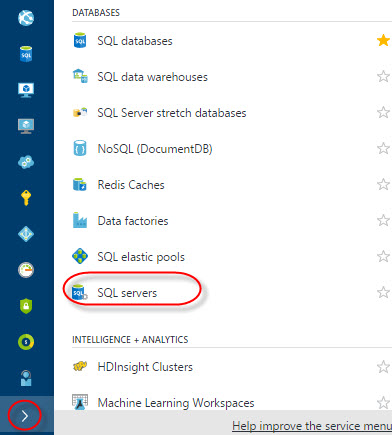
In the list of SQL server, you will be able to see the SQL Server created:
3. Create an Azure SQL Data Warehouse
Finally, we will create the Azure Data Warehouse in PowerShell:
New-AzureRmSqlDatabase -RequestedServiceObjectiveName "DW100" -DatabaseName "myWarehouse" -ServerName "v8a0ujjshk" -ResourceGroupName "virtualGroup" -Edition "DataWarehouse"
The RequestedServiceObjective is very important, because you define the price that you want to pay here. DW100 is the cheapest price. Other options are DW200, DW300, DW400, etc. A DW100 costs 1.5 USD per hour approximately and a DW6000 is 90 USD per hour. It depends on the database size and the number of user requested. If you want faster queries, you will require paying more. For a complete list of prices, refer to this link: Azure Data Warehouse Prices
Another parameter is the Database name. In this example, the name is myWarehouse.
ServerName is the Azure SQL Server name created before.
ResourceGroupName is the name of the Resource Group that we created at the beginning of this article.
Edition is the type of database. In this example, it is a DataWarehouse, but it can be a Standard, Premium or Basic database.
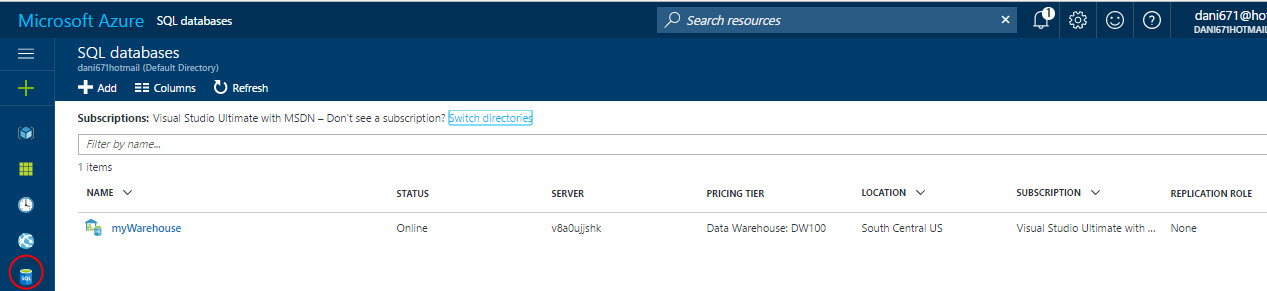
You can verify the Data Warehouse database created in the Portal. Just click on the Databases icon:
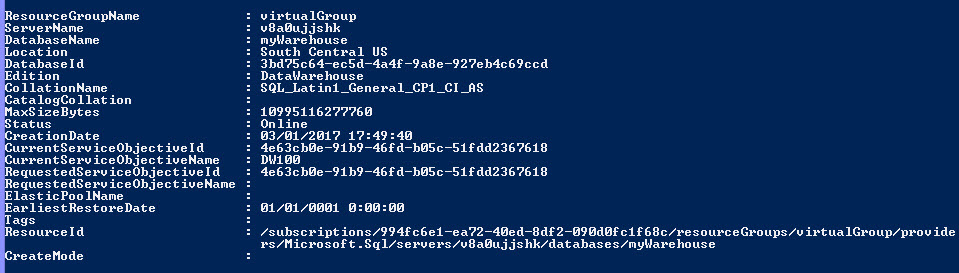
In PowerShell, you can use the following cmdlet to verify that the database named myWarehouse created in the Server v8a0ujjshk and Resource Group Name named virtualGruop was created:
Get-AzureRmSqlDatabase -ServerName "v8a0ujjshk" -ResourceGroupName "virtualGroup" -DatabaseName "myWarehouse"
The information displayed is the following:
 4. Start
 4. Start
Pause the Data Warehouse
In Azure, it is a good idea to pause the Database, because you will pay less. For example, when it is night in your company, nobody will be using the Warehouse. When the Data Warehouse is paused, you are only charged per storage, but not for the use of the database. To pause, you can use the following cmdlet:
Suspend-AzureRmSqlDatabase -ResourceGroupName "virtualGroup" -ServerName "v8a0ujjshk" -DatabaseName "myWarehouse"
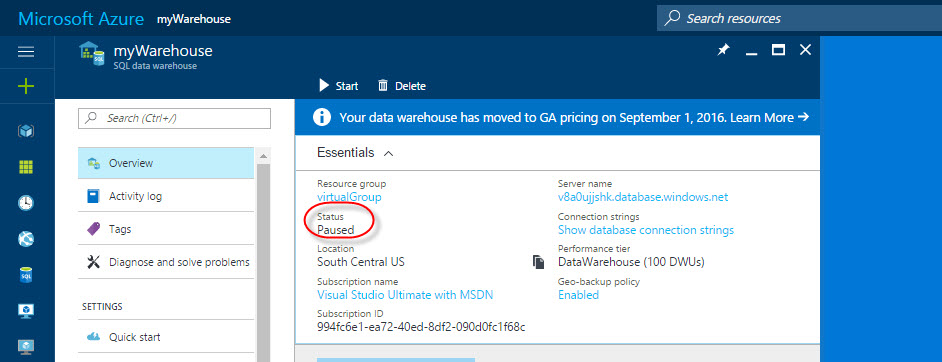
In the Azure Portal, you can verify the Status of the database:
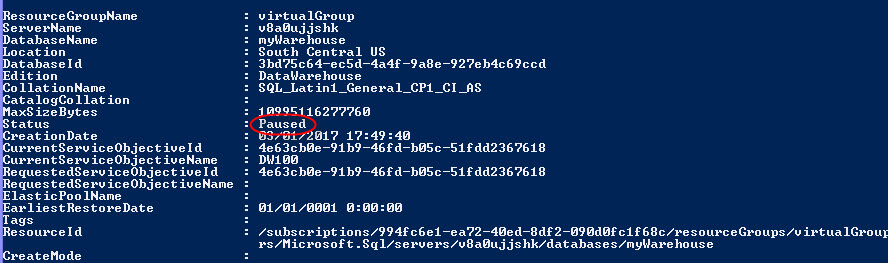
With the Get-AzureRmSqlDatabase cmdlet used before, you can also verify the Data Warehouse status in PowerShell:
Get-AzureRmSqlDatabase -ServerName "v8a0ujjshk" -ResourceGroupName "virtualGroup" -DatabaseName "myWarehouse"
The status will be paused:
You can also resume a paused Data Warehouse using the following cmdlet:
Resume-AzureRmSqlDatabase -ResourceGroupName "virtualGroup" -ServerName "v8a0ujjshk" -DatabaseName "myWarehouse"
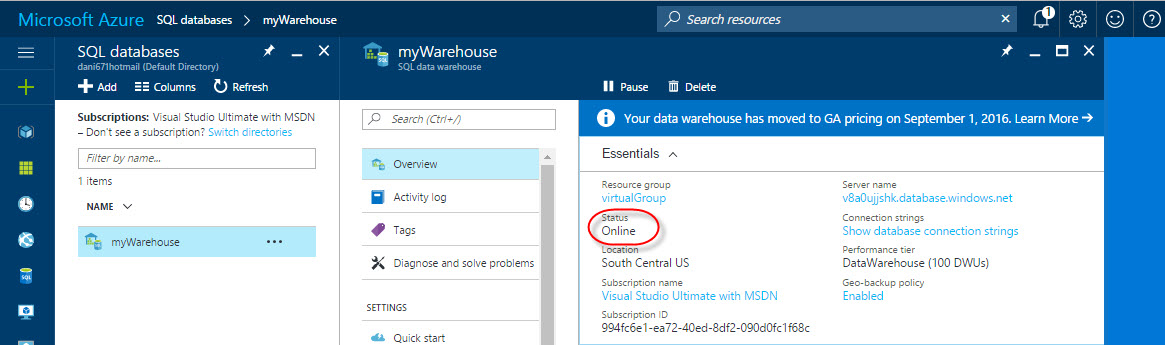
You can verify in the Azure Portal in Databases, that the Warehouse is online:
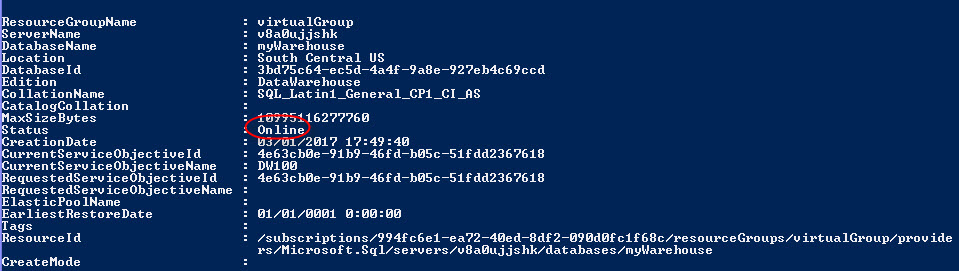
In PowerShell, you can use the the Get-AzureRmSqlDatabase cmdlet used before:
Conclusion
In this article, we learned how to create a Resource group in Azure, a SQL Server and an Azure SQL Data Warehouse using PowerShell.
References
For more information, refer to these links: