

This article continues the discussion of a metadata-driven pipeline that moves data from SQL Server into a Fabric Warehouse. Last time, we were using the Adventure Works schema, which was deployed to an Azure SQL Database. Today, we are going to learn how to install and configure the on-premises data gateway for a hybrid design.
Business Problem
The current design uses a full load pattern to move data from the SQL Server database to a Fabric Warehouse. We are going to modify the design slightly to manage data from SQL Server 2022, which is installed on a virtual machine in Azure that does not have a public endpoint. The same steps would be used for a more complex design that uses a virtual network gateway with either VPN or Express Route as the dedicated connection.
Install On-Premises Data Gateway
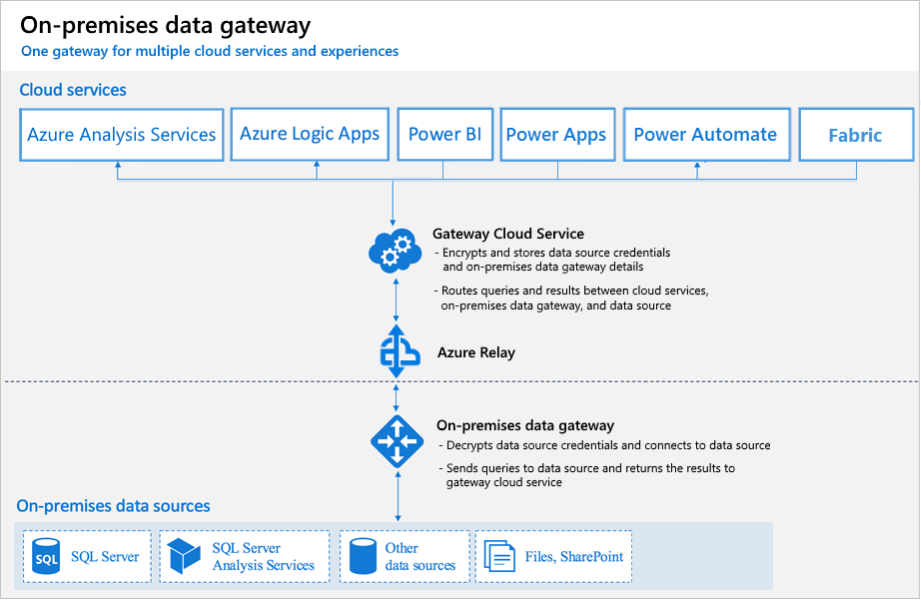
The image below shows how the gateways for six distinct products were combined into one piece of software. The solution works but there might be some hidden settings that you have to configure.
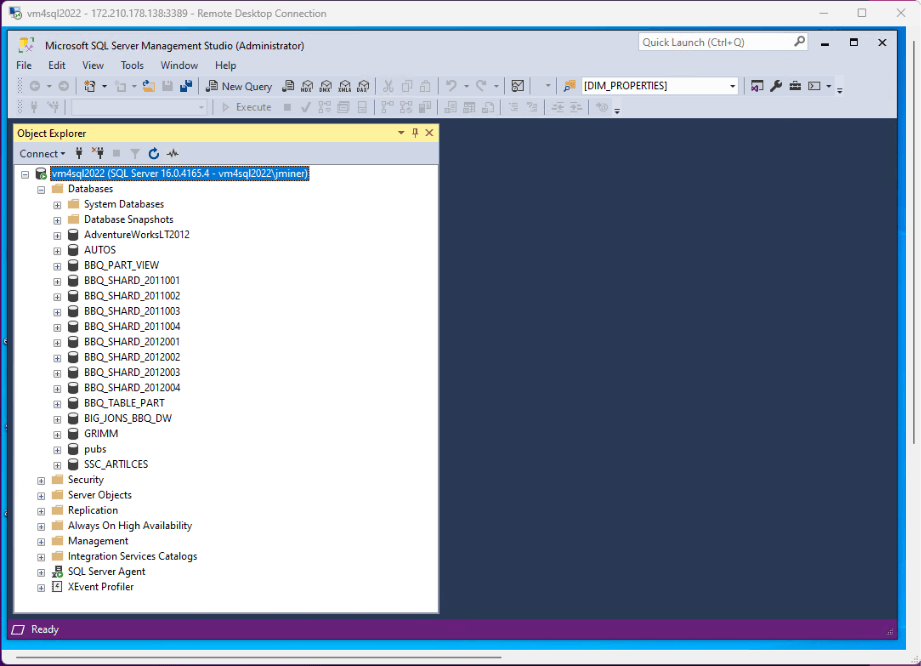
The image below shows an Azure Virtual Machine named vm4sql2022 that has several different databases. We will be working with the Adventure Works LT2012 database.
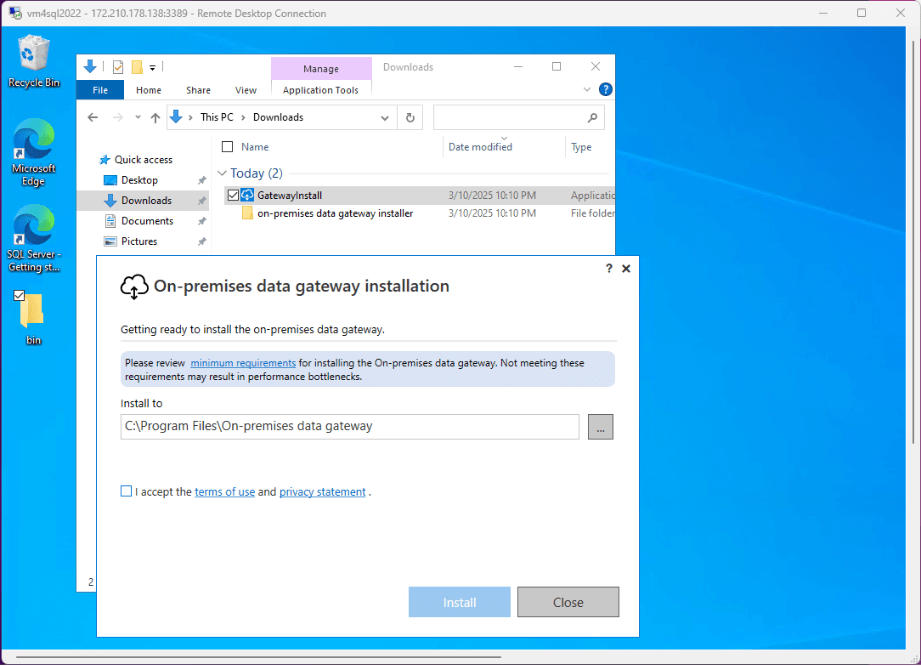
Please download the Gateway Installation program and launch the setup executable. Accept the default installation directory and accept the terms of use. Click the install button to start the process.
We must wait for the bits to be installed on the local machine.

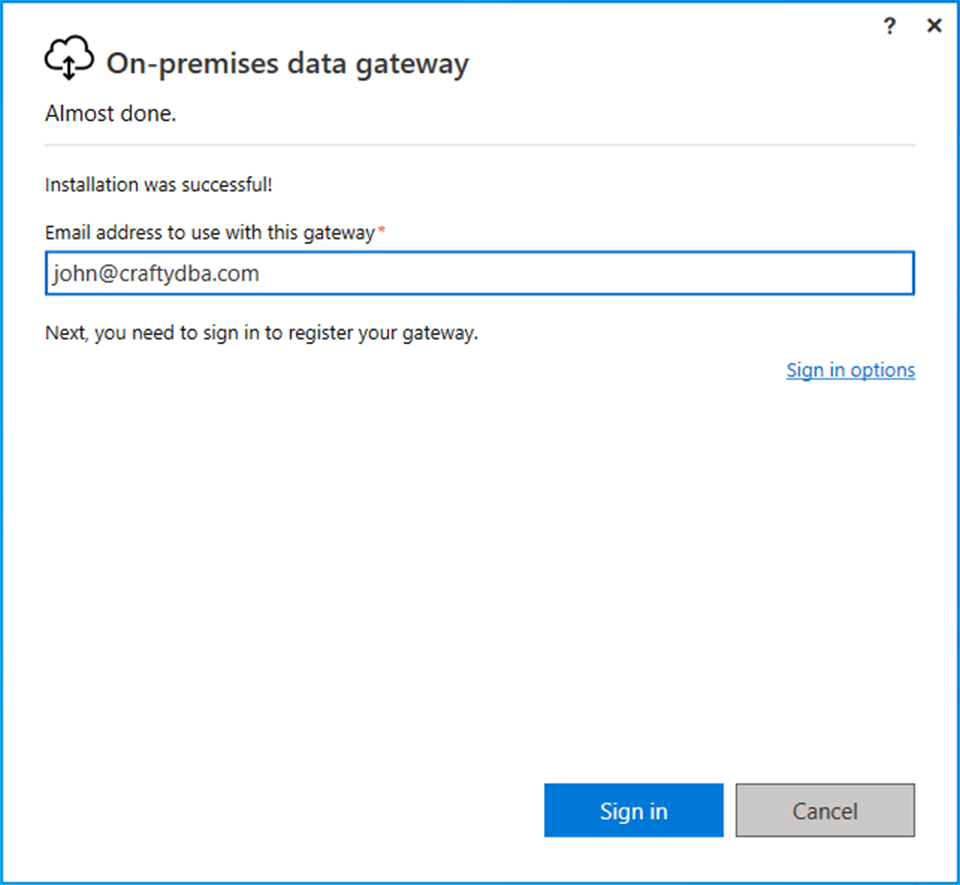
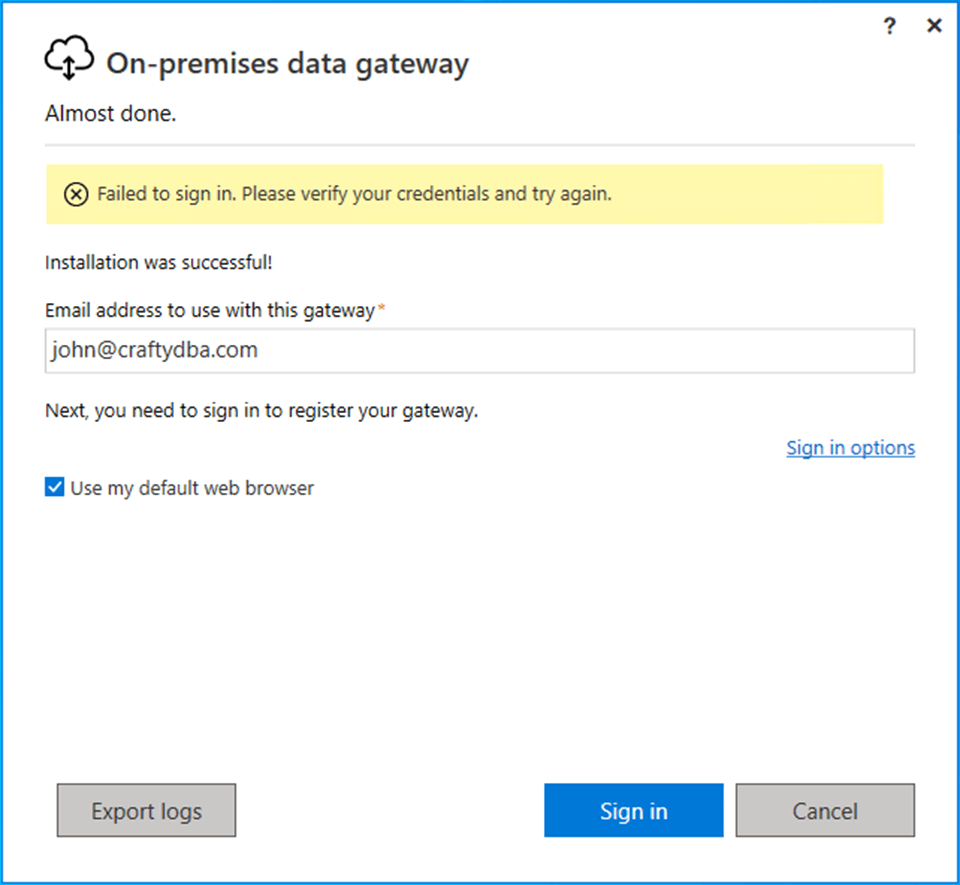
We need to associate an email address with this gateway. This email address needs to be part of your Azure Active Directory (Microsoft Entra ID). Please click the sign in button to continue.
The first time I tried signing in was a failure. Just try again using the default web browser.
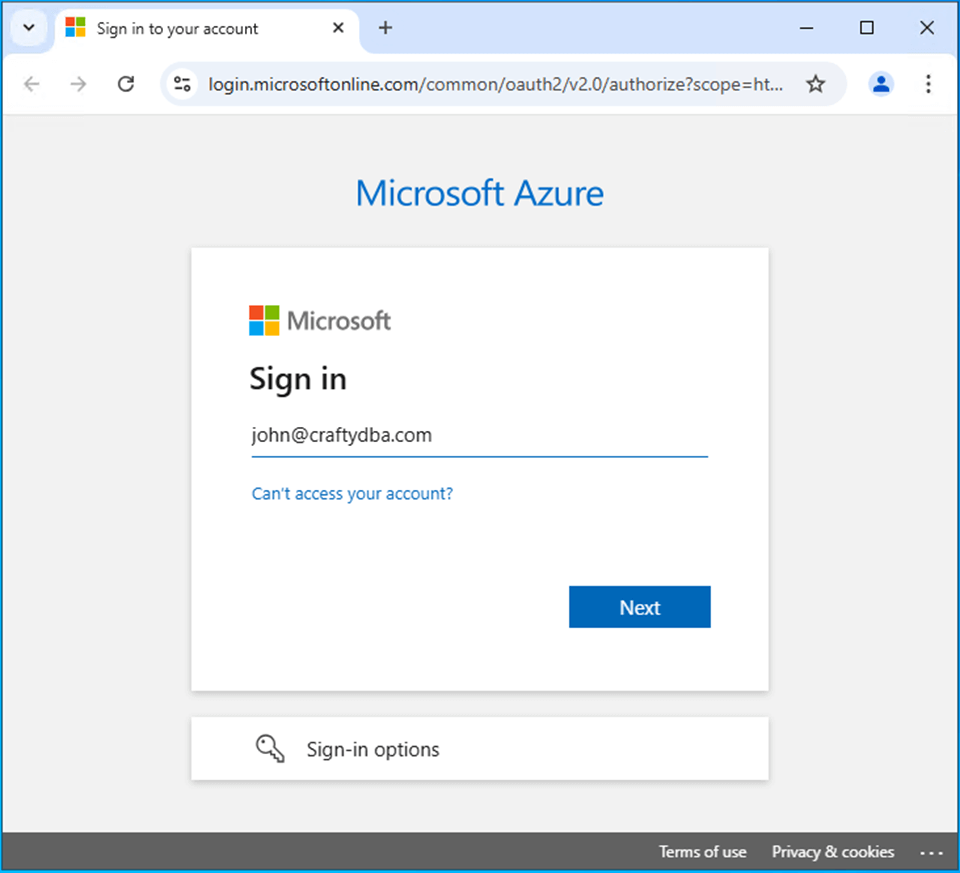
Now we have a prompt for logging into Microsoft Online. Click the next button to continue.
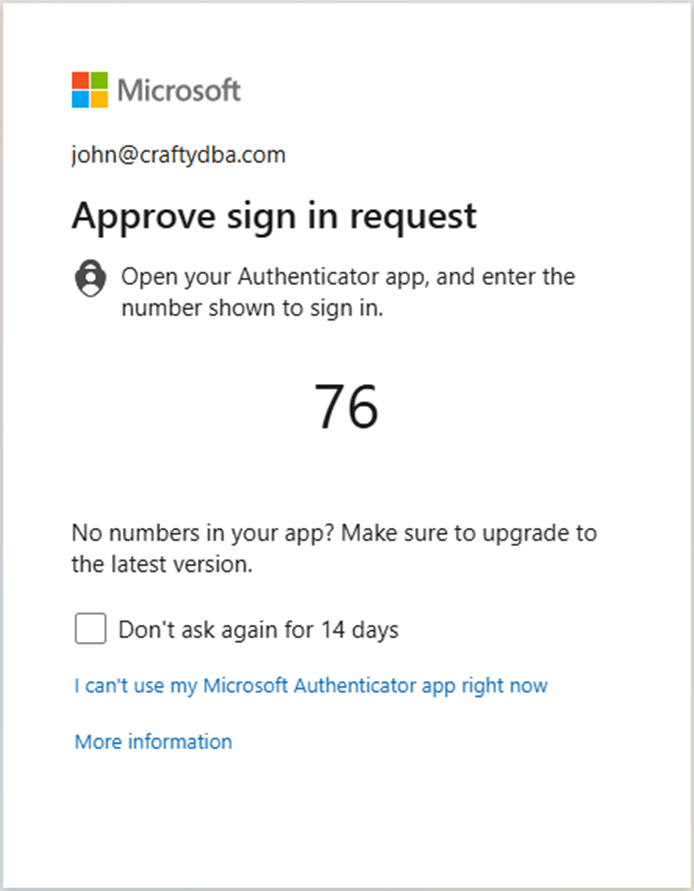
Since I have Multi Factor Authentication turned on my subscription, I am being asked to find my authenticator application on my Android phone and enter the verification code.
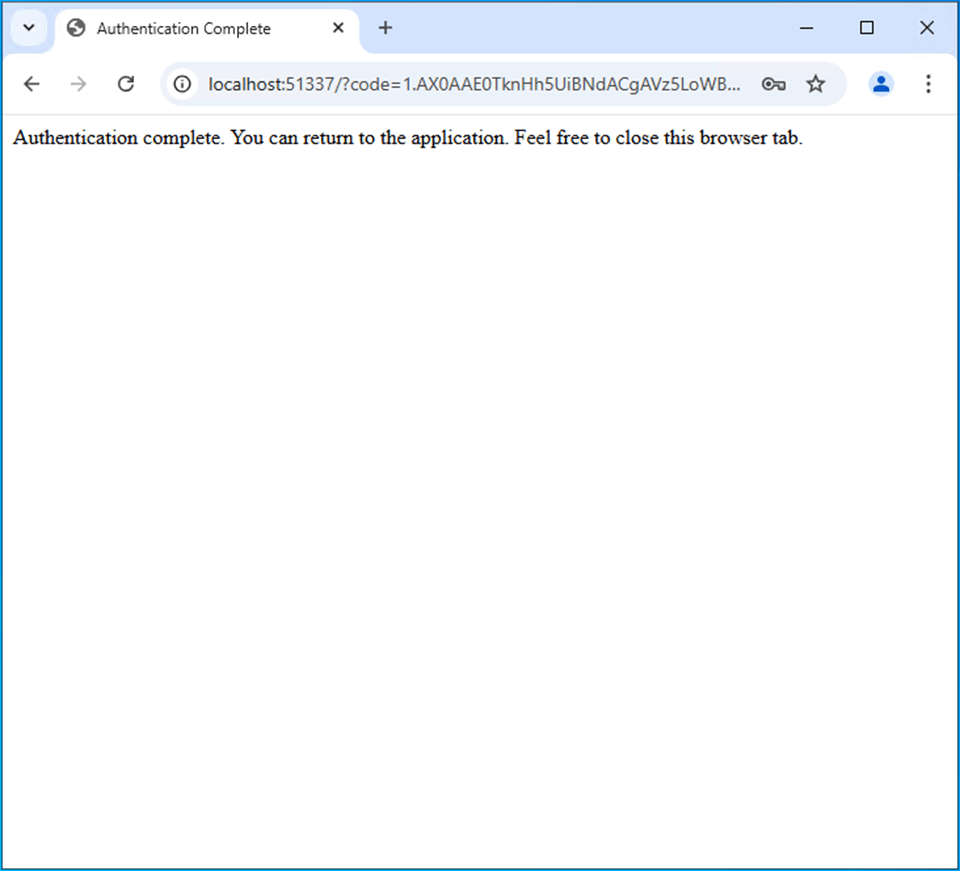
If authentication is completed successfully, you can close the browser tab and continue the installation.
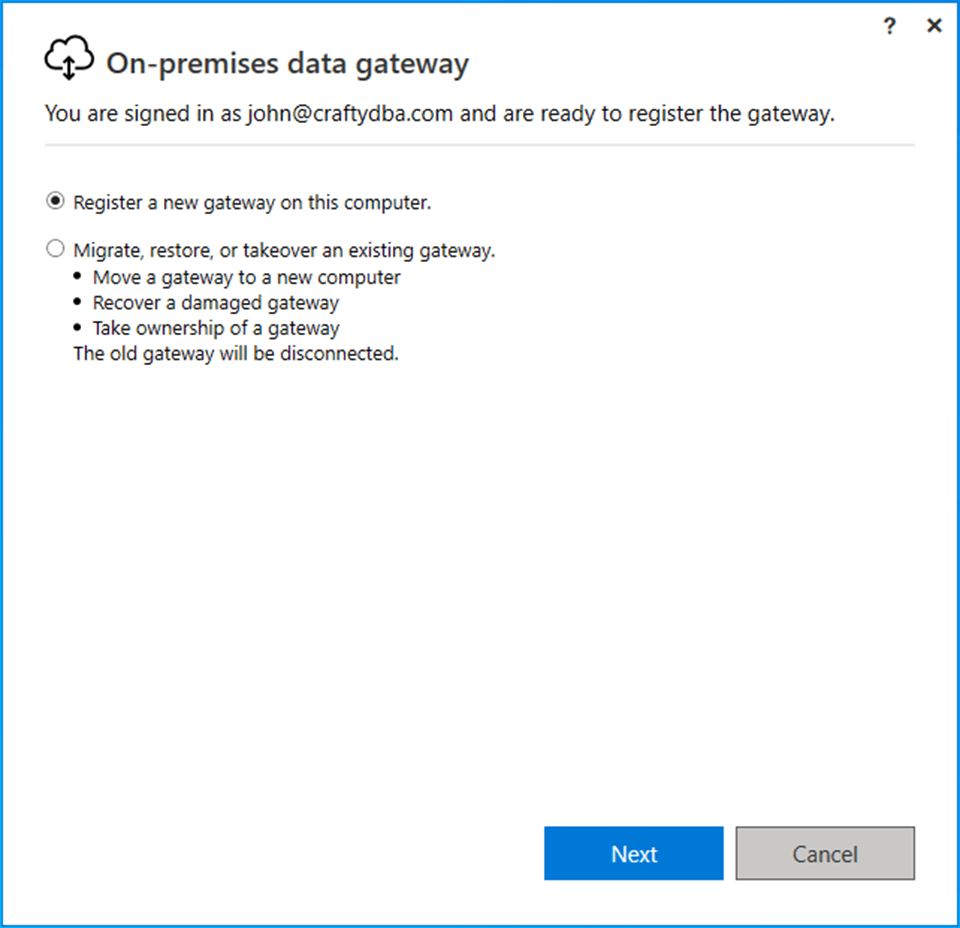
We need to register the on-premises data gateway with Fabric.
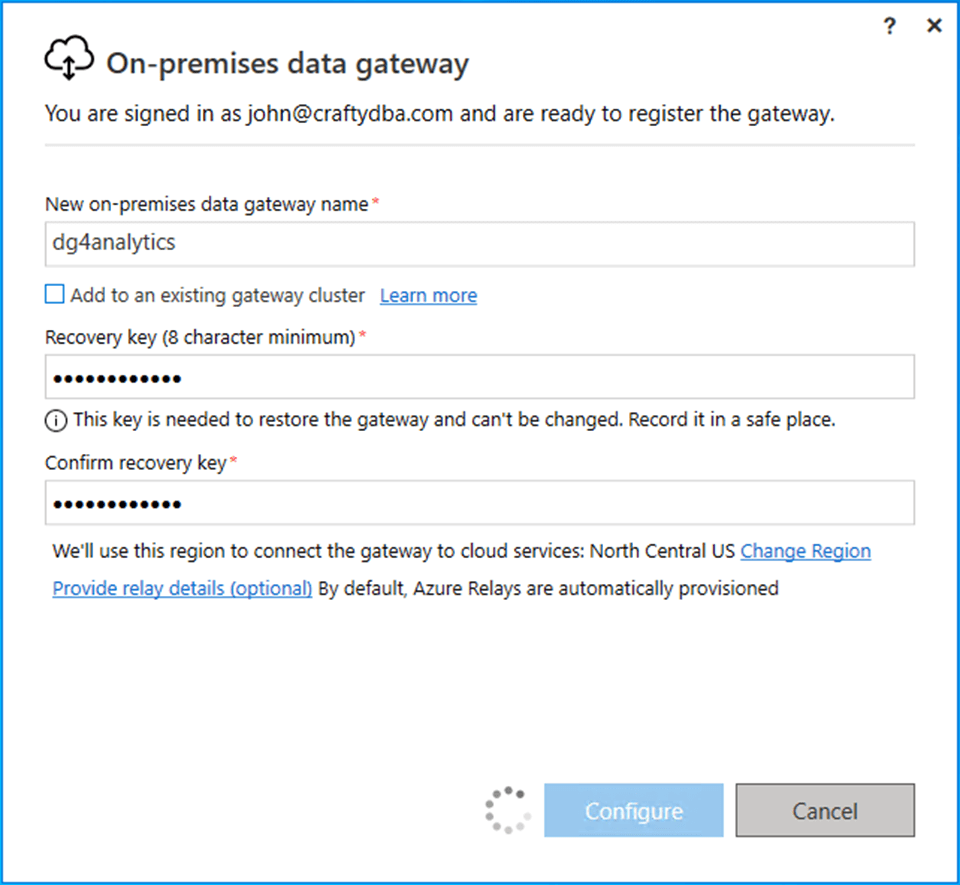
Please pick a data gateway name and create a recovery key at this time.
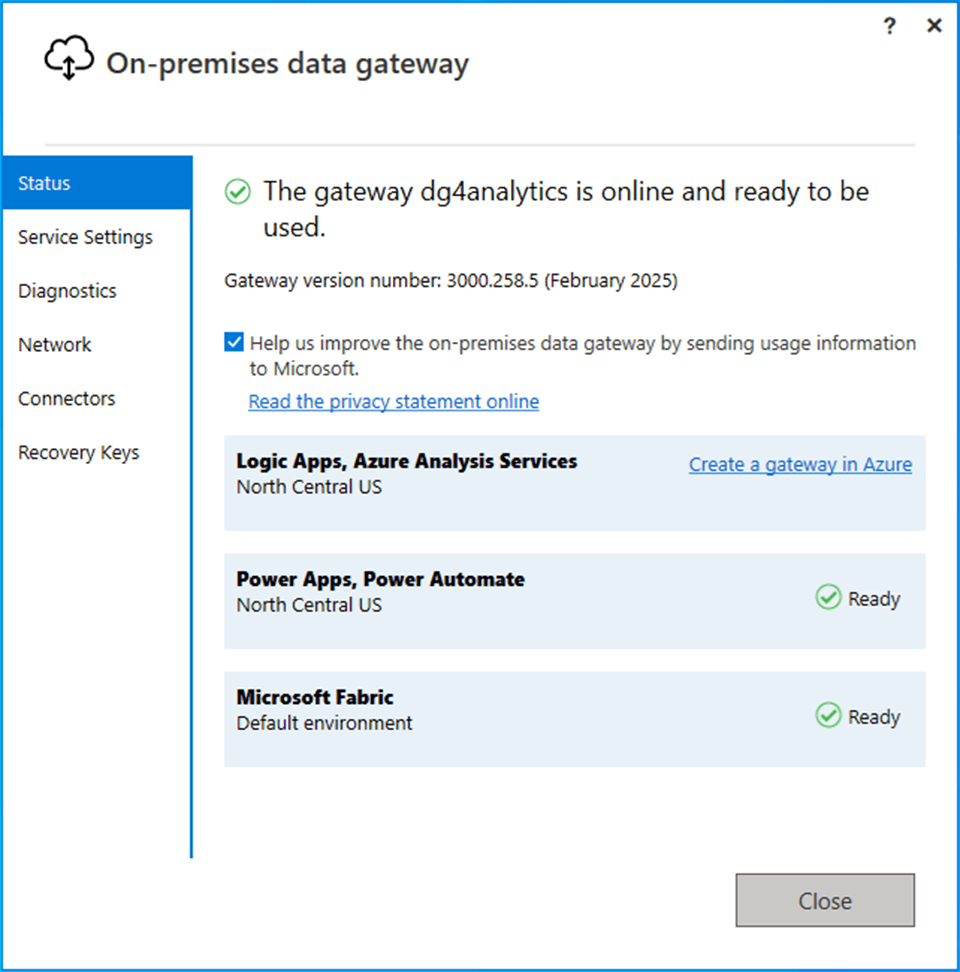
You should get an online and ready to be used message.
Installing an on-premises data gateway is extremely easy.
Configure On-Premises Data Gateway
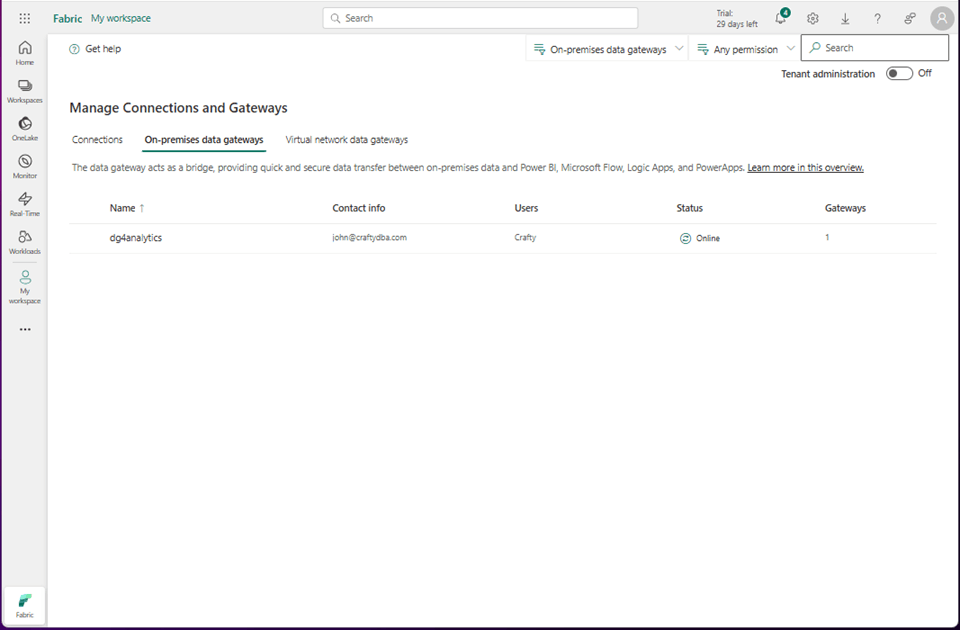
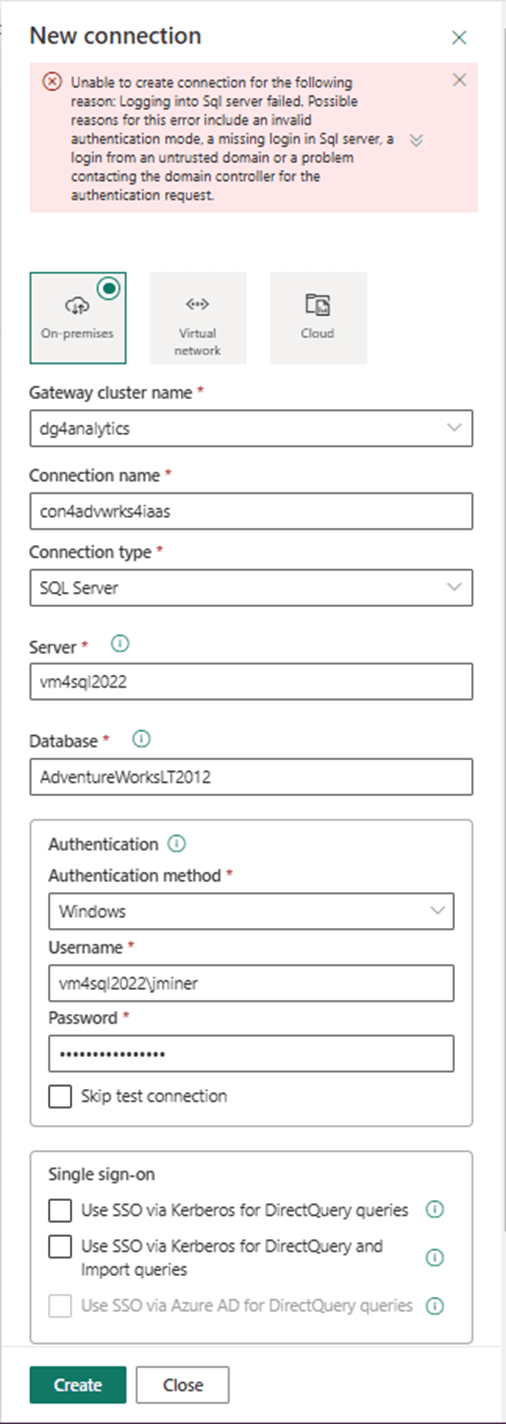
If we go to the manage connections and gateways section of the Fabric Tenant settings. This is the gear icon next to the notifications. We can see the gateway is online. The next step is to create a connection to the database on the virtual machine.
After supplying the connection information, we received a failed login error message. Tracking down bugs like this is a process of elimination.
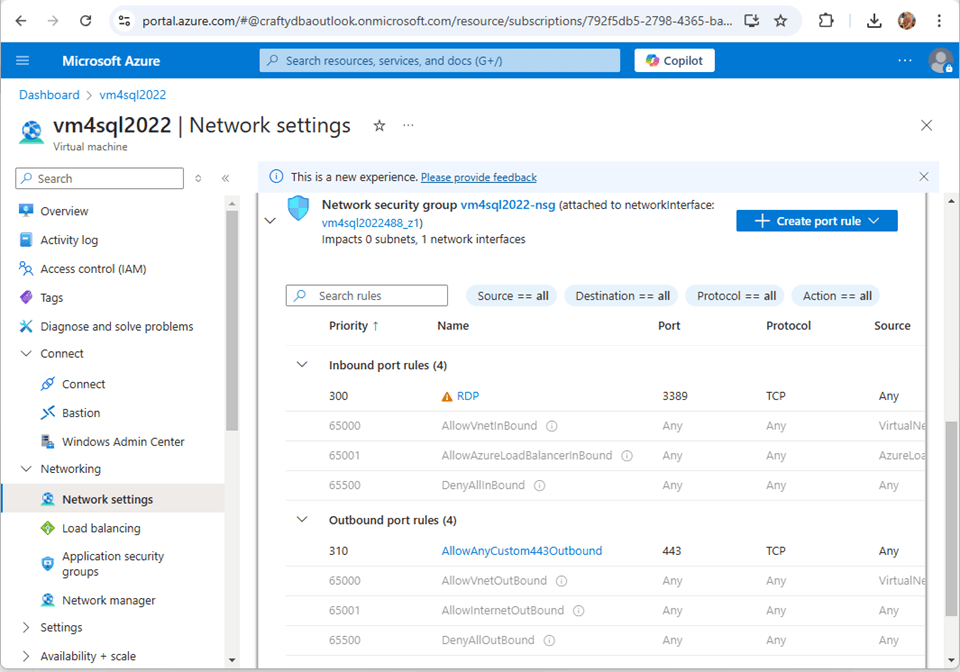
Hypertext Transfer Protocol Secure (HTTPS) is the default protocol for the data gateway. Please make sure this port is open on the network security group of the virtual machine. This setting can be found under the network details of the virtual machine in the Azure Portal.
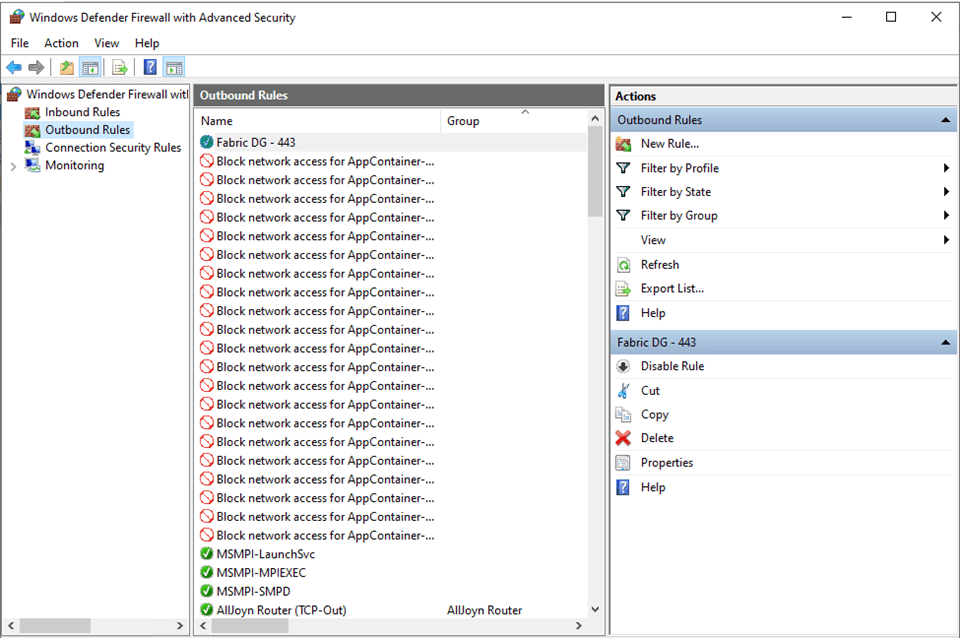
Before cloud computing, each windows server had a separate firewall that defended against hackers. TCP Port 443 (HTTPS) must be opened on the local operating system.
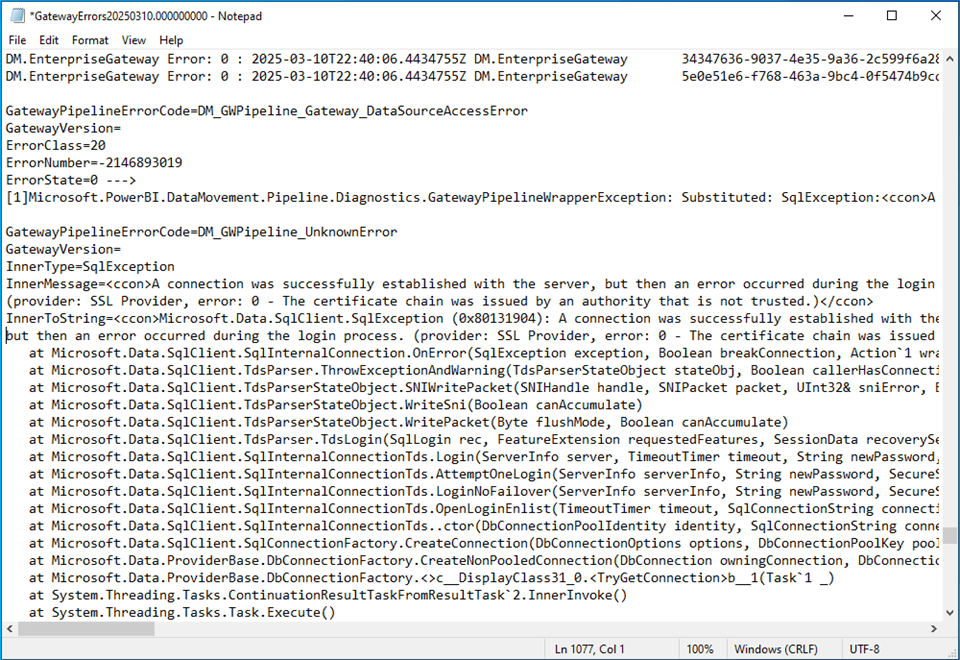
Now that we have opened the external and internal TCP ports, we can try creating the connection again. Unfortunately, it still fails. More information can be obtained by exporting the gateway logs.

After some searching, I found the error. The certificate chain was issued by an authority that is not trusted. That makes sense since the virtual machine is not part of a domain that Fabric knows.
This could be easily solved in Azure Data Factory by a check box in the linked services dialog box. Also, The SQL Server's "Trust Server Certificate" setting is a connection property that allows a client to connect to a SQL Server instance using an encrypted connection even if the server's SSL/TLS certificate cannot be fully validated.
How can we enable this setting for the on-premises data gateway?
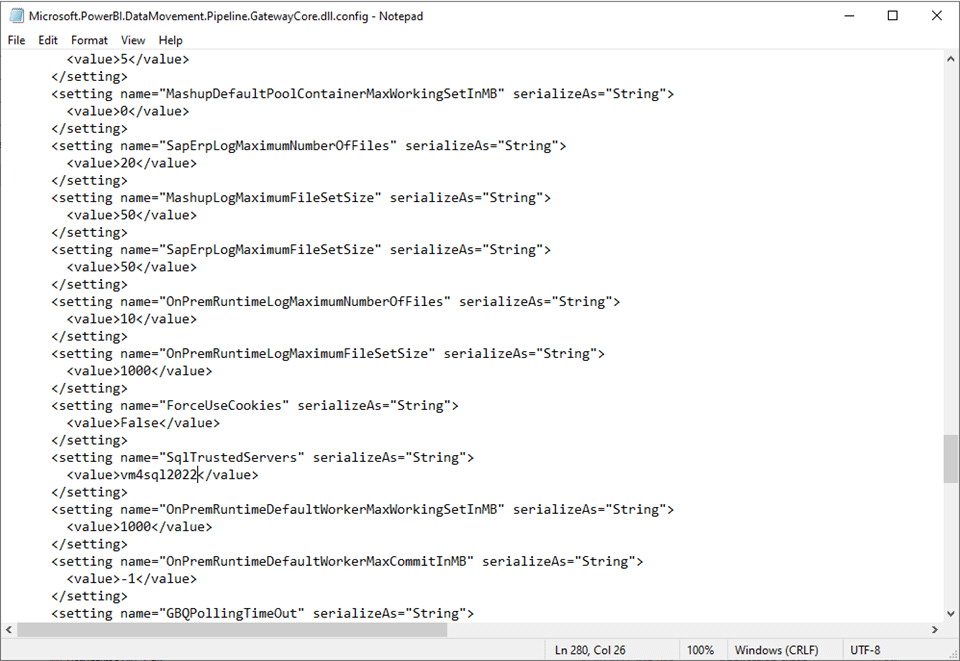
That is where Large Language Models such are Microsoft Copilot shine. Someone documented a configuration setting. We just need to add the local server name to the XML document.
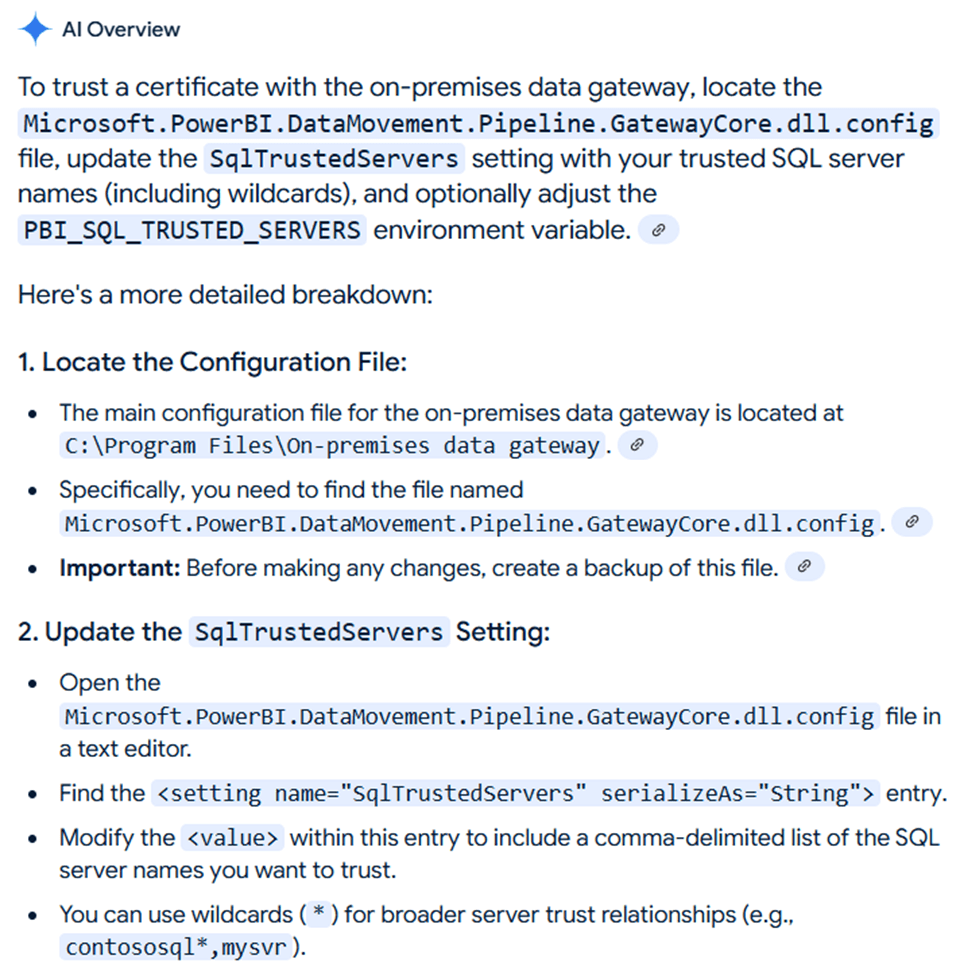
Please find the “SqlTrustedServers” setting in the image below. The entry has been updated to have vm4sql2022 added as a value.
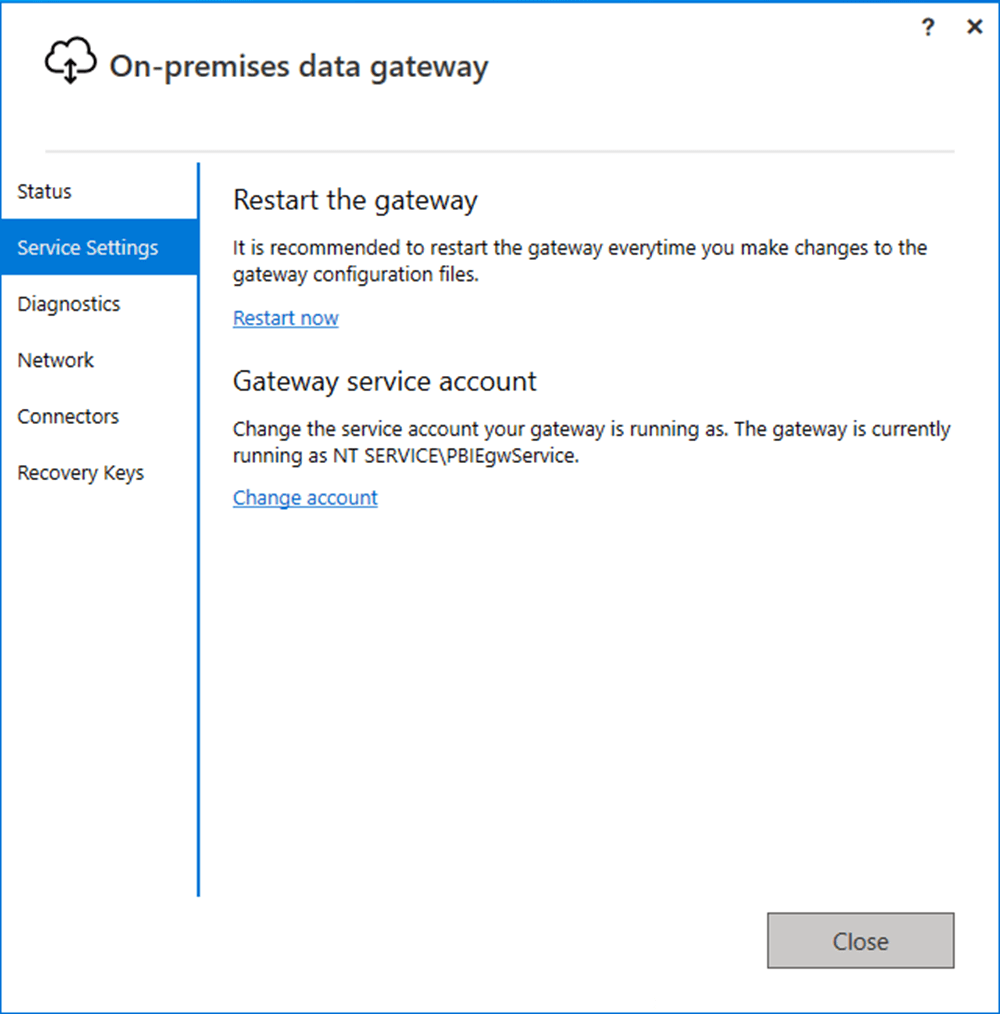
We will need to restart the gateway for this configuration setting to be updated.
In the next section, we will create the hybrid connection and modify the existing pipeline to work with local SQL Server tables instead of cloud SQL Server tables.
Working with on-premises data
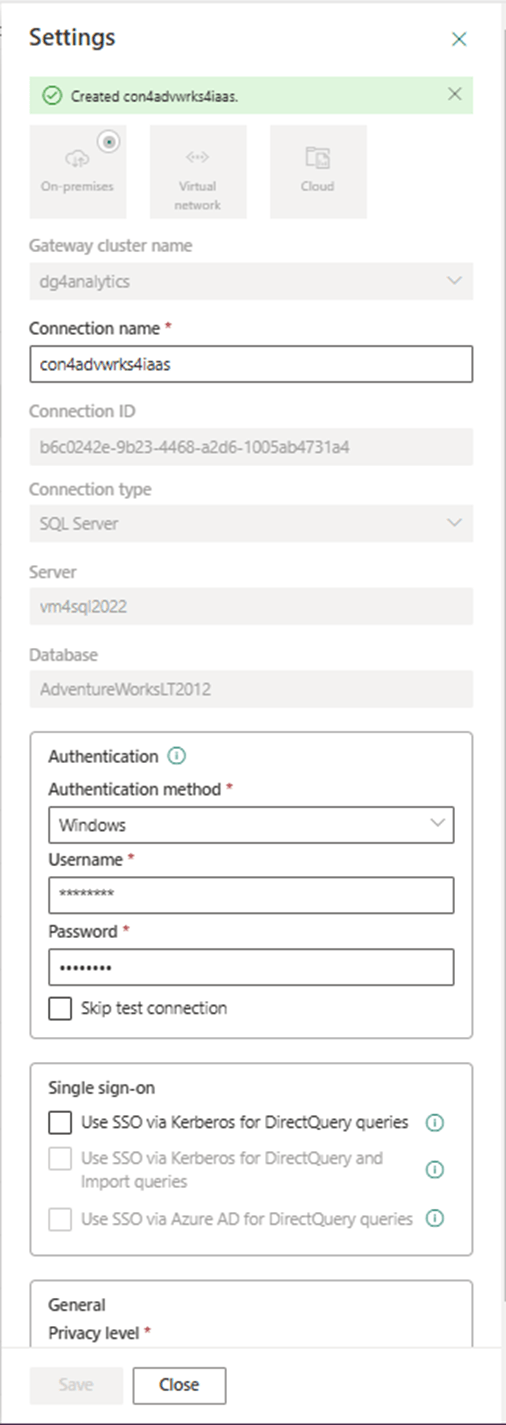
The first step is to create a connection named con4advwrks4iaas. The process is now successful since the server certificate is no longer an issue. Noticed the post-fix usage of IaaS infrastructure as a service. This refers to the fact that the database is running on a virtual machine.
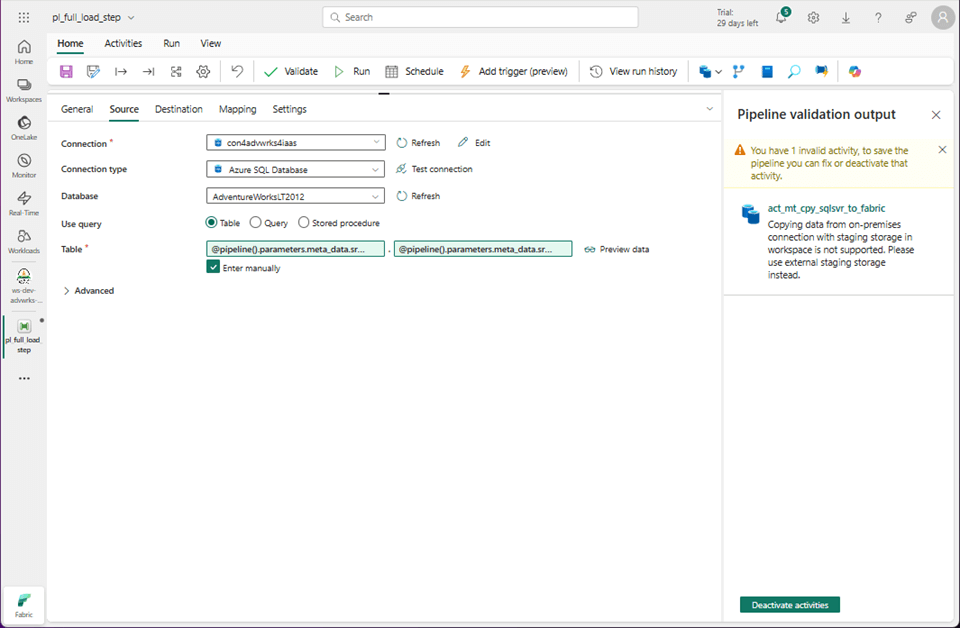
The copy activity currently is using the PaaS connection. Platform as a service refers to the fact that we are using an Azure SQL database which is a cloud service.

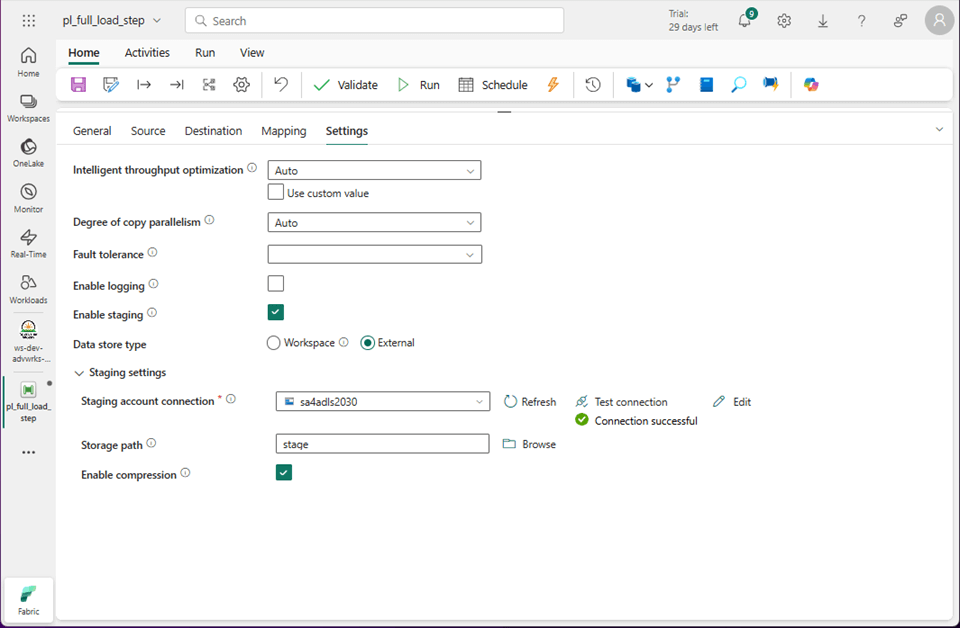
The image below shows the connection has been modified but the validation has an error. For cloud databases, the local storage within Fabric is used for staging the data. For on-premises databases, we need to supply an Azure Storage Account.
The settings tab is where we can define a new connection and pick a folder named stage.
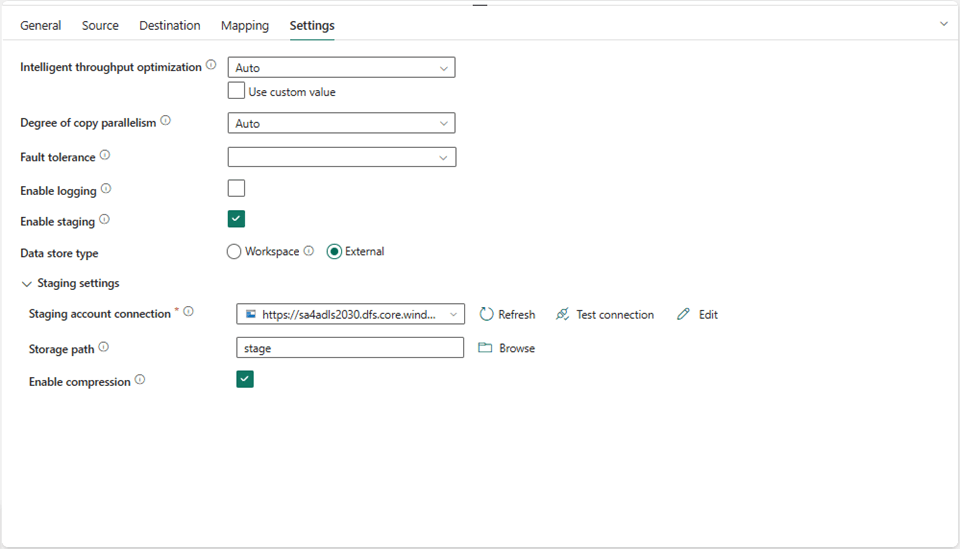
The pipeline is using my account to authenticate to an Azure Storage Account named sa4adls2030. The storage container name is raw, and the folder is named stage.
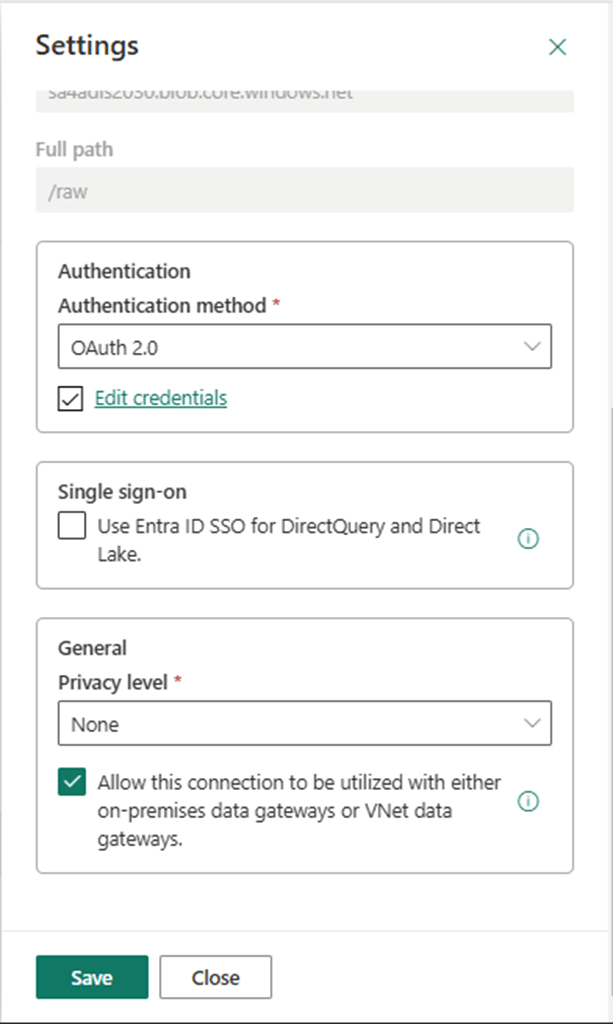
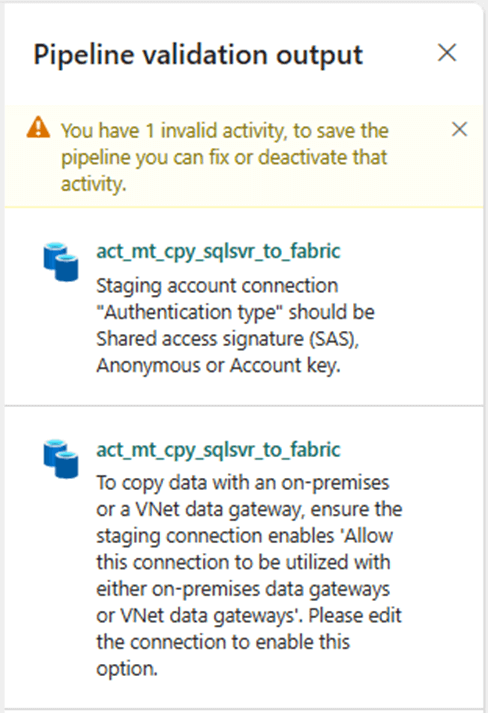
Unfortunately, Microsoft currently supports only Shared Access Signatures or Account Keys for authentication. Additionally, we need to enable “allow this connection to be used with on-premises gateways.” Once these warnings are fixed, we can validate and save the data pipeline.
It is important to test what we can before debugging and/or triggering the pipeline. Sometimes a complete run of the pipeline can take minutes. Let us use the test connection button to make sure the stage directory is accessible.
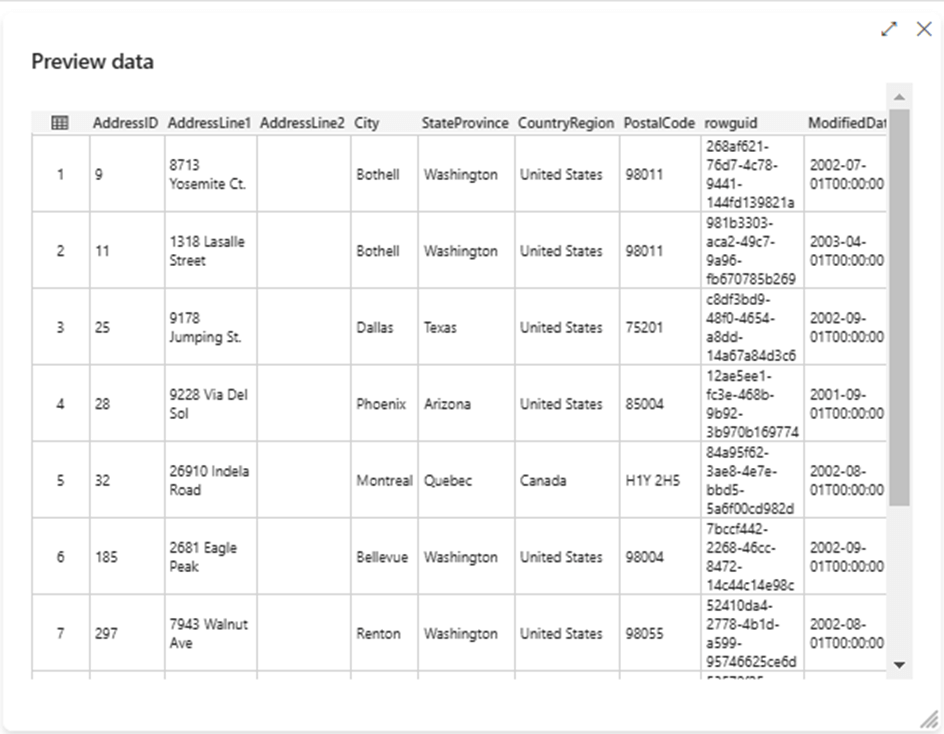
Additionally, we can evaluate the connection to the data source by hitting the preview data button. The image below shows the address table being successfully returned to the Fabric development environment.
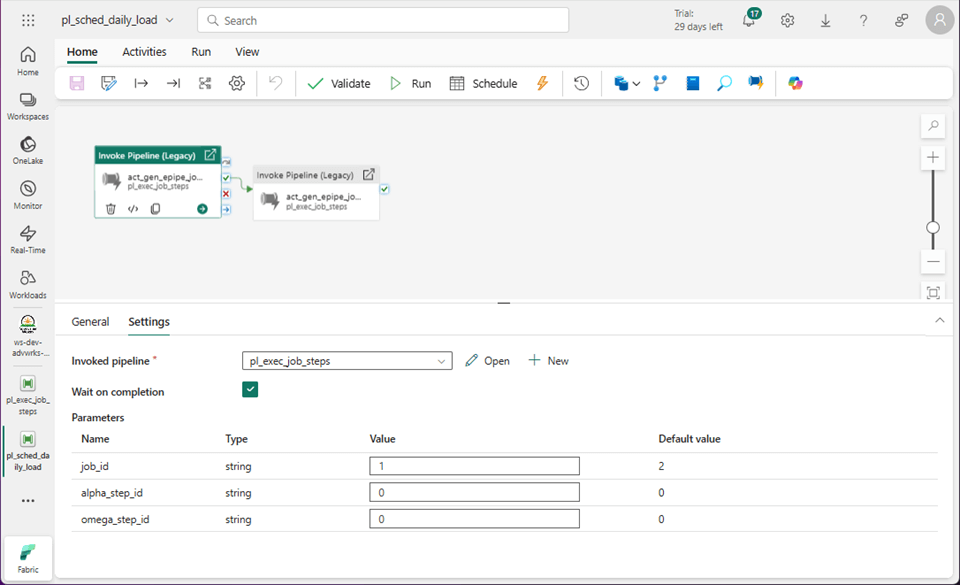
Please remember we have two jobs in the original design. One is for the two tables in the dbo schema, and the other is for the ten tables in the SalesLT schema. Steps that have an enabled flag are executed in order starting with the lower (alpha) number and ending with the upper (omega) number. When zeros are seen for these numbers, all steps are executed in order. This flexibility allows for the design to break a job into N pieces if necessary to increase parallelism.
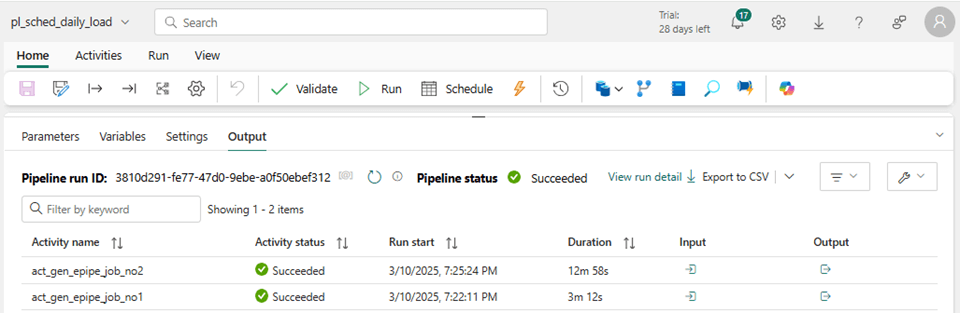
The output from the debug session shows both jobs succeeded successfully.
Summary
Today, we modified the previous metadata driven design to manage on-premises SQL databases. The on-premises data gateway was installed on a virtual machine within the network we want access to. Traffic to and from the data gateway uses HTTPS, which means port 443 must be open at both the network security layer in Azure and firewall within the operating system. The copy activity requires an Azure Storage Account to use for staging data. This defaults to local Fabric storage when using Cloud Databases. Right now, only shared access signatures and account keys are valid ways to authenticate with storage. Make sure the connection is marked for use with the on-premises gateway.
One thing I do not like about Fabric is that some of the connection settings that used to be available are hidden. For instance, the “trust server certificate” is now a configuration file used by the data gateway software. One Fabric Idea (improvement) I suggested for the product team is to expose some of these key settings as dialog boxes in the windows program (data gateway software). Please uptick this suggestion if you like it.
Next time, I will be talking about how we can use the Change Tracking feature of SQL Server to implement incremental loads into the Fabric Warehouse.