

Introduction
In an ideal world, we would like the machine to do our job. We would love to have a smart machine to process mining models, to backup databases, and create reports on a regular basis. It may take some time to program packages and jobs to do that, but it's worth it.
In this chapter, we will show how to backup and process the mining models every day automatically at 12 AM. We will use SSIS to process the Data Mining Model, and we will use SQL Server Management Studio to generate an XMLA script to backup the database. Finally, we will create a job to run the SSIS package and the XMLA script in the Job.
Requirements
We are using SQL Server 2014 for this lesson, but SQL Server 2005/2008/2012 can be also be used. We are assuming that you already have the Data Mining Project used in Data Mining Part 13. If you do not, you can install it or use any other Data Mining Project already installed.
Getting Started
We will use SQL Server Agent for this process. This Agent is used to program tasks per week, day and year or in a specific time. For this practice, we will create a package to process our mining Model.
1. First, we will create a SSIS package. For more information about SSIS, refer to chapter 15.
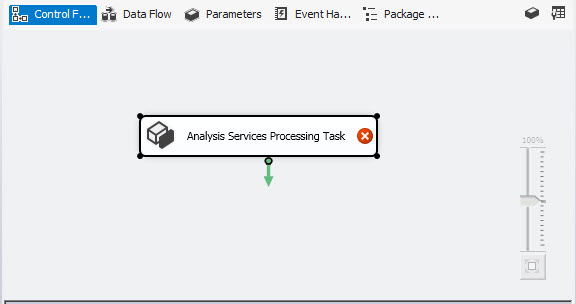
2. Once the package is created, drag and drop the Analysis Services Processing Task onto the surface.
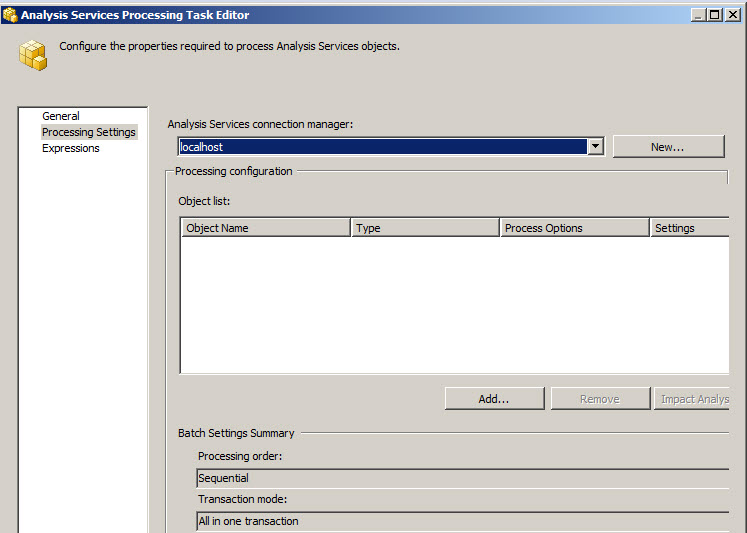
3. Double click the task and go to the Processing Settings and select a connection
4. Press the Add button.

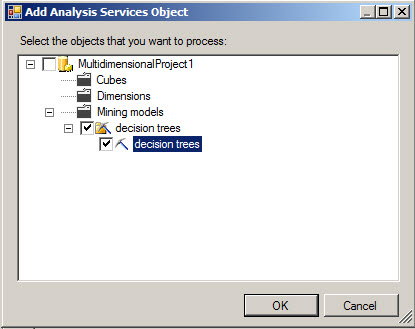
5. Select the Data Mining Objects that you want to process and Press OK.
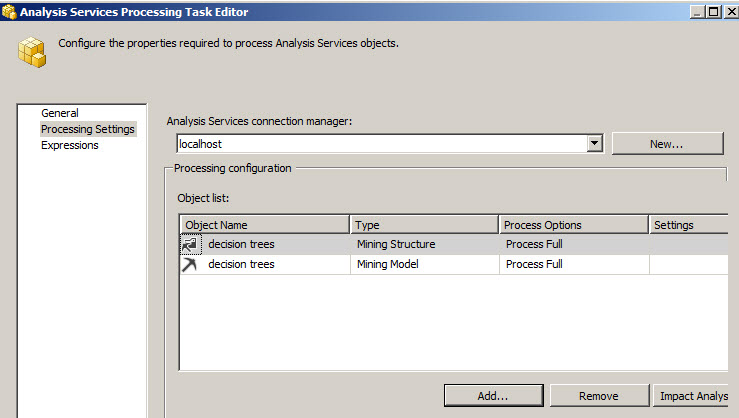
6. Press OK again.
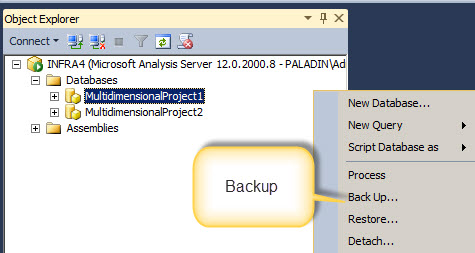
7. In the steps 1 to 6, we created a package to process the Data Mining Objects. We are going to create a backup with the Data Mining Model. To do that, open the SQL Server Management Studio and Connect to the Analysis Services Database. If you do not know how to do it, you can review the XMLA Chapter. Right click on the MultidimensionalProject1 and select the Back Up option.
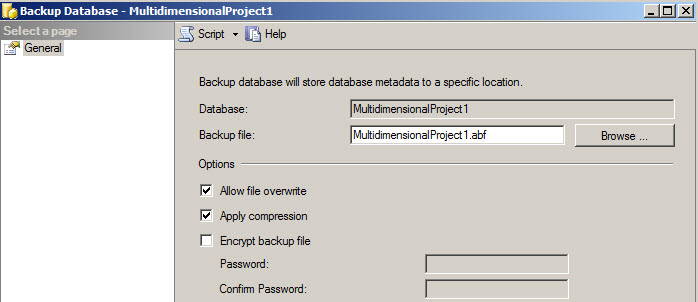
8. We are going to check the Allow file overwrite and the Apply compression option. By the other hand, uncheck the Encrypt backup file. It is recommended to encript the file, but in this case, it is just a test. Specify the path for the Backup File. In this example, we are going to create the backup in the c:\scripts folder.
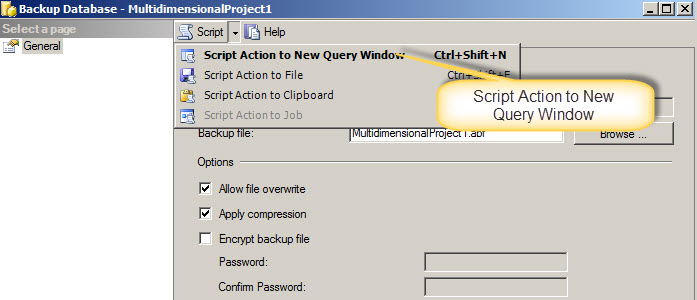
9. Click the Script option and select the Script Action to New Query Window to generate the backup commands in a file.
10. You can save the file in a XMLA file.

11. We have a SSIS package to process Data Mining objects and we have a script to backup the database. The next step is to create a job to automatically run the backup and process the data mining model. To do that, we are going to use SQL Server Agent.
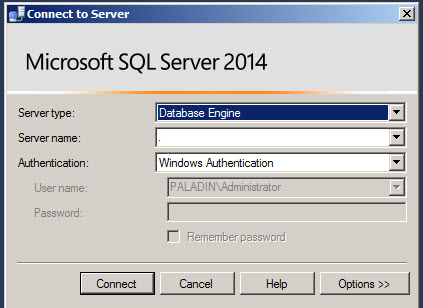
In the SQL Server Management Studio connect to the Database Engine.
12. If the SQL Agent is stoped, right click and press the Start option.

13. In the Jobs, right click on it and press the New Job.

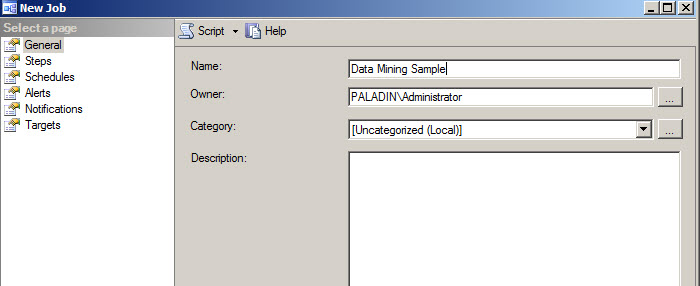
14. Write a name for the job and go to the Steps page.
15. Press the new button to create a new job.

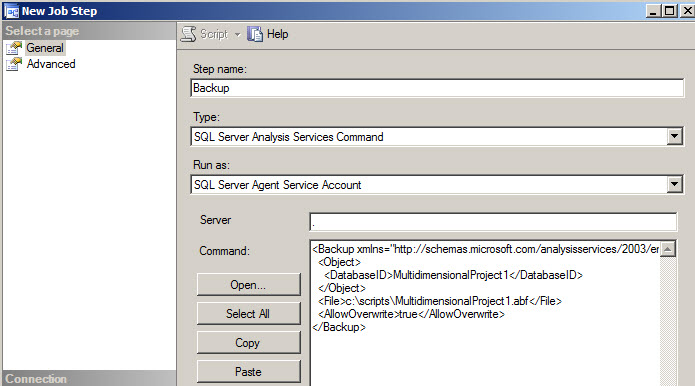
16. In the step name, write a name for the Step. In type, select the SQL Server Analysis Services Command. In the Server textbox, write the SQL Server Analysis Services Server. In Command, copy and paste the XMLA code generated in step 10 and press OK.
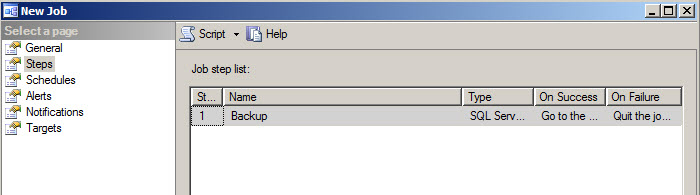
17. Press the new button to create a new step to process the Data Mining Model.
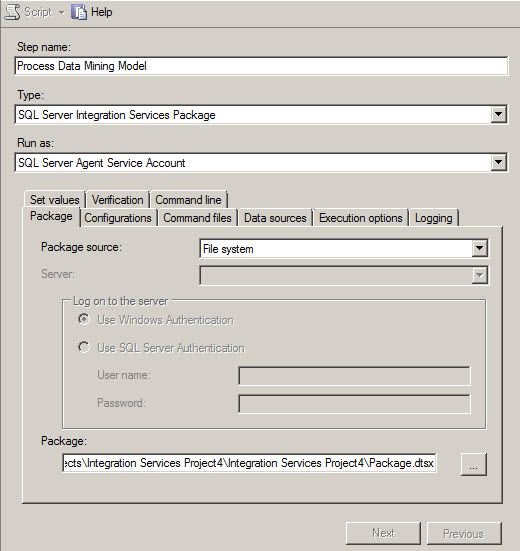
18. Write a name for the Step. To run SSIS packages, select the SQL Server Integration Services Package Type.
In the package source, select the File system to run the package create as a file. In package you have to specify the path and the package name of the package created on steps 1 to 6. If you do not know the path, go to the step 19. If you do, go to the step 20 directly.
19. If you do not know the package path, in the SSIS project created in steps 1 to 6, in the Solution Explorer right click on package created and select properties.

The path is specified in the Full Path property.

20. In the Job Properties, press OK and go to the Schedules page to program the jobs. In the Schedule list, press new to create a new schedule.
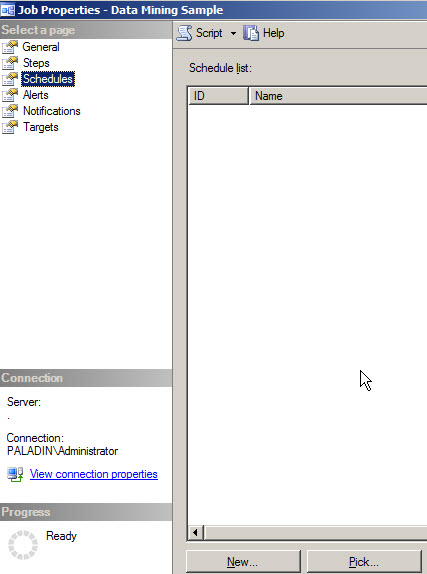
21. Write any name for the schedule. We are going to automate the backup and the process package to run daily. The Schedule type will be recurring because we are going to run it every day. The job will run at 12 AM automatically.

22. Once created the job right click on it and press the Start Job option.

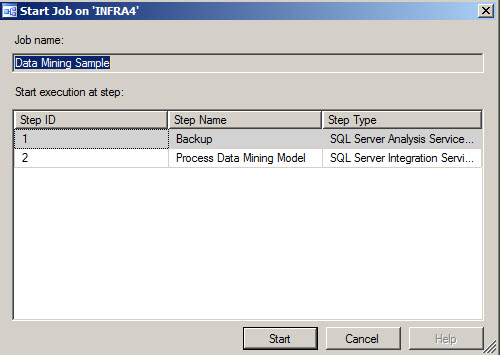
23. The job will run automatically daily, but it is better to test it manually for the first time. Press the Start Button.
24. If you have Errors when you run a job, click on the message.

25. An error message will be displayed to see the history log. Press OK.

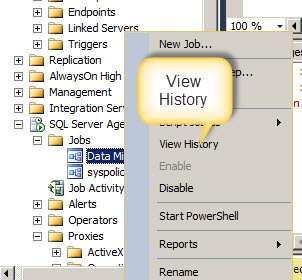
26. Right Click on the job and press the View History option.
26. Verify the error message to check the problem. In this scenario, it was a security problem. By default, SQL Server 2012 and 2014 run with the SQL Agent Account for the Service and the jobs run with this account. In order to execute the jobs, you will need to create a credential and a proxy to run the steps successfully. For more information about Credential and Proxies, please review our Proxy Account article.

27. Repeat the steps 22 and 23 again.
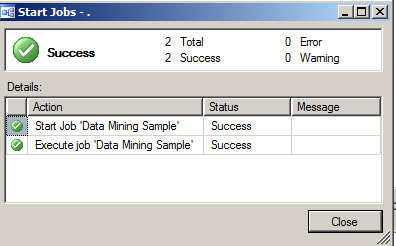
28. If everything is OK, a backup file will be created and the Data Mining Model will be processed.

Conclusions
In this lesson, we learned how to run XMLA commands using the SQL Agent and how to run SSIS packages to process Data Mining Models.
References
http://www.mssqltips.com/sqlservertip/1775/different-ways-to-execute-a-sql-server-ssis-package/