

Sometimes in life you have to do things you really don’t like to do. Such as extracting data from a SharePoint List. Usually I use SSIS and the OData source component for this task, as described in one of my most popular articles ever: Reading SharePoint Lists with Integration Services 2017 (I’m not kidding). However, when I tried to read a new list, the SSIS package refused to connect to the list, even though the connection manager had a successful connection. Just one of those days…
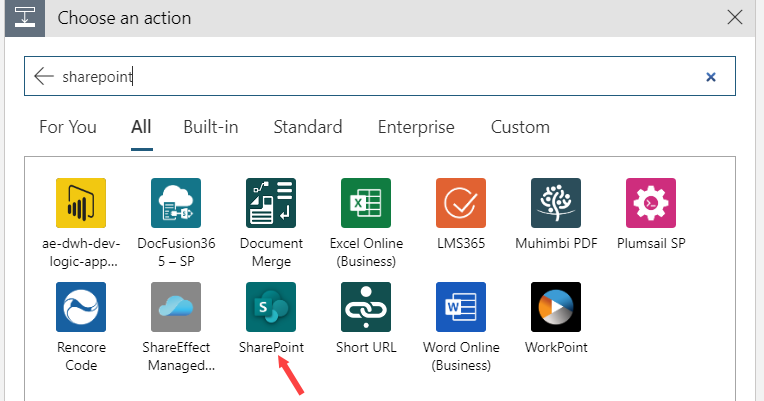
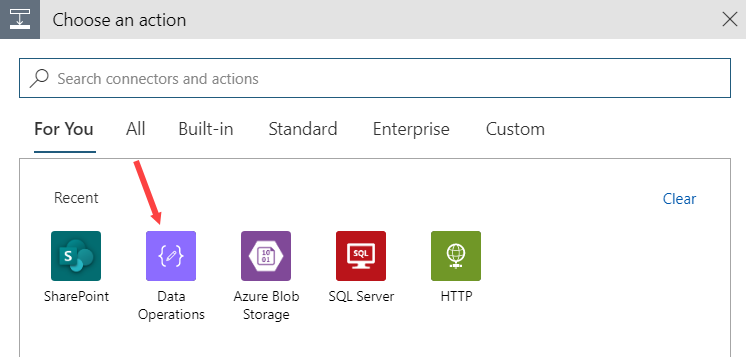
Time to use another strategy: Azure Logic Apps. They’re easy to use and require almost no code. Let’s create an HTTP-triggered app and add a SharePoint action. If you don’t see SharePoint listed in the connectors, click on the arrow to expand your search.
There you go:
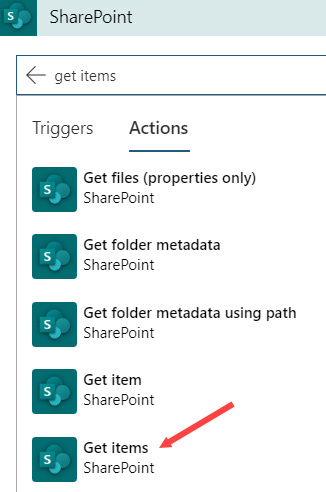
The “Get Items” action allows you to retrieve all items from a list.
Using the same list as in the article I linked to previously, we can configure the action as follows:
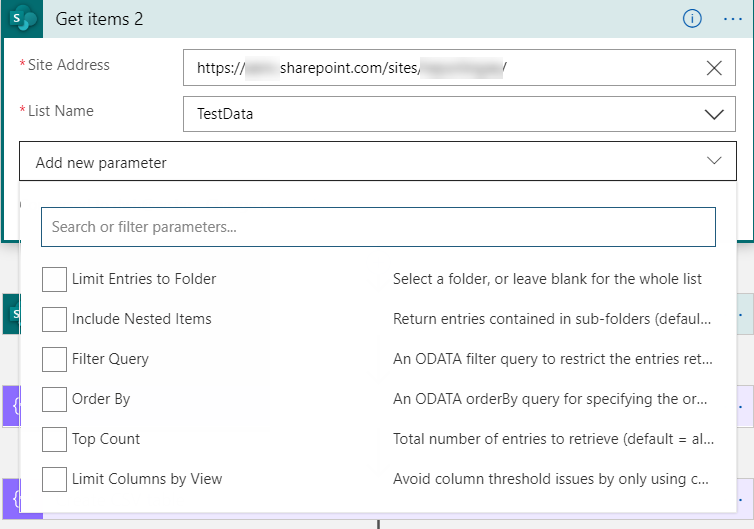
Select your SharePoint site (you might need to connect first) and select the list you want from the dropdown. You can also add some parameters, such as an OData filter query or a specific view you want to use.
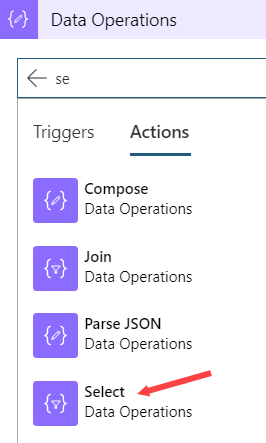
Normally I limit the number of columns to those I need (so I get rid of the gazillion metadata columns), but I couldn’t get the filter query to accept a “select query”. Even using a view with only the columns you need, will return all of those extra metadata column. Luckily we can just extract the columns we need using the “Select” action. In the connectors pane, choose Data Operations.
There you can find the select action.
The “Get Items”-action returns the data from the list as an array. Using the “Select”-action, we can choose which properties (aka columns) of the array we want to keep. In the From field, choose the value returned by the SharePoint action.
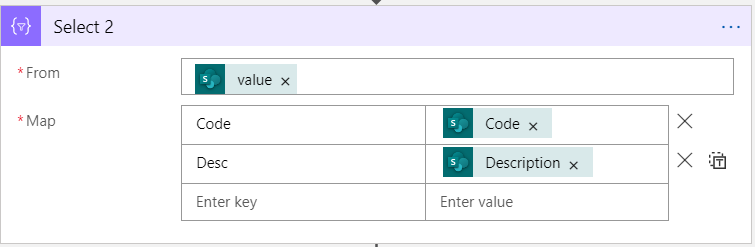
For each mapping, you specify a key (which is the new column name) and a value (which you select from the available columns of the SharePoint List). If you want, you can rename columns. Once the columns are selected, we use again a data operation to format the data as a csv table (if you want to you could also use Json).
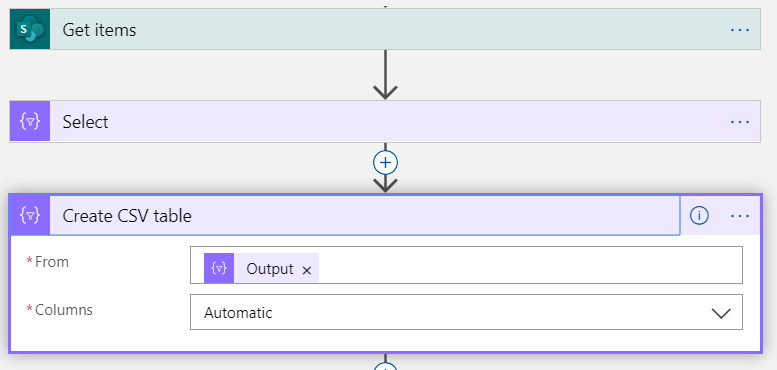
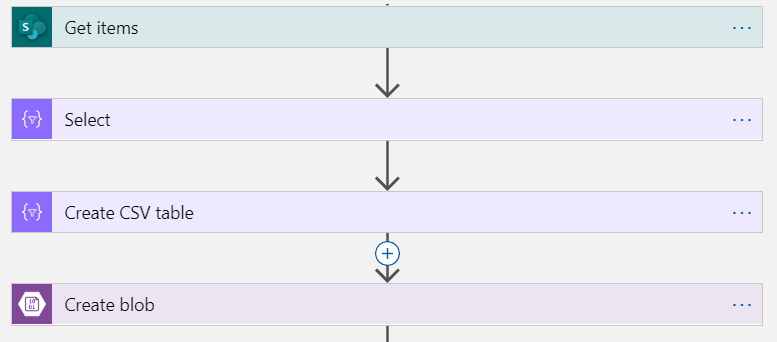
Now you can write the data to your desired output, such as Azure Blob Storage for example. This makes the entire flow:
Eazy peazy lemon squeezy.
Some follow-up reading: