

In the blog post Azure Function with PowerShell and the Power BI REST API I explained how you could create an Azure Function using the PowerShell scripting language. This Function connected with the Power BI REST API and retrieved the last refresh status of a dataset. Developing the Function is one thing, deploying it is another. In this blog post I’ll guide you through the set-up of a build and release pipeline in Azure Devops. As a prerequisite, the Azure Function and its dependencies (for example the requirements.psd1 file) are all checked into a Git repo. As a reminder, the folder structure looks like this:
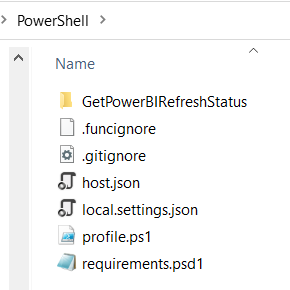
All these files are stored in a folder called PowerShell. There’s only one Azure Function – GetPowerBIRefreshStatus – but if there were multiple Functions there would be as many subfolders. Let’s head to Azure Devops and create our build pipeline. In this blog post, I’m using the classic editor instead of YAML.
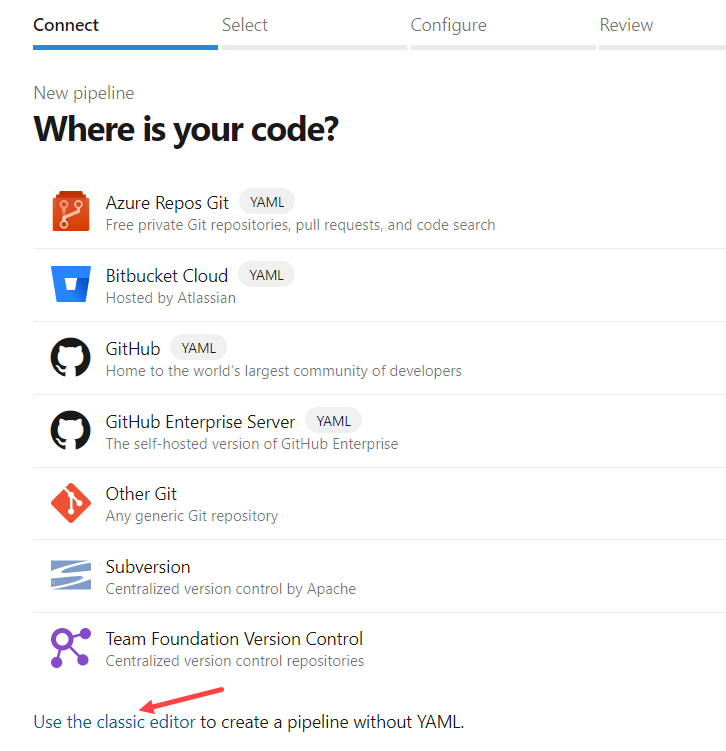
You can use the YAML templates, but if you’re like me and you don’t have the permissions to create a service principal in Azure Active Directory, you’ll be greeted with the following error when you go through the wizard:

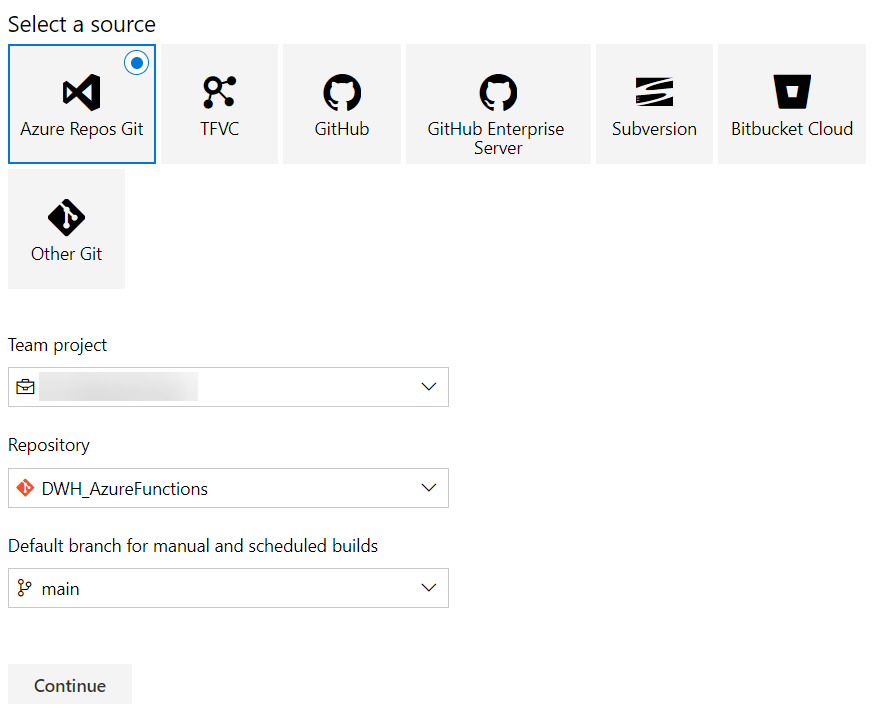
So let’s go with the classic editor where we have a bit more control. Choose the git repo of your preference, the project, repo, and default branch.
From the templates list, choose the Azure Functions for PowerShell template.
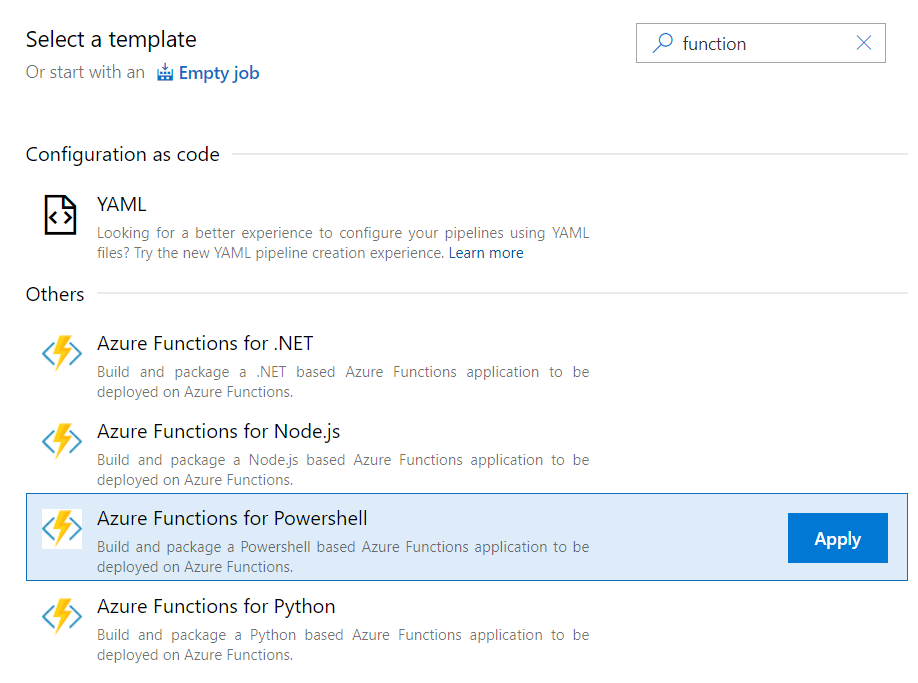
Choosing the template will create 3 tasks for you:
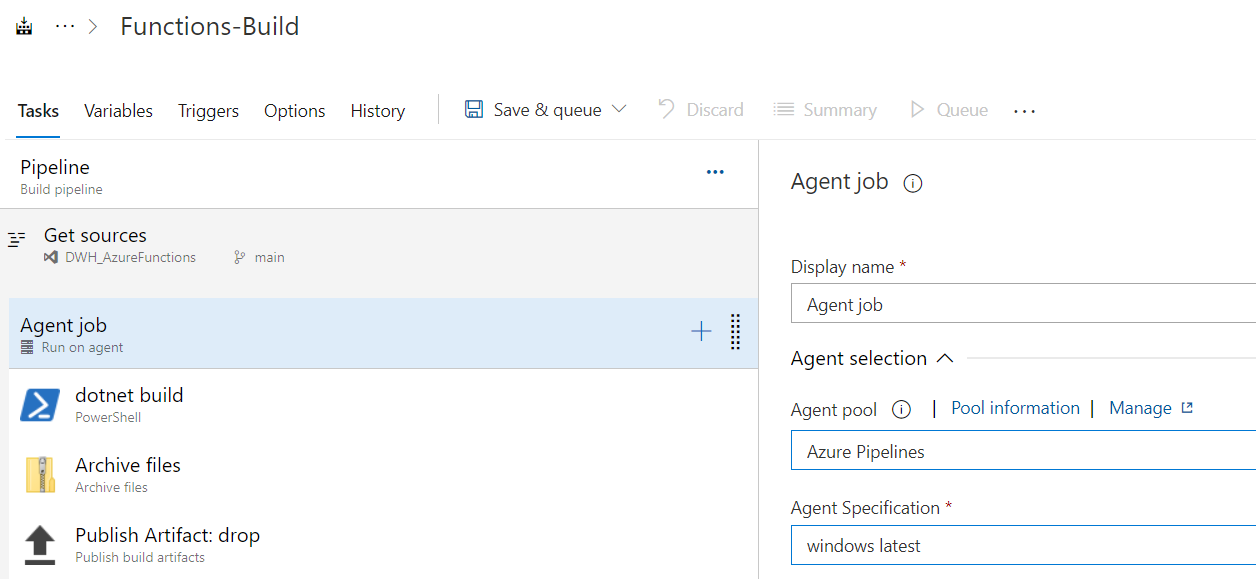
- dotnet build. This will look for a .csproj file and attempt to build the C# project if it finds it. Since we’re using PowerShell, this task is basically useless.
- archive files. This will create a .zip file of your project contents. This is because Azure Functions are deployed as a package. The resulting .zip is stored in the artifact staging directory.
- publish artifact. This will publish the created .zip file so other (release) pipelines can use it.
The second step needs some modification. By default, it will put the entire working directory in the .zip file. However, we only need the PowerShell folder to be added to the .zip file.

If you don’t change this, you’ll get a “successful” deployment, but when you check the Function App in the Azure Portal the Function list will be empty. The Azure Function environment expects a certain folder structure and if it doesn’t match, you’re out of luck.
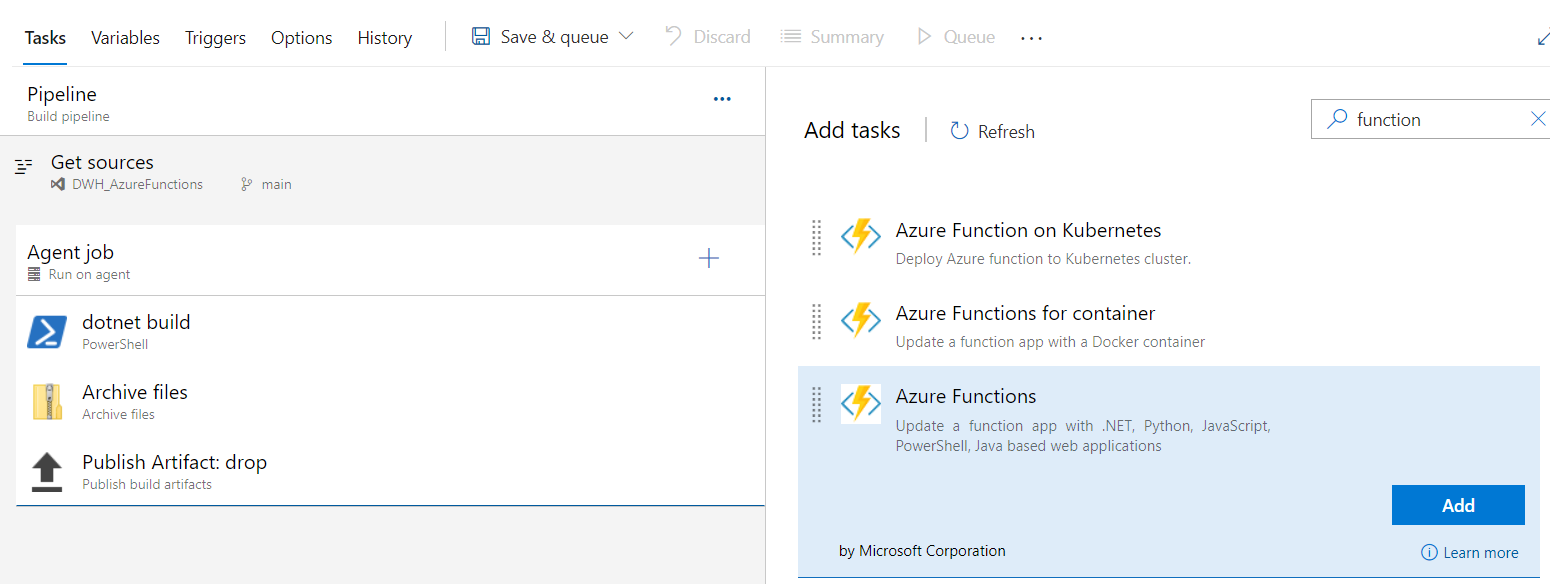
If you want to deploy your Azure Function to your dev/test development as part of your build pipeline, you’ll need to add an extra task:
You’ll have to either specify an Azure subscription and authorize it (which means creating a service principal in Azure AD, which failed earlier when trying to use the YAML template), or you can choose an existing service principal. You can ask your Azure admin to create a service principal in Azure AD, to create a service connection in Azure Devops and assign you permissions to use it.
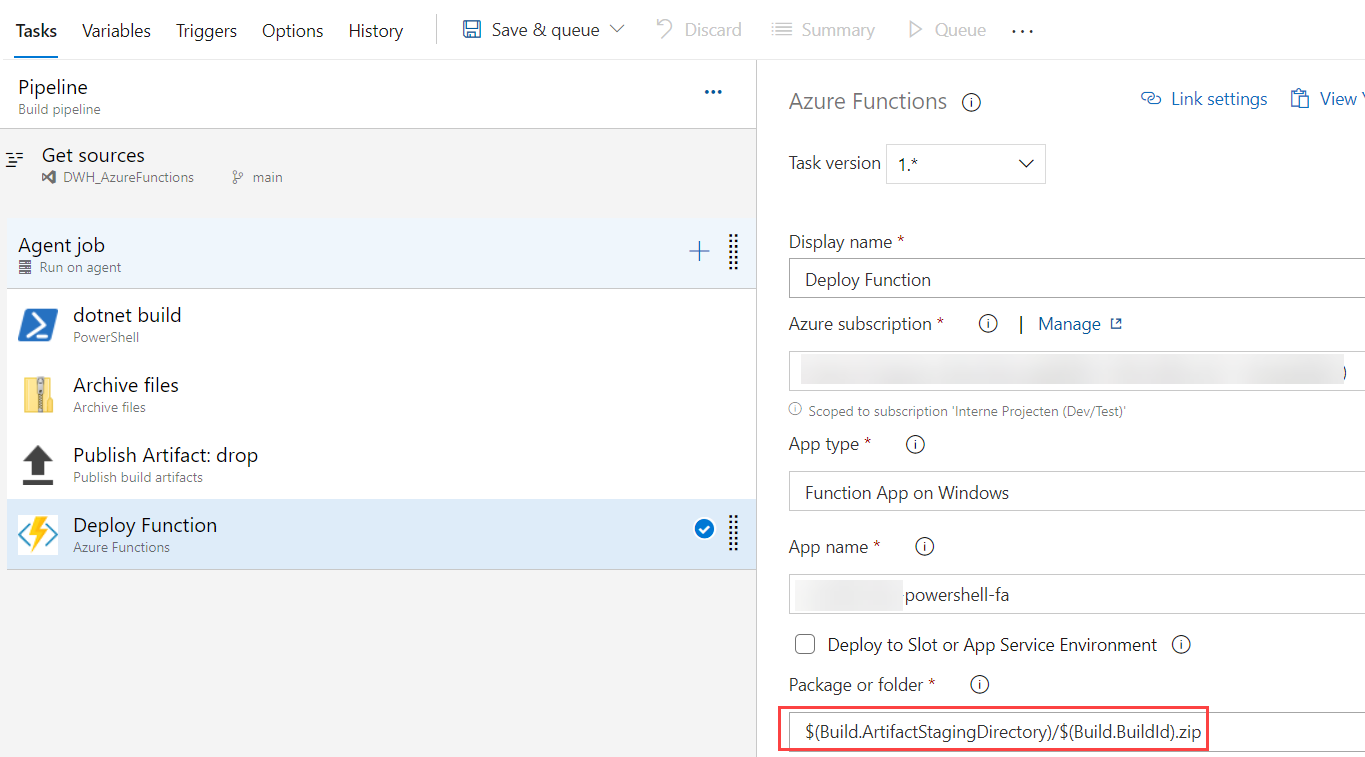
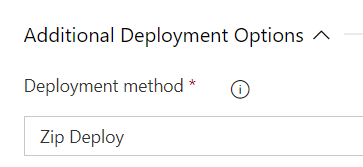
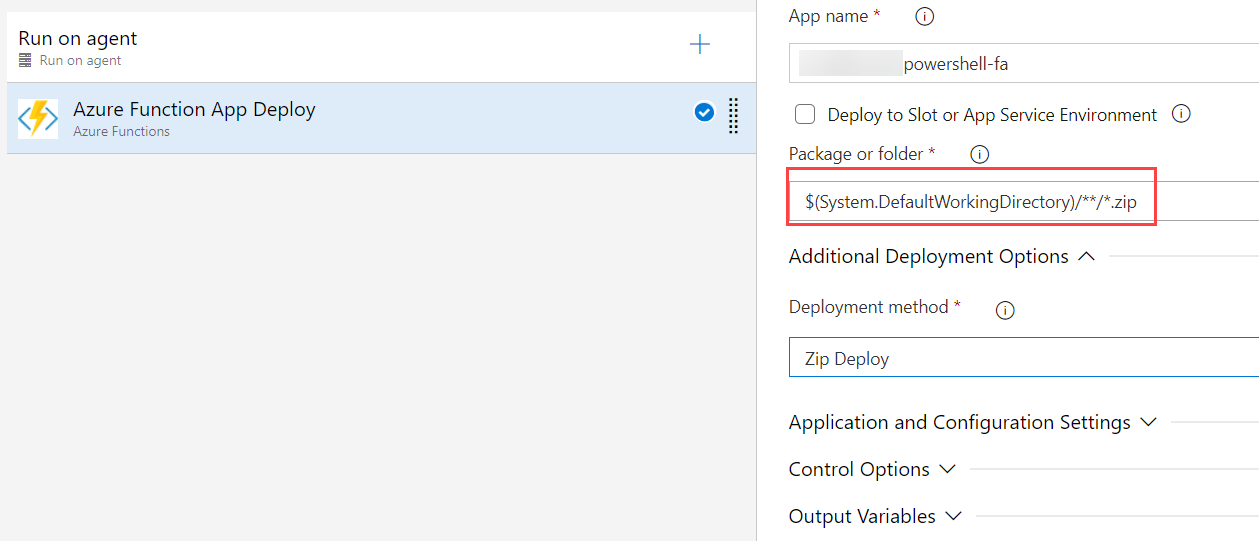
Choose the correct app type (Windows or Linux) and the Function App you want to deploy the Function to. Change the location of the .zip file to the artifact staging folder. In the additional deployment options, you can set the deployment method to Zip Deploy, but Auto-Detect should work fine as well.
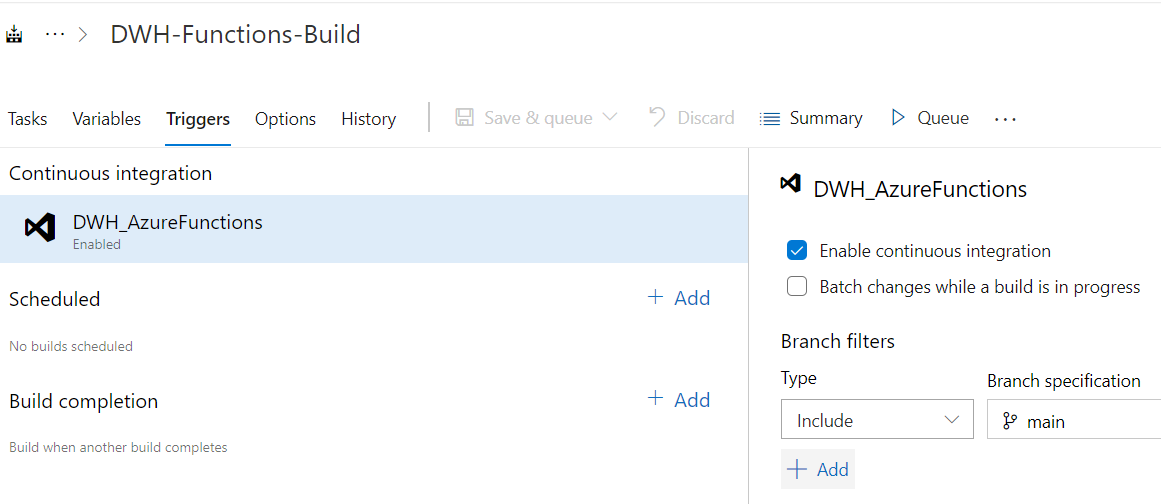
If you want to run your build pipeline every time you commit to the main branch, you can set up continuous integration in the Triggers section of the pipeline:
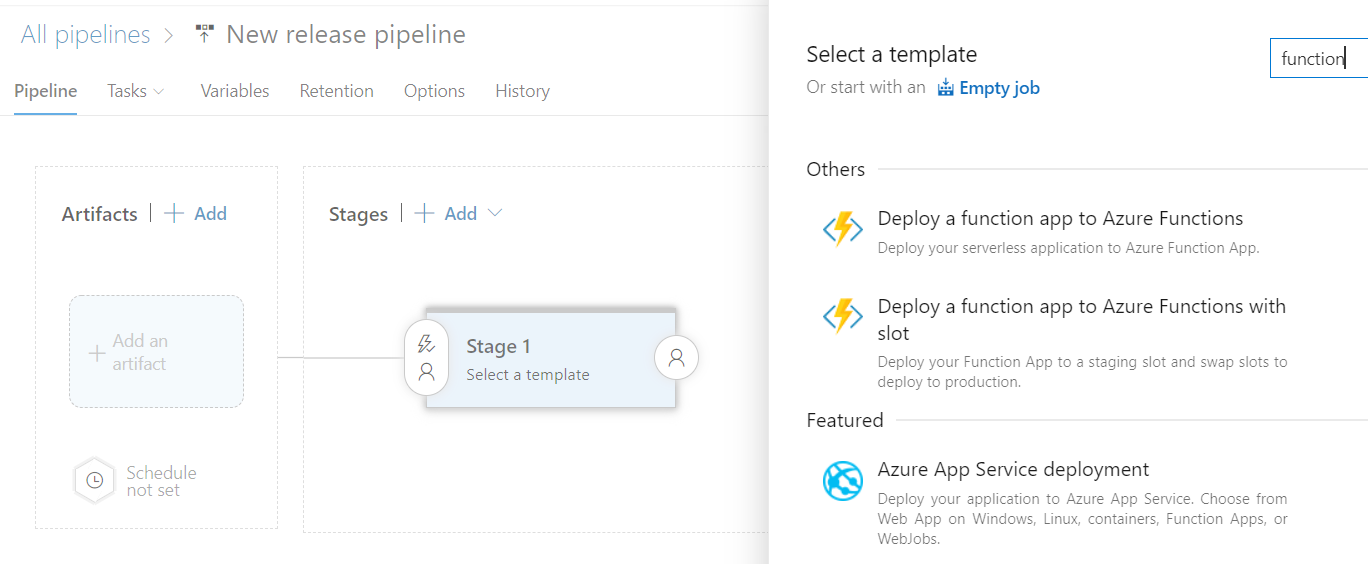
That’s it for the build pipeline. You can save it and queue it, which will deploy the Azure Function from your Git repo to the selected Function App. If you want to deploy to another environment, you can create a release pipeline. Create a new release pipeline and choose the Azure Function template:
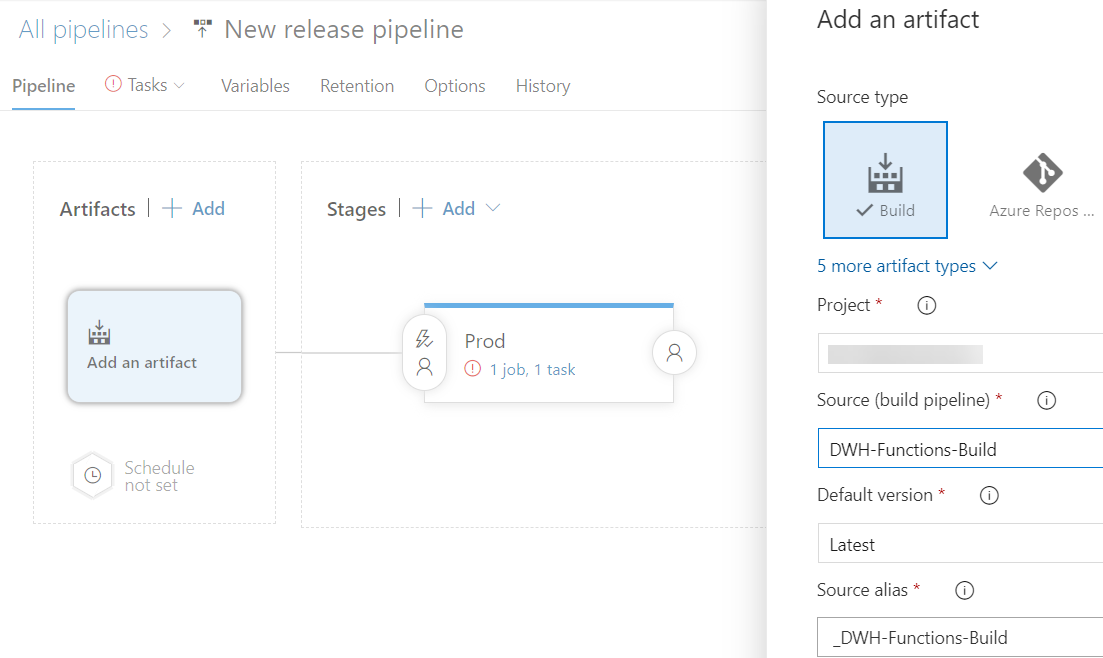
In the artifacts section, choose Build as the source type and select the latest build version.
As a task, add the Azure Functions task. The settings are almost identical to the task in the build pipeline, except you need to choose the Function App of your destination environment and choose the .zip file created by the build pipeline. If you included the build number in the name of the .zip file (which is the default), it’s a good idea to use wildcards in the file path.
And that is it for the release pipeline! You have now created CI/CD that will automatically deploy your Azure Function to your dev/test environment when you commit to the main branch, and you can create releases to deploy to your prod environment.
The post How to Deploy an Azure Function with PowerShell using Azure Devops first appeared on Under the kover of business intelligence.