

Well, turns out code signing is pretty complex, so I’m writing this blog post as a guide for my future self. I hope he will appreciate, and perhaps some of you may find it useful as well.
The need for code signing
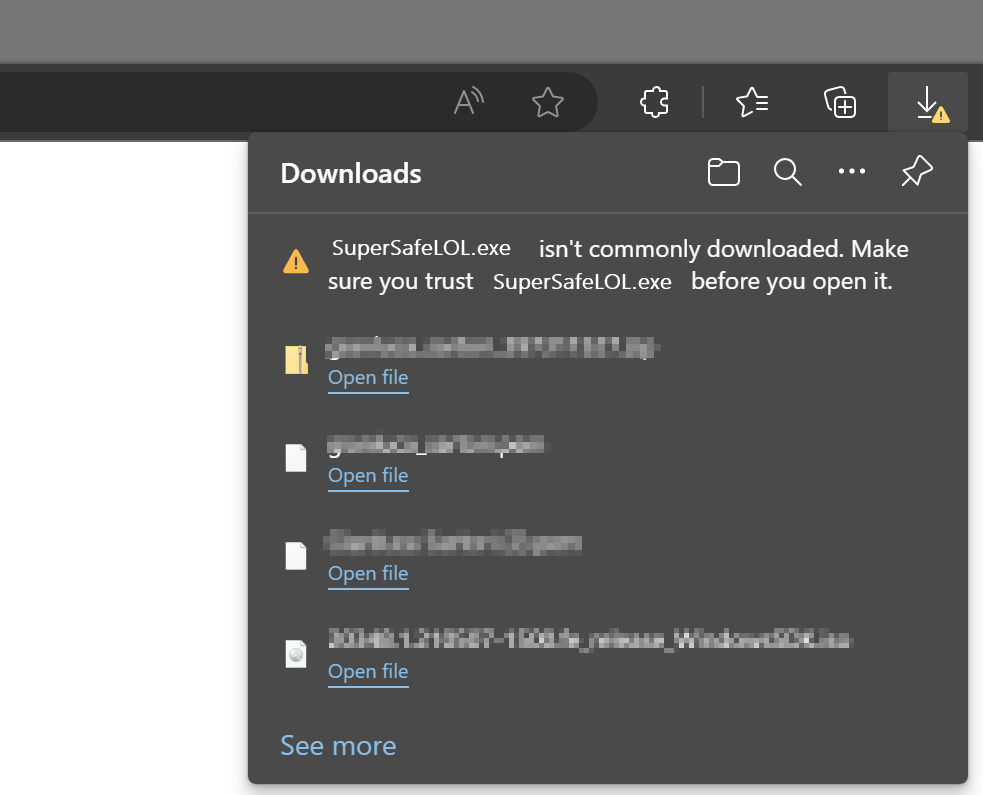
There is a lot of malware out there, we all know it, so you’d better be careful with what you download and install on your computer. Browsers try to help with that and will warn you when you download a suspicious piece of software:
You will have to be very persistent if you really mean to keep it:

If you try to install it, Windows will warn you again that you shouldn’t really install random stuff from the Internet:

Why does happen with some files and doesn’t happen with the Chrome installer or Acrobat reader? Because those setup kits are signed with a certificate from Google and Adobe, released by a certification authority that checks that Google is actually Google and not a disgruntled random guy pretending to be Google.
This means you can sign your code too, you just need to get a code signing certificate from a certification authority and they will be happy to give you one in exchange for money.
Get a Code Signing Certificate
There are many certification authorities and I don’t have enough experience to recommend one in particular. In my case, I ended up working with DigiCert, because at the time they offered complimentary certificates for MVPs.
After registering an account, the first thing you have to do is request a new code signing certificate. The cert authority will perform all required checks, like checking your ID/passport, set up a video call where you sign a form in front of the operator… long story short, they will make sure that you are who you claim you are.
After the check is done, they will issue a certificate, that you can use to sign your code. Hooray!
At this time, you will also get a private key, that you will need to perform all the operations on your code signing certificate. The private key is another certificate, that you will have to make sure to keep in a safe place. Starting from June 1st 2023, regulations require that you store your private keys on a hardware token that provides strong encryption or online in an encrypted key vault.
Either way, make sure you don’t lose it.
Sign your code with the Code Signing Certificate
In order to sign your code, you will need to install the Windows SDK Signing Tools, which are part of the Windows SDK. You can download the appropriate version for your OS from Microsoft.
The tool that you’re looking for is called signtool.exe and you can find it in C:Program Files (x86)Windows Kits10App Certification Kitsigntool.exe
Usage: signtool <command> [options]

  Valid commands:
    sign       --  Sign files using an embedded signature.
    timestamp  --  Timestamp previously-signed files.
    verify     --  Verify embedded or catalog signatures.
    catdb      --  Modify a catalog database.
    remove     --  Remove embedded signature(s) or reduce the size of an
                   embedded signed file.
The command that we need is “sign”. There are a lot of options for this command and I have a very limited knowledge of what does what. What did the trick for me is this combination of parameters:
signtool.exe sign
    /f <path to your cert>
    /p <password to open the cert>
    /sha1 <sha1 fingerprint>
    /t <url of the timestamp server>
    /d <description of the content>
    /fd <file digest algorithm>
    <path of the file to sign>
In my case, to sign XESmartTarget, I entered this command:
signtool sign
    /f "c:digicertcodesigning2023.pfx"
    /p "MySuperDuperPassword"
    /sha1 "00AABBCCDDEEFF0011223344556677889900AABB"
    /t "http://timestamp.digicert.com"
    /d "XESmartTarget"
    /fd sha1
    "c:tempXESmartTarget_x64.msi"
Every parameter is in a new line for readability, but you command will be on a single line.
Looks pretty easy, but I can tell you it’s not. Well, not for me at least. In order to produce the above command line, you will need a number of things:
- The certificate in .pfx format
- The password of the certificate
- The sha1 fingerprint
- The URL of the timestamp server
Convert your code signing certificate to the .pfx format
The certification authority will provide the certificate in many possible formats. Not all formats are good for you: you need .pfx because that’s the one that works with signtool. Maybe it works with other formats, I don’t know, but .pfx worked for me.
In my case, DigiCert provided the certificates either in .p7b, .cer, .crt or .pem format. All these formats are base64 encoded and can be opened with a text editor. If you open a certificate in notepad, you will see something like this:
-----BEGIN CERTIFICATE-----
NIIG3TCCBFmaAqIBAgIEDZk+BM+4uNO1I19N3Mqg0zANBgfqhkiGrw0BAQsFQDBp
MQewCRYDVaQGEwJVUzeXMBUeA1UBChMNRGlnaULlcnQqIEauYy4xRTA/BbNWBAbT
..................lots of gibberish..................
bNWKqgD+rgfsIhBMsEn0ulSMt0JE7q32PeBeVETFv1nQfnljjVA==
-----END CERTIFICATE-----
The .pfx format is different, it is a binary format and cannot be opened with a text editor.
In order to convert your .pem certificate to .pfx format, you will need another tool called openssl. You can download and install for your OS or you can use a winget command: winget install openssl.
Once you have openssl, you can use this command to convert your base64 certificate to the .pfx format:
openssl pkcs12 -inkey c:digicertprivatekey.pem -in c:digicertcodesigning.crt -export -out c:digicertcodesigning.pfxOpenssl will prompt for the password of the private key. Did I mention you should not lose it?
Enter pass phrase for c:digicertprivatekey.pem: <-- private key password
Enter Export Password:   <-- this is the password of the exported certificate
Verifying - Enter Export Password: <-- type again
The export password is the one that you will need to pass to signtool in the /p parameter.
Convert your private key to .pem format
If your private key is not in base64 format, openssl will fail:
Could not read private key from -inkey file from c:digicertprivatekey.p12I don’t remember exactly how, but my private key is in .p12 format (it’s a binary encrypted format): if that is all you have, you will need to convert it first.
Openssl can convert the private key for you:
openssl pkcs12 -in c:digicertprivatekey.p12 -out c:digicertprivatekey.pem -clcertsNow that you have the private key in the .pem format, you can go back to the previous step and generate the .pfx certificate.
Get the certificate fingerprint
Your certitification authority should display the certificate sha thumbprint on the certificate order in your personal area. At least, DigiCert does. This information can be displayed as “thumbprint” or “fingerprint” and it’s a binary string.
If you can’t find this information on the certificate order, you can extract it from the certificate itself, again using openssl:
openssl x509 -noout -fingerprint -sha1 -inform pem -in "C:digicertcodesigning.pem"
The output will look like this:
sha1 Fingerprint=00:AA:BB:CC:DD:EE:FF:00:11:22:33:44:55:66:77:88:99:00:AA:BBThis fingerprint should match the one you have on your certificate order and must be used in the signtool command line without the “:”. In this case it becomes 00AABBCCDDEEFF0011223344556677889900AABB
Putting it all together
Once you have your certificate ready, you can use signtool to sign your artifacts. In order to make this process easier, I created a couple of scripts that I use in Visual Studio builds as post build scripts.
My Wix setup project has this Post-build Event Command Line:
call $(ProjectDir)postbuild.bat "!(TargetPath)" "$(TargetDir)$(SolutionName)_$(Platform)$(TargetExt)"postbuild.bat looks like this:
powershell.exe -ExecutionPolicy Bypass -NoProfile -NonInteractive -File %~dp0SignMsi.ps1 -InputFile %1 -OutputFile %2SignMsi.ps1 is where all the magic happens:
[CmdletBinding()]
Param(
    [Parameter(Mandatory=$True,Position=1)]
    [string]$InputFile,
    [Parameter(Mandatory=$True,Position=2)]
    [string]$OutputFile
)


if(-not (Test-Path $PSScriptRootSignParams.ps1))
{
    Write-Warning "No code signing is applied to the .msi file."
    Write-Warning "You need to create a file called SignParams.ps1 and provide signing info."
    Move-Item $InputFile $OutputFile -Force
    exit
}

# read paramters
$signParams = get-content $PSScriptRootSignParams.ps1 -Raw
Invoke-Expression $signParams

$params = $(
     'sign'
    ,'/f'
    ,('"' + $certPath + '"')
    ,'/p'
    ,('"' + $certPass + '"')
    ,'/sha1'
    ,$certSha
    ,'/t'
    ,('"' + $certTime + '"')
    ,'/d'
    ,'"XESmartTarget"'
    ,"/fd"
    ,"sha1"
)

& $signTool ($params + $InputFile)

Write-Output "Moving $InputFile --> $OutputFile"
Move-Item $InputFile $OutputFile -Force
SignMsi.ps1 looks for a file named SignParams.ps1 in the same folder and if it finds the file if processes the contents and proceeds to sign the artifacts, otherwise it just ignores signing, which can be good for pre-prod or test environments.
The SignParams.ps1 file contains the parameters needed by signtool and it looks like this:
$signTool = "C:Program Files (x86)Windows Kits10App Certification Kitsigntool.exe"
$certPath = "c:digicertcodesigning2023.pfx"
$certPass = "MySuperDuperPassword"
$certSha = "00AABBCCDDEEFF0011223344556677889900AABB"
$certTime = "http://timestamp.digicert.com"
This should make your life pretty easy.
Cheers!