Applying a SQL Server patch is one of those love-to-hate chores that we all want to avoid unless we absolutely have to do it (if you're anything like me). So any tips, no matter how small, that will make the process less fraught will always be welcomed.
I'm going to share something that I use whenever I patch a server, as I am fairly sure that it will help anyone else who has to patch SQL Server on a regular basis. Especially those of us who manage large SQL Server estates.
This option has actually been around for a long time but is not advertised much by Microsoft. We all know that double-clicking on a downloaded patch file will extract the patch setup files to an ugly GUID named folder in the local drive. Depending on the size of the patch this process alone can take a few minutes.
Now, did you know that this location can be easily changed so the files can be extracted in advance to a location of your choice?
Well it can, and it's a beautifully simple to do. Instead of double-clicking on the file, launch it from a DOS (or PowerShell) prompt by typing the name of the patch and just adding the command line /extract option with your chosen path appended to this option.
Too simple, right? Well, let's work through an example.
As of the time of writing this post, the latest and greatest SQL Server patch is Cumulative Update 5 for SQL Server 2014 Service Pack 1 and this file is a mere 577MB.
Step 1. After the file has been downloaded, open a DOS prompt and launch it with the /extract option with a path of your choice appended to this option.
I've chosen the imaginative target folder of C:\SQLDownloads, as shown below:

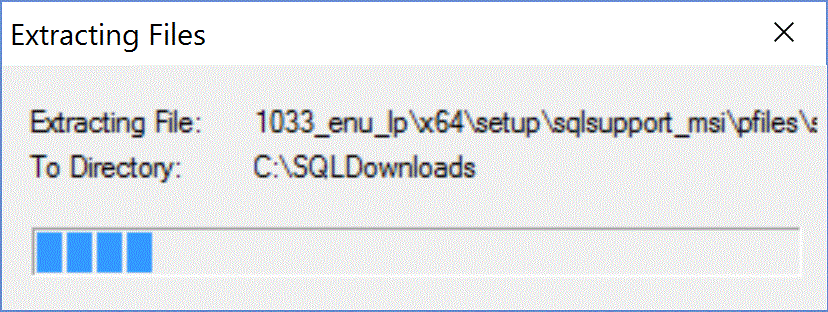
After a few moments you should see the progress bar dialog pop up:

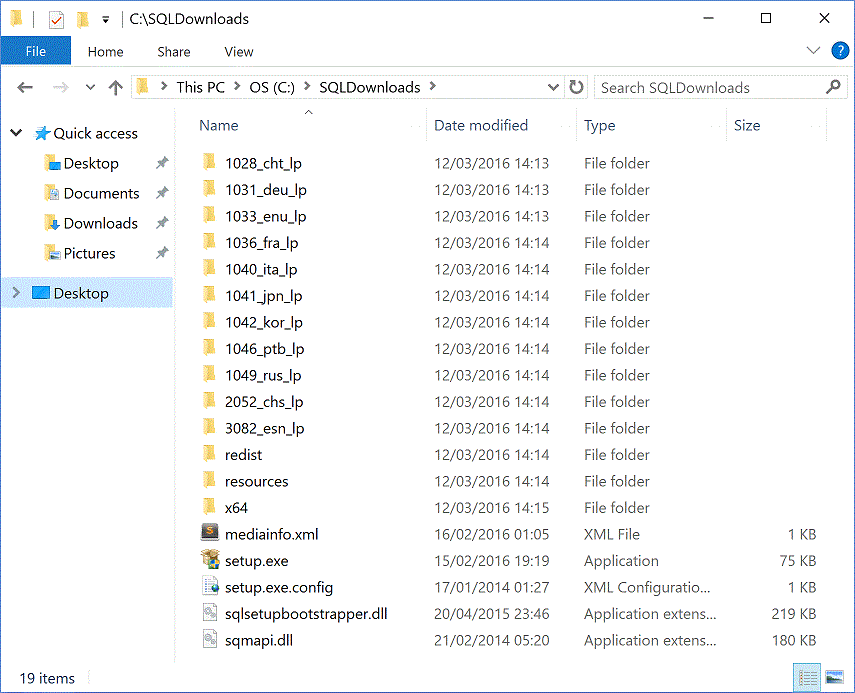
After the extraction completes you will find the following in the target directory:

The target directory will be created if it does not exist, so this is also a great option for automating patch installs.
That's all there is to it. No step 2 required. The patch has been extracted to a location of your choice, which means there's one less thing to worry about when it's time to carry out the actual patching. Also, now that we have extracted our setup files, the original 577MB patch file can be deleted, saving us a little more disk space.
Sometimes, a cumulative update patch from Microsoft consists of another single exe file after it has been extracted. If you have one of these patches, just launch it again with the /extract option to get the full set of install files. Launching the patch using just the /extract option without specifying a target folder will launch a dialog box that will prompt you to specify the target extraction directory.
Summary
This saves time as the install files can be extracted in advance, and if you have to patch a lot of servers this saving is multiplied as the files are extracted once, instead of every time on every server.
This time saving also serves to reduces risk as it is one less thing that could go wrong during patching. The last thing you want to be doing during a patching window is scrambling around on a server clearing space in temp folders because there was not enough space free on e.g. the C: drive for the patch to extract itself. We've all been there. This is also a great way of retrieving just an individual msi file (e.g. sqlncli.msi).
This is one of those tips like err.exe that I took for granted as I used it routinely in my Microsoft days, but it's become clear to me that it not as well-known outside MS as it should be, so if you found it useful feel free to share it.
Further reading
If you're interested in the other command line options that could be used when installing these patches there's a great little summary in KB 262841.


