

I just noticed today that there is a new blade in the Azure portal when creating a new SQL Server virtual machine. I’ve been looking for an announcement regarding this new Azure portal experience, but I haven’t found one yet. This feature wasn’t available when I took the screen shots for my last post on creating a SQL Server 2008 R2 FCI in Azure on April 19th, so it must be relatively new.
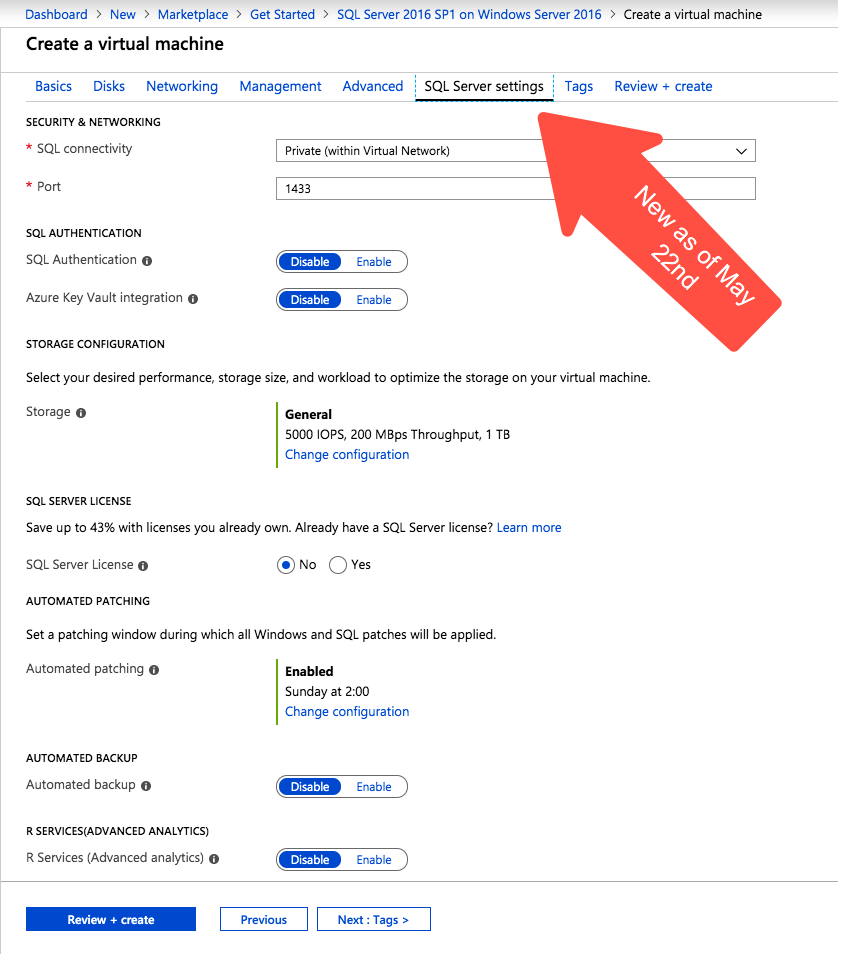
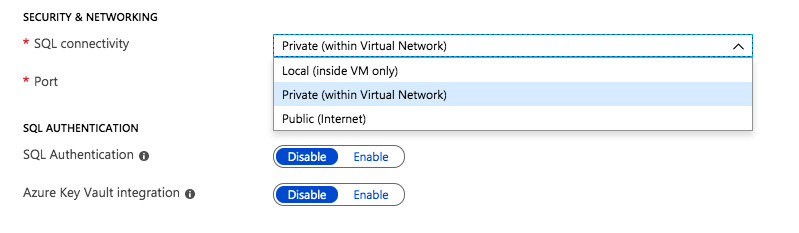
Most of the settings are pretty self explanatory. Under Security and Networking you can specify the port you want SQL to listen on. It also appears as if the Azure Security Group will be updated to allow different levels of access to the SQL instance: Local, Private or Public. Authentication options are also exposed in this new SQL Server settings blade.
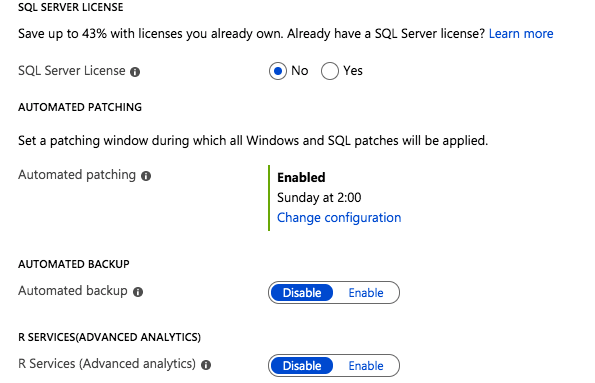
The rest of the features include licensing, patching and backup options. In addition, if you are deploying the Enterprise Edition of SQL Server 2016 or later you also have the option to enable SQL Server R Services for advanced analytics.
All of those options are welcome additions to the Azure portal experience when provisioning a new SQL Server instance. I’m sure the seasoned DBA probably has a list of a few dozen other options they would like to tweak before a SQL Server deployment, but this is certainly a step in the right direction.
Storage Configuration Options
The most interesting new feature I have found on this blade is the Storage Configuration option.
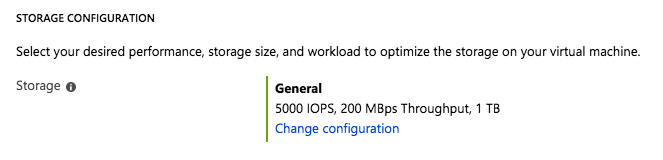
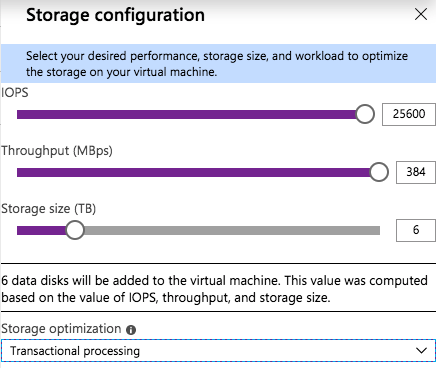
When you click on Change Configuration, you get the following blade.
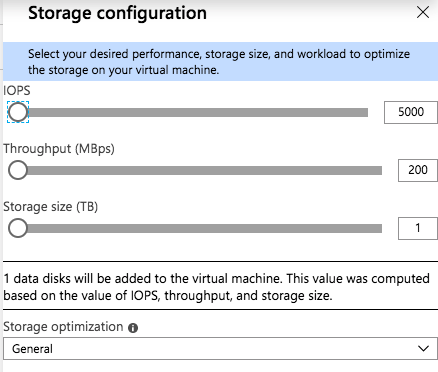
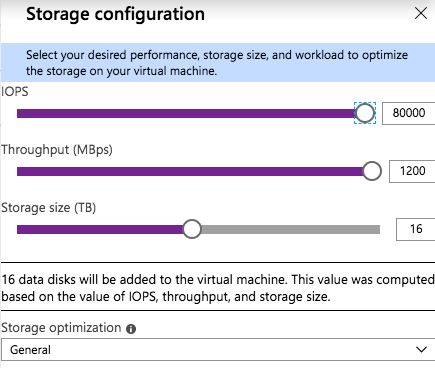
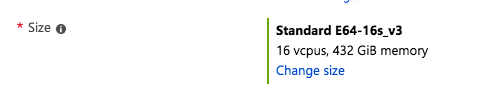
As you slide the IOPS slider to the right you will see the number of data disks increase, the Storage Size increase, and the Throughput increase. You will be limited to the max number of IOPS and disks supported by that instance size. You see in the screenshot below I am able to go as high as 80,000 IOPS when provisioning storage for a Standard E64-16s_v3 instance.
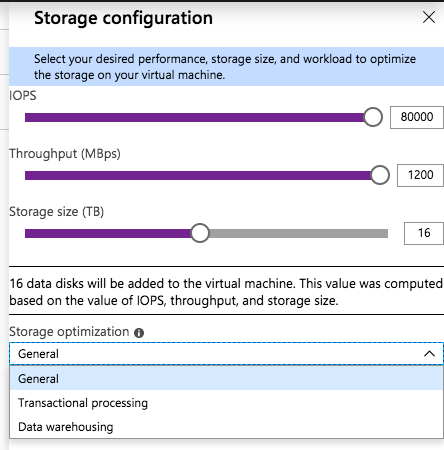
There is also a “Storage optimization” option. I haven’t tried all the different combinations to know exactly what the Storage optimization setting does. If you know how the different options change the storage configuration, leave me a comment, or we will just wait for the official documentation to be released.
For my test, I provisioned a Standard DS13 v2 instance and maxed out the IOPS at 25600, the max IOPS for that instance size. I also optimized the storage for Transactional processing.
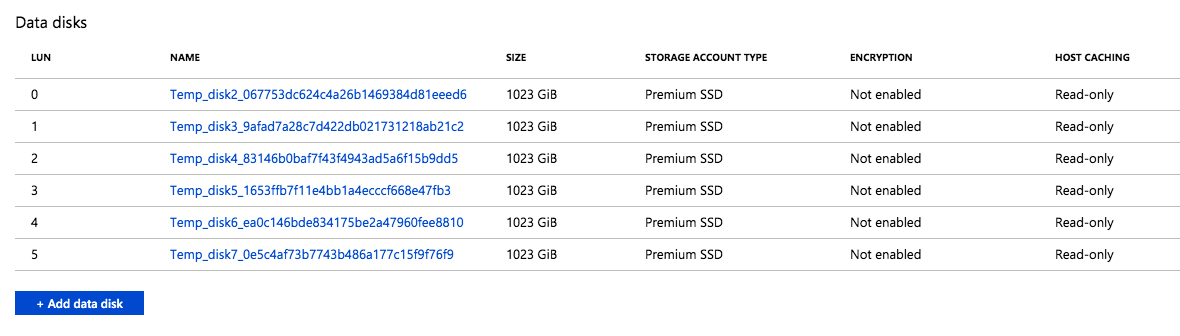
I found that when this instance was provisioned, six P30 premium disk were attached to the instance. This makes sense, since each P30 delivers 5000 IOPS, so it would take at least six of them to deliver the 25,600 IOPS requested. This also increased the Storage Size to 6 TB, since each P30 gives you one 1 TB of storage space. The Read-only host caching was also enabled on these disks.
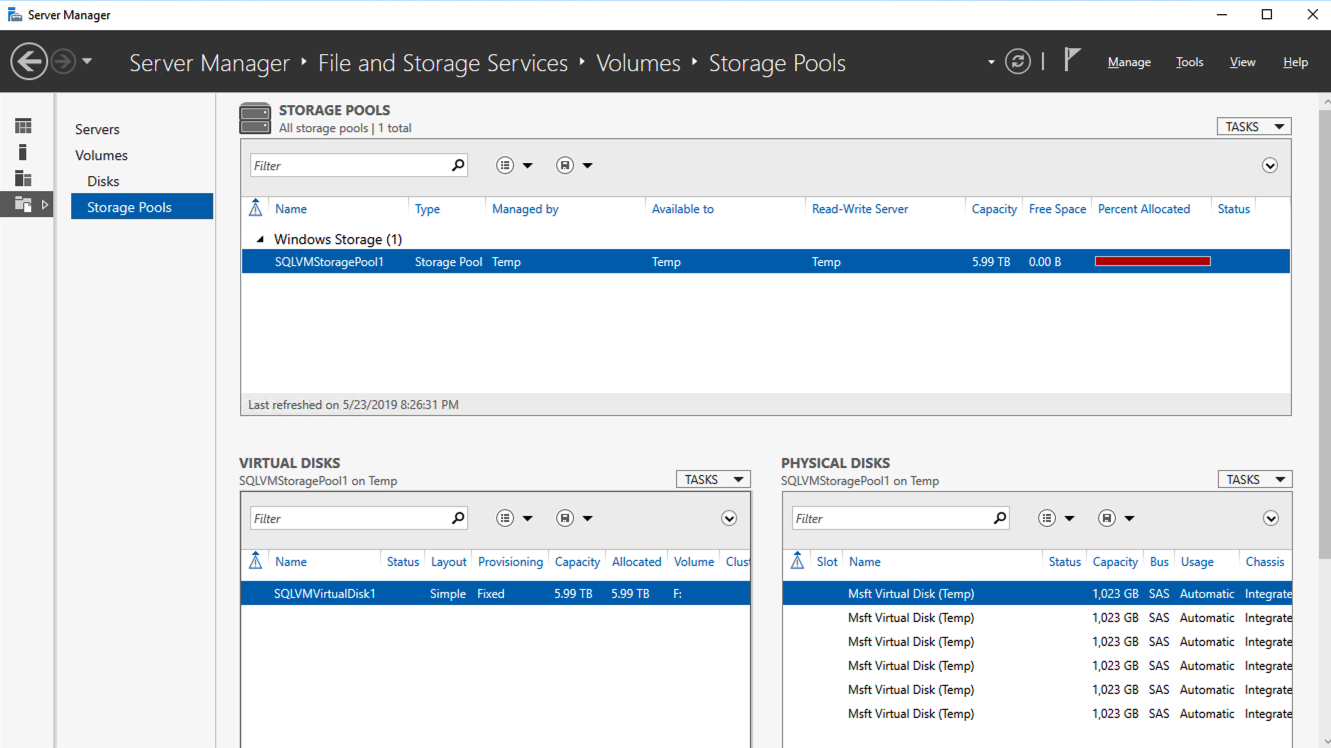
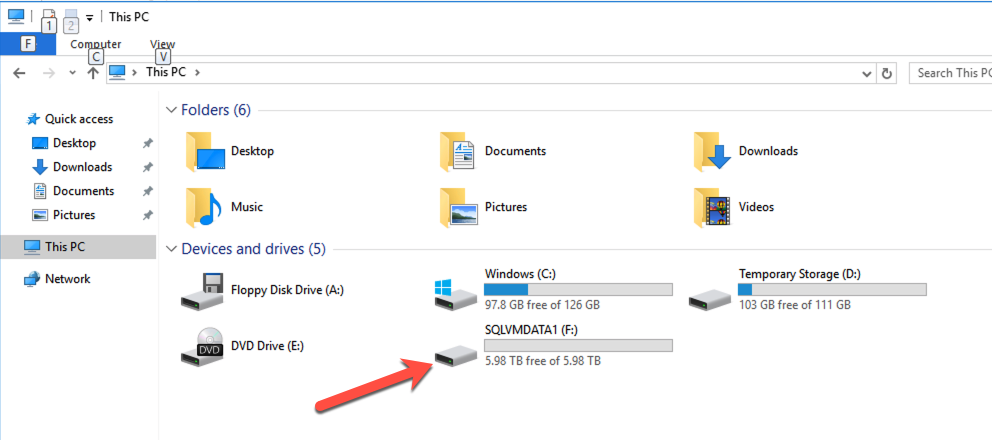
When I logged in to the instance to see what Azure had done with those disk I found that they had done exactly what I would have done; they created a single Storage Pool with the six P30 disks and created a Simple (aka, RAID 0) Storage Space and provisioned a single 6 TB F: drive.
This storage configuration wizard validates some of the cloud storage assumptions I made in my previous blog post, Storage Considerations for Running SQL Server in Azure. It seems like a single, large disk should suffice in most circumstances.
I have found this storage optimization is not available in every Azure Marketplace offering. For example, if you are moving SQL Server 2008 R2 to Azure for the extended security updates you will find that this storage optimization in not available in the SQL2008R2/Windows Server 2008 R2 Azure Marketplace image. Of course, Storage Spaces was not introduced until Windows Server 2012, so that makes sense. I did verify that this option is available with the SQL Server 2012 SP4 on Windows Server 2012 R2 Azure Marketplace offering.
There is a minor inconvenience however. In addition to adding this new Storage configuration option on SQL Server settings blade, they also removed the option to add Data Disks on the Disks blade. So if I wanted to provision additional storage without creating a Storage Space, I would have to create the instance first and then come back and add Data disks after it the virtual machine is provisioned.
Final thoughts
All of the SQL Server configuration options in this new Azure blade are welcome additions. I would love to see the list tunable settings grow. Information text should include guidance on current best practices for each tunable.
What SQL Server or Windows OS tunables would you like to see exposed as part of the provisioning process to make your life as a DBA easier? Not only would these tunables make your life easier, but they would also make the junior DBA look like a season pro by guiding them through all the current SQL Server configuration best practices.
I think the new Storage configuration option is probably the most compelling new addition. Prior to the Storage configuration wizard, users had to be aware of the limits of their instance size, the limits of the storage they were adding, and have the wherewithal to stripe together multiple disks in a Simple Storage Space to get the maximum IOPS. A few years ago I put together a simple Azure Storage Calculator to help people make these decisions. My calculator is currently outdated, but this new Storage configuration option may make it obsolete anyway.
I would love to see this Storage configuration wizard included as a standard offering in the Disks blade of every Windows instance type, rather than just the SQL Server instances. I would let the user choose to use the new Storage configuration “Wizard” experience, or the “Classic” experience where you manually add and manage storage.