

In this walk-through we will create a simple SSIS package that writes to a database table, deploy the SSIS project containing the package to the SQL Server Integration Service's catalog and execute the package (1) from the SSIS Catalog's Execute Package GUI and (2) from a T-SQL script generated by the Execute Package GUI.
1. Create a destination table
Create a table for our test package to populate by executing the following T-SQL code...
CREATE TABLE TestDB.dbo.Test (
[TimeStamp] [datetime] NULL
) ON [PRIMARY]
...in SQL Server Managment Studio.

2. Create an SSIS project
Create an SSIS project in Business Intelligence Development Studio named SSIS Catalog Demo.

3. Modify the project's default SSIS package
A default SSIS package named Package.dtsx was created by the project.

Double-click the Execute SQL Task node of the SSIS Toolbox to add an Execute SQL Task component to the default package.

Right-click in the Connection Managers panel and select New OLE DB Connection from the popup menu.

Click the New button to create a new connection manager.

Enter the relevant connection information and click the OK button.

Right-click the Execute SQL Task component and select Edit from the popup menu.

Click on the Connection node of the Execute SQL Editor panel and select the TestServer connection manager.

Click on the SQLStatement node of the Execute SQL Task Editor...

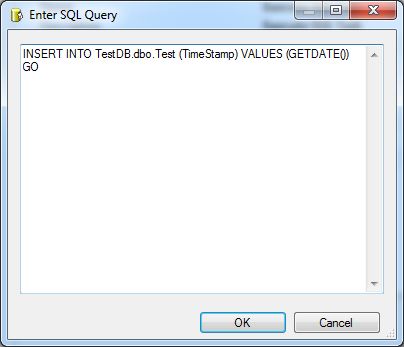
...to bring up the Enter SQL Query panel.

Paste the following T-SQL code...
INSERT INTO TestDB.dbo.Test (TimeStamp) VALUES (GETDATE())
GO
...into the Enter SQL Query panel and click the OK button.
Click the OK button on the Execute SQL Task Editor panel.

4. Execute the SSIS package from Development Studio
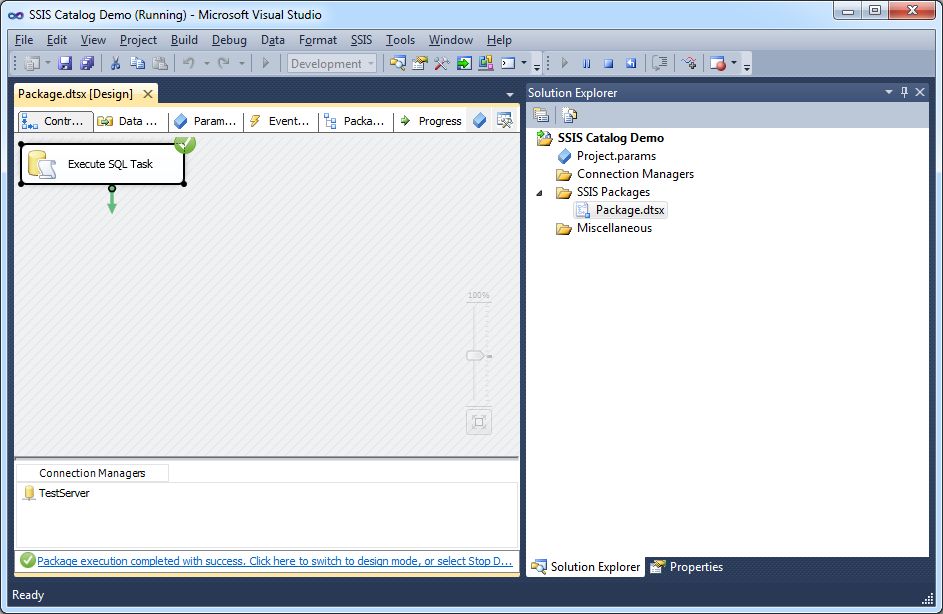
Click on the Start Debugging green arrow button of the package editor.

The green check mark indicates that the package ran successfully and inserted a record into the TestDB.dbo.Test table.
5. Confirm that the package worked
Enter the following T-SQL code...
SELECT * FROM TestDB.dbo.Test
...into SQL Server Management Studio and execute it to confirm that a record was added to the table.

6. Create the SSISDB Integration Services catalog
Browse to the Integration Services Catalogs of SQL Server 2012 or above in Management Studio.

Right-click on the Integration Services node and select Create Catalog from the popup menu.

Populate the Password and Retype Password fields and click the OK button.
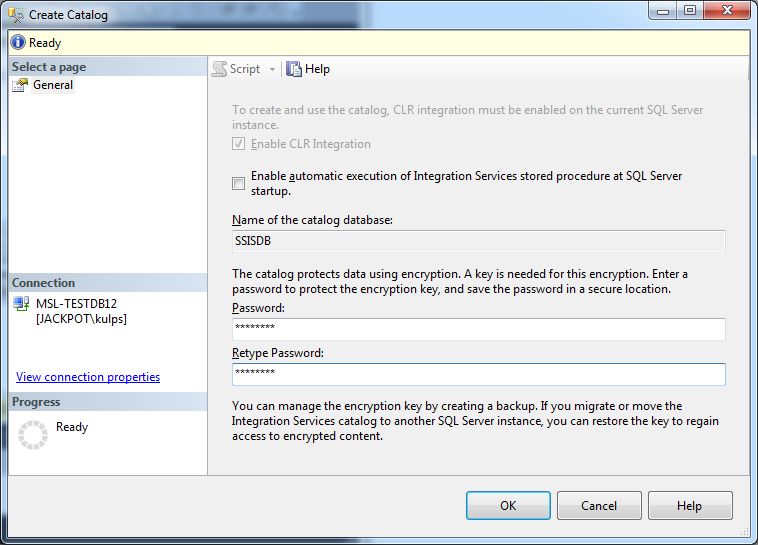
An empty folder named SSISDB has been created under the Integration Services Catalog folder.

Right-click on the SSISDB folder and select the Create Folder menu item.

Enter the folder name Test and click the OK button.
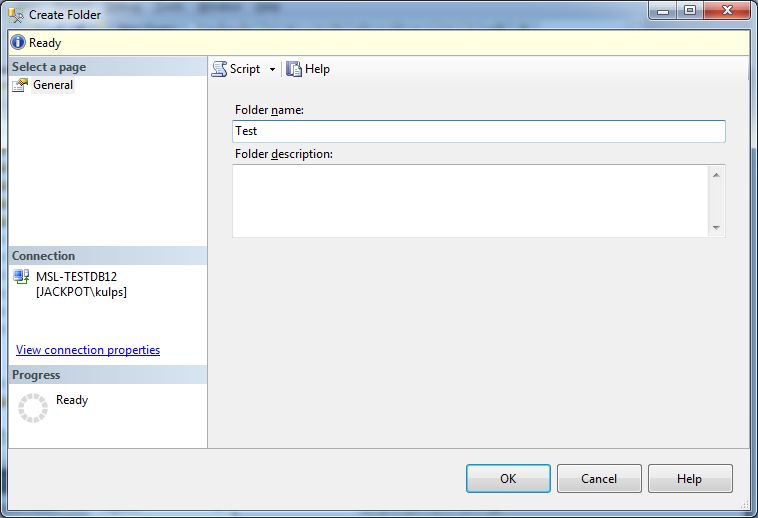
Empty folders named Projects and Environments have been created under the Test folder.

7. Deploy the SSIS project to the SSIS catalog
Right-click on the SSIS Catalog Demo project name in Development Studio and select the Deploy menu item.

Click on the Next button in the Integration Services Deployment Wizard panel.

Enter the name of the server and the path to the catalog to be created and click Next.

Click the Deploy button.

Click the Close button of the deployment wizard panel after obserivng the four green checkmarks that confirm the deployment was successful.

Right-click the SSISDB folder and select the Refresh menu item.

Expand the folders under the Test folder to confirm that the package has been deployed to the server.

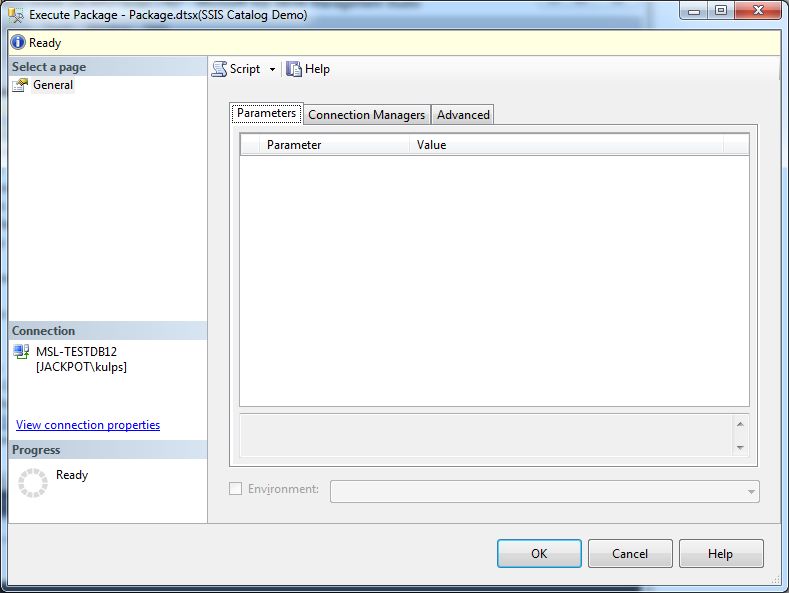
8. Execute the SSIS package from the catalog with the Execute Package GUI.
Right-click on the package and select Execute from the popup menu.

Click the OK button on the Execute Package GUI panel.
Click the Yes button on the dialog box that asks if you wish to open the overview report.

A report opens in SQL Server Management Studio that indicates our package was successfully executed.

Execute the previous SELECT query again to confrim that another record has been added to the table by the SSIS package.

9. Create the SSIS catalog execution script from the Execute Package GUI
Right-click the package and select Execute once again.

This time select New Query Editor Window from the Script menu at the top of the Execute Package panel, then click the OK button.

Click the No button on the dialog box to prevent a report from being created.
Observe that a new query editor window containg SQL code has been opened in SQL Server Management Studio

10. Run the script
Execute the script to run the SSIS package from the catalog.

Execute the SELECT query again to confirm that the package inserted another record into the table.

Conclusion
In this article we demonstrated how to deploy an SSIS package to the SSIS catalog and how to execute the package directly from the Execute Package GUI and from a SQL Script generated by the Execute Package GUI.