By Chris Gibson
This is the debut blog post of Chris Gibson. Chris is in expert in Microsoft Windows and is turning his attention more and more to the Cloud. You can read more about Chris on the About Us Page
Introduction
This introduction to Containers and Dockers is intended for people new to the technology.
Containers and more specifically Docker seems to be one of the current “cool” technologies. A day doesn’t go by that I don’t see at least 5 adverts/tweets/blogs on the subject. However, when I look for tutorials to get up to speed, they are either complex multiple technology, multiple container systems or simple Hello World containers written in Flask. As a windows administrator, neither of these give me the gentle introductory start to containers and dockers that I need. They also make it hard for me to see how Docker would help me in my day to day job.
With the release of Windows containers, I at least have a chance. Rather than having to learn Linux, bash and Docker, I can just learn Docker using technologies I’m already familiar with. That said, I still need to learn Docker, which is a technology built for Linux so isn’t as intuitive as you would expect.
In this series, I will share how I set up my workstation and configured my containers. Hopefully it will save you some time with your studies.
Configure your Workstation to Work With Docker
To work with Windows Containers, you need a machine/VM running Windows 10 Professional or Enterprise. This will also need to have the Anniversary update installed as a bare minimum.
While writing this series, I used a VM running the latest Insider build of Windows 10.
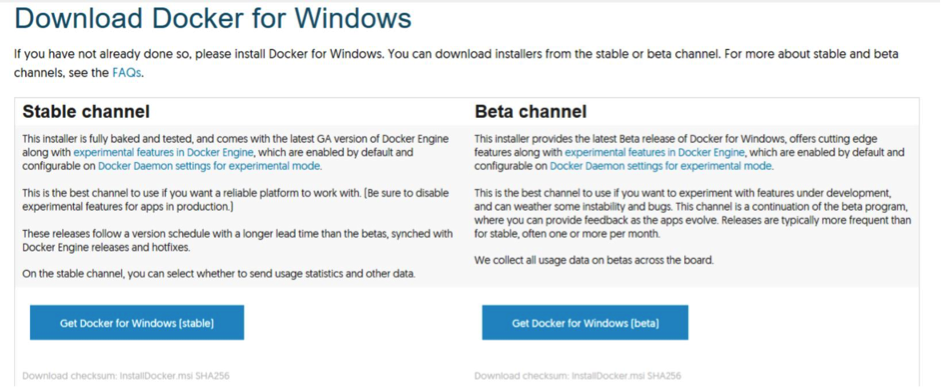
There are two branches of the client, Stable and Beta. You can use either for this.
 |
| Two branches to the Docker for Windows Client |
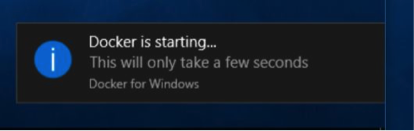
Once you have downloaded your chosen client, run through the installer as normal, accepting the default options. Once the install has finished, you will see a pop-up just above the system tray that reads “Docker is starting…”. However, it won’t be able to start, as Hyper-V isn’t enabled.
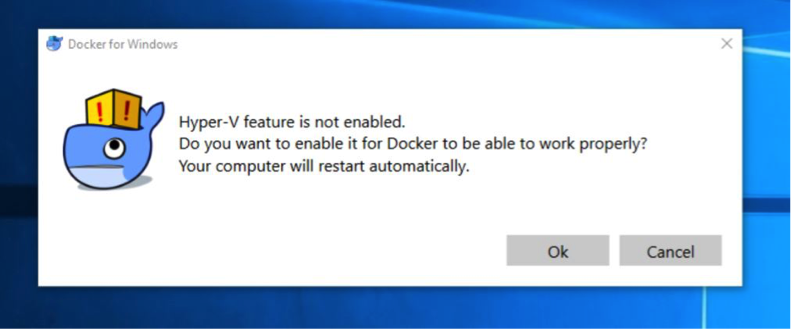
Helpfully Docker recognises this and gives you the option to enable it. This step takes a while and will reboot your machine. You may think this step has hung as the installer seems to disappear, but just be patient
Once your machine has rebooted, log in and check the notification area for the Docker whale icon. If you hover over this, the message “Docker is starting…” should appear
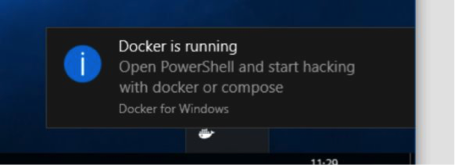
It could take a while to start as it will be provisioning the VM it uses to run Docker containers. Once everything is set up and running you’ll see the below message pop up.
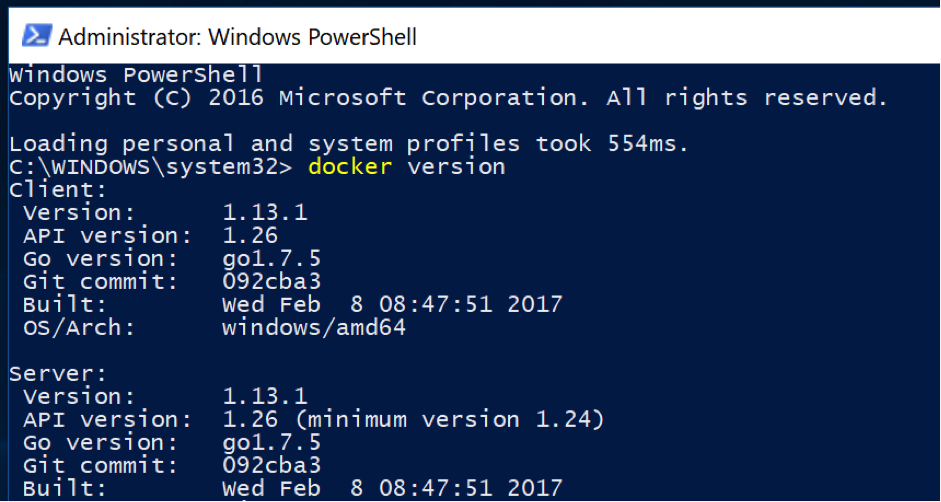
Once Docker for Windows is installed, you just need to check that it’s working. Open a PowerShell prompt as the Administrator and run the command “Docker Version”.
The command will take a second to run and will show what version you are running. If this command completes, then it can be assumed that the client installed correctly. With the client installed correctly in my post I will look at how to switch to windows containers.