
In our last super-exciting article, we saw how a U-SQL script’s code-behind C# file could be leveraged to house C# methods, which could then be used as scalar functions in the U-SQL script. This was great, but there was one problem – the method was only available to a single U-SQL script. We’ll see in this article how methods can be shared and made global across all U-SQL scripts.
Note: Ensure you have the latest version of the Azure Data Lakes Tools installed before working your way through this article.
The Process
If you’ve ever created a .NET SQLCLR assembly in SQL Server, this process will seem familiar to you. If you haven’t then don’t worry, it isn’t overly complicated. There are a few stages we need to progress through.
- Add a new C# class library to our project, and write the code for our methods.
- Build the class library.
- Register the assembly.
- Create a script that can use the assembly.
We’ll do all of that locally, and once we’re done we’ll do the same in Azure.
Creating the Class Library
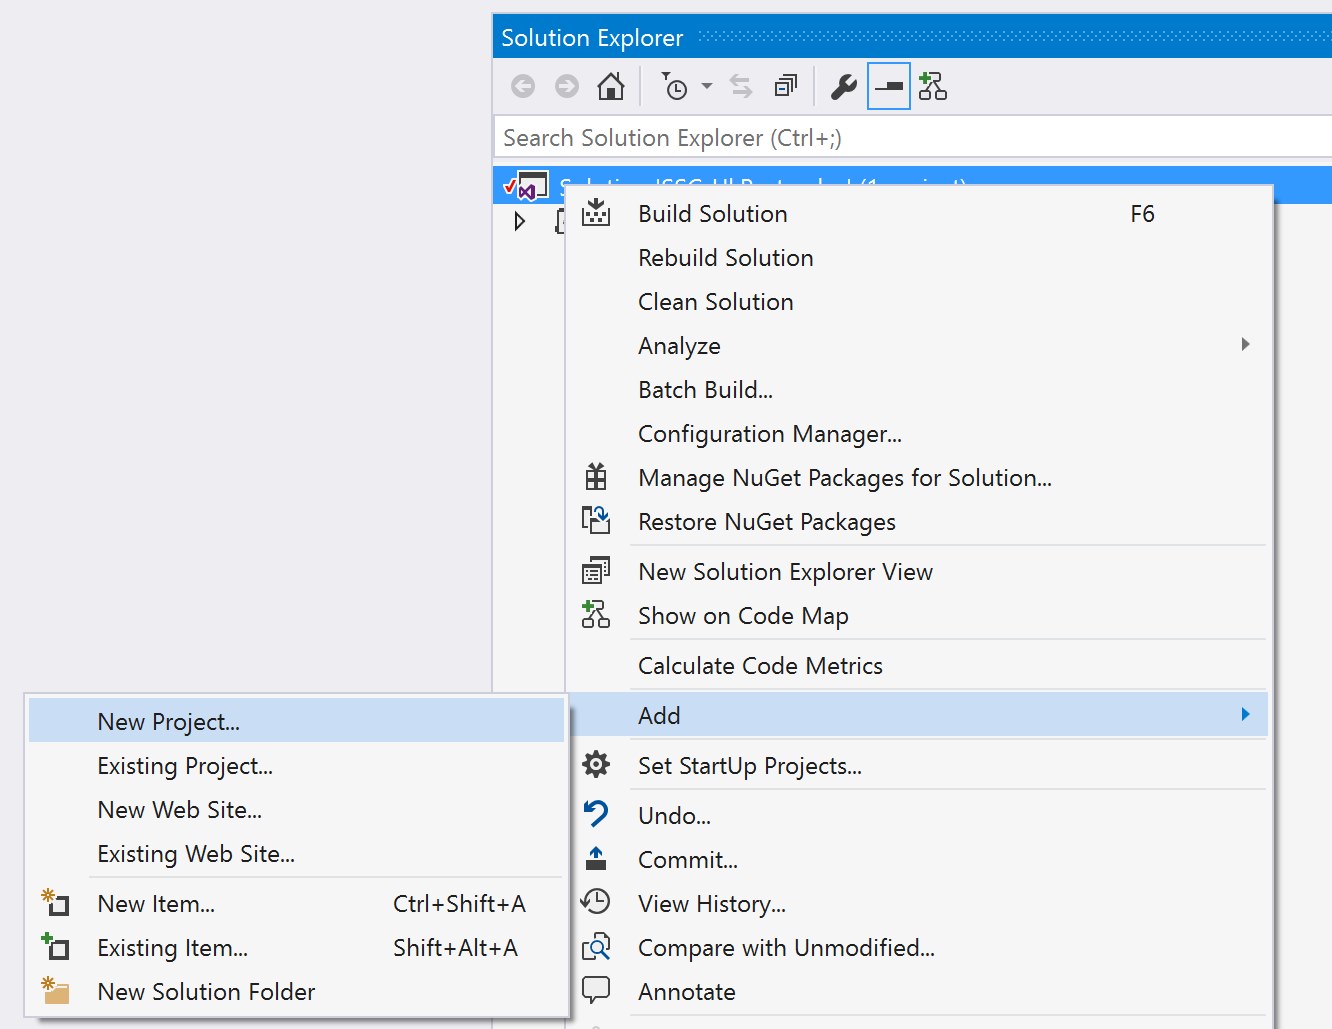
We can add a new project to our solution to represent our class library. If you’re feeling lazy then just pull the code from GitHub, where you’ll find the library in pristine condition. To add the project (assuming you’ve already opened the solution), right-click on the Solution name in Solution Explorer (it’s right at the top) and navigate to Add -> New Project.
Select Azure Data Lake on the left-hand side and select U-SQL (ADLA). The available U-SQL projects are displayed in the main window – we looked at some of these early in this stairway series. Choose Class Library (For U-SQL Application) and call it PostcodeLibrary.

Click on OK to create the class library. It will be displayed in the Solution Explorer.
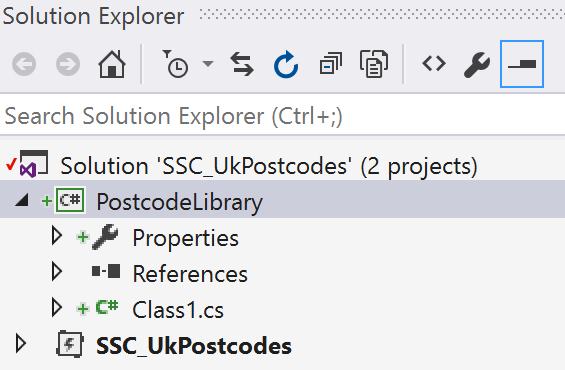
Rename Class1.cs to PostcodeHelper.cs. You may be asked if you wish to perform a rename of all references to Class1. Click Yes if you see this, although it doesn’t matter too much at this stage. This is a useful feature of Visual Studio, but only if your code is actually referencing the class in question!
Assuming you’ve followed all of the above steps, your code should now look like this:
using Microsoft.Analytics.Interfaces;
using Microsoft.Analytics.Types.Sql;
using System;
using System.Collections.Generic;
using System.IO;
using System.Linq;
using System.Text;
namespace PostcodeLibrary
{
 public class PostcodeHelper
 {
 }
}
We have a namespace called PostcodeLibrary, and a class called PostcodeHelper. We’re going to stick with these names. When we created the local scalar function in the last article, we had a single method from which both parts of a postcode could be returned by using a Boolean. This time, we’ll create two methods – one to return the first part of the postcode, and another to return the second part of the postcode. Add this code to the class, which provides the full representation of the class.
using Microsoft.Analytics.Interfaces;
using Microsoft.Analytics.Types.Sql;
using System;
using System.Collections.Generic;
using System.IO;
using System.Linq;
using System.Text;
namespace PostcodeLibrary
{
    public class PostcodeHelper
    {
        public static string PostcodePart1(string postcode)
        {
            return postcode.IndexOf(" ") == -1 ? postcode : postcode.Substring(0, postcode.IndexOf(" "));
        }
        public static string PostcodePart2(string postcode)
        {
            return postcode.IndexOf(" ") == -1 ? postcode : postcode.Substring(postcode.IndexOf(" ") + 1);
        }
    }
}
The code is now in place, and we can build the library. This will output a Dynamic Link Library (DLL). To build the solution, either go to Build -> Build Solution, or press F6. You’ll see a green bar at the bottom of the screen to confirm the build is progressing.
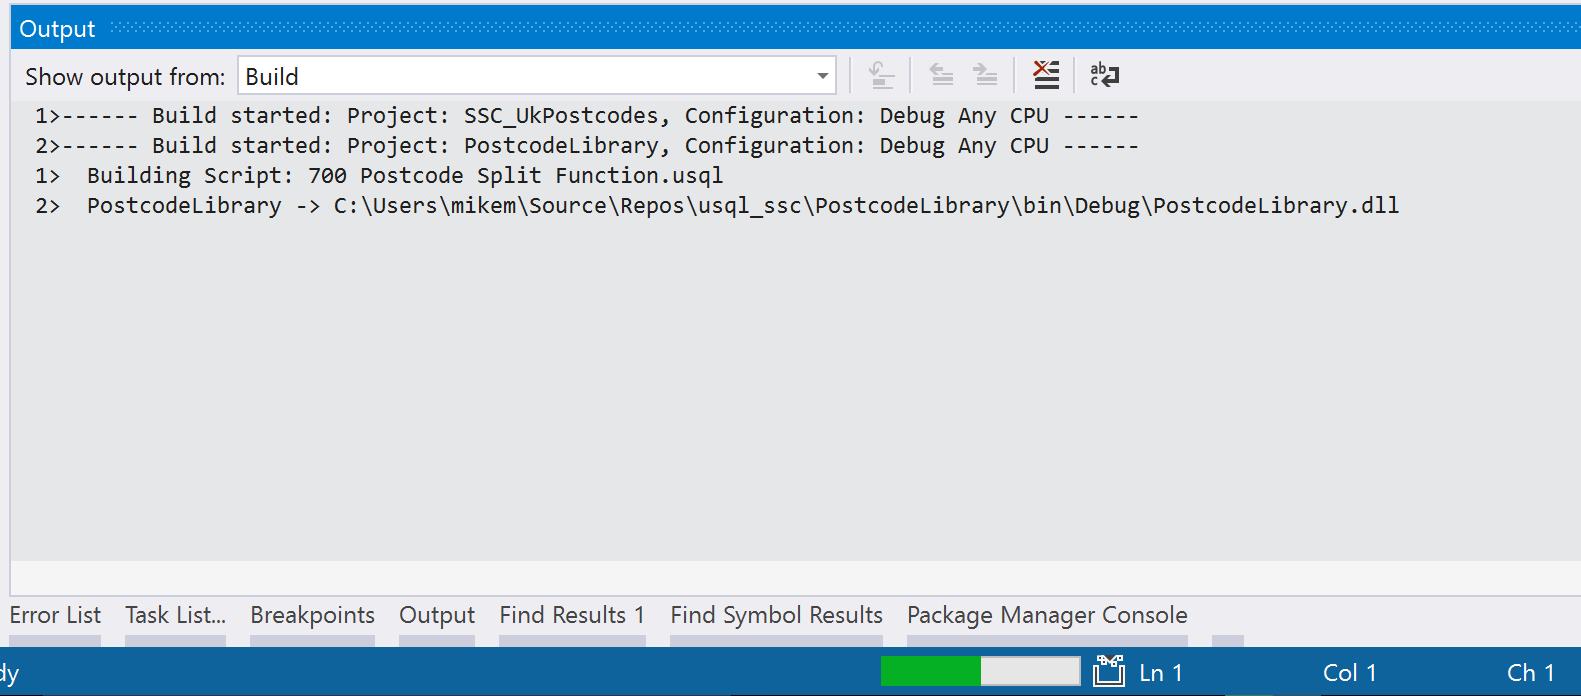
Once this has finished the progress bar is replaced with a message confirming Build succeeded. In the Output window above, the last line shows the full path to the DLL we’ve just created. Take a copy of this path, we’re going to need it shortly. We’ve now completed steps one and two, it’s time to register the assembly.
Registering the Assembly
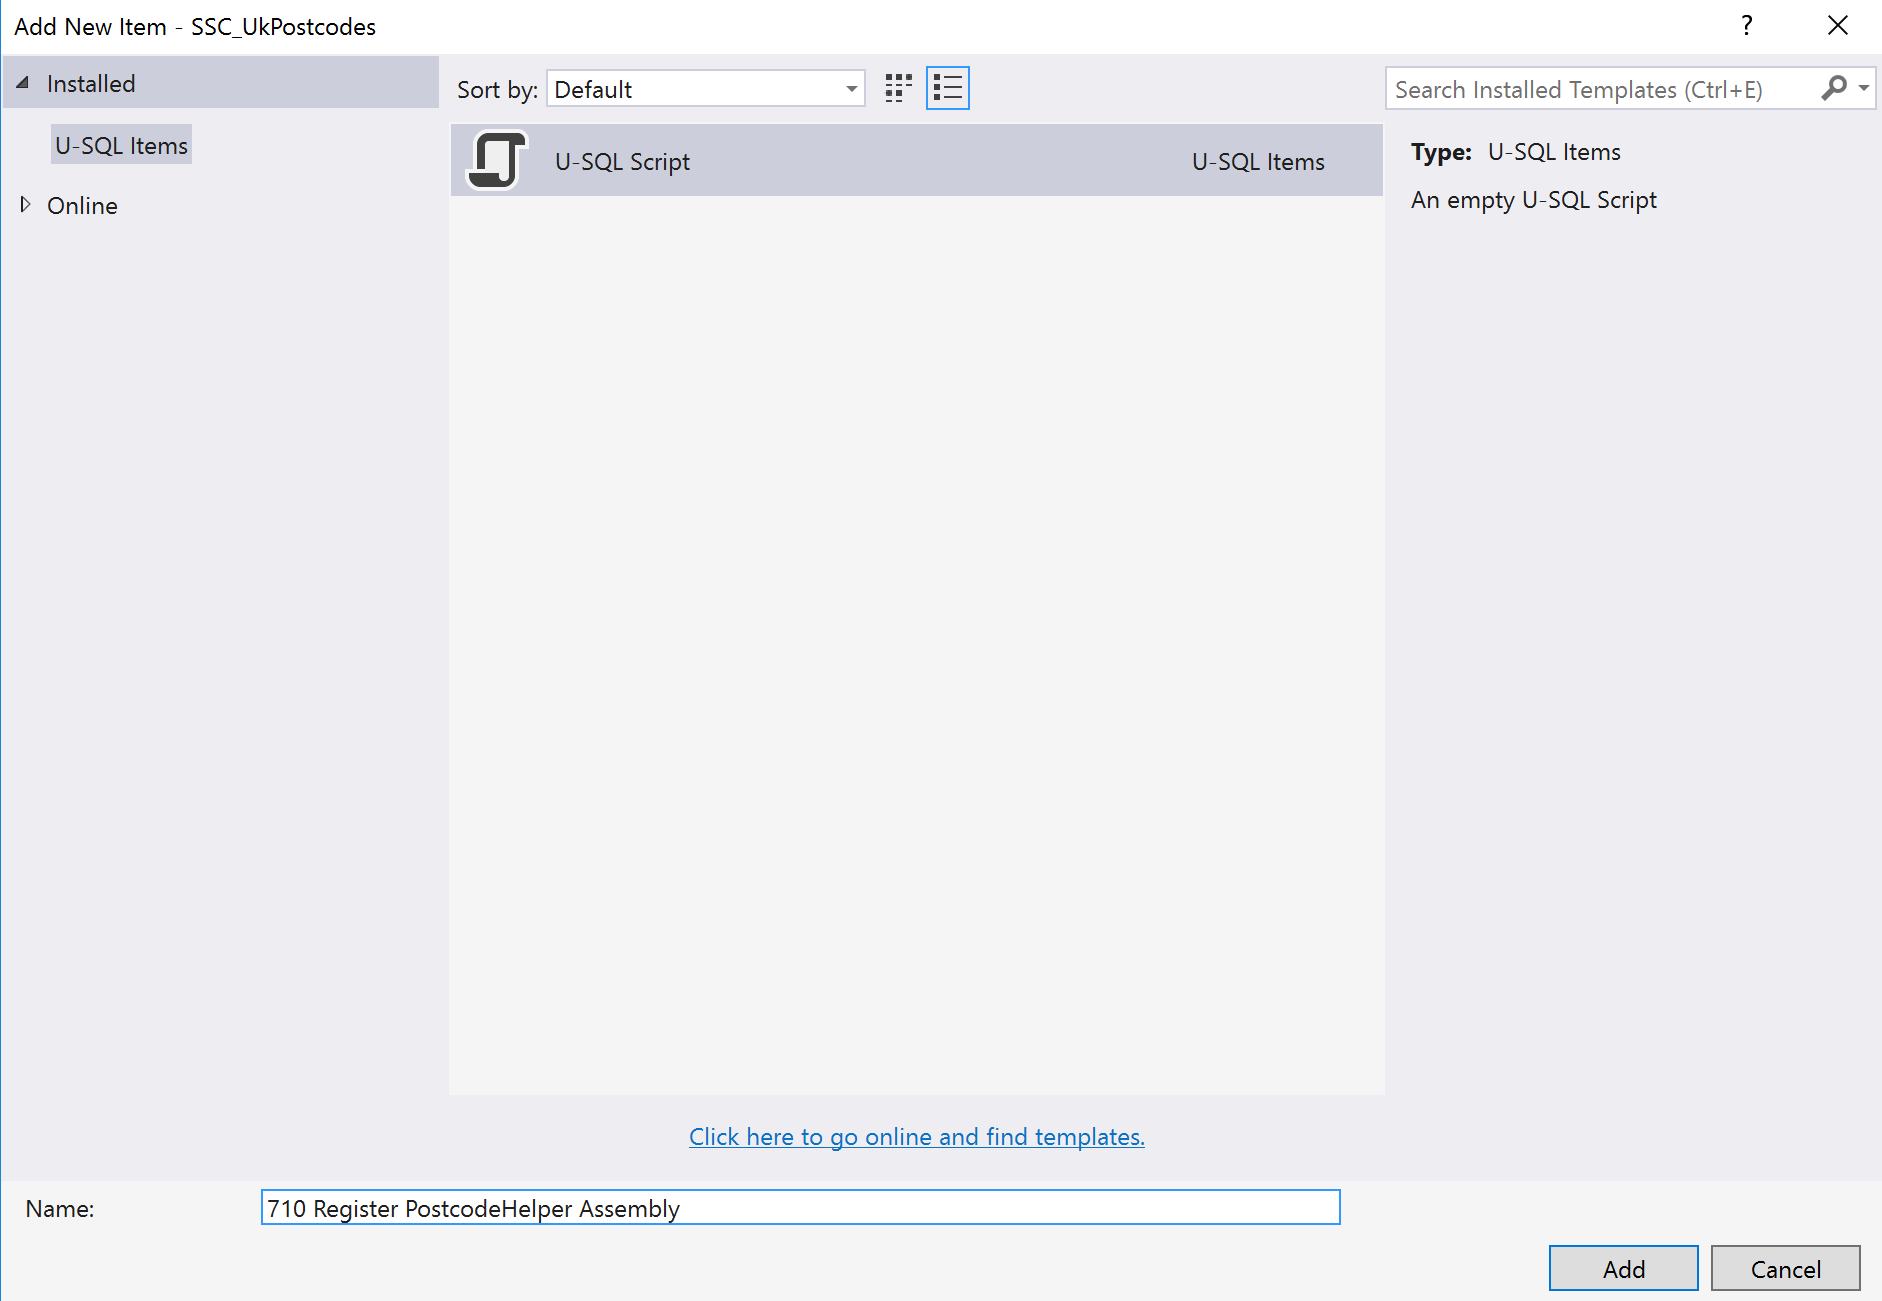
We need to add a new script. Right-click on the SSC_UkPostcodes project, choose Add and then click New Item. Call the script 710 Register PostcodeHelper Assembly.usql and click Add to create the script.
Open the script up and add this code (make sure you specify the correct path to the DLL in the path variable).
USE DATABASE UkPostcodes;
DECLARE @Path string = @"C:\Users\mikem\Source\Repos\usql_ssc\PostcodeLibrary\bin\Debug\PostcodeLibrary.dll";
DROP ASSEMBLY IF EXISTS PostcodeLibrary;
CREATE ASSEMBLY PostcodeLibrary FROM @Path;
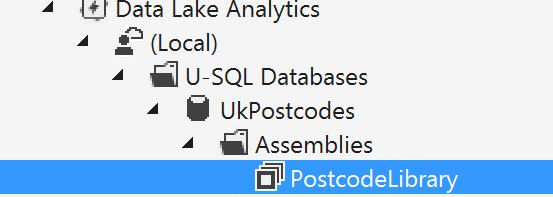
This registers the assembly in the UkPostcodes database. Once you’ve run this, we can use the Server Explorer to prove the assembly was registered. Navigate to Data Lake Analytics -> U-SQL Databases -> UkPostcodes -> Assemblies. You should see the PostcodeLibrary assembly under Assemblies.
The script we used to register the assembly is similar to other scripts we’ve written throughout this series. DROP ASSEMBLY will drop the assembly if it already exists, while CREATE ASSEMBLY will register the assembly from the path we specified in the variable.
The Create Assembly Command
There is a little bit more to CREATE ASSEMBLY than the example above. Here’s the full syntax:
CREATE ASSEMBLY [IF NOT EXISTS] Assembly_Name
FROM PATH
[WITH ADDITIONAL_FILES = (Additional Files)];
The only part of this we haven’t seen is the final optional clause, WITH ADDITIONAL FILES. This parameter allows you to specify files that may be needed by the assembly – JSON or configuration files, for instance, or even images. In short, any resources the library has a dependency upon should be added in WITH ADDITIONAL FILES.
Using the Assembly
Now that we have created an assembly, we want to use it in a script. Add a new script called 720 Reference PostcodeLibrary Assembly.usql (you’ll already have this if you pulled the GitHub repository). Here’s the code, which you’ll notice is very similar to the code we used in the previous article, except we reference and alias the assembly first.
USE DATABASE UkPostcodes;
USE SCHEMA Postcodes;
REFERENCE ASSEMBLY PostcodeLibrary;
USING PCHelper = PostcodeLibrary.PostcodeHelper;
@records =
SELECT p.Postcode, c.CountyName, d.DistrictName,
PCHelper.PostcodePart1(p.Postcode) AS AssemblyPart1,
PCHelper.PostcodePart2(p.Postcode) AS AssemblyPart2
FROM Postcodes AS p
LEFT JOIN Counties AS c ON p.CountyCode == c.CountyCode
LEFT JOIN Districts AS d ON p.DistrictCode == d.DistrictCode
WHERE d.DistrictName == "Fife";
OUTPUT @records TO "/outputs/functiontests.csv"
USING Outputters.Csv();
We’ve seen all of this before except for two sections. The first item of interest is where we reference the assembly.
REFERENCE ASSEMBLY PostcodeLibrary;
USING PCHelper = PostcodeLibrary.PostcodeHelper;
The REFERENCE ASSEMBLY call makes the library available to the script. However, it is possible the library may contain multiple classes, each doing different things. So the next line, the USING statement, gives the class a name from which it can be referenced. In the C# library we created, we only have one class – PostcodeHelper. This has been assigned to a placeholder named PCHelper, and it’s this name the script references when it wants to use methods from the class.
The SELECT statement contains two lines that use the assembly.
PCHelper.PostcodePart1(p.Postcode) AS PostcodePart1,
PCHelper.PostcodePart2(p.Postcode) AS PostcodePart2
Recall the class contains two methods, one to return the first part of the postcode, and one to return the second part. These lines call these methods, using the PCHelper reference we declared. If you execute the script, you’ll see the expected output.

Referencing System Assemblies
The .NET library consists of a large number of system assemblies, a subset of which are available to U-SQL. If your script makes use of these, you need to reference them using a slightly different command:
REFERENCE SYSTEM ASSEMBLY [AssemblyName];
The square brackets are required as system assemblies contain a full stop/period, for example:
REFERENCE SYSTEM ASSEMBLY [System.Xml];
The U-SQL documentation contains a full list of the available system assemblies.
Referencing and Using Assemblies in Azure
Everything is working locally, but how can we reference and use the library in Azure itself? There are a couple of ways. Maybe the easiest is to register the assembly directly from Visual Studio. To do this, open up the Server Explorer and connect to your Azure account. Then navigate to the UkPostcodes database under your Azure account. Expand this and right-click on the Assemblies option – one of the menu items will be Register Assembly.

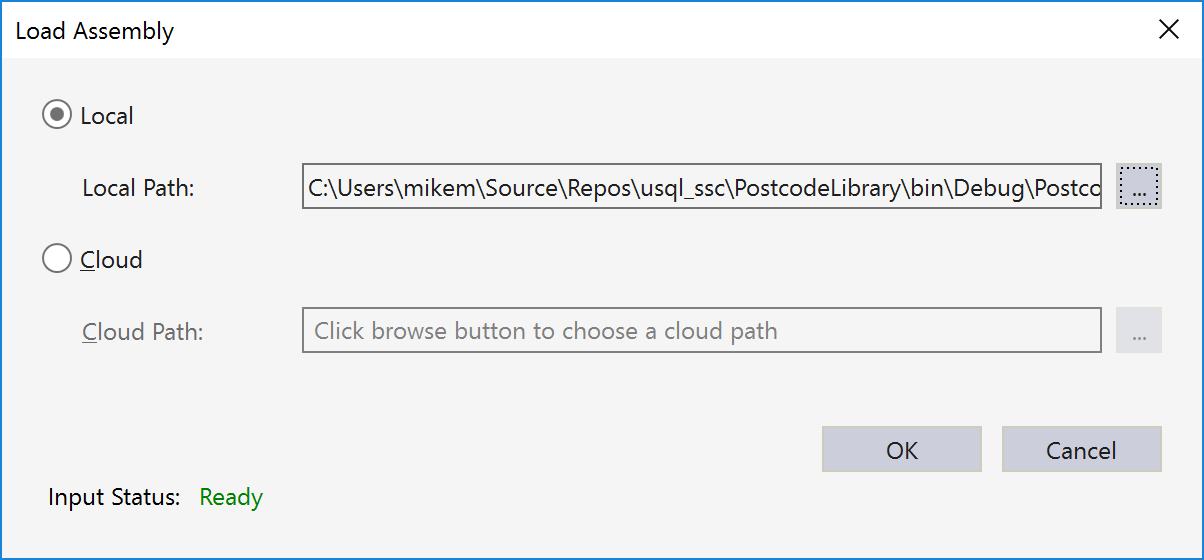
When you click on Register Assembly, a dialog appears. It’s mostly disabled at this point.

Click the ellipsis (… ) to choose which assembly to load. There are two choices – register a local assembly or register a Cloud assembly. If you’ve already uploaded the assembly to your Data Lake Storage Account, you can register it in the cloud. If you choose the local option, it will be copied up to your Storage Account. When you navigate to the folder containing your PostcodeLibrary DLL, you’ll find a few more DLLs in the folder – system DLLs, like Microsoft.Analytics.Types.dll. You can ignore these, all of the key system libraries are already registered in Azure.
After clicking OK, I can choose to submit the library. I can also specify whether I want to replace the file if it already exists, and to upload any additional files the library may need.
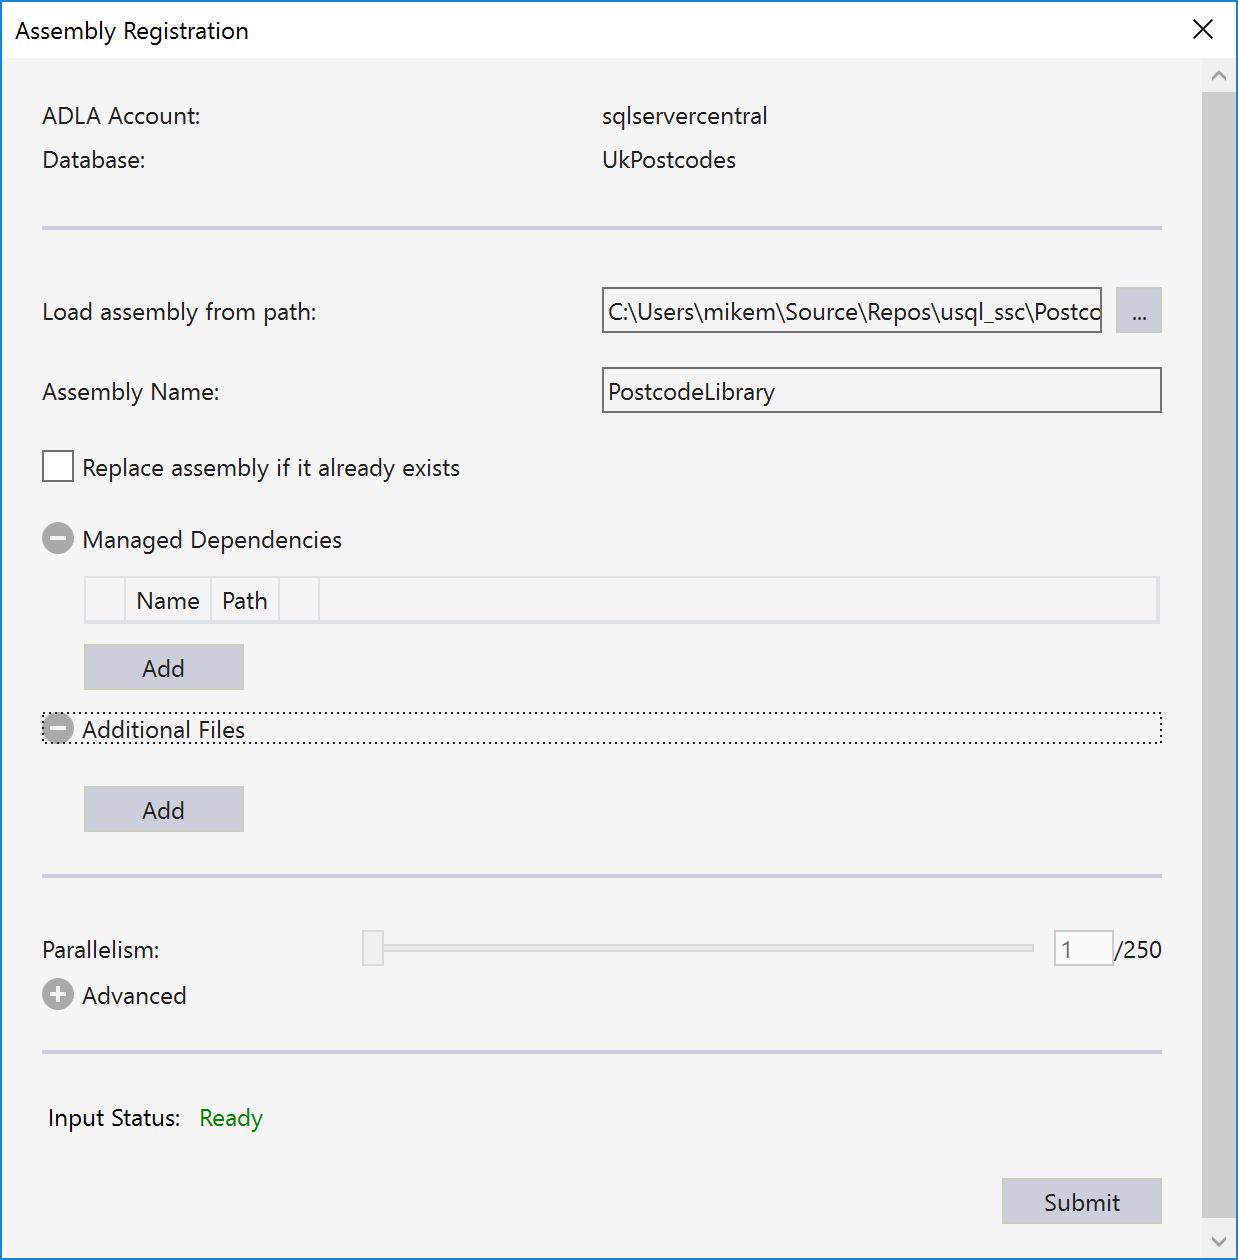
Clicking Submit starts the job to upload the library. After a few moments, the library will be available for use!
Testing the Assembly
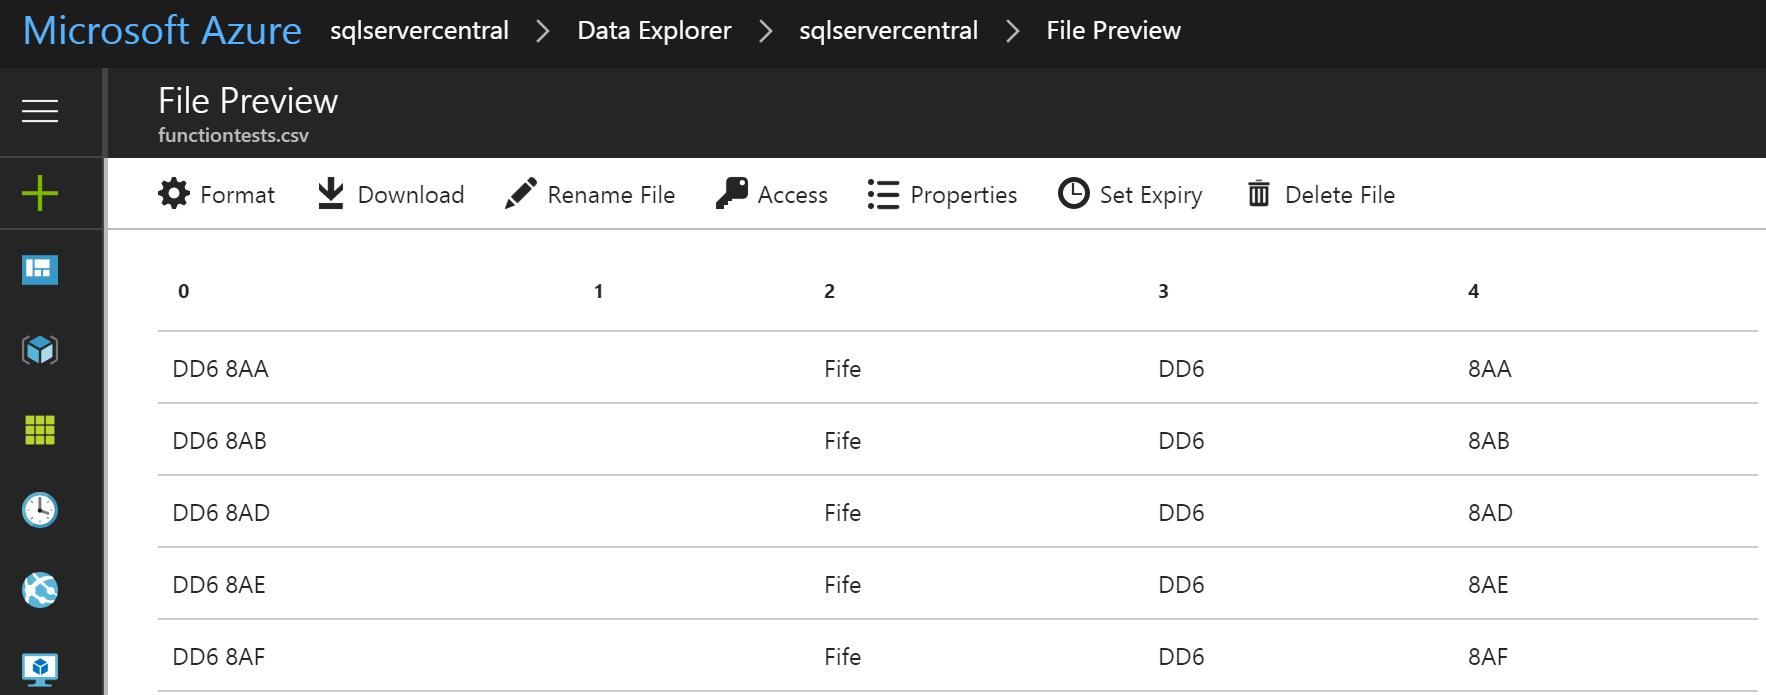
Open up script 720 Reference PostcodeLibrary Assembly.usql in Visual Studio. In the account drop-down list, choose your Azure Data Lake account.
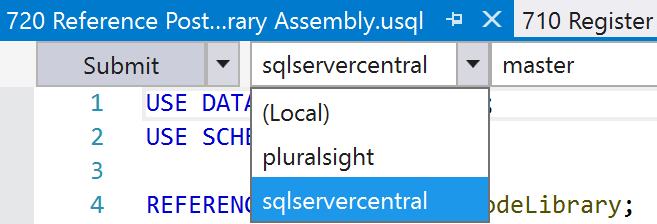
With this done, you can hit Submit. Because we’ve uploaded the script, the job will complete successfully, and you can navigate in your Data Explorer to look at the file that was created.
Registering Assemblies Manually
If you need to write a script to register the assembly manually, you can:
- Upload the appropriate DLL file to your Data Lake Storage Account – to a folder called assemblies, for example
- Modify the register assemblies script (script 710) to point at the file and the appropriate Data Lake Storage Account. The path would be, for instance, “/assemblies/PostcodeLibrary.dll”
- Execute the registration script
- Use the library classes in your scripts
Uninstalling the Assembly
Again, we can do this through Visual Studio or uninstall it manually. To remove it manually, we need to write a DROP ASSEMBLY script. This is as easy as writing:
DROP ASSEMBLY IF EXISTS PostcodeLibrary;
To uninstall via Visual Studio, right-click on the assembly in Server Explorer and click the Delete option.
Where did the Assembly go when I Uploaded it?
Ah, that would be telling! The assembly was copied into something called the catalog. The catalog stores a heap of information, and it will be the focus of our next article.
Summary
We’ve seen, from start to finish, how we can build, deploy and use an assembly. Pretty nifty stuff, I’m sure you’ll agree.
There are lots more C# items to cover in the U-SQL world, and we’ll come back to those after our next article, which will see us understand exactly what the U-SQL catalog is for. See you next time.