
In our previous U-SQL and Data Lake articles, we’ve exclusively used the Azure Portal to submit our U-SQL jobs. In this article we’re going to be introduced to the Azure Data Lake Tools for Visual Studio, which give us a lot more flexibility.
Obtaining Visual Studio
It should go without saying (but I’ll say it anyway!) that we must have Visual Studio installed before we can install the Data Lake Tools, which I’ll call the DLT from now on (all this typing makes my arms hurt!). Over the past few years, Microsoft has made a lot of its products available as free editions, and Visual Studio is no exception. So if you don’t have a MSDN subscription or a purchased version of Visual Studio, head on over to the Microsoft Web site and download the free Community Edition of Visual Studio.
Community Edition has exactly the same feature set as Visual Studio Professional, but it can’t be used for commercial purposes. This doesn’t affect us in anyway, so feel free to download and install it. I’ll wait while you do it. Tum-de-tum…
Obtaining Azure Data Lake Tools
The Data Lake Tools (I meant, DLTs!) are available for Visual Studio 2013 and Visual Studio 2015. This tutorial will use Visual Studio 2015. Like Visual Studio, the DLTs can be downloaded from the Microsoft Web site. When you’re on the download page, choose the appropriate version for you (2013 or 2015 – it’s dependent upon your version of Visual Studio). You can ignore the HDInsight Tools – we’re concentrating exclusively on Data Lakes.
Once the tools are downloaded, follow the wizard to install them. There shouldn’t be any difficulties with this installation – all you need to do is accept the license and click Next a few times.
Ensuring Installation was Successful
Once installation is complete, open Visual Studio so we can check if the DLTs were installed correctly. On the Visual Studio Start Page, click on New Project (if the Start Page doesn’t appear, click on File > New > Project). Scroll down the Templates list on the left and you should see U-SQL in the list. Clicking on this will display the U-SQL project templates.
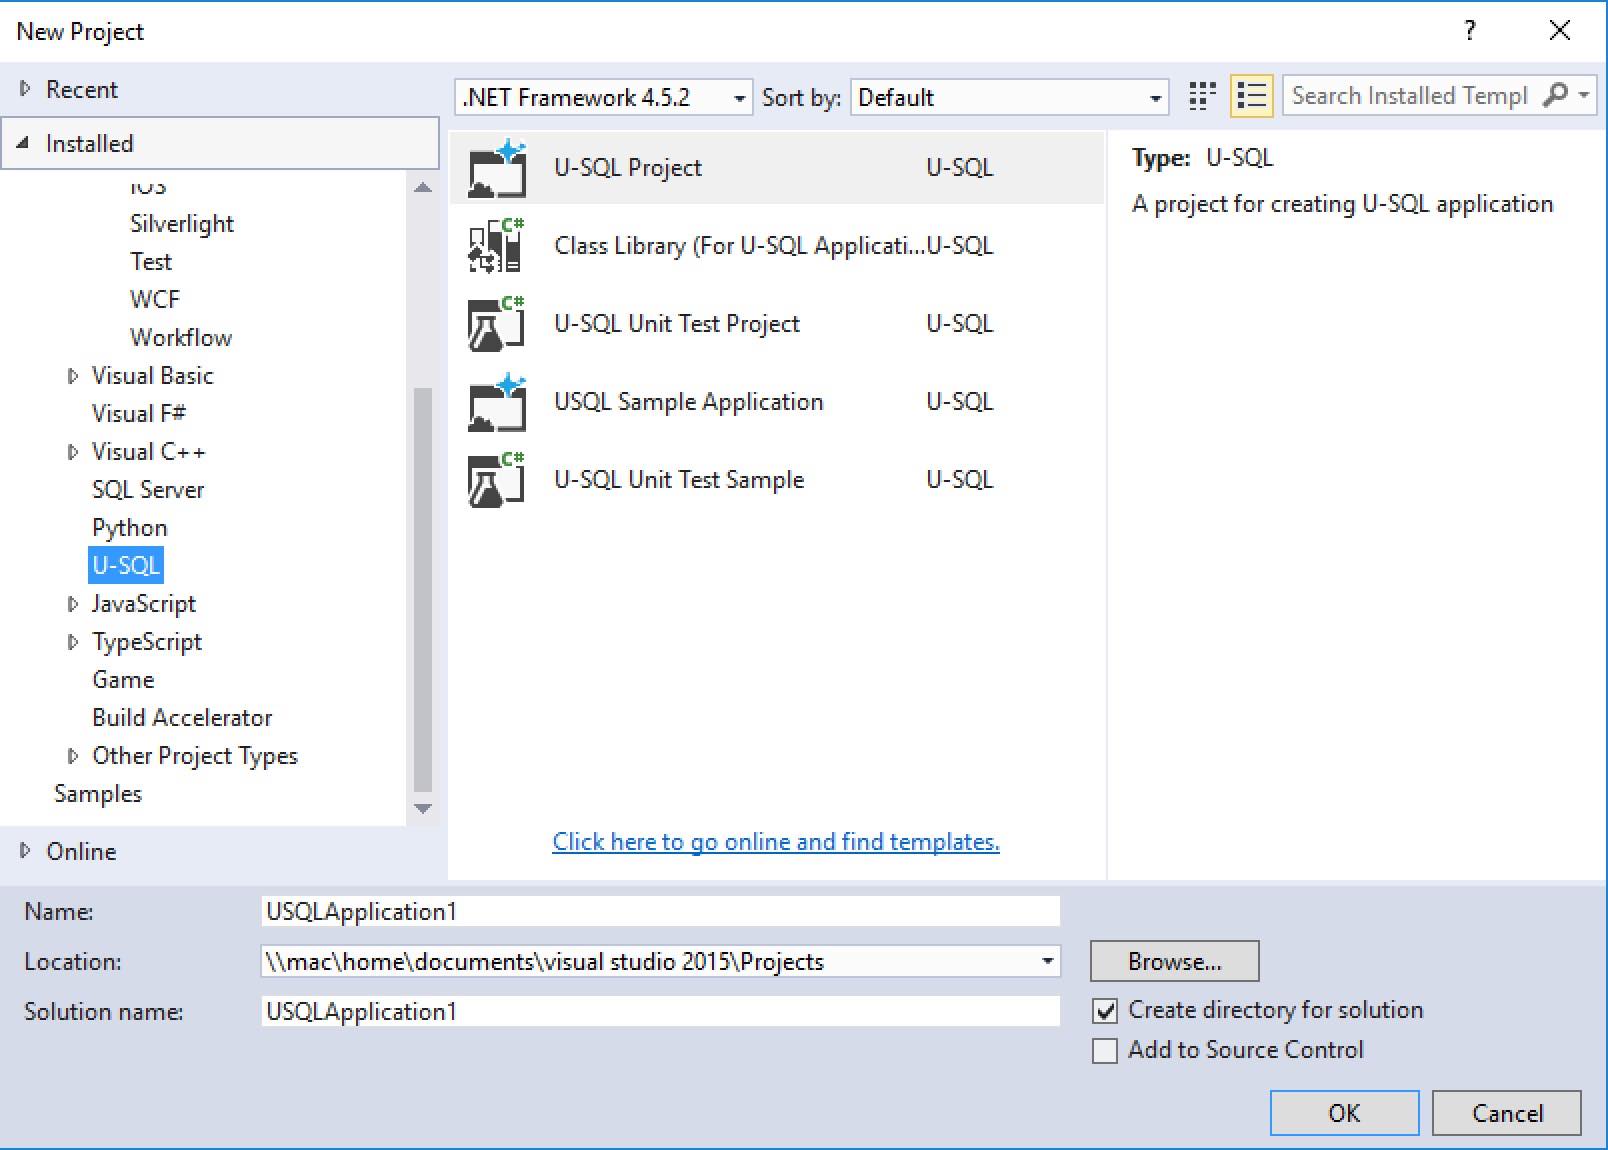
Project Templates
As you can see from the screenshot, there are five templates available to us.
- U-SQL Project
This allows us to create a project which houses U-SQL scripts.
- Class Library (For U-SQL Applications)
Use this if you wish to create your own functions, extractors, outputters and other C#-based U-SQL objects. Extractors are used to extract data from file formats, like JSON or XML. Outputters are used to save your data in a specific format.
- U-SQL Unit Test Project
Exactly what it says – unit testing for your U-SQL.
- USQL Sample Application
Note the lack of a hyphen in U-SQL! This sample project is very useful, it contains a data set and a number of scripts that query that data set. We’ll use this project to introduce the Visual Studio tooling available to us.
- U-SQL Unit Test Sample
This contains unit tests for the sample application, allowing you to see how unit tests for U-SQL are put together.
Creating a New Project
Normally, we’d create a U-SQL Project (in fact, we’ll do that in the next article). But we’re going to concentrate on how to use U-SQL with Visual Studio in this article, so select the USQL Sample Application project template and click the OK button to create a new project. The files contained within the sample template will appear in your Solution Explorer (this is normally on the right-hand side of your screen – if you can’t see it, click on View > Solution Explorer). There are two folders, AmbulanceDataSet and SearchLog.
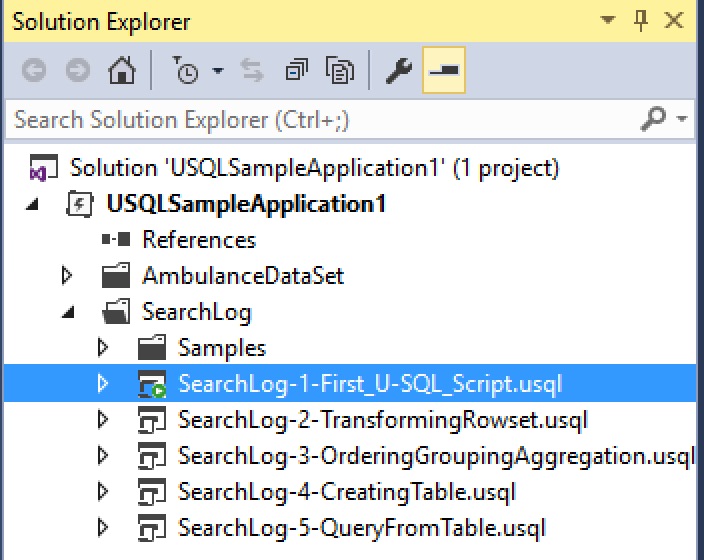
AmbulanceDataSet contains a number of scripts, as well as a Data folder, which contains a text file and a number of CSV files. The text file is tab-delimited and contains driver details. One CSV file contains information about driver shifts, and the other CSV files all contain information about trips undertaken by individual vehicles. As we’ve seen in previous articles, When this article was written, U-SQL couldn’t handle header rows, so none of the files contain header rows. This feature was made available around January 2017.
U-SQL Script Files
When you type a script into the Azure Portal, there’s no razzmatazz – we type in the script and submit the job. But there’s more to a script file in Visual Studio. In the Solution Explorer, expand AmbulanceDataSet, and click the small arrow next to Ambulance-1-1-QueryDriversOnADL.usql. An item with the same name will appear underneath it, with a CS file extension.
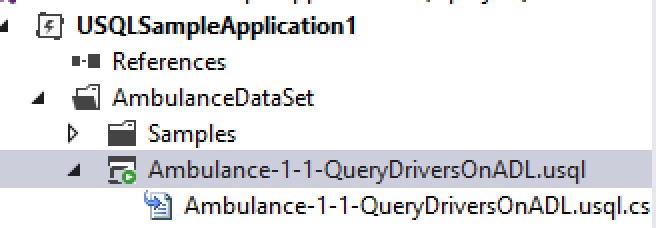
Most SQL professionals I know have little experience with ASP.NET, but that platform had the concept of a code-behind file. This was a C# code file that was linked to the ASP page, and contained the code that made the ASP page do cool things. We have the same concept here in U-SQL. You can write custom functions in the code-behind file, which your U-SQL script can then utilise. If you wish to write shared functions you’d need to create a Class Library (we saw this project type earlier).
The U-SQL Toolbar
Double-click on the U-SQL file to open it. We see the script, along with a custom toolbar above it.

This is interesting. The Submit button allows us to submit our job. If you click the drop-down arrow next to it and choose the Advanced option (the only option in the list), an options screen appears. This allows us to specify certain details about how to submit the job. Note the Analytics Account drop-down, which is set to Local. This means the job will run locally on your machine rather than in Azure. We’ll connect to our Azure account shortly.
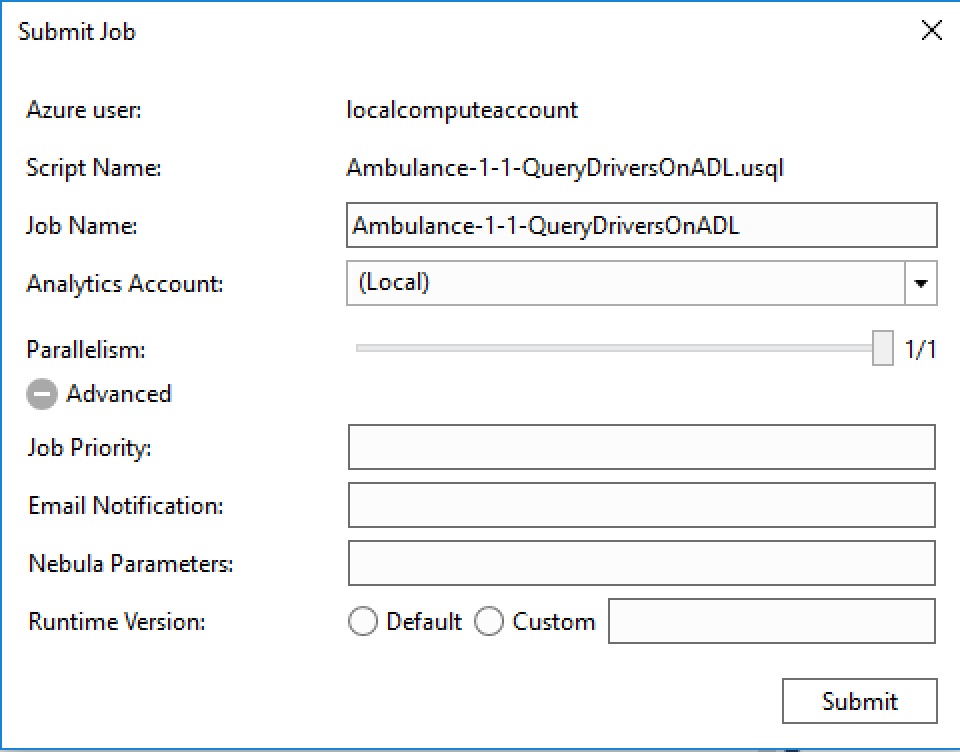
Close the Submit dialog and inspect the other items on the toolbar. We have:
- (Local) – this is the target Data Lake Analytics account to use
- master – the Data Lake Analytics database context to use. We’ve not looked at databases yet (that’s coming next time!)
- dbo – the schema context to use (again, we’ll look at this next time)
Submitting a Job
Click Submit to start the job. A command window appears with progress updates.
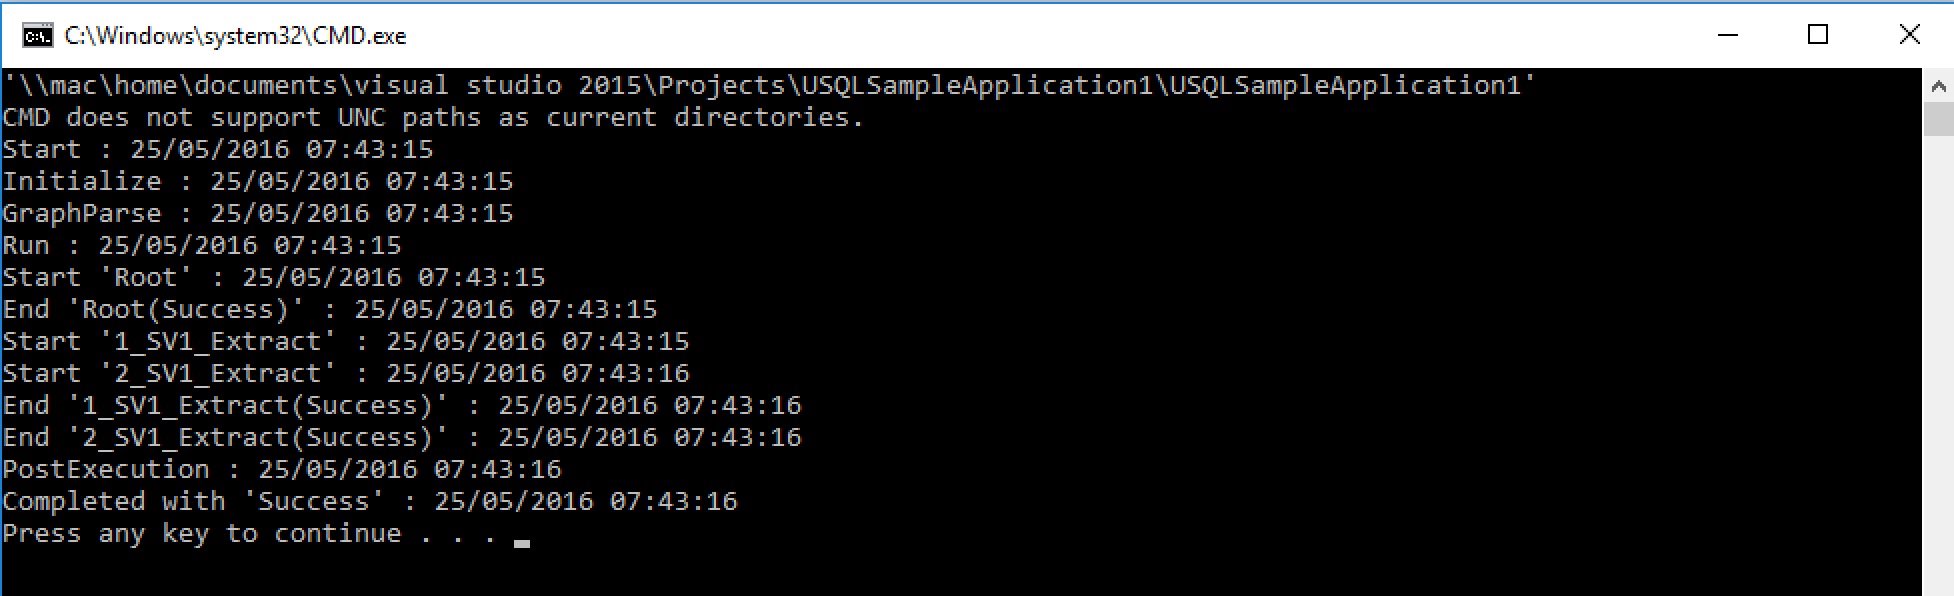
We’re told the job completed successfully. Press a key to close the window. Visual Studio has opened the Local Run Results window, telling us everything is hunky-dory. Double-click on the success row in this window (shown at the bottom of the following image) and a preview of the first ten rows of the output file will be displayed.
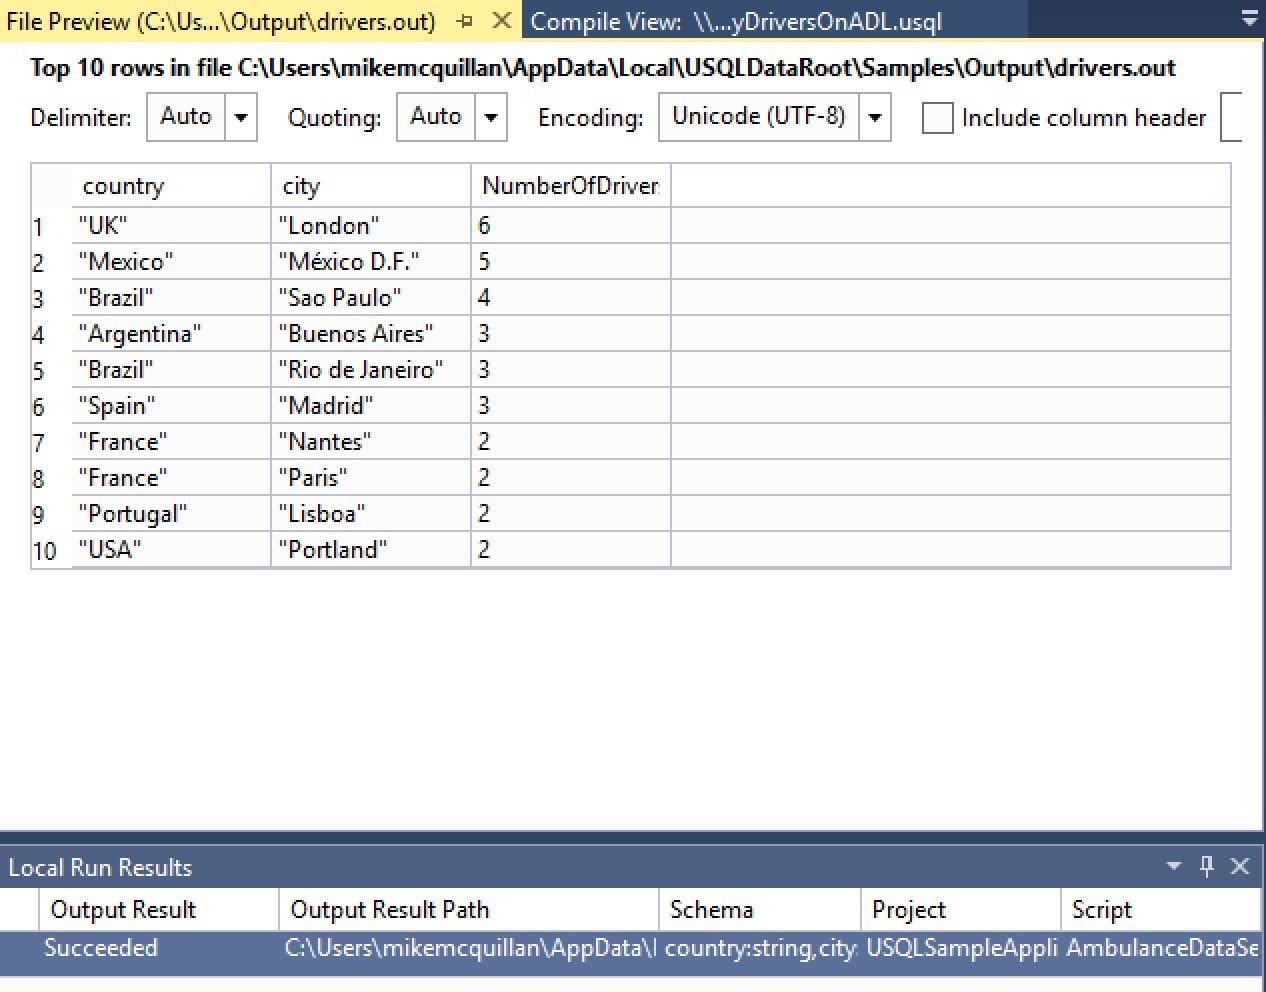
Great, we can run stuff locally. You probably noticed the Compile View that was displayed after you ran the script too. This acts like an execution plan, showing you graphically what the various job steps were. You can even mouse over the job steps, just like in a SQL Server execution plan.

That's cool. But what about connecting to our Azure account?
Connecting Visual Studio to Azure
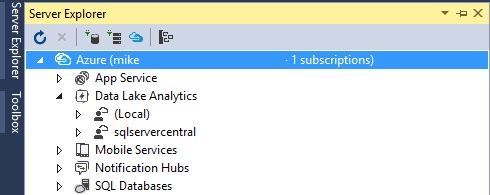
To conclude, we’ll see how to make Visual Studio talk to Azure. It’s all well and good testing locally; this allows us to save our Azure credits until we’re happy everything is working correctly, but at some point we’ll want to test in the cloud. Fortunately, Visual Studio supports our needs. In the top left-hand corner of your Visual Studio IDE, there should be a tab called Server Explorer. If you can’t see this, click on View > Server Explorer. You’ll see your local machine listed, but not Azure. It’s highly likely a yellow warning message will be displayed, asking you to re-enter your credentials. Either click on the yellow link or on the small cloud icon displayed on the Server Explorer toolbar. A dialog will appear (note: you must be connected to the Internet or the dialog will not be displayed):
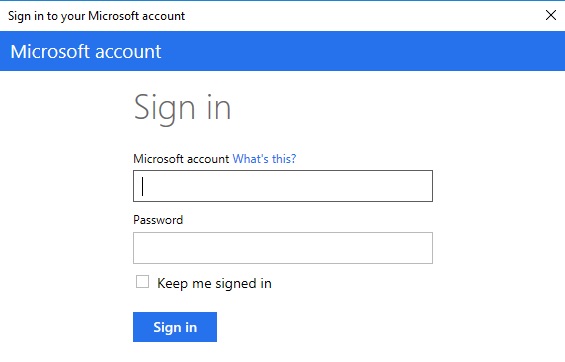
Enter your credentials and click the Sign In button. Your Azure account will be displayed in the Server Explorer (my Data Lake Analytics account is called, imaginatively, sqlservercentral).
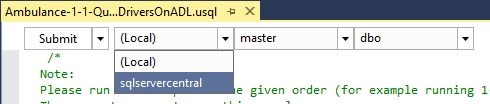
If you now open up a U-SQL script, you’ll see the server drop-down list on the toolbar allows us to not only select the local instance, but also our Azure instance.
If you try to execute the sample script at this point it will fail; we haven’t actually uploaded the data to Visual Studio. But don’t worry, we’re going to execute in the cloud straight from Visual Studio in our very next article.
Summary
Our U-SQL tooling suddenly became a whole heap more powerful. Up to now, we’ve been executing directly against Azure using the Azure Portal’s relatively simple code editor. But now we can write and execute scripts directly against our local machine before uploading to Azure. Even better, we can extend our scripts with custom functions if we wish, and specify the database we wish to execute them against.
We’ll take a look at databases and tables in the next article, creating them locally and then in Azure. Until then, have a play with Visual Studio. Happy U-SQLing!