

Introduction
SQL Server Data Tools (SSDT) is a toolset which provides an environment for users to carry out database design work in SQL Server. It can be used to build SQL Server relational databases. Here we will outline the steps needed to install SSDT and describe how to install a simple SQL Server Integration Services (SSIS) package. SSDT is available as a free download.
Installing SQL Server Data Tools
First things first, make sure you have Visual Studio 2017 installed. You can install the latest version (15.6.4) here: https://docs.microsoft.com/en-us/visualstudio/install/install-visual-studio
Once the installation has completed, installing SSDT will add the full set of SQL Server tools into your existing Visual Studio installation. Install SSDT using this link: https://docs.microsoft.com/en-us/sql/ssdt/download-sql-server-data-tools-ssdt
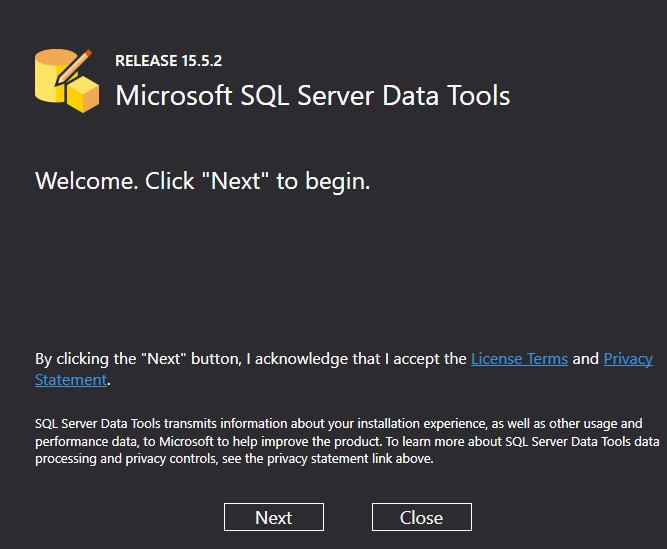
Once downloaded, run the file:

Click Next, then Install:
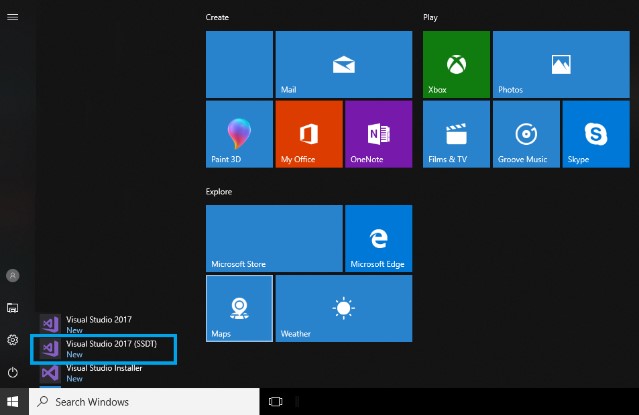
Once the installation completes, click the Windows symbol and open Visual Studio 2017 (SSDT):
This will prompt you to sign in to your Microsoft account:

Now that you have signed in and started SSDT, it is time to create your first project. For this you will use SQL Server Integration Services (SSIS).
Creating Your First SSIS Package
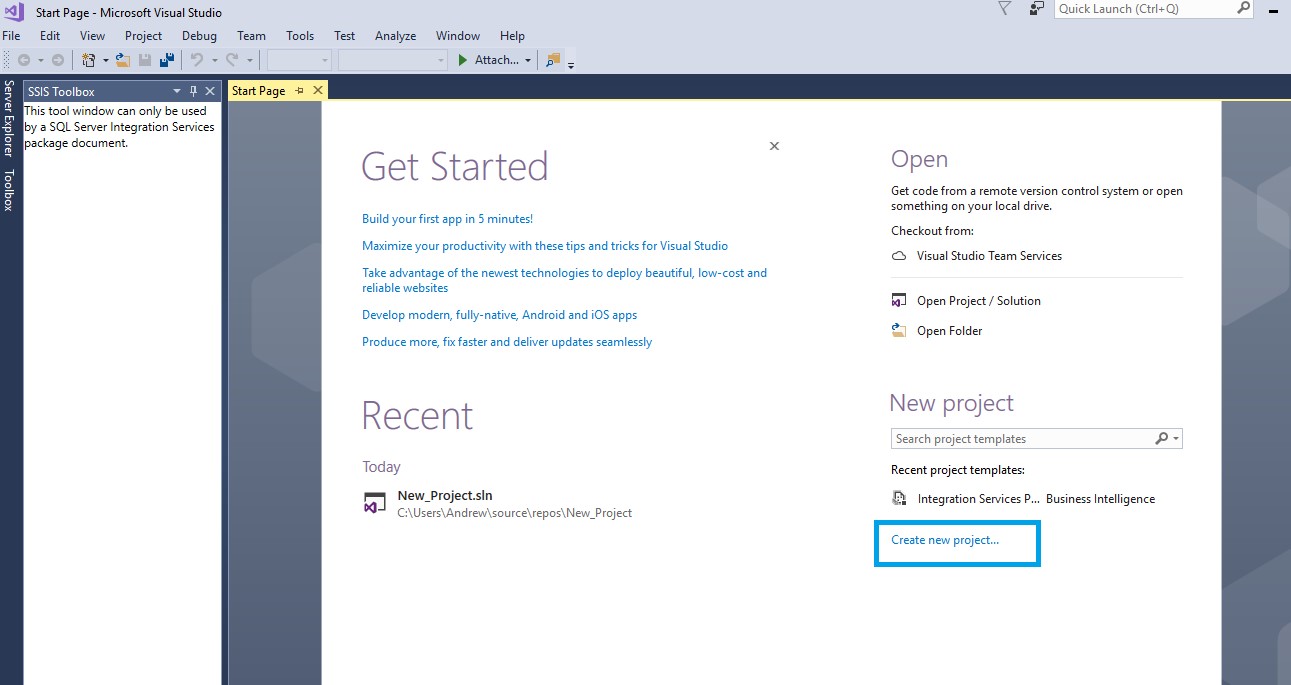
SSIS can be used to perform a broad range of data migration tasks and workflow applications. Now that you have started Visual Studio, click Create New Project in the bottom right corner of the main screen:
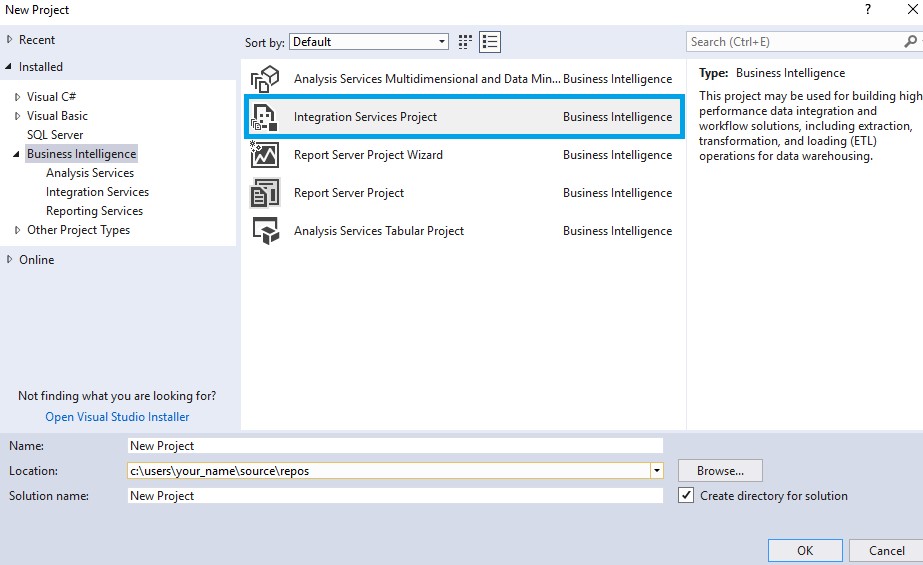
From the left pane, select Business Intelligence, then select Integration Services Project and click OK. Name the project ‘New Project’ and click OK:
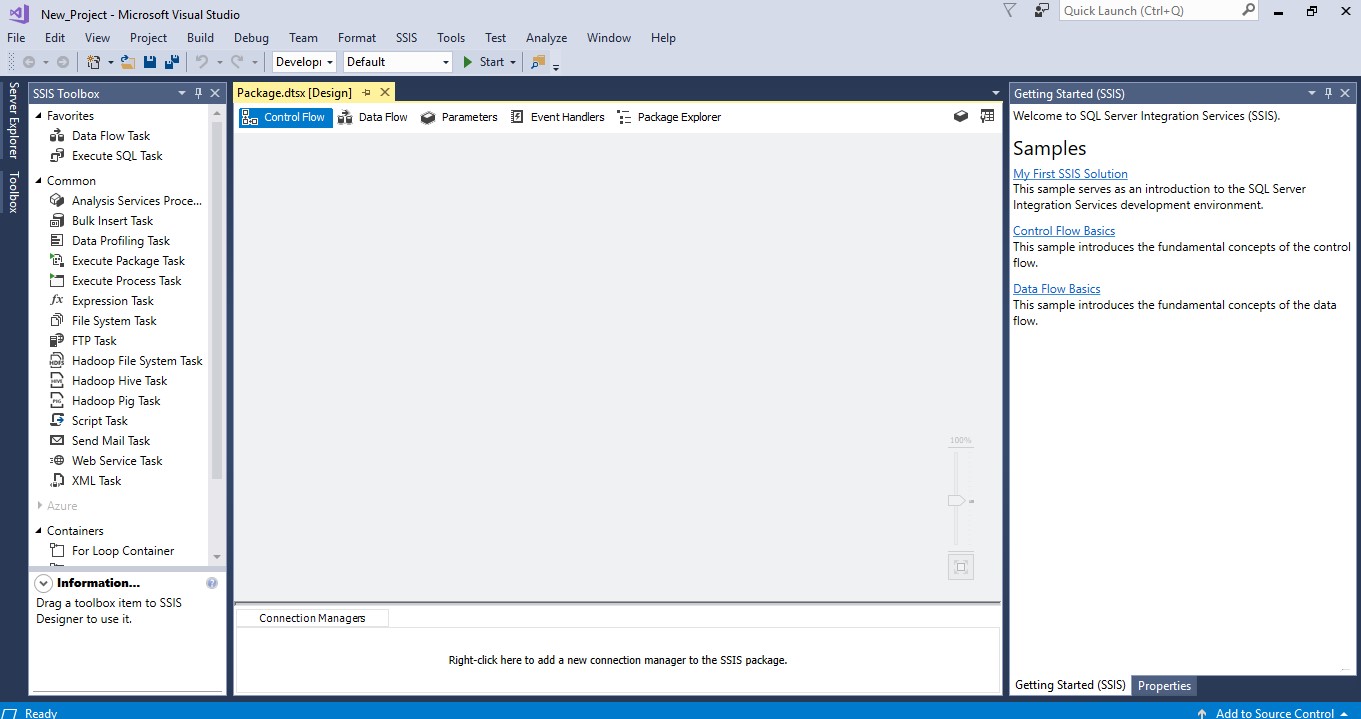
Your new project now opens:
Now, from the View menu, select Solution Explorer:
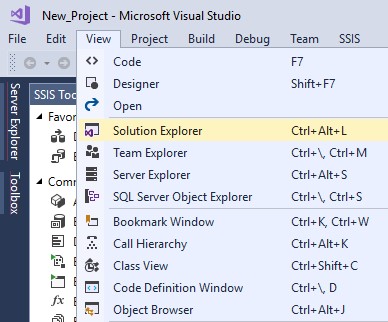
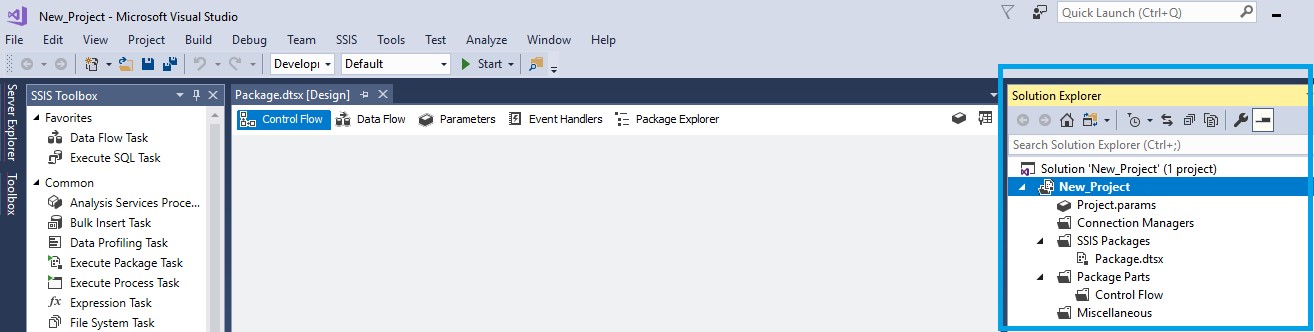
This prompts the Solution Explorer to pop up in the right-hand plane:
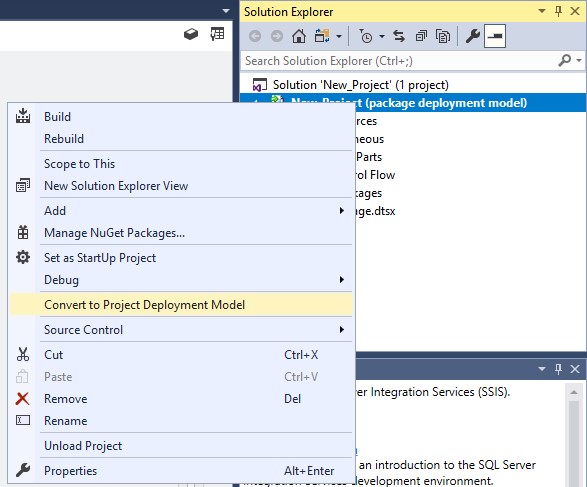
Right click on New Project and select Convert to Package Deployment Model:
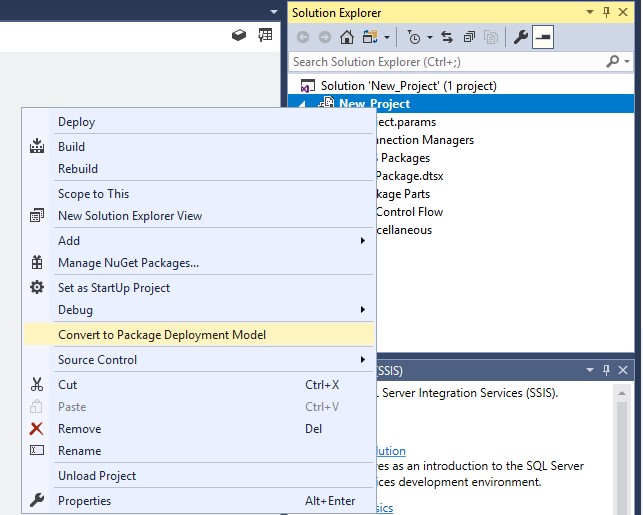
The “Package Deployment Model” option allows users to deploy packages individually. For our purposes in this example, we would like to deploy the full project in one go. To achieve this, right click on New Project and select Convert to Project Development Model.
Now, click Next each time you are prompted (7 times in total) and finally click Convert. Once completed, right click SSIS Packages on the Solution Explorer pane on the right side of the screen and select New SSIS Package.
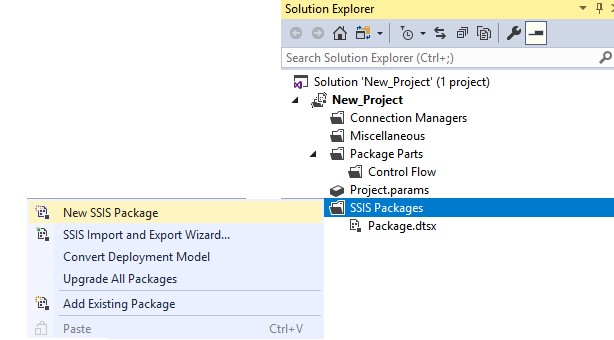
This will automatically create a new package called Package1:

You can now build out this package using the Control Flow and Data Flow tabs as shown here:

The Control Flow is the part of a package where you can add tasks. Click the control flow tab and drag and drop the following two tasks from the left-hand pane into the control flow window:
- Data Flow Task
- Execute SQL Task
Now, drag the green arrow to connect the two tasks:
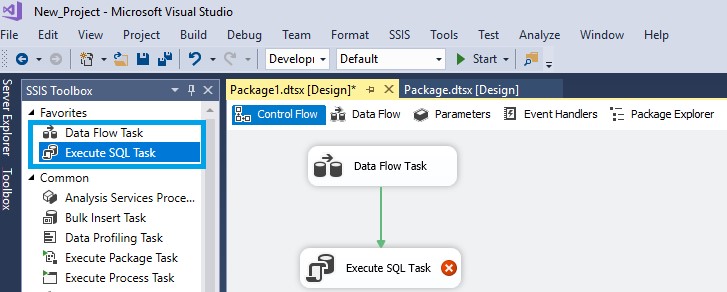
In the example shown here, the Data Flow task allows you to load data from a file to a SQL Server table. You could use an Execute SQL Task, which can contain either a single SQL statement or multiple SQL statements that run sequentially. If you right click on the green arrow you can decide when to execute the second task by setting constraints. For example, you can make the task reliant on the success of the previous Data Flow task to succeed as shown here:

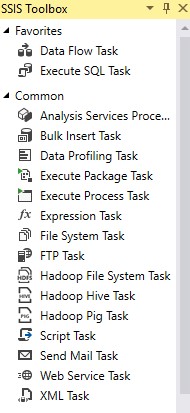
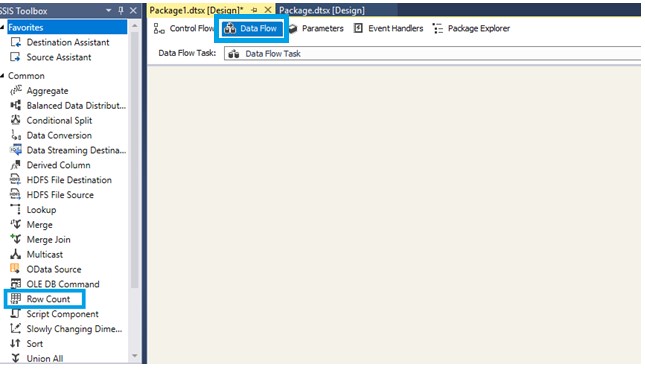
Navigate to the SSIS Toolbox in the left pane under the headings “Favorites” and “Common”, to see a full list of available tasks as shown here:
To look closer at the Data Flow task you have just created, click the ‘Data Flow’ tab on the top pane. By selecting this, you will now see new options in the left-hand pane as shown below.
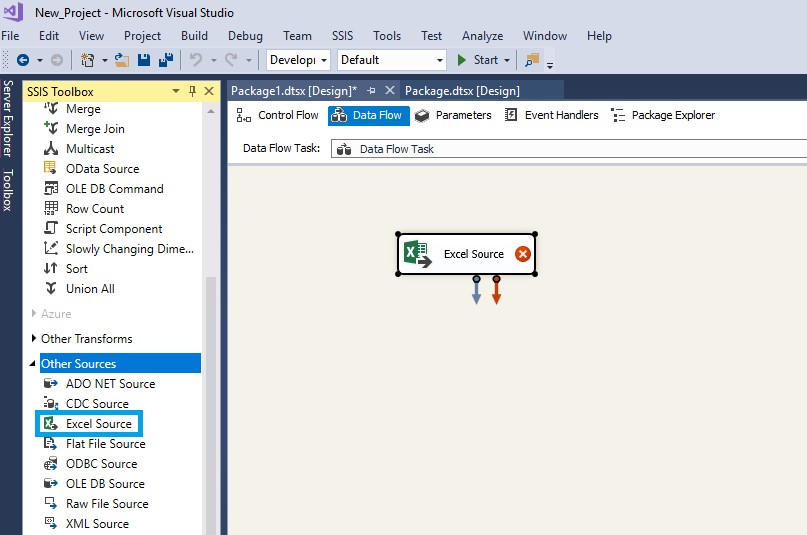
Now, let us set an Excel file as our data source. Click the “Other Sources” pull-down menu in the SSIS toolbox on the left-pane and drag and drop “Excel source” into the data flow area:
Double-click the Excel Source icon to launch the Excel Source Editor dialog box. In the Excel Source Editor dialog box, click ‘new’ to create an Excel connection:
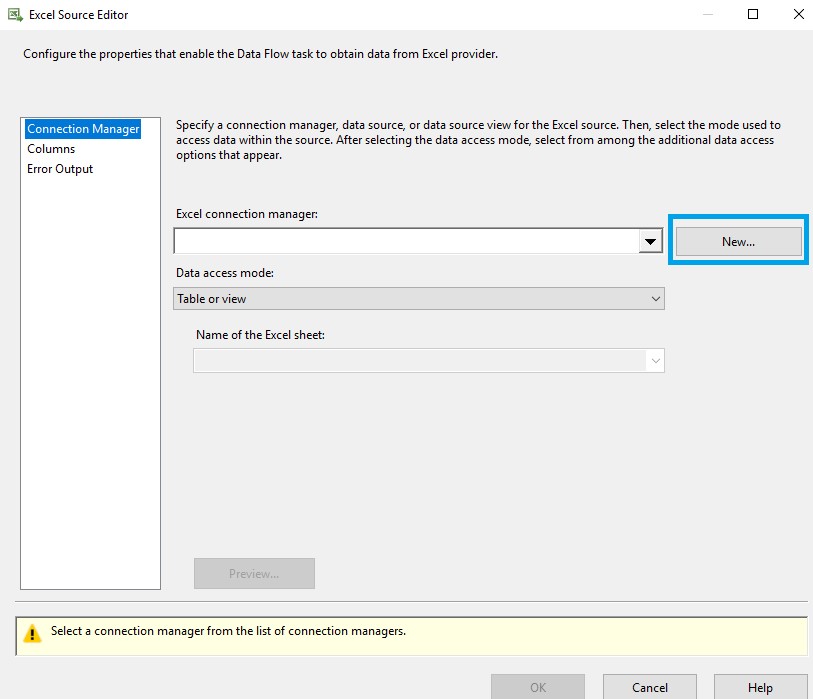
This opens the Excel Connection Manager:
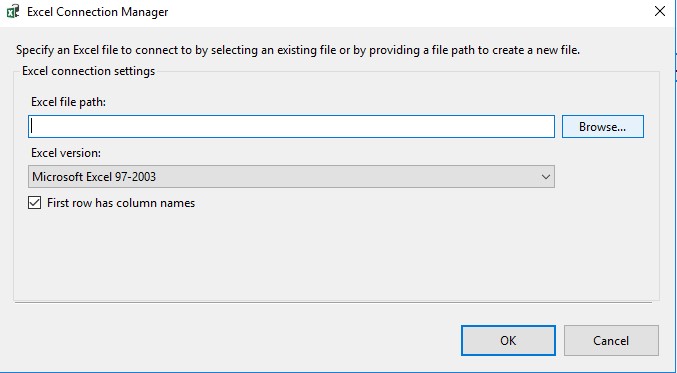
Now that we are in the Excel Connection Manager, click Browse and select the file we wish to import and click OK.
Let us make a copy of our dataset. Drag and drop the “Multicast” option to the workspace. This is a useful way to branch our data to perform separate tasks. To take the record count (the number of records read from the source) of one copy of the dataset, drag and drop the “row count” option to the workspace and connect the arrow to one branch of the Multicast output as shown here:
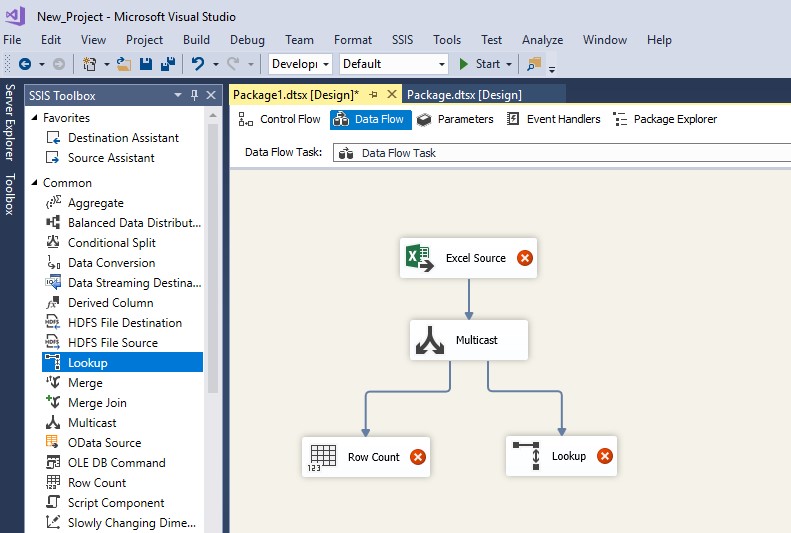
This is a useful way to branch our data to perform separate tasks, in this simple example we perform a row count on one copy and a simple lookup on the other copy.
Conclusion
You have now learned how to install SQL Server Data Tools (SSDT) and create your first simple SQL Server Integration Services (SSIS) package.