
This is the eighteenth article in a series entitled Stairway to Integration Services. Previous articles in the series include:
- What is SSIS? Level 1 of the Stairway to Integration Services
- The SSIS Data Pump - Level 2 of the Stairway to Integration Services
- Adding Rows in Incremental Loads – Level 3 of the Stairway to Integration Services
- Updating Rows in Incremental Loads – Level 4 of the Stairway to Integration Services
- Deleting Rows in Incremental Loads – Level 5 of the Stairway to Integration Services
- Basic SSIS Workflow Management – Level 6 of the Stairway to Integration Services
- Intermediate SSIS Workflow Management – Level 7 of the Stairway to Integration Services
- Advanced SSIS Workflow Management – Level 8 of the Stairway to Integration Services
- Control Flow Task Errors – Level 9 of the Stairway to Integration Services
- Advanced Event Behavior – Level 10 of the Stairway to Integration Services
- Logging – Level 11 of the Stairway to Integration Services
- Advanced Logging – Level 12 of the Stairway to Integration Services
- An Overview of SSIS Variables - Level 13 of the Stairway to Integration Services
- An Overview of Project Conversion - Level 14 of the Stairway to Integration Services
- An Overview of SSIS Parameters - Level 15 of the Stairway to Integration Services
- Flexible Source Locations - Level 16 of the Stairway to Integration Services
- Multiple Flexible Source Locations – Level 17 of the Stairway to Integration Services
Introduction
In the previous installment we loaded data from multiple files of different formats into different subject areas. In this article we will create an instance of an SSIS Catalog, deploy our project, and execute the weather data loader packages.
SSIS 2012 Deployment Models
SQL Server 2012 Integration Services supports two deployment models:
- Package Deployment Model
- Project Deployment Model
The Package Deployment Model is backwards-compatible with previous versions of SSIS. The deployment options available in earlier versions of SSIS are supported in SSIS 2012:
- Deployment to the File System
- Deployment to the MSDB database
The SSIS team at Microsoft deserves a lot of credit for including the Package Deployment Model in SSIS 2012. It makes upgrading from SSIS 2008 R2 simple.
The Project Deployment Model is the default for SSIS 2012. In order to use the SSIS Catalog, your SSIS project must use the Project Deployment Model.
Creating the SSIS 2012 Catalog
Let’s create an SSIS 2012 Catalog. Open SQL Server Management Studio (SSMS) and connect to an instance of SQL Server 2012, as shown in Figure 1:
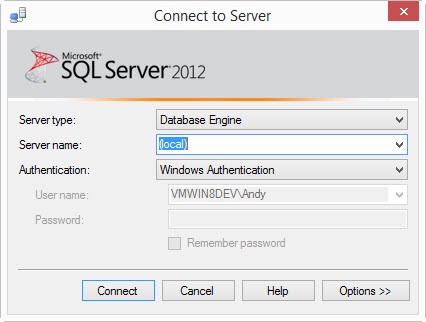
Figure 1
If Object Explorer is not open, click ViewàObject Explorer. Once Object Explorer is open, expand the SQL Server instance node. Right-click the “Integration Services Catalogs” node and click “Create Catalog…” menu item, as shown in Figure 2:
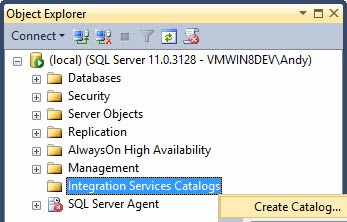
Figure 2
The Create Catalog window will display. If this is your very first time creating an SSIS Catalog on this instance of SQL Server and if you installed SQL Server with defaults, your Create Catalog window will appear as shown in Figure 3:
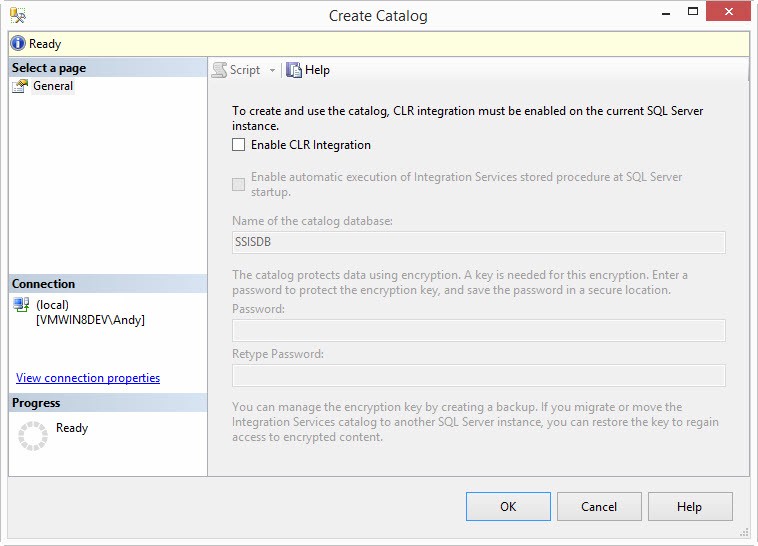
Figure 3
CLR (Common-Language Runtime) Integration is not enabled by default. SQL CLR integration allows developers to build stored procedures using .Net code. The SSIS Catalog integrates with .Net assemblies to manage SSIS package execution.
Check the Enable CLR Integration checkbox, as shown in Figure 4:
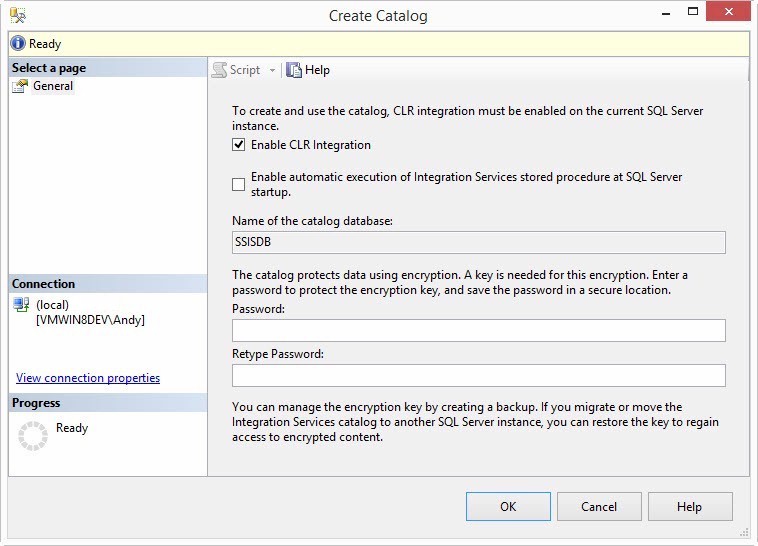
Figure 4
Most of the items on the Create Catalog window were disabled before you checked the Enable CLR Integration checkbox. Now they are enabled:
- “Enable automatic execution of Integration Services stored procedure at SQL Server startup” – this option allows a “clean-up” stored procedure to execute whenever the SQL Server service starts. The procedure performs checks related to Integration Services. For example, the stored procedure examines the log and status in search of SSIS packages that were executing at the time the SQL Server service shut down, and fixes the status any SSIS packages that were executing when the SQL Server service stopped.
- “Name of the catalog database” – this is hard-coded in SSIS 2012 to “SSISDB.” Also, even though the Object Explorer node is labeled “Integration Services Catalogs,” there can be only one SSIS Catalog per instance of SQL Server, and it also must be named “SSISDB.”
- “Password” and “Retype Password” – a password is required to serve as an encryption key for encrypted data stored in the SSIS Catalog.
I recommend checking the “Enable automatic execution of Integration Services stored procedure at SQL Server startup” checkbox. It does not hurt and can help when you really need it.
When you are finished, your Create Catalog window should appear similar to that shown in Figure 5:
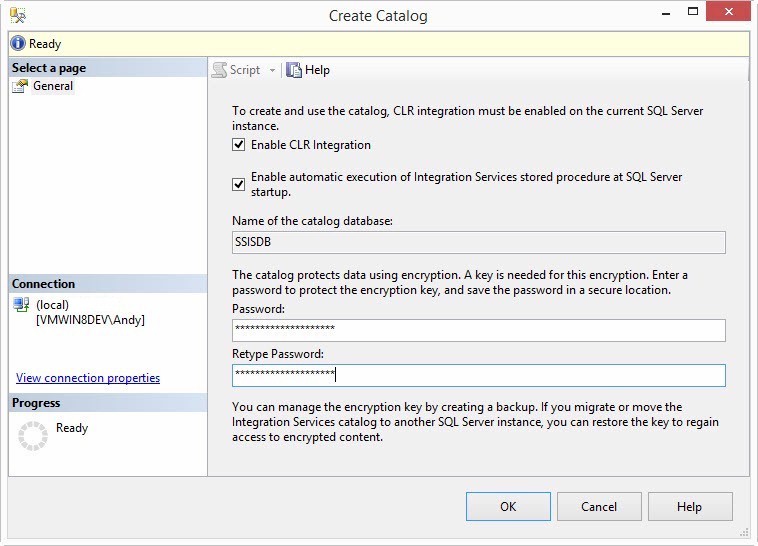
Figure 5
Click the OK button to create the SSIS Catalog. Two things happen when the Catalog is created:
- A node named SSISDB is added to the integration Services Catalogs node in Object Explorer.
- A database named SSISDB is created.
You can see both the Catalog object and the database in Figure 6:

Figure 6
The SSISDB Database
The SSISDB database is a SQL Server database like any other SQL Server database. If you have permission, you can view the objects inside the SSISDB database. Figure 7 displays the tables in SSISDB:
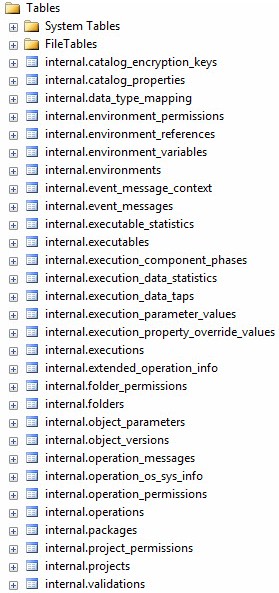
Figure 7
Figure 8 shows SSISDB views:
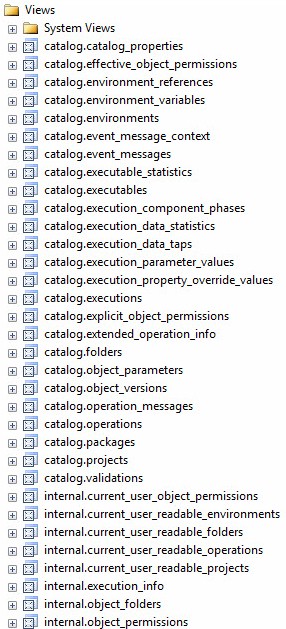
Figure 8
Figure 9 shows some of the SSISDB stored procedures:
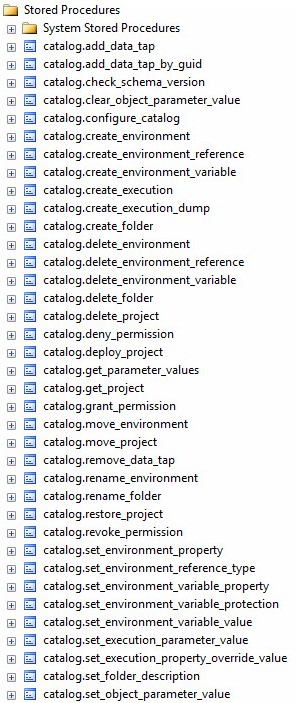
Figure 9
Because SSISDB is a database, you can interact with the SSIS Catalog using T-SQL. We will see examples of how to use T-SQL to execute an SSIS package later in this article.
The SSIS Catalog
In the SSMS Object Browser, expand the Integration Services Catalogs node to reveal the SSIS Catalog, named SSISDB, shown in Figure 10:
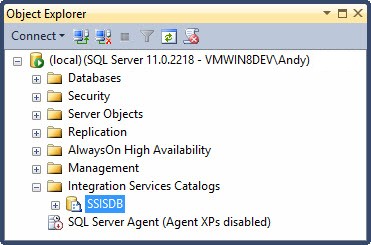
Figure 10
The SSIS Catalog operates in the context of an instance of SQL Server and has four tiers:
- Catalog
- Folder
- Project
- Package
Figure 11 is one representation of the relationship between the services and objects that make up the SSIS Catalog:
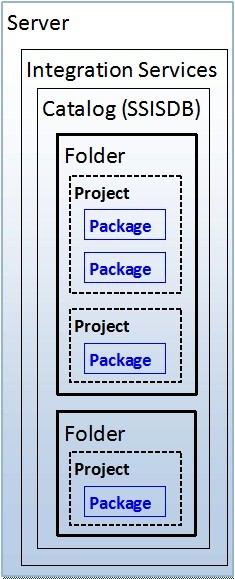
Figure 11
There can be only one instance of the Catalog per instance of SQL Server. But remember, you can install multiple instances of SQL Server per Operating System (OS). So it is possible to install multiple instances of SSIS Catalogs on a single physical or virtual server.
The Catalog contains one or more folders. Folders help logically group SSIS projects. How you choose to group projects in folders is completely up to you. Each folder can contain one or more SSIS projects. The projects are named when you create them using SQL Server Data Tools – Business Intelligence (SSDT-BI).
Each project can contain one or more SSIS packages. Packages are created within an SSIS project using SSDT-BI. SSIS packages can also be added to an SSIS project.
SSIS Catalog Configuration
In the SQL Server Management Studio (SSMS) Object Explorer, expand the Integration Services Catalogs node, right-click the SSIS Catalog node named SSISDB, and click Properties, as shown in Figure 12:
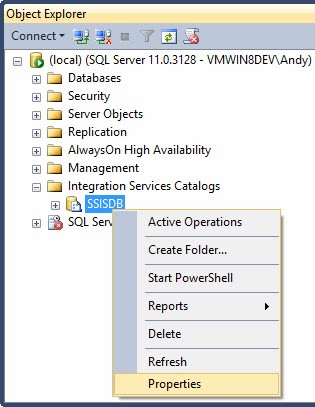
Figure 12
The SSIS Catalog properties window displays as shown in Figure 13:
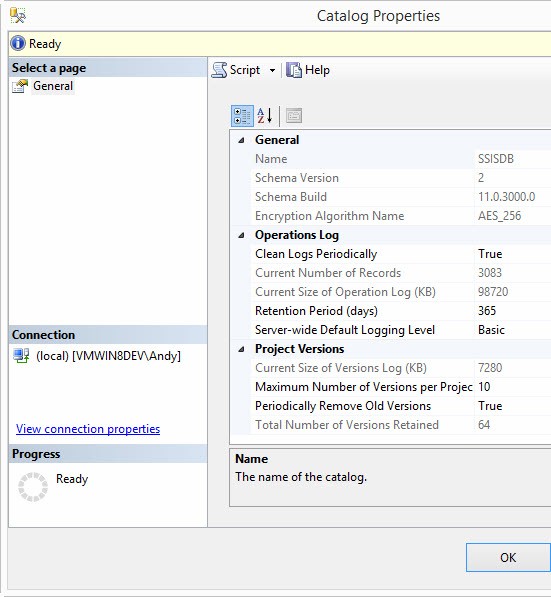
Figure 13
There is one page (General) containing a few configurable properties:
- Clean Logs Periodically – a Boolean value that determines whether the SQL Agent Job named “SSIS Server Maintenance Job” will execute each day at midnight. Phil Brammer has an excellent post about the SSIS Server Maintenance Job titled SSIS 2012 – Beware the SSIS Server Maintenance Job.
- Retention Period (days) – a numeric value used by the “SSIS Server Maintenance Job” to determine which SSIS execution and operations log data to remove.
- Server-wide Default Logging Level – there are four:
- None
- Basic (the default)
- Performance
- Verbose
Deploying the Project from SQL Server Data Tools – Business Intelligence
You can only deploy SSIS Projects built using the Project Deployment Model to the SSIS Catalog. To demonstrate, open SQL Server Data Tools – Business Intelligence (SSDT-BI), and then open our SSIS project named My_First_SSIS_Project. Right-click the Project name in Solution Explorer and click Deploy as shown in Figure 14:
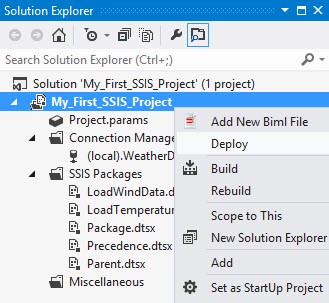
Figure 14
The Integration Services Deployment Wizard starts. Enter “(local)” in the “Server name” textbox. Click the “Browse…” button beside the Path textbox to open the “Browse for Folder or Project” window, as shown in Figure 15:
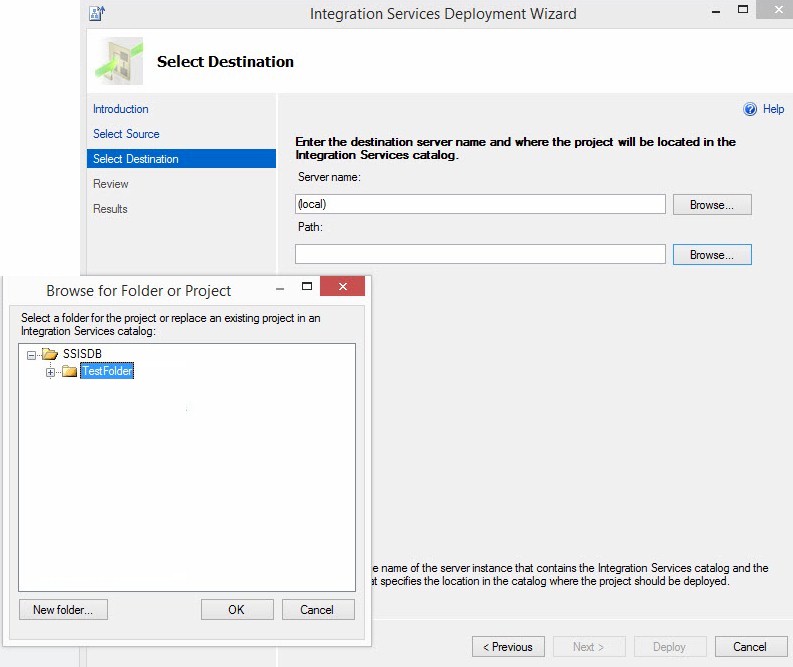
Figure 15
A folder is required for deployment to the SSIS Catalog. If no folders exist or you desire to create a new folder, click the “New folder…” button to create a new folder, as shown in Figure 16:
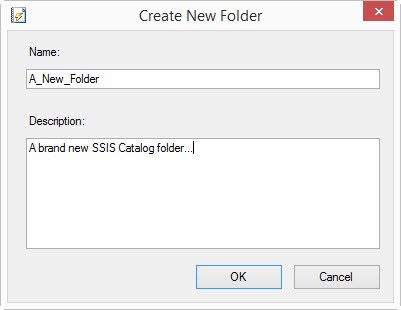
Figure 16
Once configured, the “Select Destination” page will appear similar to that shown in Figure 17:
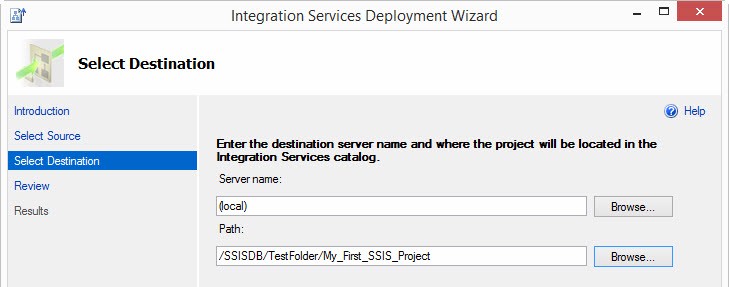
Figure 17
Once the folder has been selected, click the Next button to open the Review page, as shown in Figure 18:
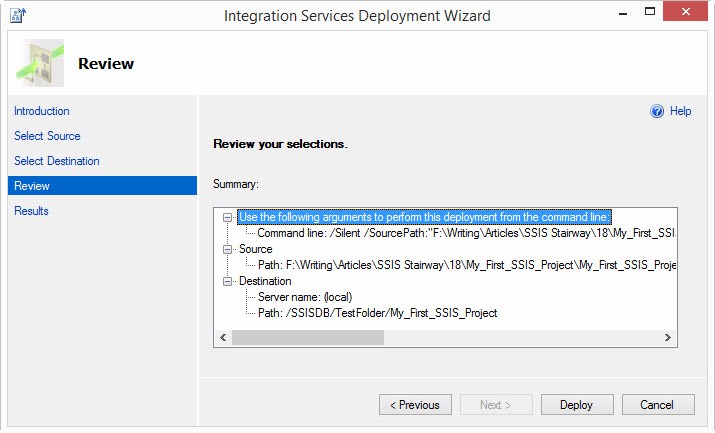
Figure 18
Click the Deploy button to deploy the Project to the SSIS Catalog. When deployment completes, the Integration Services Deployment Wizard should appear as shown in Figure 19:
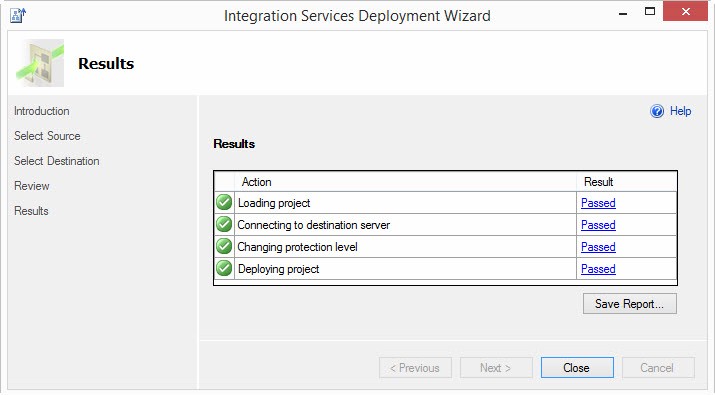
Figure 19
The project is now deployed to the SSIS Catalog, in the folder configured, as shown in Figure 20:
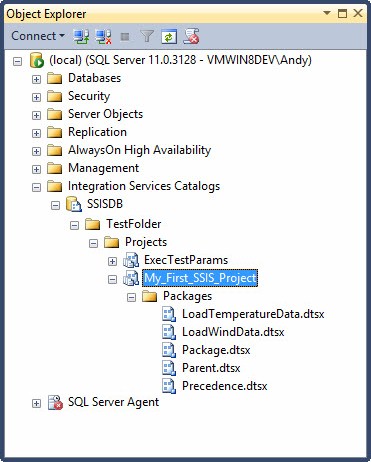
Figure 20
While we were deploying the SSIS project, SSIS was sneaking around in the background, building an ISPAC file.
Deploying the Project from an ISPAC File
The ISPAC file is built by default in the <SSIS Project>\bin\Development directory. The name of the file is <SSIS Project>.ispac. The ISPAC file created for My_First_SSIS_Project is named My_First_SSIS_Project,ispac, as shown in Figure 21:

Figure 21
The ISPAC file is really a zipped archive. You can open it with WinZip, in fact, as shown in Figure 22:
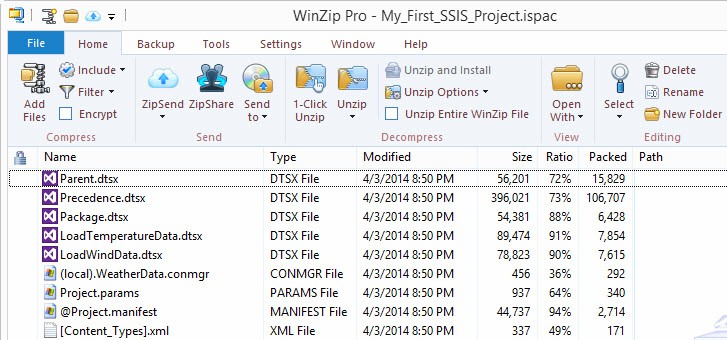
Figure 22
Opening the ISPAC file starts the same Integration Services Deployment Wizard we started earlier by clicking Deploy in the SSDT-BI Solution Explorer, as shown in Figure 23:
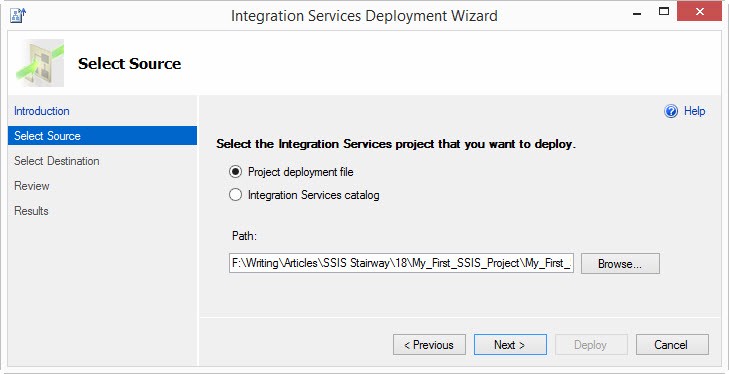
Figure 23
The rest of the wizard works exactly the same as when we deploy from SSDT-BI, so I will not repeat the process here.
SSIS Catalog Execution, Part 1
So far we have created an instance of an SSIS Catalog and deployed our first SSIS project. It’s time to execute some SSIS!
Return to SQL Server Management Studio (SSMS) and connect to your instance of SQL Server. In Object Browser, expand the SQL Server instance node, and then the Integration Services Catalog node to expose the SSIS Catalog named SSISDB. Expand SSISDB to view the folder named TestFolder, and then expand the Projects virtual folder. Expand the My_First_SSIS_Project SSIS project, and then expand the Packages virtual folder. Inside the Packages virtual folder is where we find the SSIS packages from our My_First_SSIS_Project SSIS project.
Right-click on the LoadTemperatureData.dtsx and click “Execute…” as shown in Figure 24:
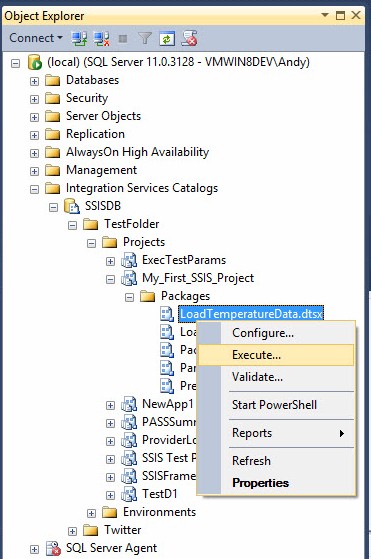
Figure 24
The Execute Package window displays, showing the Parameters tab on the General page. Remember, the My_First_SSIS_Project SSIS project has one Project Parameter named SourceFolder, as shown in Figure 25:
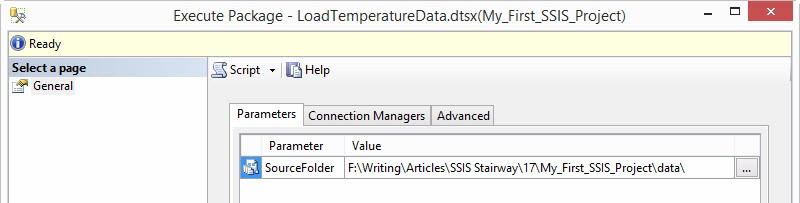
Figure 25
You can edit the parameter value by clicking the ellipsis to the right of the Value grid column. When the ellipsis is clicked the “Edit Literal Value for Execution” window displays as shown in Figure 26:
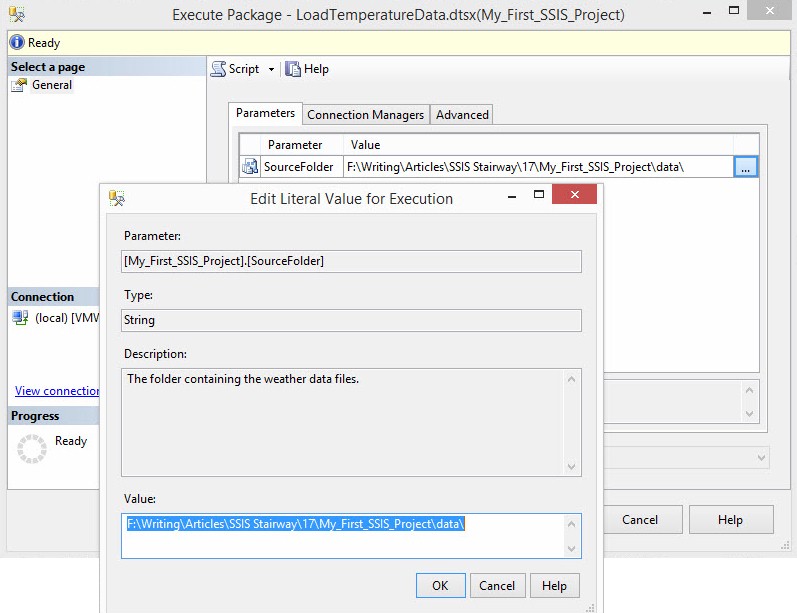
Figure 26
I will not change the value, but clicking the OK button indicates I may have entered a new value. When the OK button is pressed, the “Edit Literal Value for Execution” window closes and the Value column in the Parameter grid displays in bold, as shown in Figure 27:
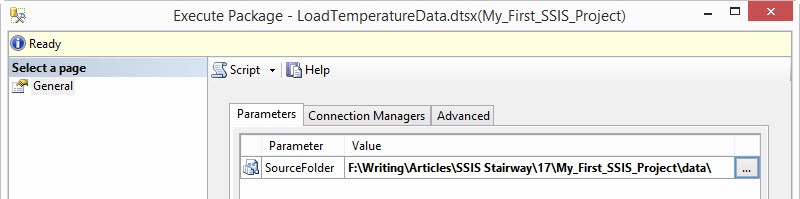
Figure 27
There are two Connection Managers in the LoadTemperatureData.dtsx package: (local).WeatherData – a project connection manager – and FFCM Temperature and Humidity. Properties from both connection managers may be overridden on the Connection Managers tab of the Execute Package window, as shown in Figure 28:
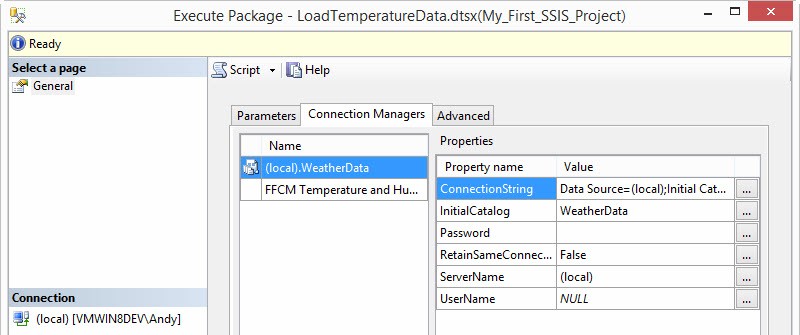
Figure 28
The Advanced tab supplies a means to override any override-able value in the LoadTemperatureData.dtsx SSIS package. The Logging Level for this execution of LoadTemperatureData.dtsx can be overridden using the dropdown settings, as shown in Figure 29:
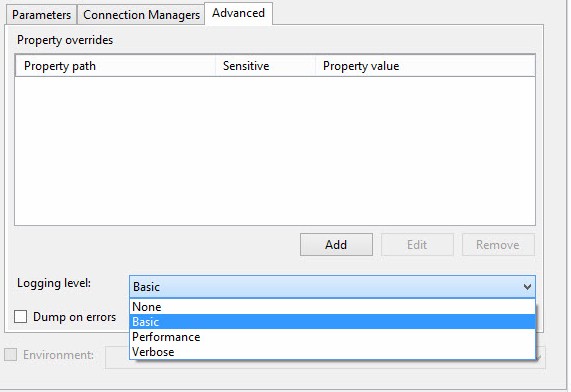
Figure 29
There are two enabled checkboxes – “Dump on errors” and “32-bit runtime” that we will not cover at this time. We will look at the disabled checkbox – “Environment” – and its associated dropdown box in a future Stairway to Integration Services article.
Click the OK button to start the execution of the LoadTemperatureData.dtsx SSIS package. Once the package starts executing, the dialog shown in Figure 30 displays asking if you wants to open the SSIS Catalog Overview Report:
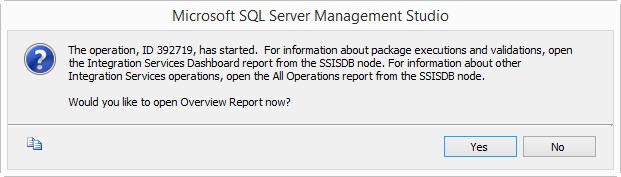
Figure 30
If you click the Yes button the SSIS Catalog Overview Report opens and displays some information about the execution of the package, as shown in Figure 31:
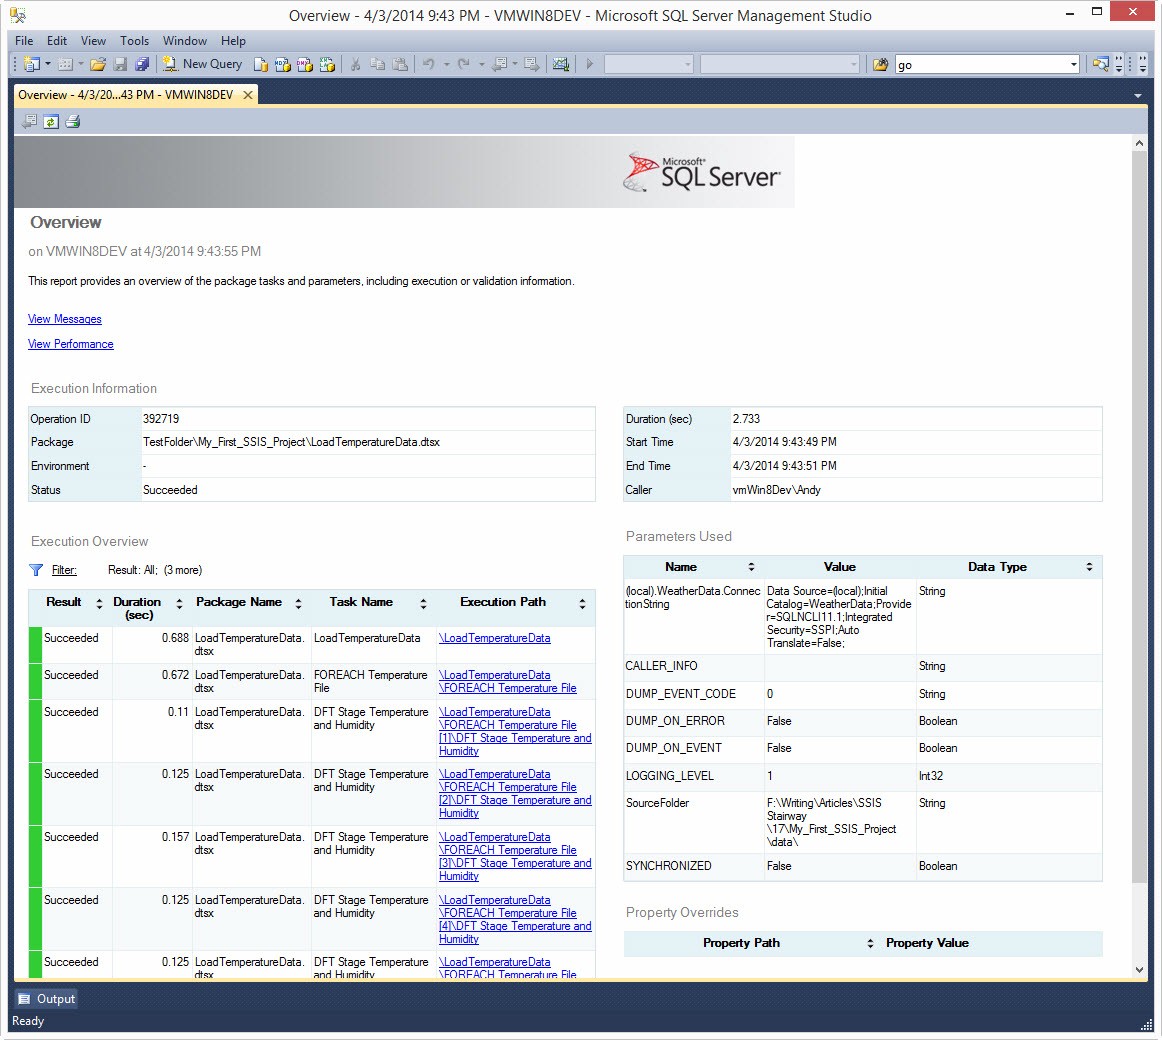
Figure 31
You can click on the links in the Execution Path column to display messages recorded during the package execution.
Conclusion
In this article, we created an instance of an SSIS Catalog, deployed our project, and executed one of the weather data loader packages. In the next step of the Stairway to Integration Services, we will examine more SSIS package execution options.