Introduction
There are 2 features that currently are only supported in ASDW and Parallel Data Warehouse. CETAS (Create External Table As Select) and CTAS (Create Table As Select). Both features allow to create a table based on a SELECT statement. CETAS works with a select to create an external table and CTAS is used to create a table based on a select. In this article, we will show some examples of both scenarios.
Requirements
- An ASDW database installed with the sample AdventureworksLT installed.
- SSMS installed.
CTAS
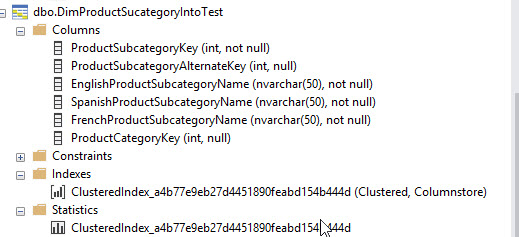
CTAS is similar to a SELECT INTO clause. In this case, you can create a copy of the database based on a SELECT statement. The following example, will create a new table named DimProductSubcategoryIntoTest based on the query:
select *
into DimProductSubcategoryIntoTest
  FROM [dbo].[DimProductSubcategory]
CREATE TABLE [dbo].[DimProductSubcategoryCTAS]
WITH
(
    DISTRIBUTION = ROUND_ROBIN
,   CLUSTERED COLUMNSTORE INDEX
)
AS
SELECT
     *
FROM [dbo].[DimProductSubcategory]
;
The following example shows how to change the distribution to a Hash distribution. In this example, we will create a table named DimProductSubcategoryHash with a Hash distribution based on the table DimProductSubcategory:
CREATE TABLE [dbo].[DimProductSubcategoryHash]
WITH
(
    DISTRIBUTION = HASH([ProductSubcategoryKey])
,   CLUSTERED COLUMNSTORE INDEX
)
AS
SELECT  *
FROM    [dbo].[DimProductSubcategory]
CETAS
- Upload a file with data in the Azure Blob Storage.
- Create a master key in the database to encrypt data.
- Create a credential using the Access key in Azure.
- Create an external data source to specify the path of the file in Azure.
- Create an external file format to specify the format of the file.
- Populate the new created external table using a select query.
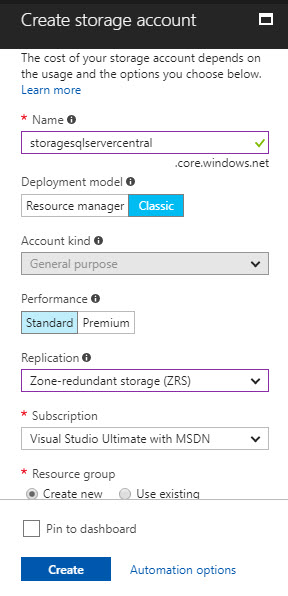
Upload a file with data in the Azure Blob Storage
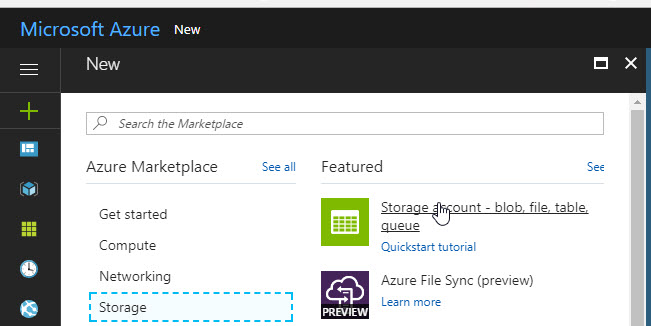
Specify a name for the storage account. In Deployment model use Classic. In account kind, general purpose. In Performance standard is the cheapest. In replication, a zone-redundant storage is a cheap option to test the CETAS feature. You can use an existing resource or create a new one:
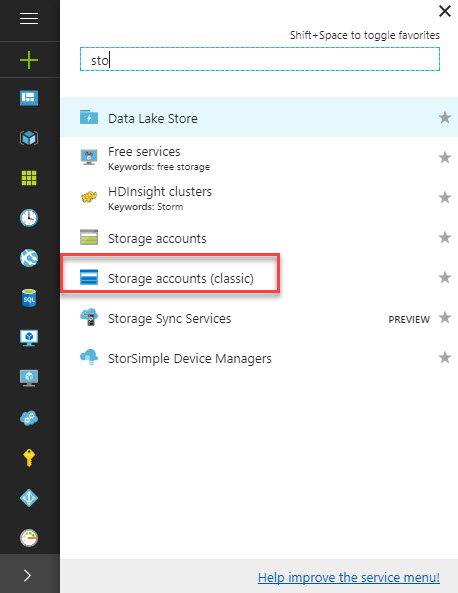
Go to more services (the > icon), and look for Storage Accounts (classic):
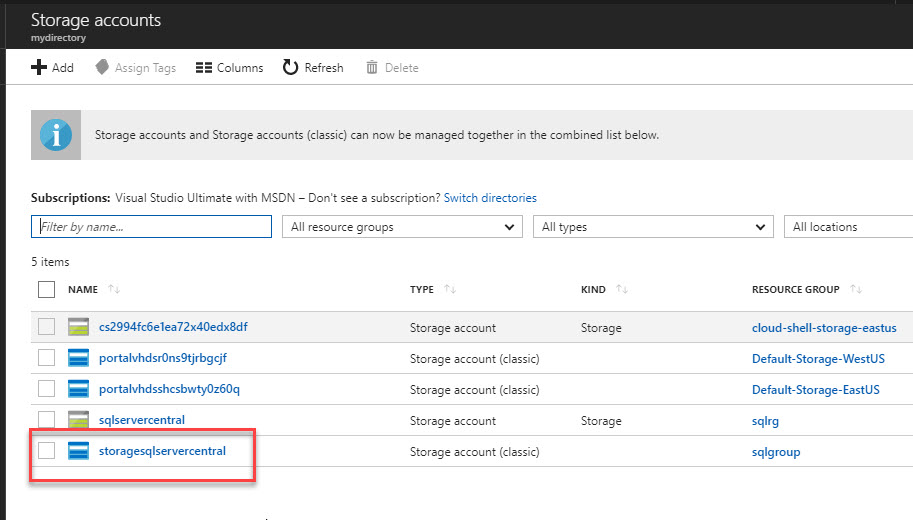
Click the storage account created before:
Click + Container:

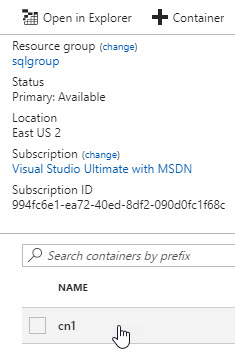
Write a name for the container. It should be private:

Click the container just created:
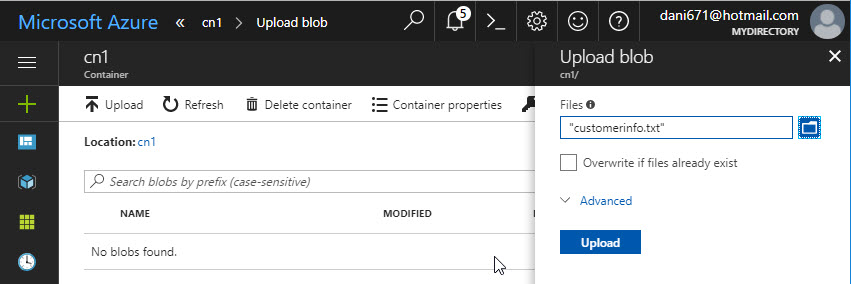
Press Upload to load the text file. Select the text file and press the Upload button:
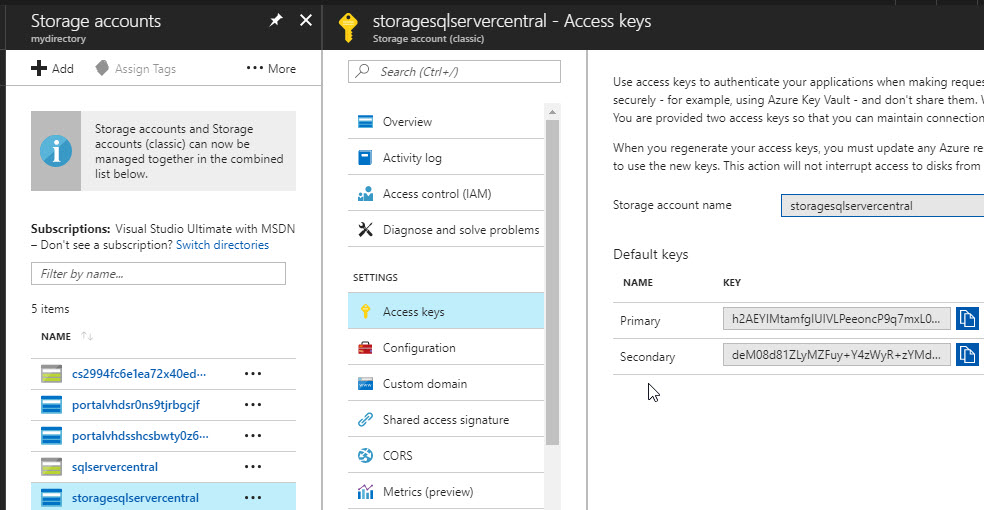
In the Storage accounts, go to access keys and copy the primary key. This value will be used in T-SQL to access to this information:
2. Create a Master Key in the database to encrypt data
In SSMS, connect to your ASDW database. Create a master key in SSMS with this code:
CREATE MASTER KEY ENCRYPTION BY PASSWORD='Superp$%&';
3. Create a credential using the Access key in Azure
We will create credentials to access to Azure Data Store. We will use in Secret the primary key of the Azure data storage. Azurecredential is just the name of the database scored credential:
CREATE DATABASE SCOPED CREDENTIAL azurecredential
 WITH IDENTITY = 'credential'
    , Secret = 'h2AEYIMtamfgIUIVLPeeoncP9q7mxL0K6JULVA2MrpvKW/R/qAN1ZM7J8jTdd1Q=='
4. Create an external data source to specify the path of the file in Azure
The external data source will allow to specify the location of the text file in Azure. Cn1 is the name of the container and storagesqlservercentral.blob.core.windows.net/ is the path that you can get in the properties of the Azure Storage Account:
CREATE EXTERNAL DATA SOURCE listcustomers
WITH (
TYPE = HADOOP,
LOCATION = 'wasbs://cn1@storagesqlservercentral.blob.core.windows.net/',
CREDENTIAL = azurecredential
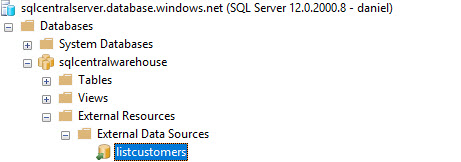
);If everything is OK, you can visualize the external data source in SSMS:
5. Create an external file format to specify the format of the file
The file format is used to setup the format of the file. In this example, is a delimited text and the field terminator is a comma:
CREATE EXTERNAL FILE FORMAT myformat
WITH (
    FORMAT_TYPE = DELIMITEDTEXT,
    FORMAT_OPTIONS (
    FIELD_TERMINATOR = ','
    )
);
6. Populate the new created external table using a select query
We will use the CREATE EXTERNAL TABLES sentence to create a table based on a select query:
CREATE EXTERNAL TABLE hdfsCustomer
WITH (
LOCATION='/customer.tbl',
DATA_SOURCE = listcustomers,
FILE_FORMAT = myformat
)
as
SELECT [CustomerKey]
,[FirstName]
,[LastName]
,[EmailAddress]
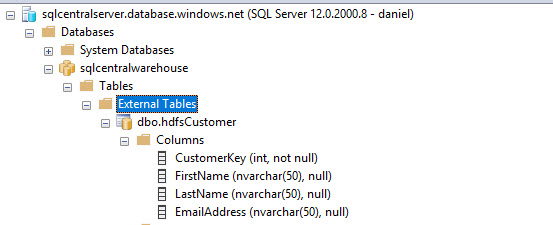
FROM [dbo].[DimCustomer]If everything is OK, an external table named hdfsCustomer will be created:
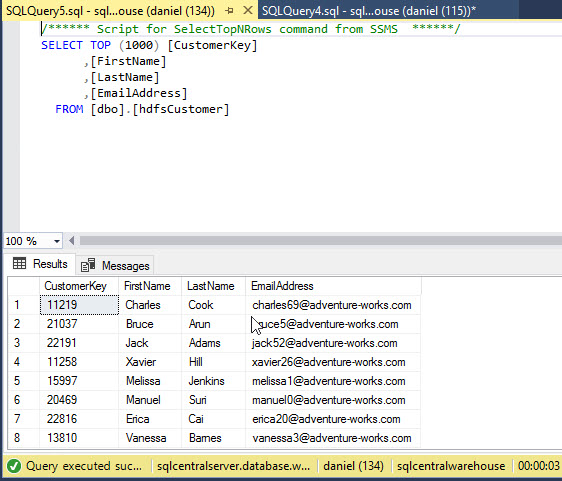
You can run a select on the table created to verify if it has data: