 Azure Data Factory – or ADF – is a data integration service built in the cloud. Like other data integration solutions, ADF is designed to perform ETL (Extract, Transform, and Load), ELT (Extract, Load, and Transform), and similar integration work.
Level 1 – What is ADF? – introduces Azure Data Factory, compares versions, and offers an introductory example.
This article discusses and examines provisioning ADF by example and configuring your Azure dashboard so you can easily reach your ADF instance in the future.
Creating an Azure Account
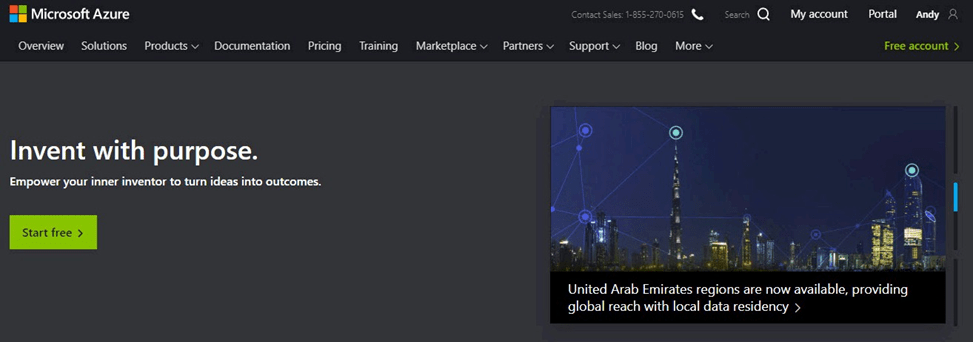
Visit azure.com to create a Microsoft Azure account. At the time of this writing, you may take advantage of an offer to start free:
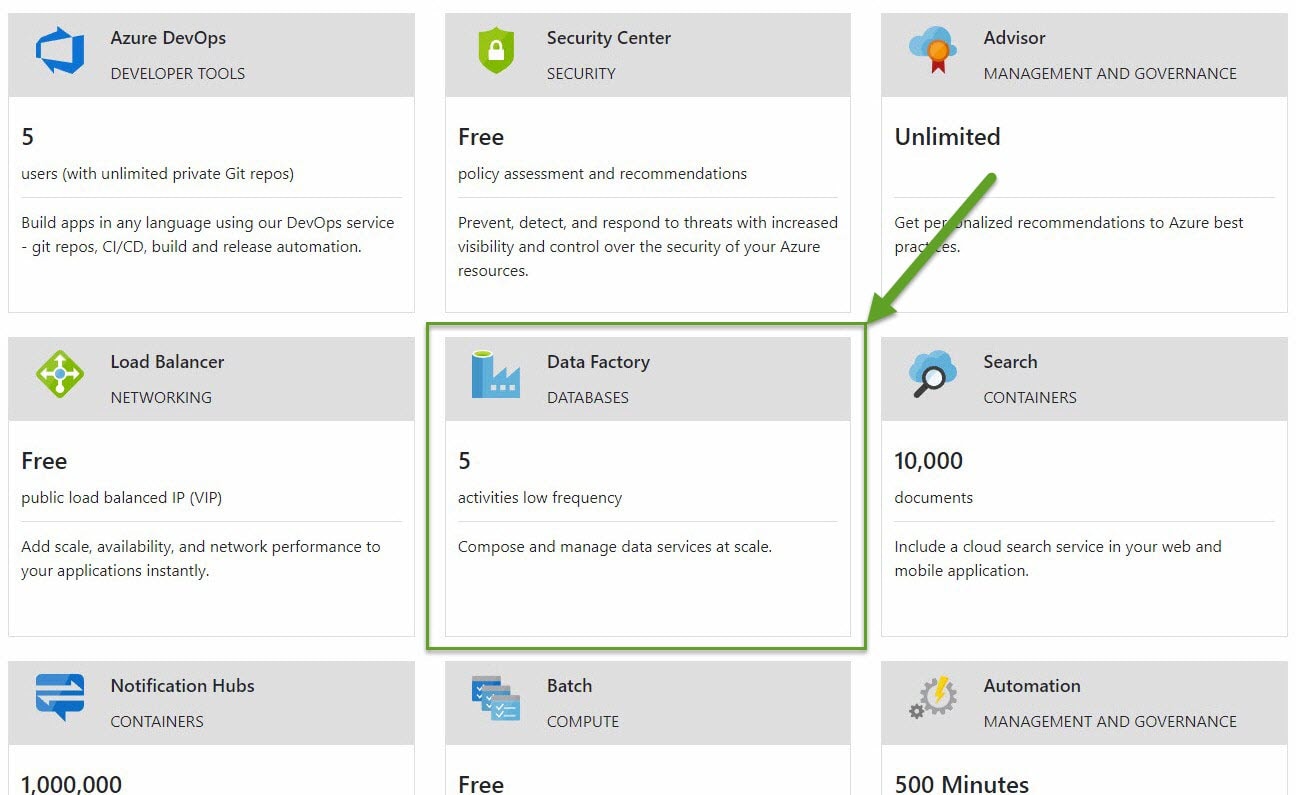
Many Azure services are free, and Azure Data Factory is included in the list of free services at the time of this writing:
Visit https://azure.microsoft.com/en-us/free/ for details.
The Azure Portal
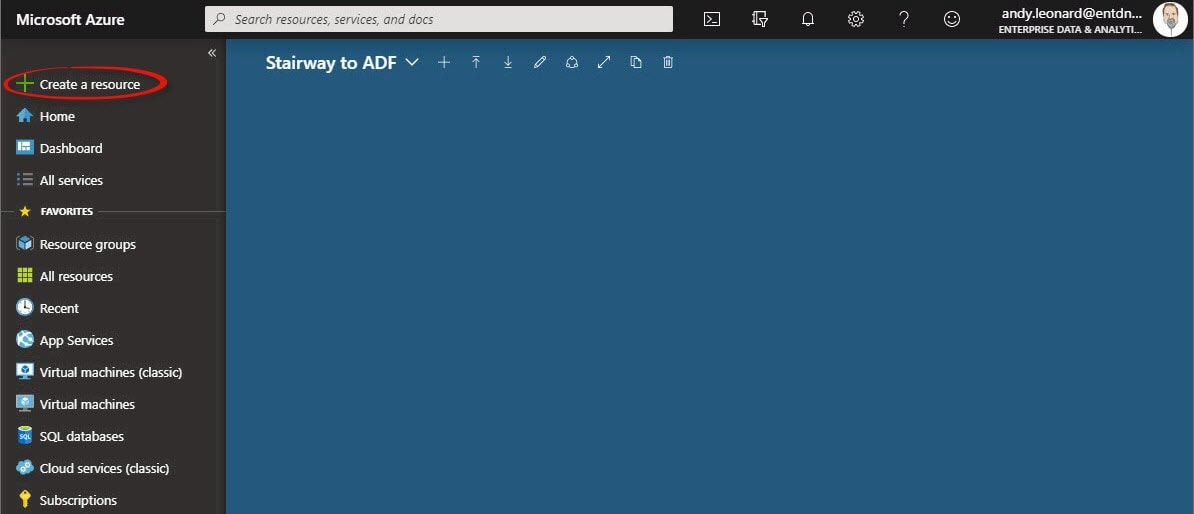
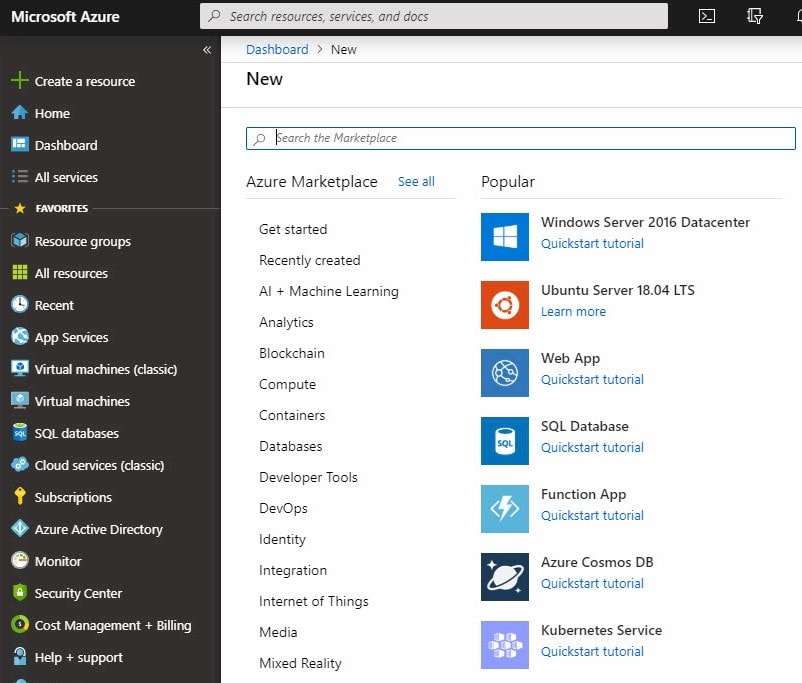
After creating your account, visit the Azure Portal and sign in. You may be presented with a Home page or Dashboard, similar to the dashboard shown here:
Provision an ADF Instance
To begin the process of provisioning an Azure Data Factory, click the “+ Create a resource” link circled in the image above. The New (or Create) page displays:
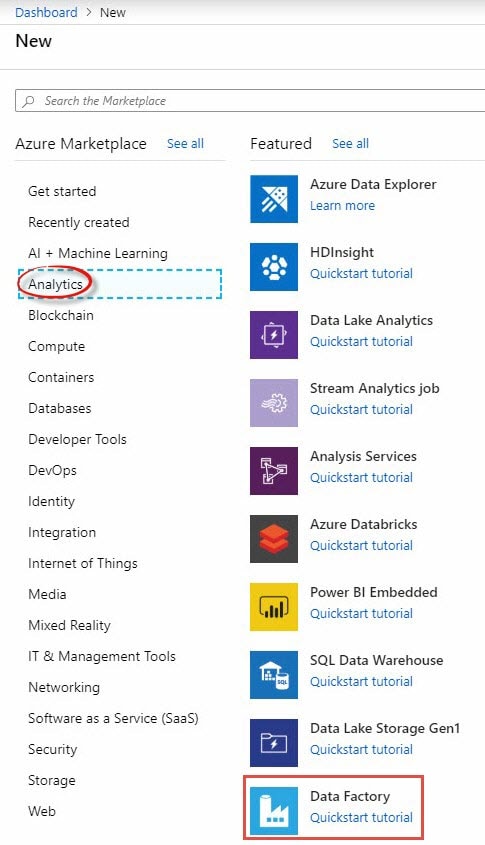
If you know where to find Azure Data Factory, you may navigate the list of Azure services categories. One path at the time of this writing is Analytics -> Data Factory:
An easier method is to search for “Data Factory” in the Azure Marketplace search textbox:
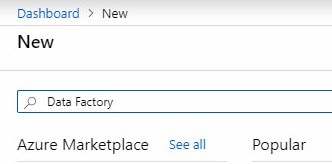
Click the Data Factory link to proceed.
Configuring and Creating an ADF Instance
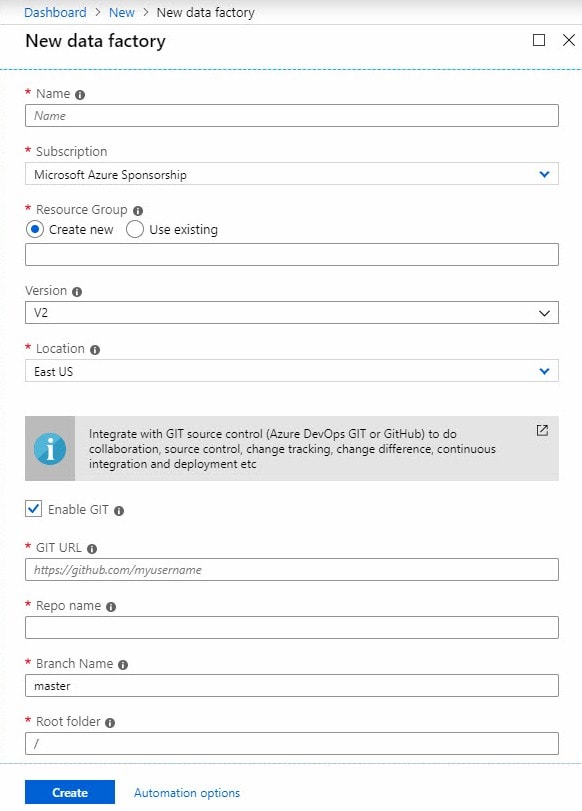
At the time of this writing, the blade for configuring and creating a Data Factory initially appears as shown below:
“Why Do You Keep Writing ‘At the Time of This Writing’?”
Azure changes daily. The screenshots in this series of Stairway articles will become outdated. Maintaining the screenshots would be an exercise in futility, in the author’s opinion. When – not if – these screenshots appear differently, please do your best to adjust. Contact the author is you need help.
Complete the fields displayed in the “New data factory” blade, especially the fields marked as required:
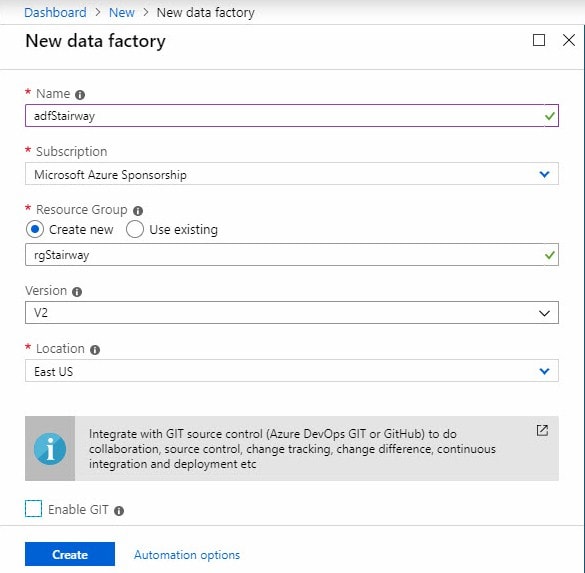
I love that the default for the “Enable GIT” checkbox is checked. Why? Data engineering is software development. Software development best practices apply, and one such practice is: Use source control.
We will cover ADF’s GIT integration in a future stairway article. For now, uncheck the “Enable GIT” checkbox if you are following along at home.
Click the “Automation options” link to view the Azure Resource Manager template:
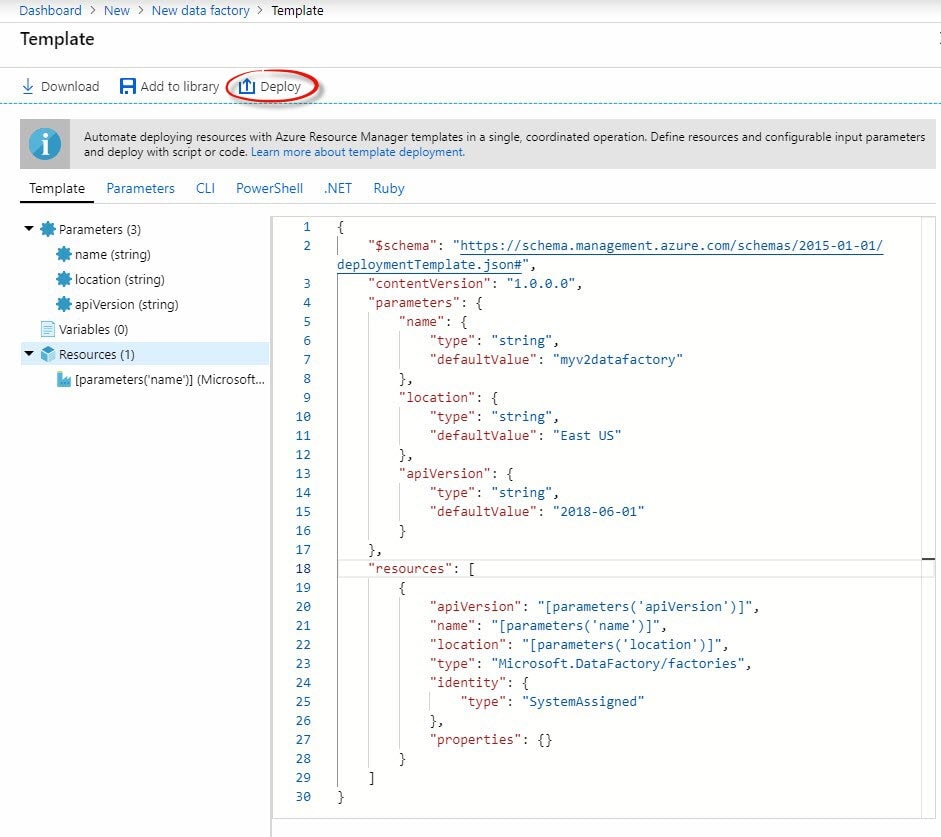
Azure Resource Manager – or ARM – surfaces several options for automating many Azure operations, especially provisioning operations.
Deploying via ARM Template
You may deploy using the ARM template by clicking Deploy on the template toolbar. The “Custom deployment” blade displays. Select of configure a Resource Group and check the “I agree…” checkbox:
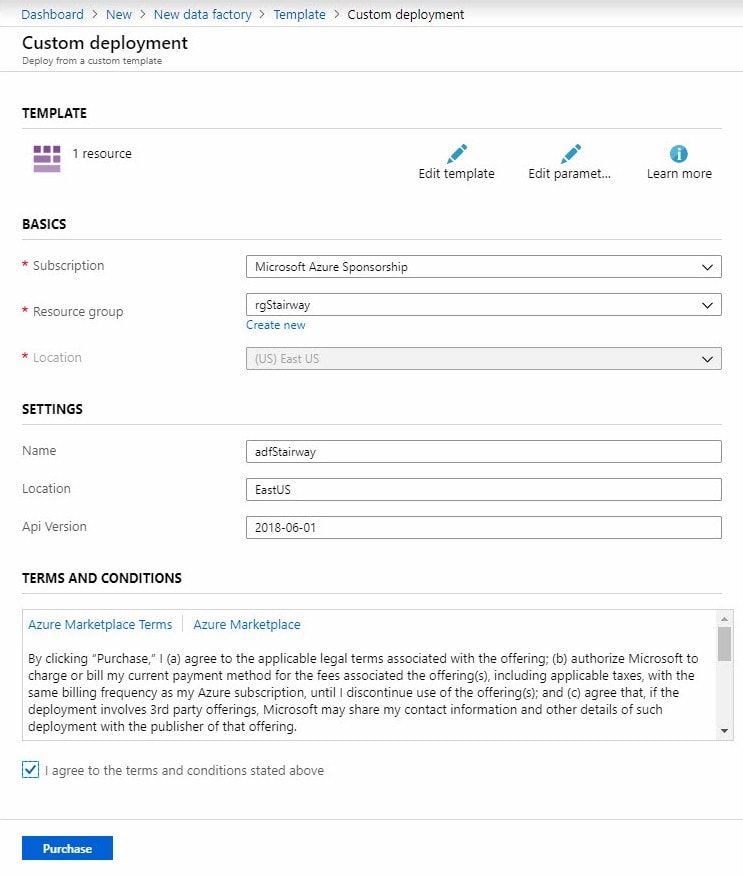
You may then click the Purchase button to begin deployment via the ARM template.
Deploying via “New data factory” Blade
Return to the “New data factory” blade by clicking the “New data factory” link in the breadcrumbs as shown below:

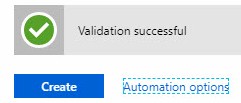
When you are ready to create the data factory, click the Create button. A notification that deployment has commenced displays:
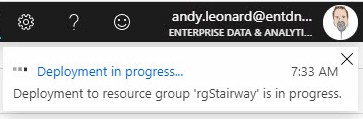
Once deployment is complete, another notification displays:
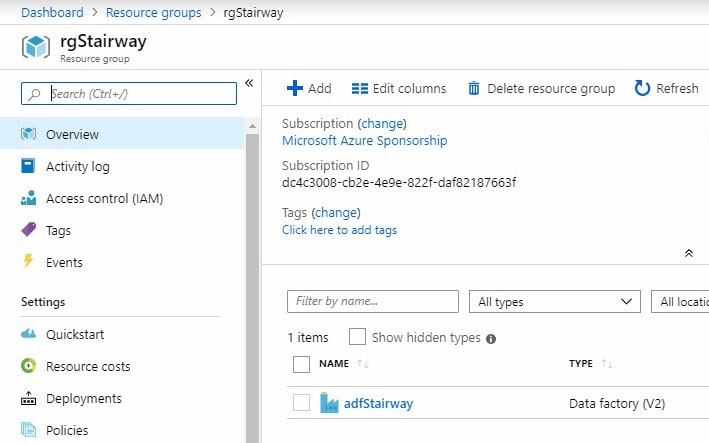
Click the “Go to resource group” button to view your provisioned data factory:
Click the name of your data factory to view the blade that contains details of your freshly-provisioned instance of Azure Data Factory:
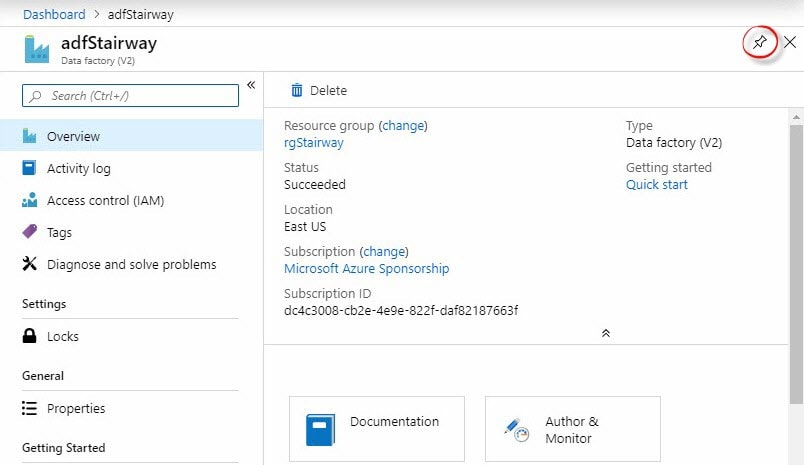
Click the pushpin icon in the upper right corner (circled) to pin the data factory to your dashboard. Visit your dashboard to view a handy link to your ADF instance:
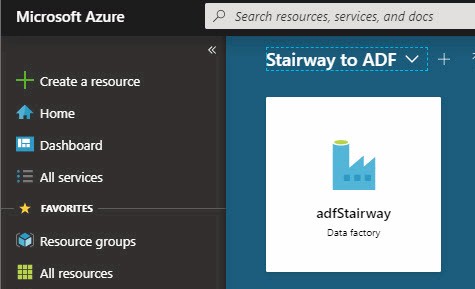
When your revisit your Azure dashboard, click the tile for your instance of Azure Data Factory for access to your data factory blade.
Conclusion
In this article we provisioned an instance of Azure Data Factory and demonstrated how to add a tile to your Azure dashboard for accessing your ADF instance in the future.
Azure Data Factory is an important component in the Azure cloud eco-system. Data integration / engineering remains the largest individual component of most data science and analytics efforts. Still relatively new, ADF offers compelling functionality.