DynamoDB is Amazon’s fully managed NoSQL database. A NoSQL database is primarily a key-value store that is optimized for better write speeds. DynamoDB database is well suited for big data applications, web apis and real time applications. After going through this tutorial, you’ll learn how to create a DynamoDB nosql table that your application can use to store and retrieve data.
Step 1: Log into AWS web console
This step will teach you how to login and navigate to the DynamoDB section in AWS. To get started, You’ll need to create an account with AWS web services. You can do this here: https://portal.aws.amazon.com/billing/signup#/start or you can learn more about free accounts at: https://aws.amazon.com/free/
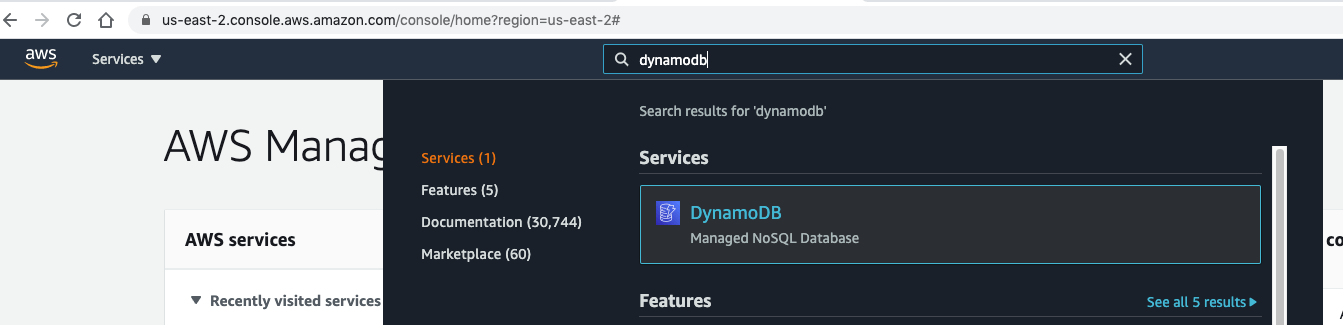
Once you have the account login details, You can login to the web console and navigate to DynamoDB from the search bar.
Step2: Creating the table
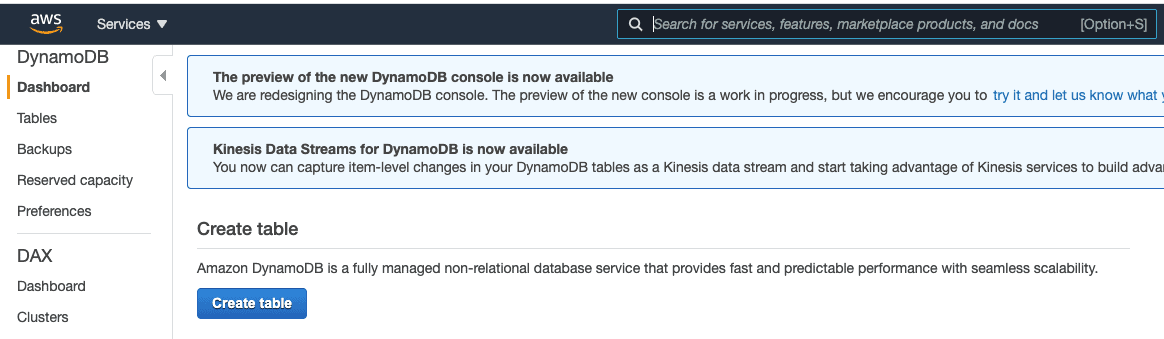
This step will help you create a basic database table in DynamoDB. We will start creating the table using the web interface. Locate the Create table button and click it.
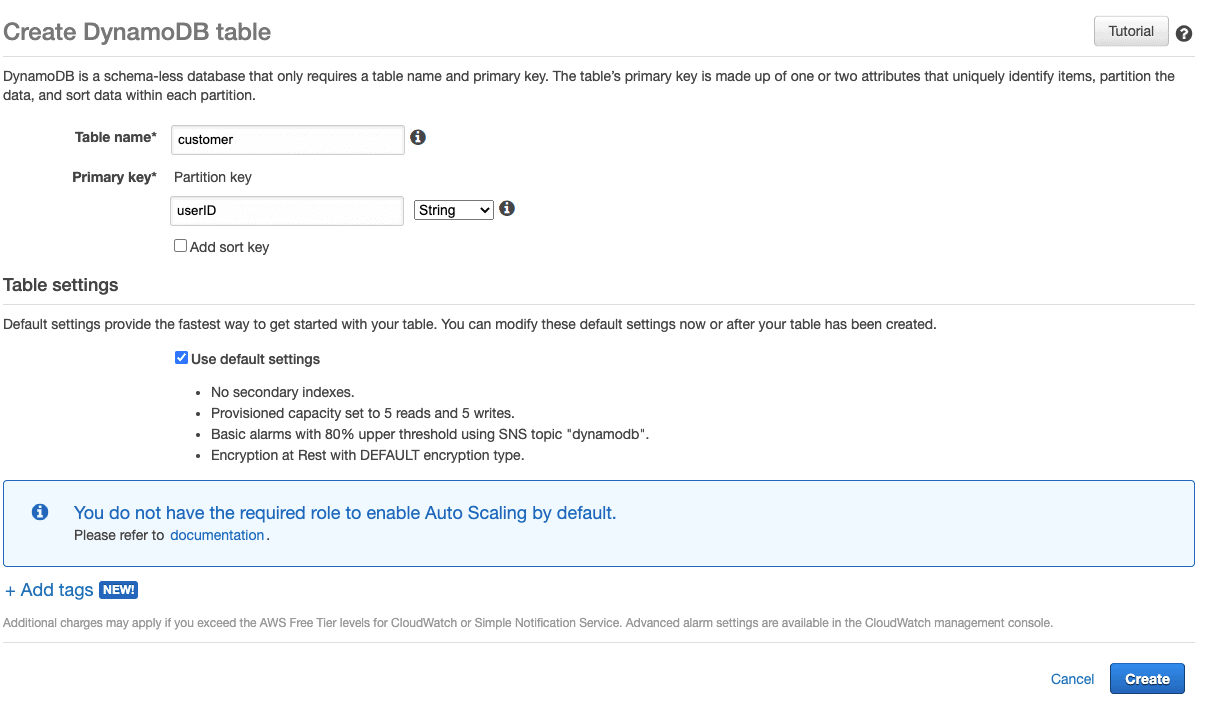
Once you click on this button, you will see the Create DynamoDB table dialog. Enter the table name you want (e.g. `customer` or `user`).
In the next step, enter the Primary Key. Your Primary Key is the key that uniquely identifies each record in the table. The Primary Key can be a partition key or a combination of partition key and sort key. For example, I have `userID` as the primary key below. The partition key can be of type string, binary or number. You can choose the type from the dropdown menu right next to the partition key field.
Step3: Adding a sort key while creating a DynamoDB table
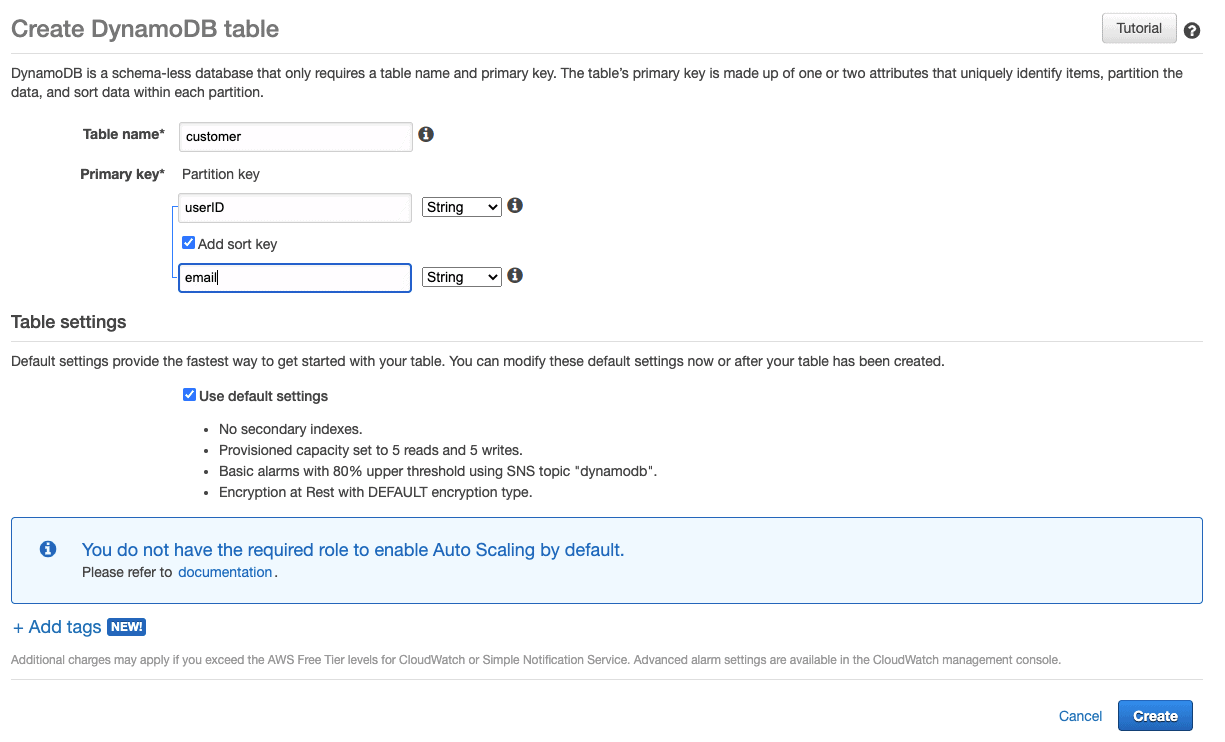
This section explains what a sort key is and how to create one. The sort key is needed if you want more uniqueness to your primary key. A combination of partition key and sort key is called a composite primary key.
Check the `Add sort key` checkbox to enable sort key and enter a name for the sort key (e.g. `email`).
Step4: Using advanced settings while creating a DynamoDB
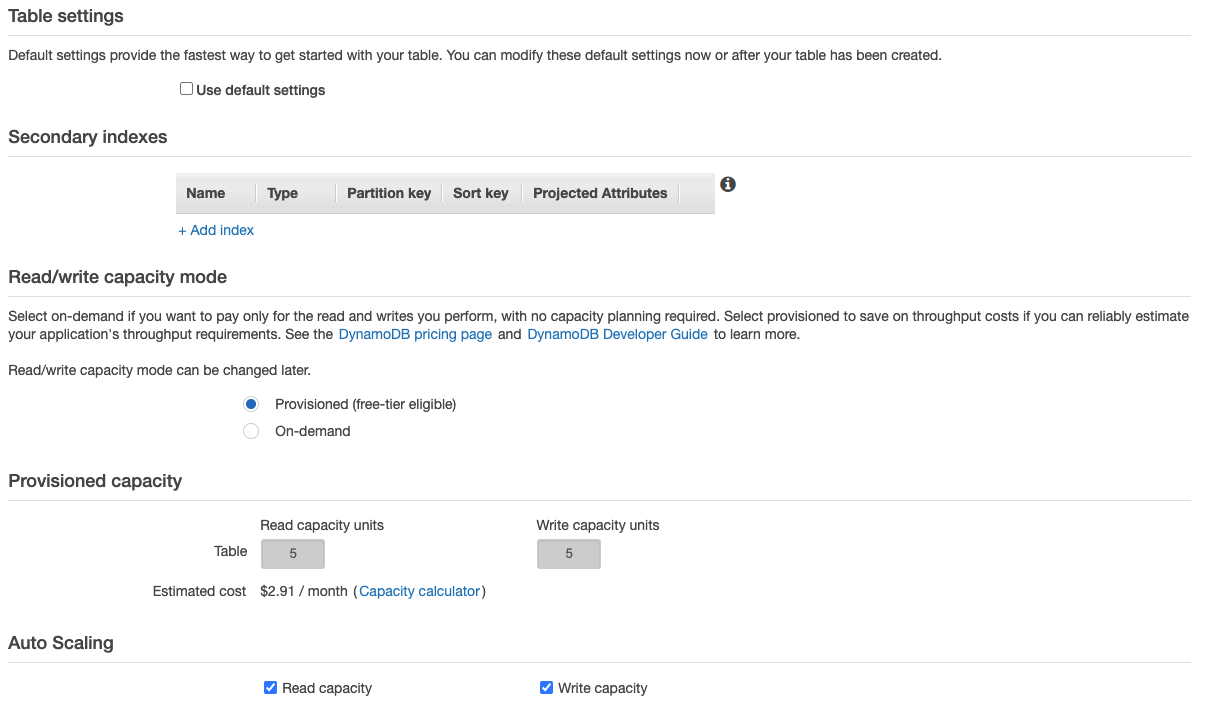
This section will help you customize the table setting before you finalize the table. By Default, the `Use default settings` checkbox is checked during the table creation process. This way, when you create the table, AWS creates the table but does not add any secondary indexes (used for efficient search) to it. It also adds default read and write capacity of 5 to the table.
Read and write capacity is the measurement of the table to read/write . One read capacity unit represents one strongly consistent read per second, or two eventually consistent reads per second. Essentially, it tells DynamoDB how often the table would be used. If your read/write requests exceed this number, DynamoDB will begin to throttle your requests. You can also change the auto scaling option in the advanced settings.
The advance setting is very customizable but this is beyond the scope of this article.
Step5: Creating and viewing the table
This section will help you finally create the table and teach you how to manage your newly created table. Once you have selected all the appropriate options described above, you can click the `Create` button in the console UI. DynamoDB will start creating the table. It might take some time to fully create the table.
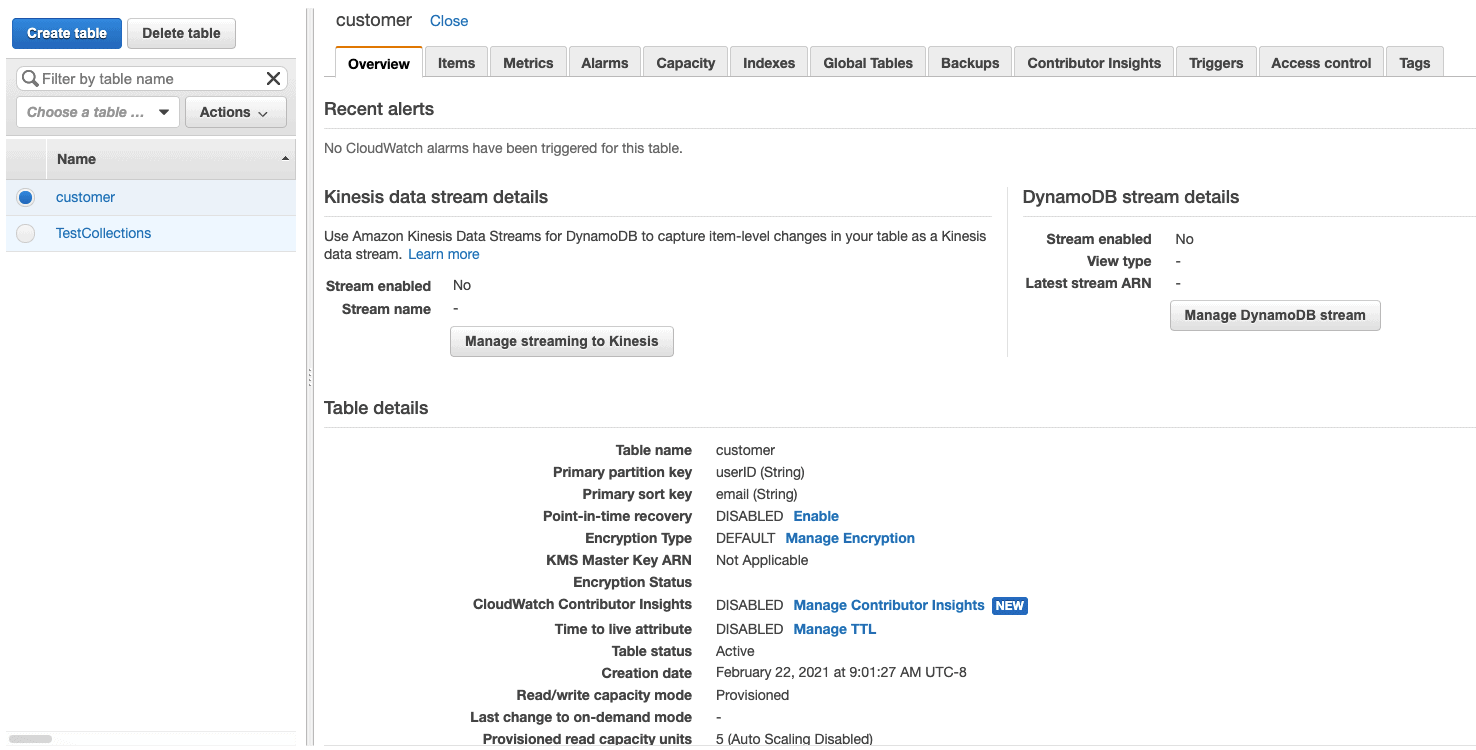
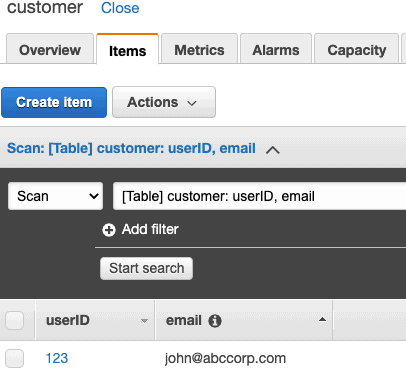
Once the table is created, You can access the table using the management console. The link to the console is https://console.AWS.amazon.com/DynamoDB/home. You can add new records by going to Items section and clicking on the Create Item button. You can also click on any record in the Item section to view all the data and modify in real-time.
Conclusion
Hopefully this article will help you to create a basic DynamoDB NoSQL table. If you followed all the steps above, You should be able to add simple key-value records and view the added records in this table. You can also experiment with various advanced settings explained above to get more fine grained control over the table creation process.